
Elevate Your Space: An Introduction to 3D Wall Paneling 🎨
Imagine transforming the ordinary into the extraordinary with a simple stroke of design genius. That's the magic of home 3D wall paneling. These unique 3D wall panels have the power to convert any room in your home into a mesmerizing space, filled with depth, texture, and personality. Whether you're seeking to enhance your living room with eye-catching 3D wall decor designs or create a serene oasis in your bedroom with soothing 3D wall panel ideas, the possibilities are limitless. But how do you install 3D wall panels? And how can you customize them to reflect your style? Fear not, for we have all the answers and inspiration you need. So, are you ready to embark on a journey of transformation, where every room tells a unique story?
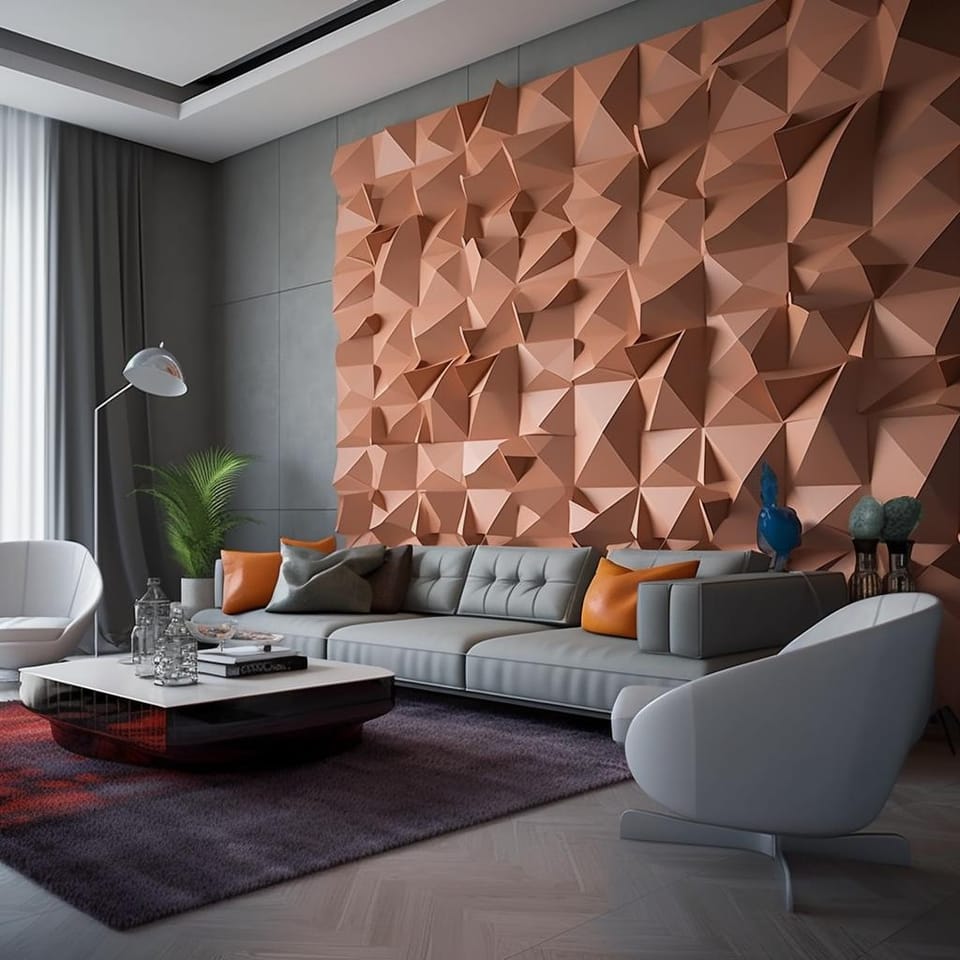
Transform Your Living Room with Unique 3D Wall Panel Ideas 🛋️
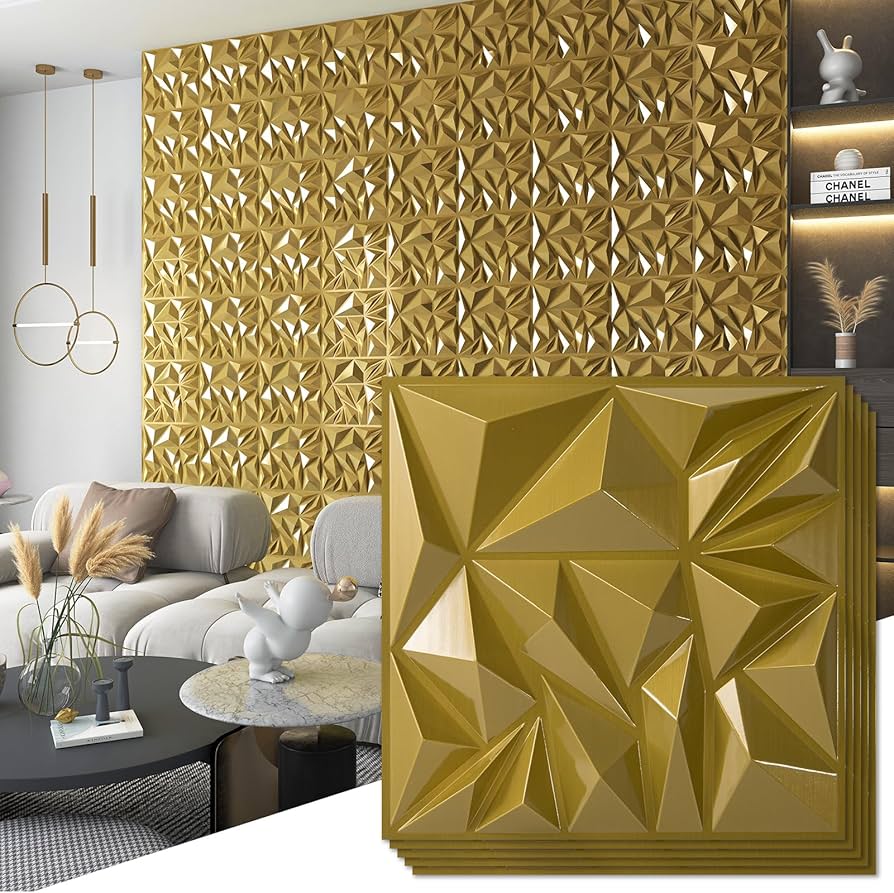
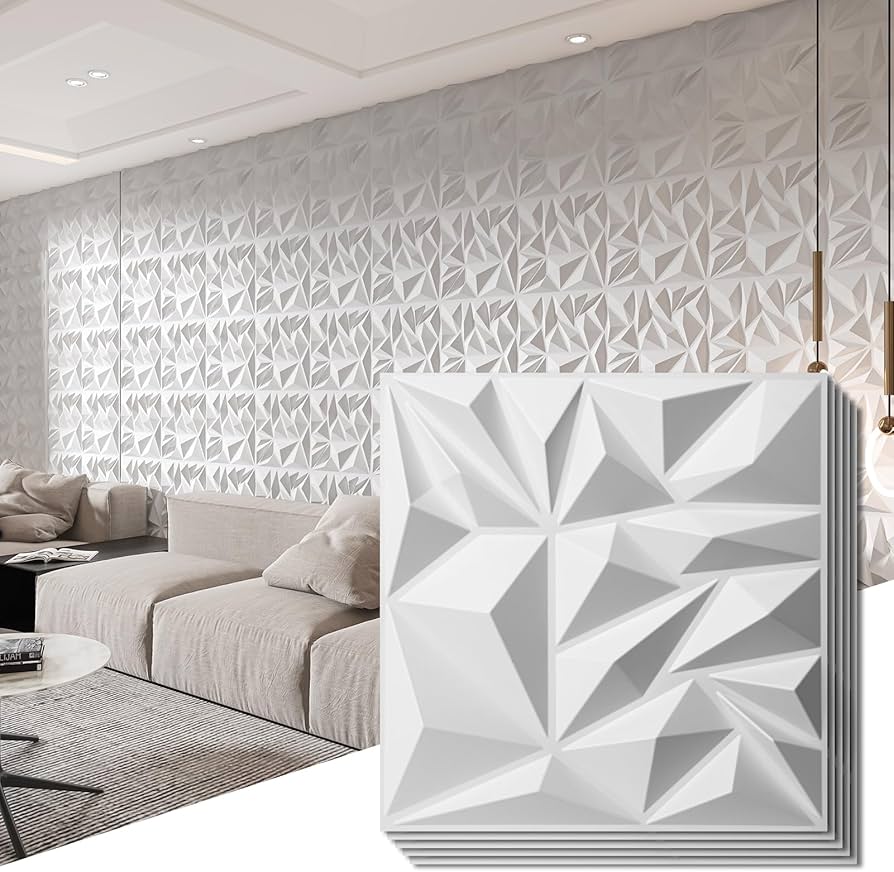
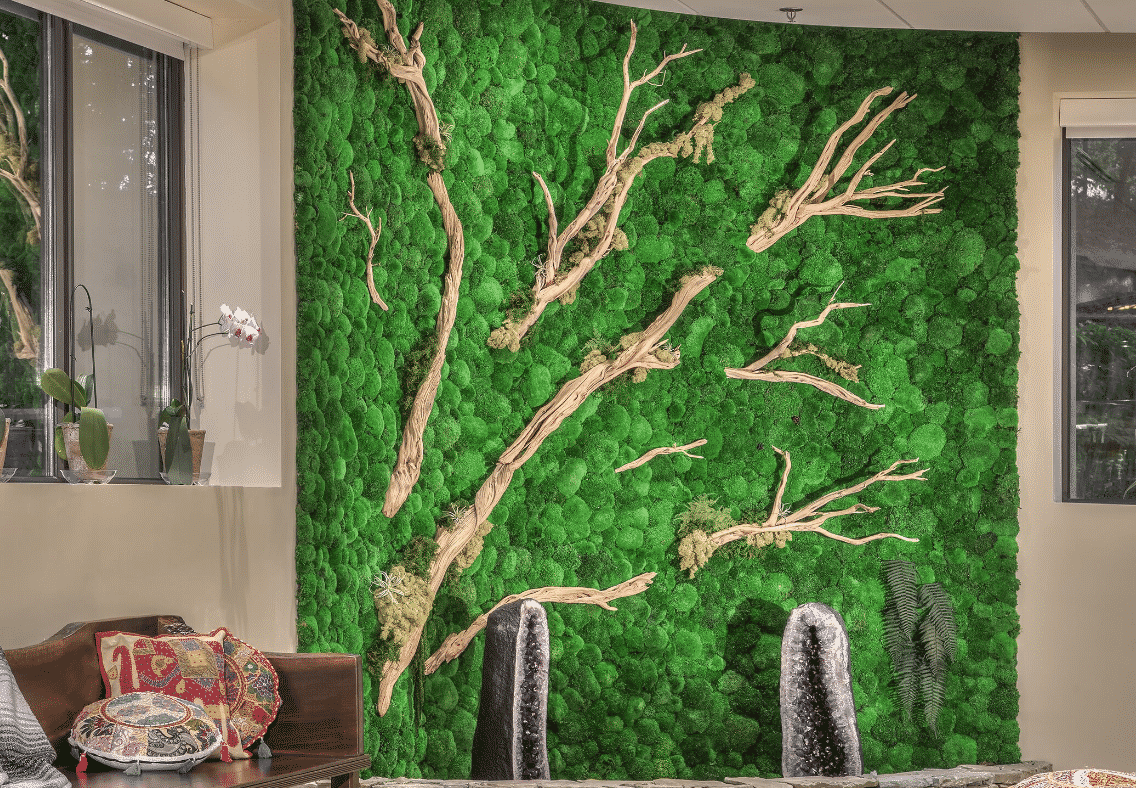
Unleash the power of 3D wall decor designs to breathe life into your living room. Imagine a classic design with a twist - a large, geometric 3D wall panel behind your sofa, creating a captivating focal point. Or perhaps a chic, abstract 3D wall panel setup that dances with light and shadow, adding depth and intrigue to your space. Have you ever thought of a 3D wall panel living room design that mimics nature, with panels that resemble flowing water or a forest canopy? The possibilities are as infinite as your imagination.
And the best part? You don't need a professional to install 3D wall panels. With our step-by-step guide, you can easily bring your 3D wall panel ideas to life. So, why wait? Reimagine, redesign, and transform your living room with unique 3D wall panels today.

Now that you've seen some chic living room designs with 3D wall panels, let's dive into how you can install one in your own living room.
Installing a 3D Wall Panel in Your Living Room


With your new 3D wall panel installed, your living room has taken on a whole new dimension of style. Now, let's move on to how you can bring this same transformation to your bedroom.
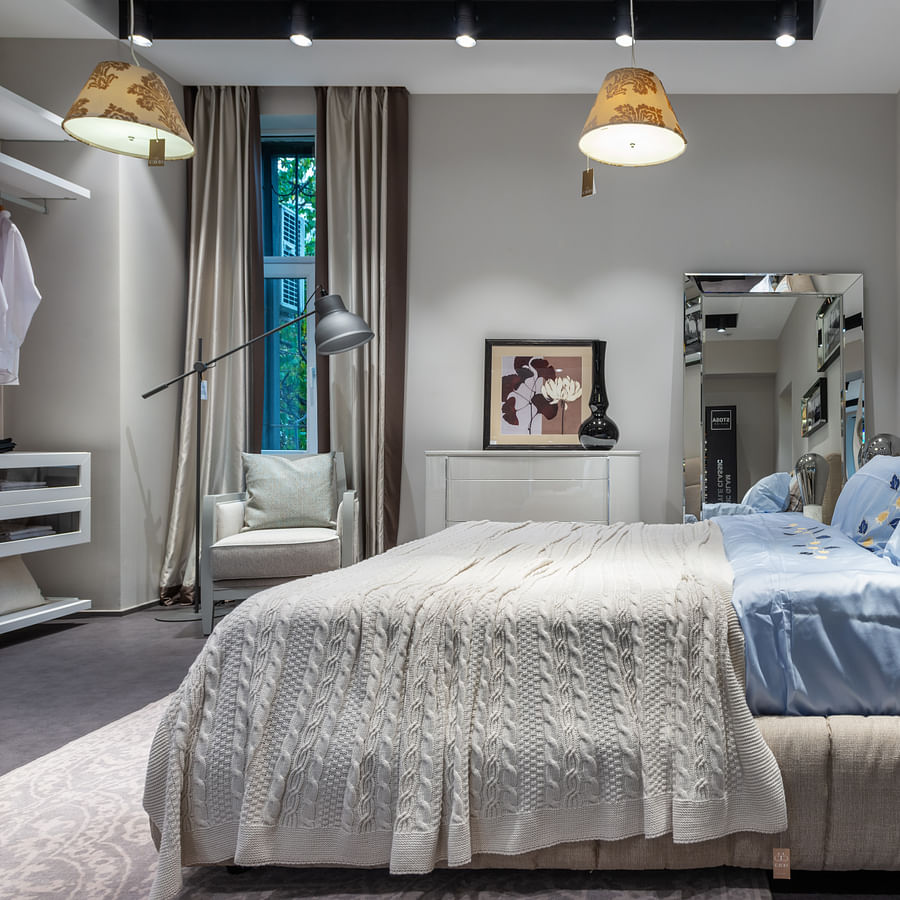
Dream in 3D: Bedroom Wall Panel Designs for a Restful Retreat 🛏️
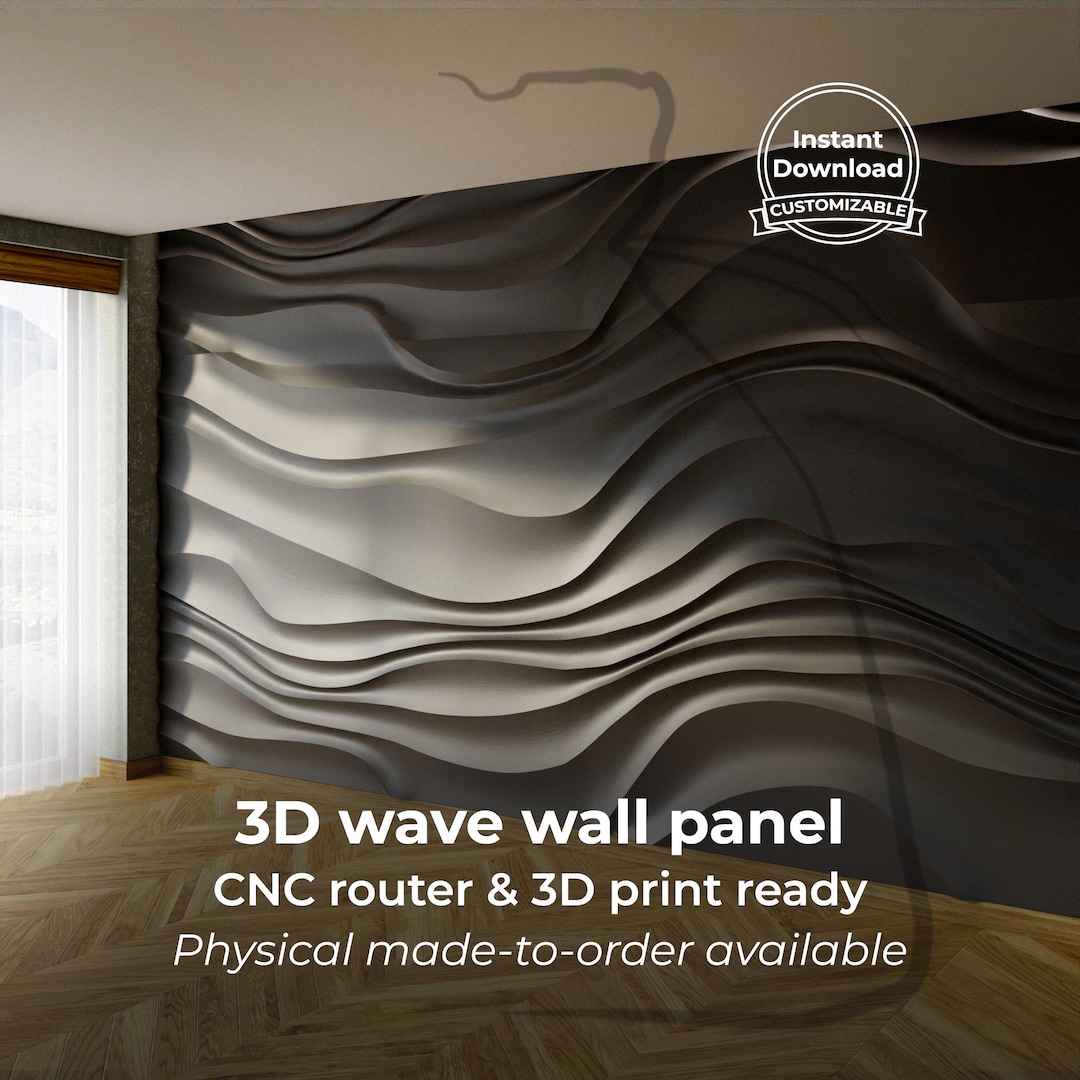
Imagine drifting off to sleep under a canopy of 3D wall panels, where the play of light and shadow creates a soothing rhythm, lulling you into a peaceful slumber. This is the magic of 3D wall panel customization. Whether you opt for a tranquil wave pattern behind your bed or an intricate geometric design across your room, 3D wall decor designs can transform your bedroom into a restful retreat.
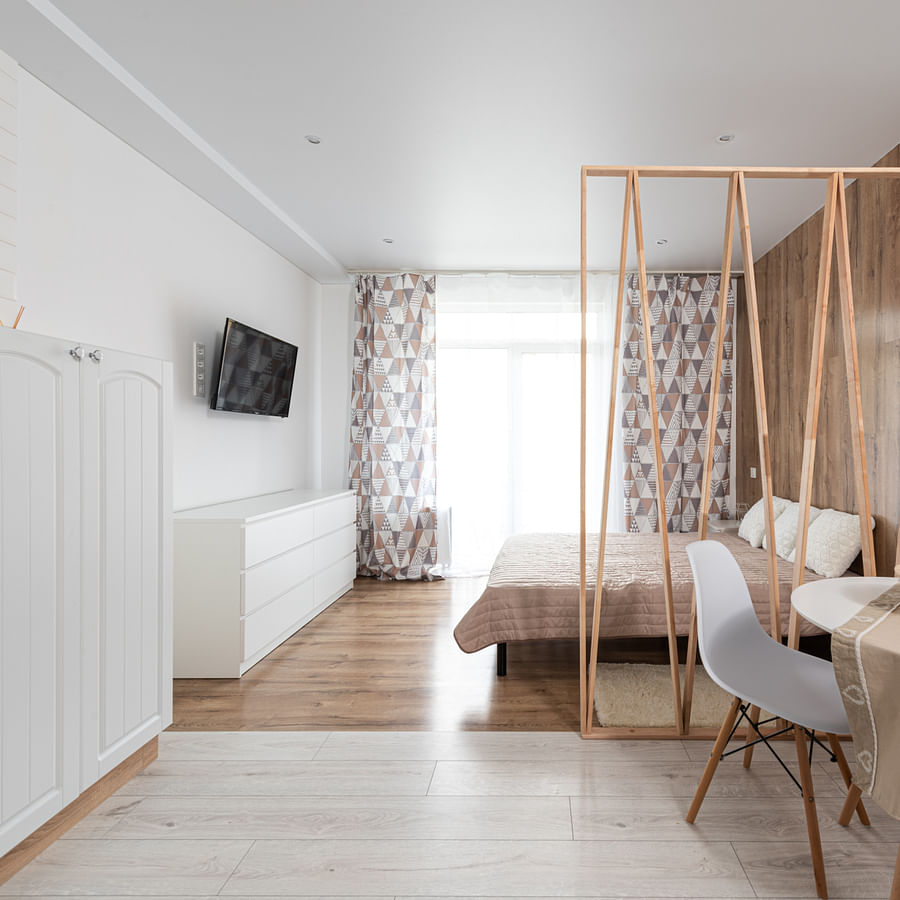
Why not bring an extra dimension to your dreams? With paintable 3D wall panels, you can choose a color that complements your bedding, creating a harmonious ambiance. And the best part? You don't need to be a DIY expert. With our easy-to-follow guide on how to install 3D wall panels, you'll have your unique 3D wall panels up in no time. So, are you ready to dream in 3D?
Now that you've seen how 3D wall panels can transform a bedroom into a serene sanctuary, let's dive into the step-by-step process of installing these panels in your bedroom.
Installing 3D Wall Panels in Your Bedroom: A Step-by-Step Guide


And there you have it! With these steps, you can transform your bedroom with a 3D wall panel design. Now, let's move on to how you can incorporate 3D wall panels into your kitchen design.
Cook Up Style: 3D Wall Panels for Your Kitchen 🍳
When it comes to home 3D wall paneling, the kitchen is often overlooked. But why should it be? With unique 3D wall panels, your kitchen can become a stylish hub of creativity and conversation. For a modern spin, consider sleek geometric designs that add depth and dimension. Or for a traditional touch, opt for 3D wall decor tiles that mimic classic brick or wood patterns. The beauty of 3D wall panel customization is that you can tailor it to your taste and the overall vibe of your home. And, with our comprehensive guide on 3D panel installation, you can easily install 3D wall panels yourself. So, are you ready to cook up style in your kitchen?
Now that we've explored some design ideas for your kitchen, let's dive into the installation process. Follow these steps to transform your kitchen with a 3D wall panel:
Step-by-Step Guide to Installing a 3D Wall Panel in Your Kitchen


With your 3D wall panel installed, your kitchen has a fresh, modern look. Next, we'll explore how to bring this same transformation to your bathroom.
Splash of Elegance: 3D Wall Panels for a Luxurious Bathroom 🛁
As we navigate through the realms of home decor, we find ourselves in the bathroom, a space often overlooked in the design process. But, why should it be? With unique 3D wall panels, your bathroom can become a sanctuary of style and relaxation. Imagine stepping into a shower surrounded by 3D wall decor tiles that mimic a cascading waterfall, or brushing your teeth at a vanity flanked by panels emulating the texture of a serene shoreline. Our 3D PVC wall panel installation offers a water-resistant and durable solution, perfect for these humid environments. Transforming your bathroom with 3D wall panels isn't just about aesthetics, it's about creating a space that resonates with your personal style. Ready to dive into the world of 3D wall panel customization? Let's make a splash!
Now that we've explored some stunning 3D wall panel designs for your bathroom, let's walk through the process of installing one. Don't worry, it's easier than you might think!
How to Install a 3D Wall Panel in Your Bathroom


And there you have it! Your bathroom has been transformed with a stunning 3D wall panel. Next, let's move on to how you can enhance your home office with 3D wall panels.
Work in Style: 3D Wall Panel Ideas for Your Home Office 🖥️
Peeking into your home office, it's easy to see that it's more than just a workspace. It's a hub of creativity, a sanctuary of focus, and a reflection of your professional persona. So, why not let the walls speak volumes about your taste and style? Enter 3D wall panels, the game-changer your office space needs.
With a myriad of unique 3D wall panel designs, you can transform your workspace from drab to fab. Imagine a geometric 3D wall panel behind your desk, adding depth and personality to your video calls. Or envisage an abstract 3D wall art installation, stimulating creativity and conversation.
Ready to elevate your home office? Our easy-to-follow 3D panel installation guide will help you create your ideal workspace. And if you're wondering where to get these panels, Whole 3D has got you covered. So, are you ready to work in style?
Now that we've seen how 3D wall panels can enhance the aesthetics of your home office, let's delve into the process of installing them.
Installing 3D Wall Panels in Your Home Office: A Step-by-Step Guide


With these steps, you can transform your home office into a professional and inviting space. Now, let's move on to some final thoughts on the versatility and impact of 3D wall panels in various rooms.
Your Home, Your Canvas: The Final Word on 3D Wall Paneling 🏡
So, we've taken a wondrous journey through the transformative possibilities of 3D wall panels. From the living room, where 3D panels breathe life into your entertainment space, to the sanctuary of your bedroom where unique 3D wall panel designs whisper tales of relaxation. We've even ventured into the kitchen, the office, and the bathroom, proving there's no space our 3D wall decor designs can't enhance.
Now picture this: Your home, where each room wears its own 3D personality, where every wall tells a story. Can you see it? Can you feel the texture? That's the magic of home 3D wall paneling. It's more than just decor, it's an experience! So, which room will you transform first? And more importantly, what story will your walls tell?
Embrace the 3D revolution. Your home isn't just a living space, it's a canvas. And you, my friend, are the artist.
Which room are you most excited to transform with 3D wall panels?
We've given you a ton of ideas for every room in your home. Now we're curious, which room are you most excited to give a 3D makeover? Cast your vote below!
No comments yet. Be the first to share your thoughts!