
Pick the right 3D wall panel material
Choosing the right material is the first step in a successful installation. Your decision should balance durability, budget, and the specific conditions of the room. While PVC and MDF offer practical, low-maintenance solutions for high-traffic areas, solid wood brings natural warmth and texture to living spaces.
| Material | Cost | Durability | Best Room Use |
|---|---|---|---|
| PVC | Low | High | Bathrooms, kitchens, and high-traffic zones |
| MDF | Medium | Medium | Living rooms and bedrooms |
| Solid Wood | High | High | Feature walls and accent areas |
PVC: Durable and moisture-resistant
PVC (polyvinyl chloride) panels are thermoformed into intricate 3D designs, making them lightweight and easy to handle. They are highly resistant to moisture and humidity, which makes them ideal for bathrooms, kitchens, or basements. PVC panels are also the most affordable option and require minimal maintenance. However, they lack the natural texture of wood and may not suit every aesthetic.
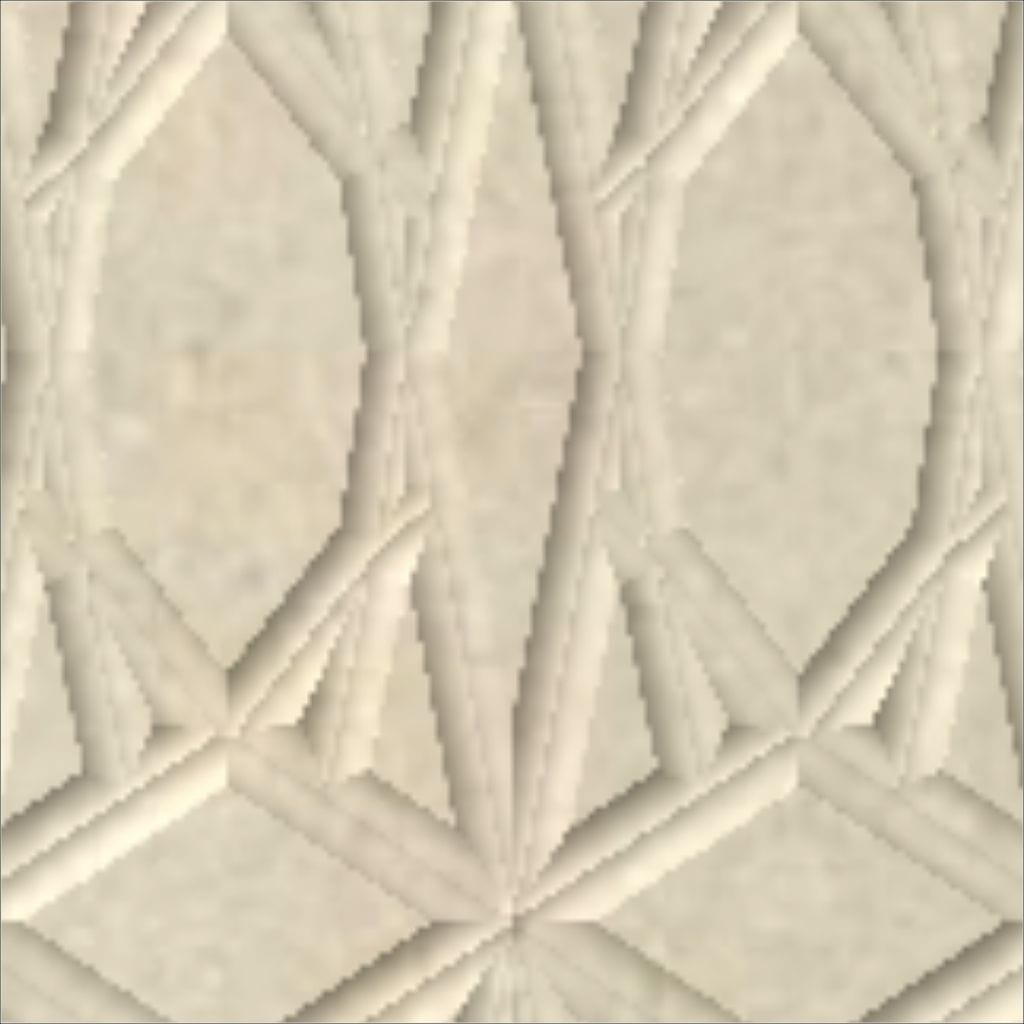
MDF: Balanced and versatile
Medium-density fiberboard (MDF) panels offer a middle ground between cost and quality. They are heavier than PVC but lighter than solid wood, providing a sturdy feel. MDF panels are easy to paint and customize, allowing you to match any color scheme. They are best suited for dry areas like living rooms and bedrooms. Note that MDF is not moisture-resistant, so avoid using it in wet environments.
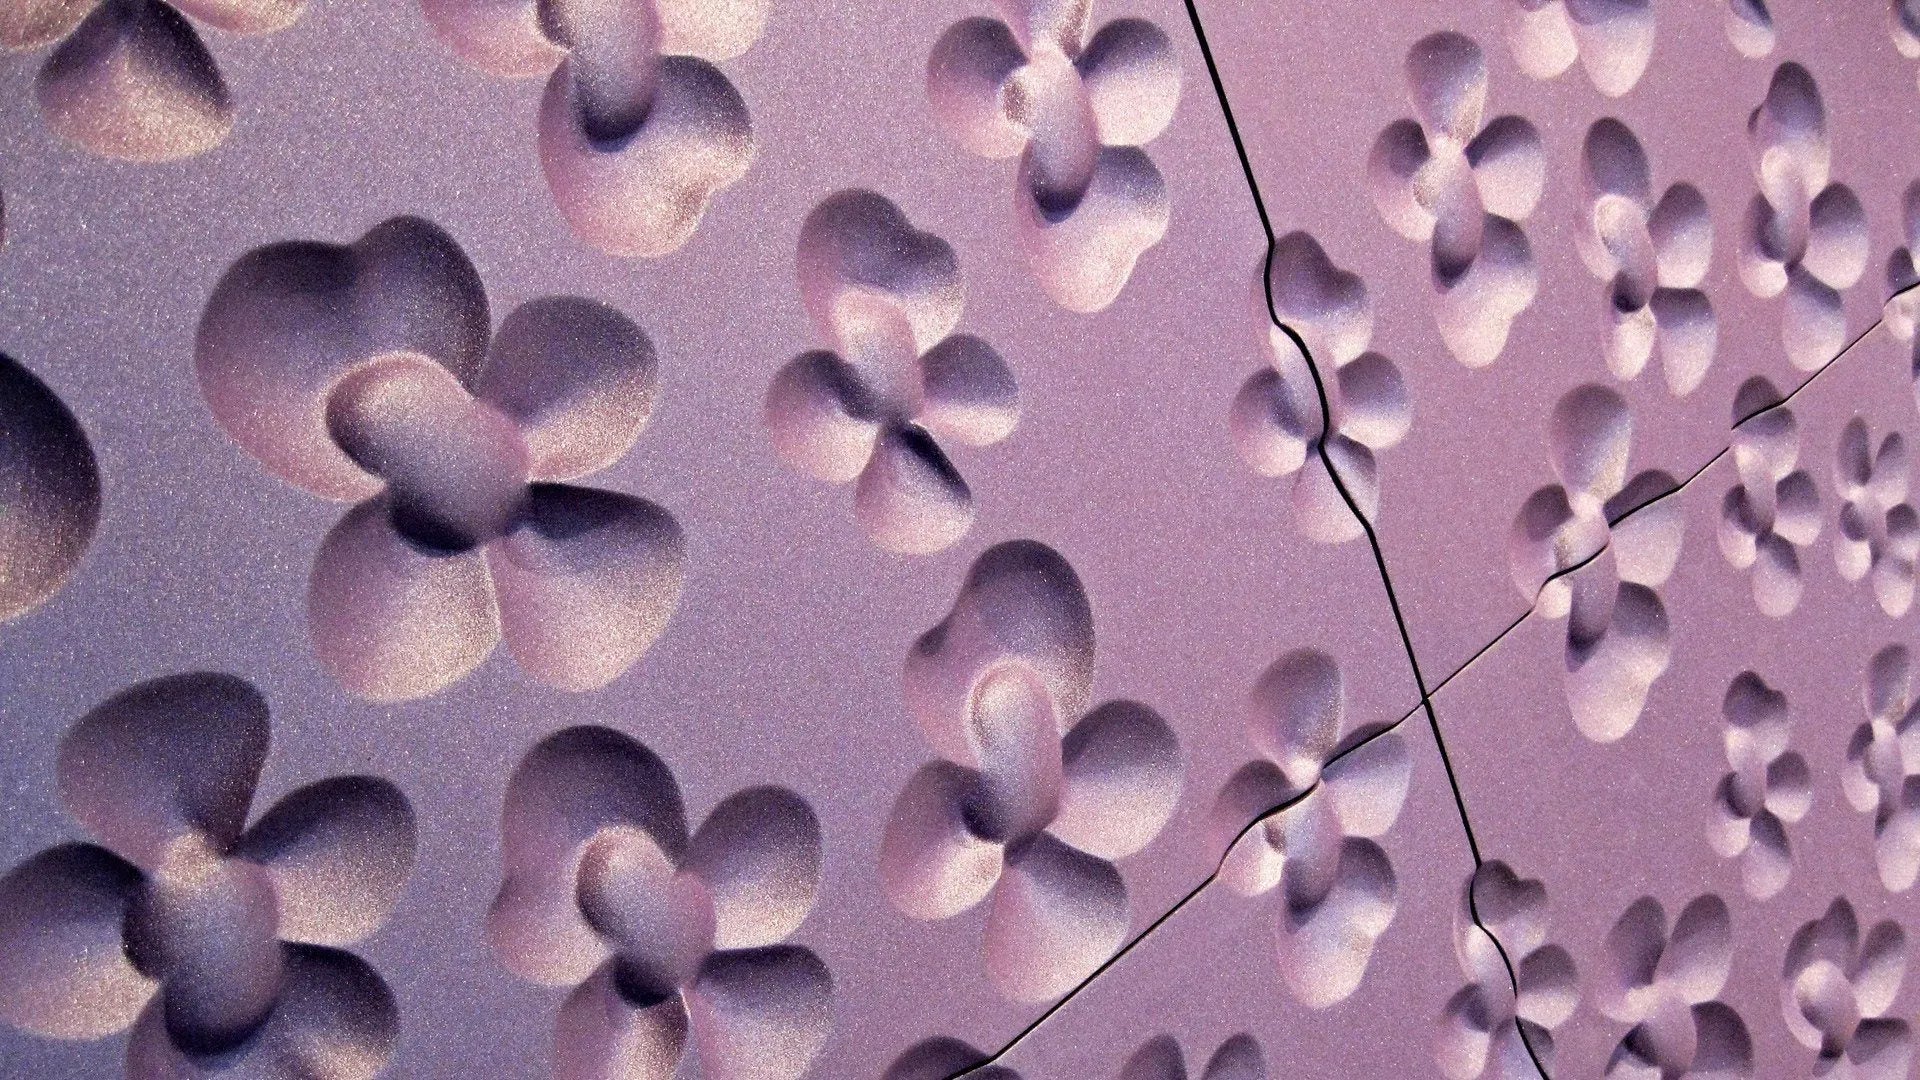
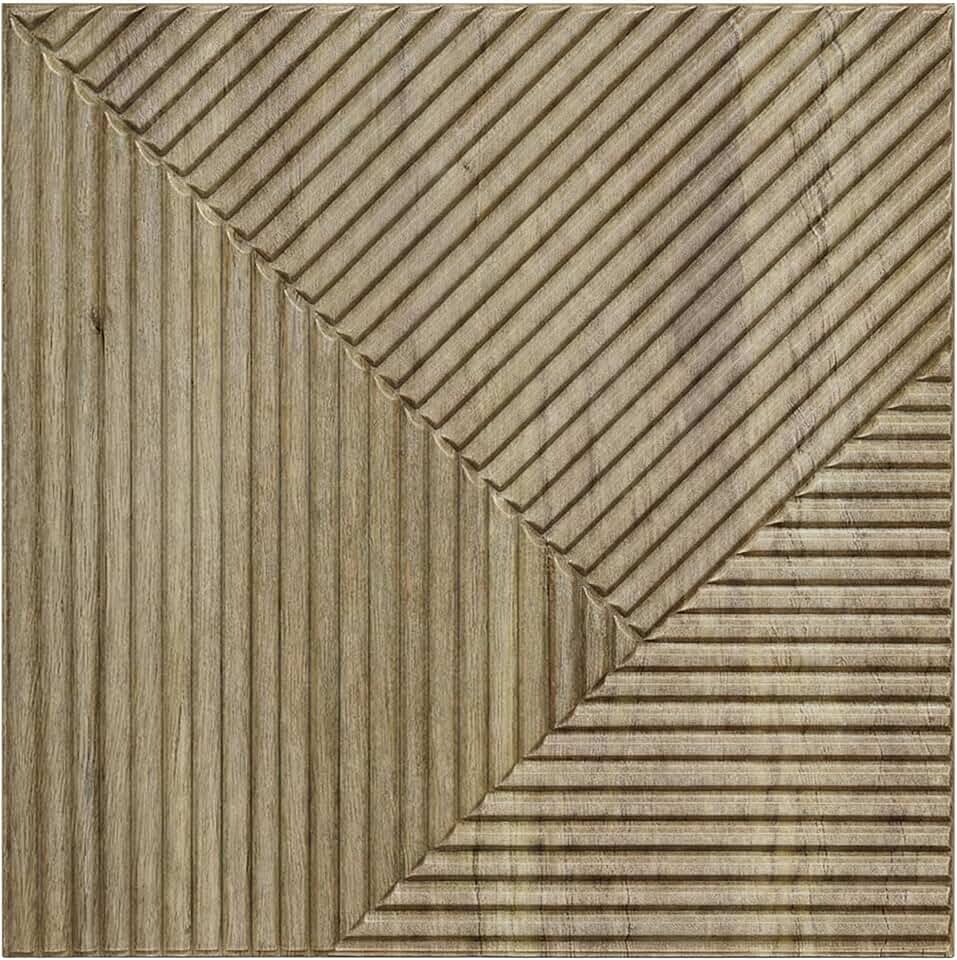
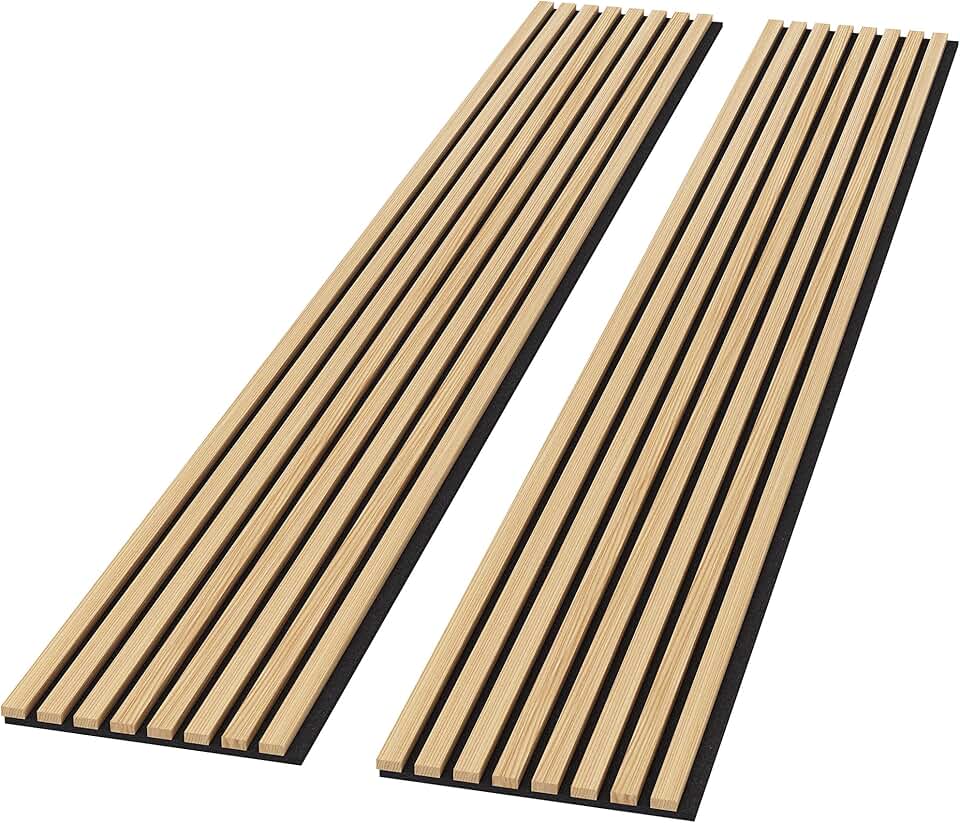
Solid Wood: Natural and premium
Solid wood panels provide an authentic, luxurious look with natural grain patterns. They are durable and can last for decades if properly maintained. However, they are the most expensive option and require more care, including regular dusting to prevent buildup in the 3D crevices. Solid wood is best for accent walls in dry, low-moisture areas where you want a high-end, natural finish.

As an Amazon Associate, we may earn from qualifying purchases.
Gather tools and prep the wall
Before you stick the first 3D wall panel, you need the right supplies and a clean surface. Skipping prep is the fastest way to get bubbles, peeling edges, or panels that don’t sit flush. A smooth, dust-free wall is the foundation of a professional-looking accent wall.
Essential tools
You don’t need a full workshop, but these items will make the installation smoother:
- Measuring tape: To ensure panels are level and evenly spaced.
- Utility knife or scissors: For trimming panels to fit around outlets or corners.
- Level: A small bubble level helps keep your grid straight.
- Clean cloth and mild detergent: To wipe down the wall before application.
- Pencil: For marking your starting lines.
Surface preparation
The adhesive on peel-and-stick 3D wall panels bonds best to smooth, non-porous surfaces. Start by wiping the wall with a damp cloth to remove dust, grease, or cobwebs. If your wall has texture, you may need to sand it down slightly or use a different adhesive method.
Ensure the wall is completely dry before you begin. Moisture can weaken the adhesive bond, causing panels to fall off over time. If you’re painting the wall, let the paint cure for at least a few days before installing the panels.

Quick checklist
-
Measure the wall area to determine how many 3D wall panels you need.
-
Clean the wall surface thoroughly with mild detergent and water.
-
Dry the wall completely; use a fan if necessary.
-
Mark a level starting line with a pencil.
-
Gather your tools: tape measure, utility knife, level, and cloth.
Measure, cut, and dry-fit panels
Precision is the difference between a professional-looking accent wall and a project that ends in frustration. Before you apply any adhesive, you need to ensure every 3D wall panel fits your space perfectly. This preparation phase prevents awkward gaps, uneven seams, and wasted material.
Start by measuring your wall dimensions and marking a vertical level line from floor to ceiling. Use a tape measure to determine the width of your panels, accounting for any trim or baseboards. Mark these measurements directly on the wall with a pencil to create a visual guide. If your wall has outlets or switches, measure their exact positions relative to your panel grid so you can plan cuts around them.
Use a level to draw vertical and horizontal guidelines on your wall. These lines act as your roadmap, ensuring that your 3D wall panels stay aligned as you work. Mark the center of each panel placement to help with symmetry, especially if you are starting from the middle of the wall.
For most foam or lightweight composite panels, a sharp utility knife and a straight edge are all you need. Score the panel along your marked line, then snap it cleanly. For thicker gypsum or wood panels, use a fine-tooth saw to avoid chipping the edges. Always cut on the "good" side facing up to minimize visible damage.

Lay the cut panels against the wall without glue. Check how the 3D textures interlock and ensure there are no large gaps at the seams. This step allows you to adjust your layout or trim panels further if necessary. It is much easier to fix a measurement error now than after the adhesive has cured.
Once the dry fit is successful, you can proceed with confidence. This methodical approach ensures that your 3D wall panels look intentional and polished. Skipping this step often leads to misaligned patterns or panels that don't fit around obstacles, forcing you to start over.
Mount panels using adhesive or clips
Mounting 3D wall panels requires precision to ensure the geometric patterns align seamlessly across the wall. Whether you are using lightweight foam or heavy-duty gypsum, the attachment method dictates the final look and longevity of your accent wall. Most modern 3D wall panels are designed for straightforward installation, allowing you to achieve a professional finish with basic tools.
Prepare the wall surface
Before applying any adhesive, the wall must be clean, dry, and smooth. Dust, grease, or loose paint particles can prevent the adhesive from bonding properly, leading to panels falling off later. Wipe the surface with a damp cloth and let it dry completely. If the wall has significant texture or imperfections, consider filling them with spackle or sanding them down to create a flat base. This step is critical for panels that rely on strong adhesive bonds rather than mechanical clips.
Measure and mark a level starting line
3D wall panels often have distinct patterns that need to align vertically and horizontally. Start by finding the center of your wall or a corner, depending on your design preference. Use a laser level or a standard spirit level to draw a straight vertical reference line. This line acts as your guide for the first panel. If you are starting from a corner, ensure the corner is plumb; if it is not, adjust your first panel slightly to compensate, or trim the edge to fit. A straight starting line ensures that subsequent panels lock together correctly without visible gaps or misalignments.
Apply adhesive or install clips
The mounting method depends on the panel material and weight. For lightweight EPS foam panels, a high-quality construction adhesive or heavy-duty double-sided mounting tape is usually sufficient. Apply the adhesive in a zigzag pattern or along the edges of the panel, avoiding the center to allow for slight adjustments before the bond sets. For heavier panels like gypsum or wood, mechanical clips provide a more secure hold. Install the clips according to the manufacturer's spacing guidelines, ensuring they are firmly anchored into the wall studs or using appropriate wall anchors for drywall.
Position and secure the first panel
Place the first panel against the wall, aligning its edges with your level reference line. Press firmly to ensure full contact with the adhesive or clips. If using adhesive, hold the panel in place for a few seconds to allow the bond to start setting. Use a level to check that the panel is perfectly vertical. If it is slightly off, make small adjustments now; once the adhesive sets, moving the panel can damage the bond or the wall surface. For clip-mounted panels, snap the panel into the clips until it sits flush and secure.
Continue installing subsequent panels
Work outward from the first panel, locking each subsequent panel into the previous one. Most 3D wall panels have interlocking edges or seams designed to fit together tightly. Check the alignment frequently with your level to ensure the entire wall remains plumb. If you encounter a panel that doesn't fit perfectly due to wall irregularities, trim the edge with a utility knife or saw. Maintain consistent pressure across the panel surface to ensure even adhesion and a flat finish.
Trim edges and finish
Once all panels are installed, trim any excess material around the edges, corners, and ceiling line using a sharp utility knife or saw. Fill any small gaps between panels or at the edges with a suitable filler or caulk, especially for gypsum panels. Once the filler dries, sand the area smooth. You can now paint or stain the panels to match your decor, ensuring a cohesive look for your modern accent wall.
Style your new accent wall
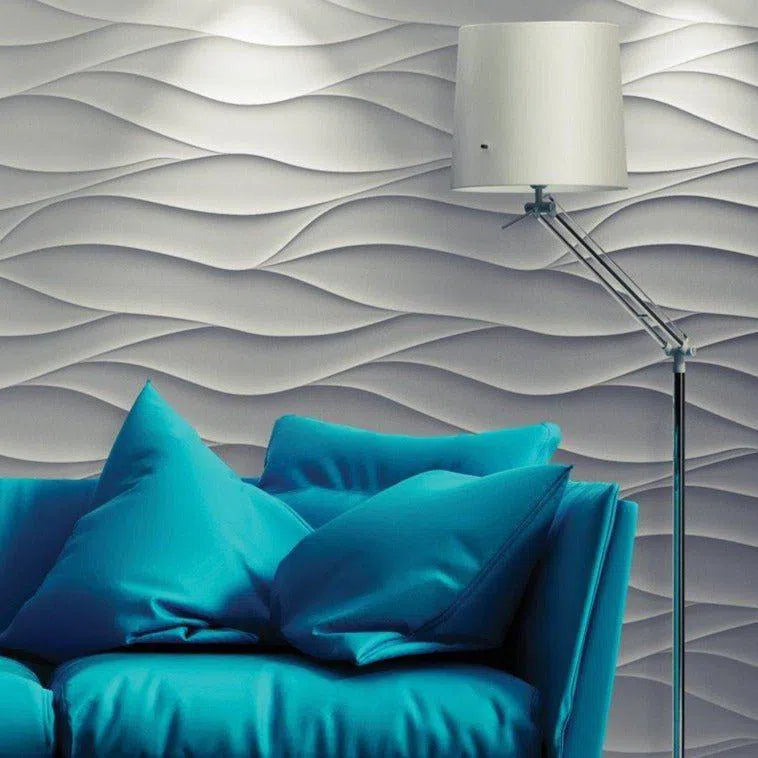
Lighting is the most powerful tool for highlighting 3D wall panels. Direct uplighting or wall sconces cast shadows into the panel’s grooves, creating depth and movement that flat paint cannot achieve. Aim for a warm color temperature (2700K–3000K) to enhance the texture without washing it out.
Furniture placement should frame, not fight, the panels. Keep seating and large decor items at least two feet away from the wall to allow light to hit the surface cleanly. If you place a sofa directly against the wall, the backrest will block the very texture you paid to install.
Choose colors that complement rather than compete. Solid, muted tones let the geometry of the 3D wall panels take center stage. Avoid busy patterns on nearby rugs or curtains, which will clash with the structured lines of the wall.
Common installation mistakes to avoid
Even with high-quality 3D wall panels, a flawed installation can ruin the aesthetic. The most frequent error is ignoring wall preparation. If the surface is uneven, panels will not sit flush, creating unsightly gaps and shadows that defeat the purpose of a modern accent wall.
Another common pitfall is improper adhesive application. Skipping the priming step or using the wrong adhesive for your panel material (such as using water-based glue on non-porous EPS foam) leads to delamination. Ensure you follow the manufacturer’s specific bonding instructions for your chosen material.
Finally, many installers ignore panel direction. 3D textures rely on light and shadow to pop. If you install panels upside down or in alternating directions without a plan, the visual flow breaks, making the wall look chaotic rather than curated. Plan your layout before peeling any backing.
No comments yet. Be the first to share your thoughts!