
Choose the right 3D wall panels
Selecting the correct material is the most important decision in your 3D wall panel installation. The wrong choice can lead to difficult installation, poor durability, or a finish that doesn't match your room's traffic level. You need to weigh weight, adhesion method, and aesthetic against your skill level and the room's purpose.
Material Comparison
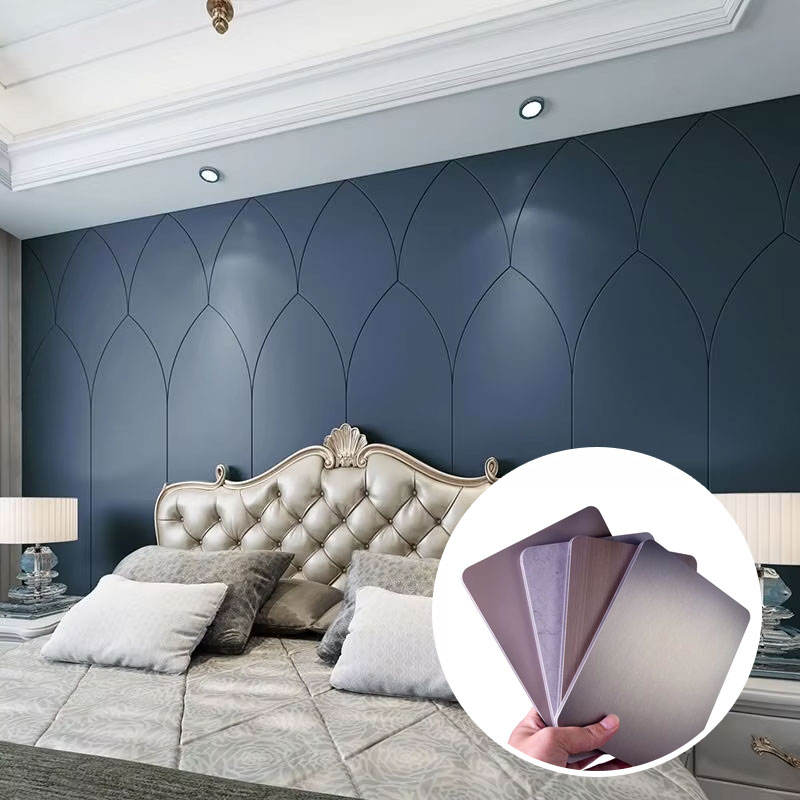
PVC panels are the most common choice for DIYers because they are lightweight, water-resistant, and easy to cut. MDF offers a premium, paintable wood look but is heavier and sensitive to moisture. Foam panels are the lightest and cheapest option, suitable for low-traffic rental spaces or temporary decor, but they lack the durability of PVC or MDF.
| Material | Weight | Adhesion Method | Best Use Case |
|---|---|---|---|
| PVC | Light | Adhesive or nails | Bathrooms, kitchens, high-traffic areas |
| MDF | Medium | Construction adhesive | Living rooms, bedrooms, painted finishes |
| Foam | Very Light | Peel-and-stick or glue | Rentals, accent features, low-traffic zones |
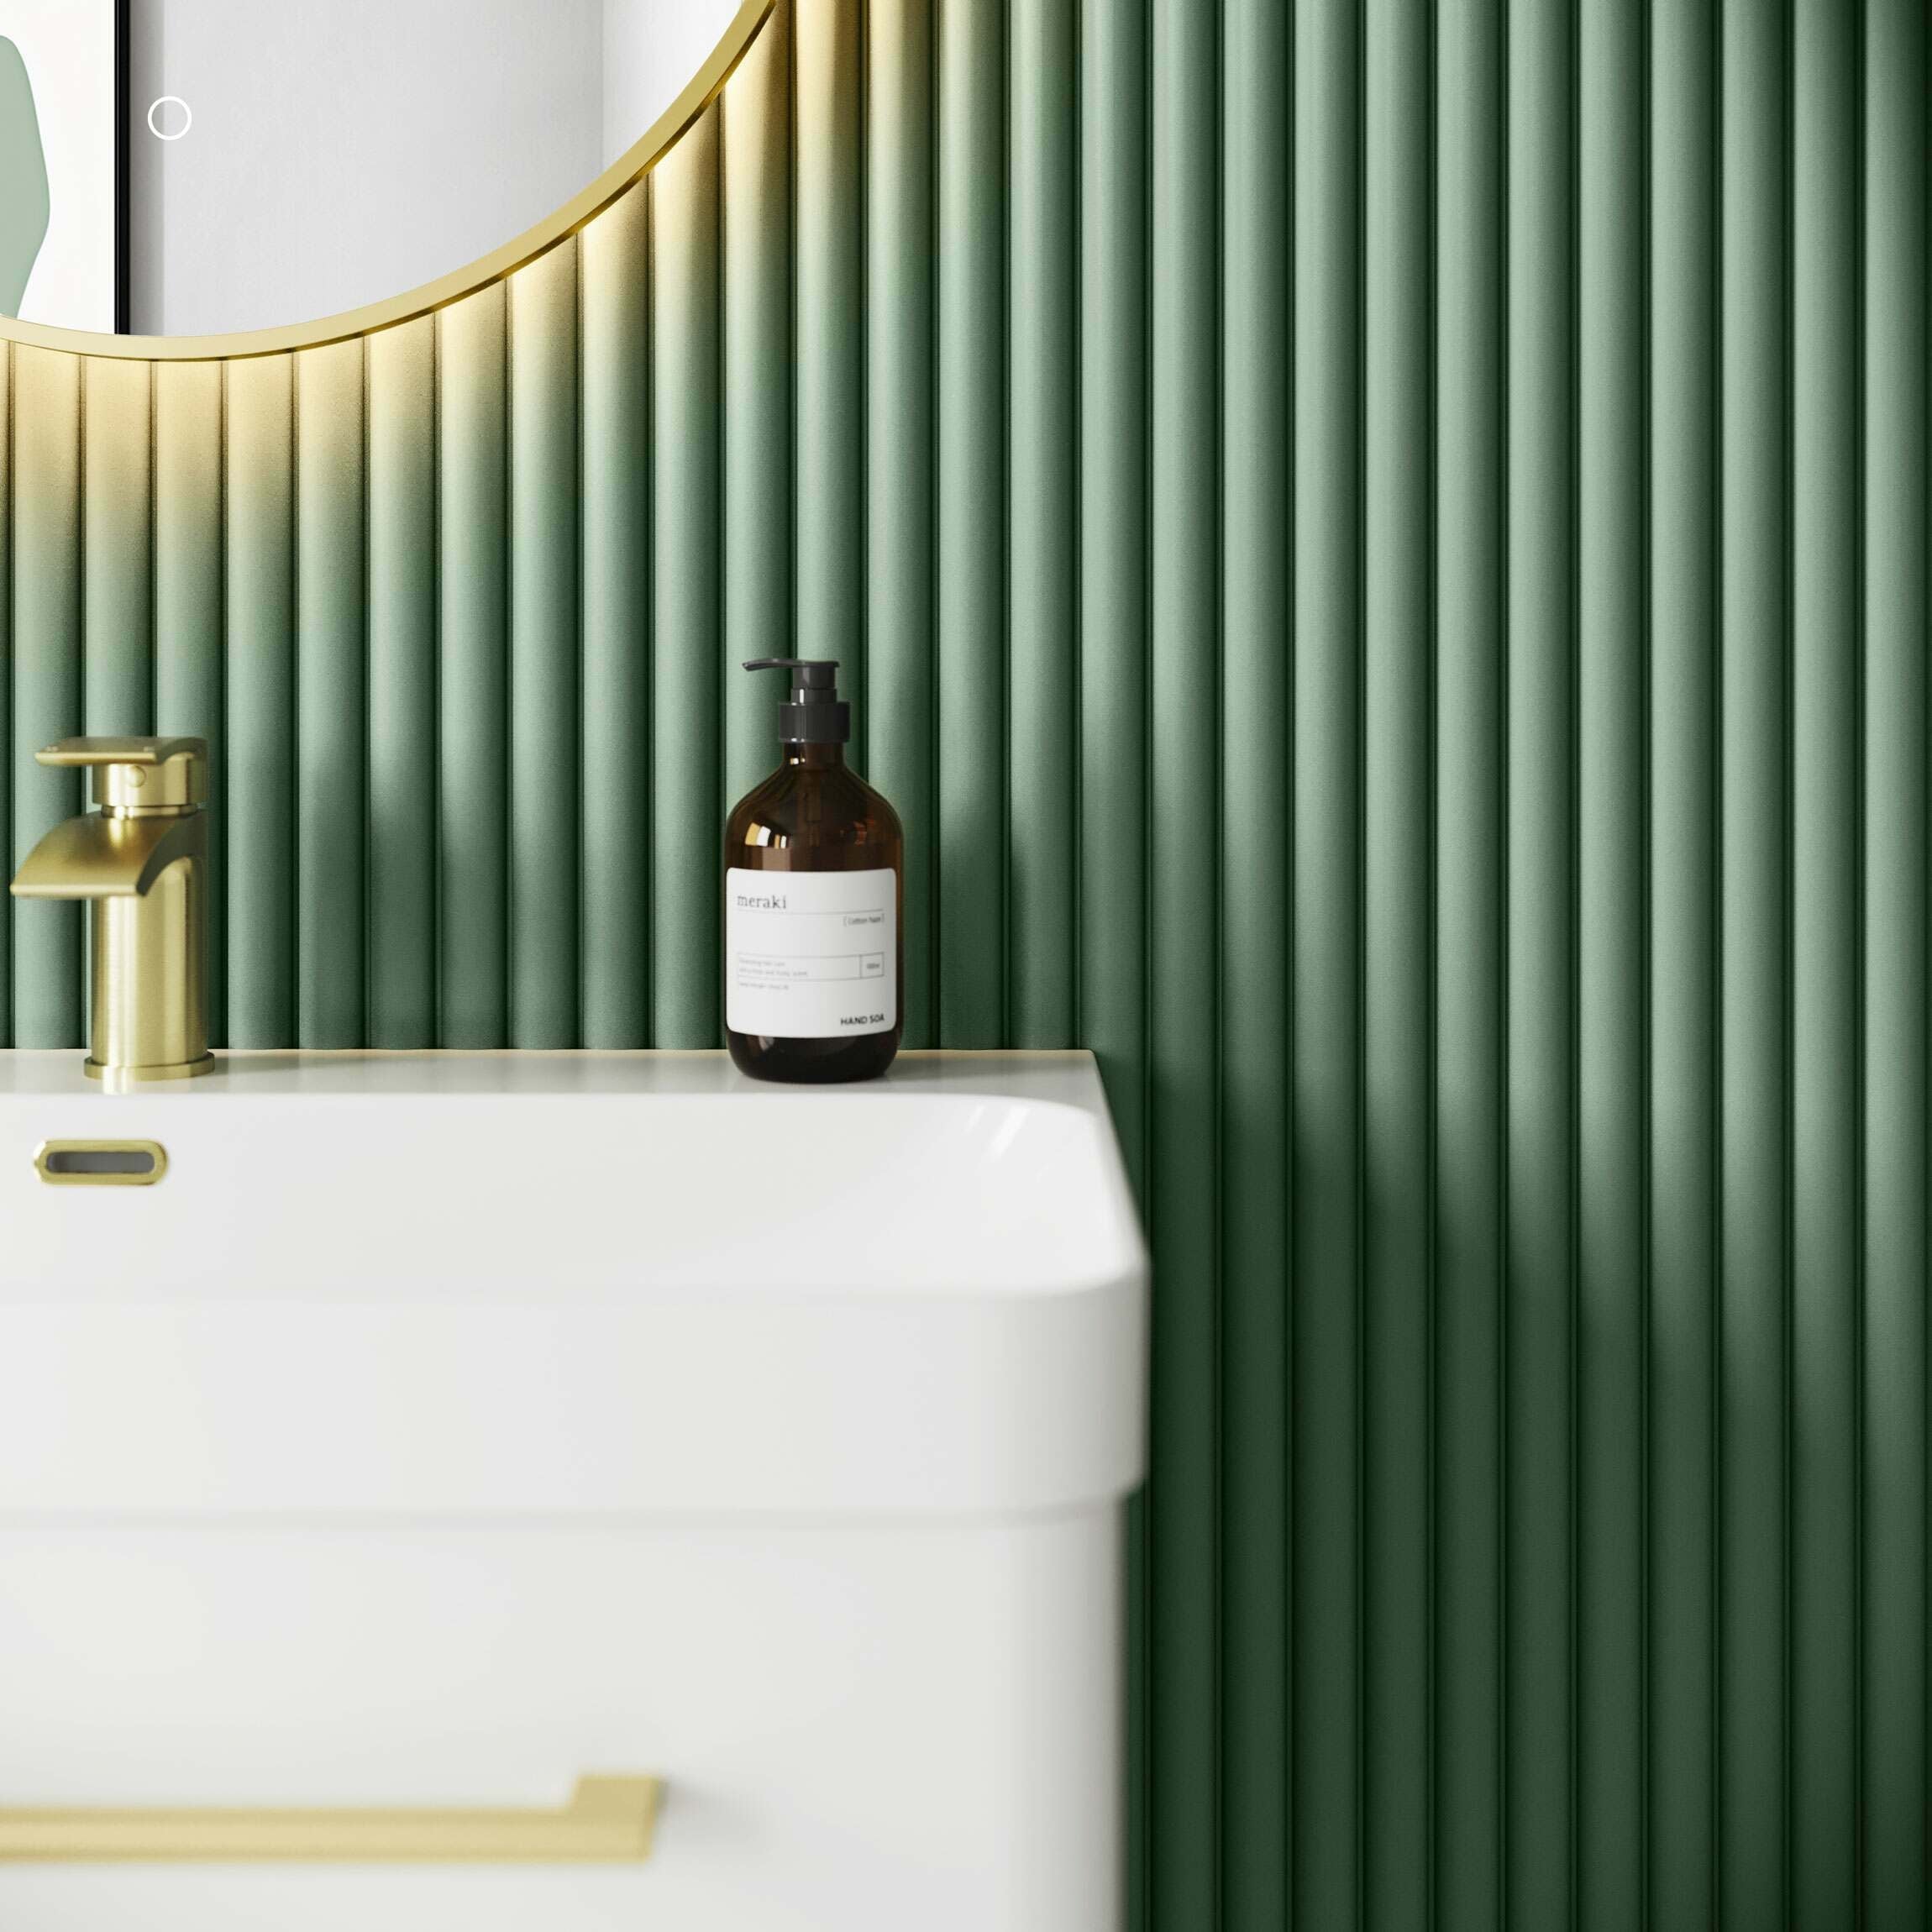
Matching Style to Skill Level
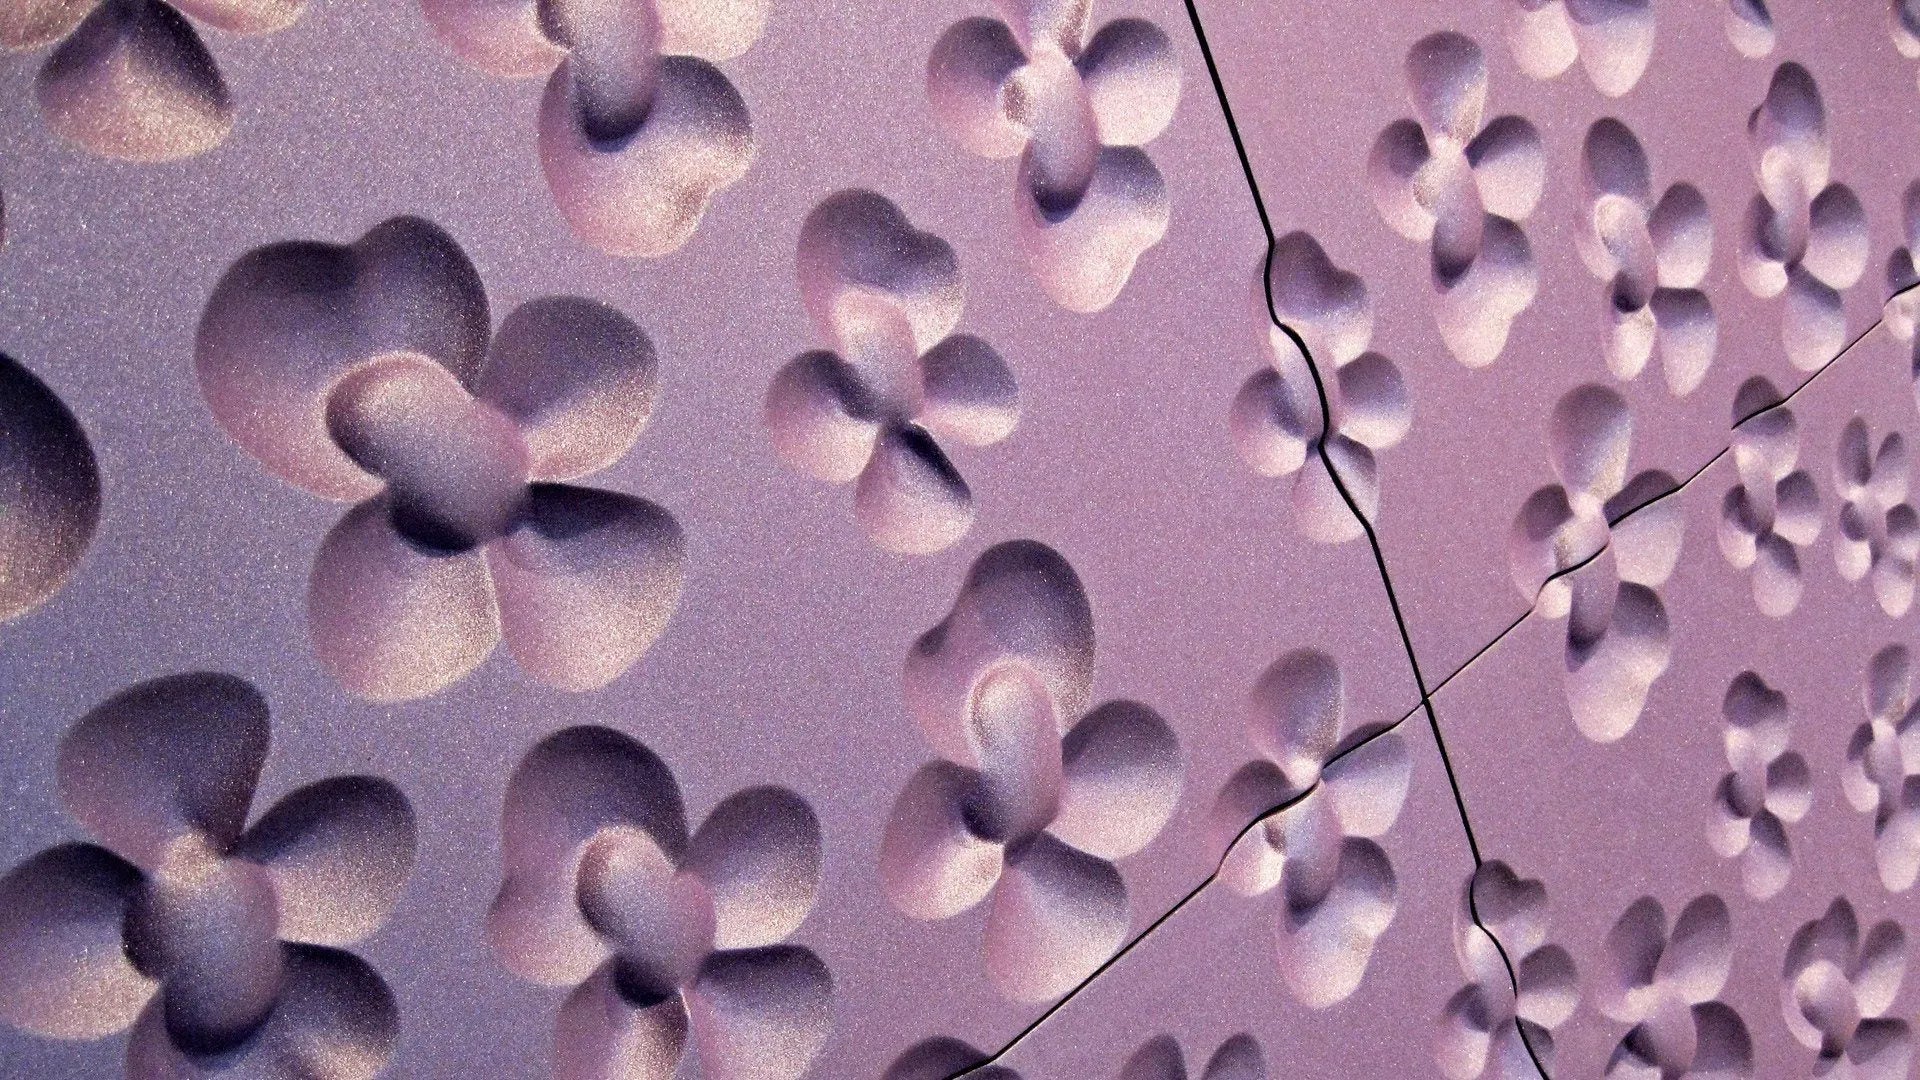
If you are a first-time installer, start with peel-and-stick PVC panels. They require minimal tools and allow for minor adjustments during placement. For more advanced DIYers, MDF panels offer a seamless, high-end look but require precise measuring and stronger adhesives to support their weight. Always consider the texture; deep 3D patterns collect dust and require regular cleaning, which may not be ideal for bedrooms or spaces with pets.

Gather tools and prep the wall
Before unboxing your 3D wall panels, clear a workspace and gather the essentials. Most modern panels, whether PVC or gypsum, are lightweight, so you won't need heavy-duty construction gear. However, precision is everything when creating a seamless accent wall.
You will need a measuring tape, a level, a utility knife or fine-tooth saw, and a high-quality construction adhesive or peel-and-stick backing depending on your panel type. A rubber mallet helps tap panels into place without damaging the edges, while a damp cloth is essential for wiping away adhesive residue before it dries.
Surface preparation is the difference between a panel that lasts and one that falls off. The wall must be clean, dry, and smooth. Remove any dust, grease, or loose paint. If you are installing over textured drywall or popcorn ceilings, you must sand or skim coat the area flat first. Adhesive bonds to the surface, not to bumps or dust.
Essential tools checklist
- Measuring tape and pencil for layout marks
- Spirit level or laser level for straight lines
- Utility knife with extra blades
- Construction adhesive or double-sided mounting tape
- Rubber mallet and tapping block
- Clean rags and mild detergent for wall prep
Skipping the prep step is the most common DIY mistake. Even a thin layer of dust can prevent adhesive from forming a strong bond, causing panels to warp or detach over time. Take an extra hour to ensure your wall is perfectly clean and flat.
Plan your layout and mark lines
Before applying any adhesive, take the time to map out the installation. A straight layout prevents the accent wall from looking crooked once the panels are on the wall. Start by finding the center of the wall using a tape measure and marking a faint pencil line vertically. This center line acts as your primary reference, ensuring the pattern radiates symmetrically.
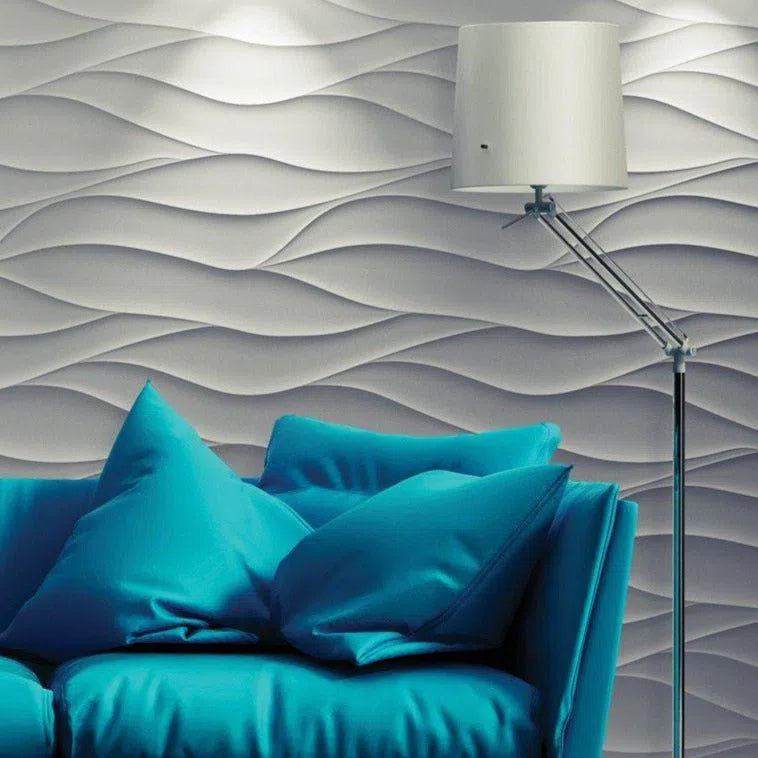
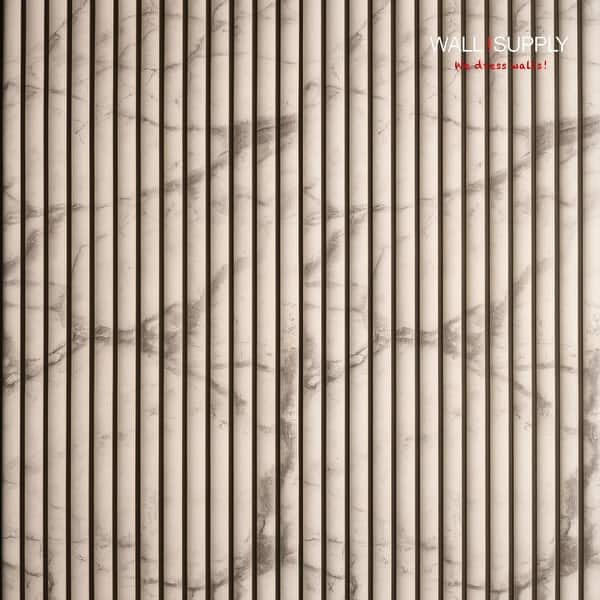
Decide on the direction of the pattern. Most 3D wall panels have a grain or directional texture. Laying them horizontally can make a room feel wider, while vertical installation adds height. If the panels have a specific top and bottom, always start from the bottom edge of the wall and work upward. This ensures that if you need to cut a panel at the ceiling, the cut edge faces up, hiding any imperfections.
Once you have your center line, use a level to draw a straight vertical reference line. This line is critical for the first panel; if it’s off, every subsequent panel will drift. Place your first panel against the line to check the fit and pattern alignment before committing to adhesive. A well-planned layout makes the actual installation faster and more precise.
Install the first row of panels
The first row of 3D wall panels sets the foundation for the entire accent wall. If this row is crooked, every panel above it will follow suit, creating a visible diagonal drift that ruins the modern aesthetic. Precision here is not just about looks; it is about structural integrity and visual harmony. You are building a grid, and the bottom line must be perfectly level.
Mark a level reference line
Start by measuring the height of your first panel. Using a spirit level, draw a horizontal pencil line across the wall at this height. This line serves as your guide for the bottom edge of the first row. Ensure the line spans the entire width of the installation area, checking it at multiple points to guarantee it is perfectly horizontal. This reference line is the anchor for your entire project.
Apply adhesive or mounting tape
Prepare the adhesive based on the panel material. For PVC or EPS foam panels, use a construction adhesive or heavy-duty mounting tape. Apply the adhesive in a zigzag pattern or along the perimeter of the panel's back, leaving the center slightly thinner to allow for air escape and better contact. For heavier gypsum or wood panels, mechanical fasteners may be required in addition to adhesive. Check the manufacturer's specifications to ensure you are using the correct bonding agent for your specific panel type.
Place the first panel
Align the bottom edge of the first panel with your level reference line. Press the panel firmly against the wall, starting from the center and working outward to push out any air bubbles or excess adhesive. Use a level to check the vertical alignment of the panel's side edge. Adjust immediately if it is out of plumb, as this error will compound with each subsequent panel. Once satisfied with the position, hold it in place for the time recommended by the adhesive manufacturer to ensure a strong initial bond.
Repeat across the bottom row
Continue installing panels across the bottom row, interlocking them according to the manufacturer's design. Use a rubber mallet or a block of wood and hammer to gently tap the panels together, ensuring tight seams without damaging the edges. Periodically check the level of the top edge of the row to ensure it remains straight. If you encounter any irregularities in the wall surface, use spacers or shims behind the panels to maintain a consistent plane. The goal is a seamless, uniform base that supports the weight and alignment of the layers above.
Draw a precise horizontal pencil line across the wall using a spirit level. This line marks the bottom edge of your first panel and serves as the primary reference for the entire installation. Ensure the line is perfectly level across the full width of the accent wall to prevent diagonal drift in subsequent rows.
Apply construction adhesive or heavy-duty mounting tape to the back of the panel. For PVC or EPS foam, use a zigzag pattern or perimeter application. For heavier materials like gypsum or wood, consult manufacturer guidelines for mechanical fasteners. Ensure the adhesive coverage is sufficient for the panel's weight and size.
Position the first panel against the wall, aligning its bottom edge with your level line. Press firmly from the center outward to eliminate air pockets. Use a level to verify vertical plumb. Adjust immediately if the panel is out of alignment, as this error will propagate through the rest of the installation.
Install subsequent panels in the first row, interlocking them tightly. Use a rubber mallet or wood block to tap seams together without damaging edges. Continuously check the level of the top edge to ensure the row remains straight. Use spacers if the wall surface is uneven to maintain a consistent plane.
Cut and fit panels around edges
Trimming the final row and navigating corners is where most DIYers hesitate, but it is simply geometry. You are not fighting the material; you are just measuring twice. Whether you are cutting around an electrical outlet or fitting a panel into a tight corner, the process relies on precision rather than brute force.
Place the panel in its intended position, leaving a small gap for expansion if required by your adhesive instructions. Use a pencil to mark the wall or the back of the panel at the point where it meets the edge, outlet box, or corner. For corners, measure the distance from the edge of the previous panel to the corner angle.
For lightweight EPS foam panels, a sharp utility knife and a straight edge work best. Score the material deeply along your mark, then snap it back. For PVC or gypsum, use a fine-toothed saw or a jigsaw with a flush-cut blade to avoid chipping the surface. Always cut with the decorative face up to minimize splintering.
Dry-fit the cut piece before applying adhesive. If it is too tight, gently sand the edges with fine-grit sandpaper. If it is too loose, trim a millimeter more. For corners, use a miter box or angle finder to ensure the two meeting panels align flush without creating a visible gap or ridge.
Measure from the center of the outlet box to the nearest edge of the panel. Transfer these measurements to the panel and use a jigsaw or keyhole saw to cut the hole. It is often easier to cut a slightly larger square first, then trim it down to the exact shape of the outlet cover plate. This ensures the panel sits flat against the wall without being pushed out by the box.

Apply adhesive to the back of the final cut panel and press it firmly into place. Use a level to ensure it is straight, especially if it meets the ceiling or floor. Wipe away any excess adhesive immediately with a damp cloth before it cures. This final piece locks the entire installation in place.
Finish and clean the installation
The final steps determine whether your 3D wall panels look professionally installed or like a quick weekend project. Once all panels are secured, the focus shifts to hiding seams and removing the mess created during installation.
Caulk the seams
Apply a thin bead of paintable acrylic latex caulk into the vertical and horizontal joints between panels. Use a damp finger or a caulking tool to smooth the caulk, blending it seamlessly with the panel texture. This step hides minor gaps and creates a unified surface.
Clean residue
3D panels often leave adhesive residue on the surface during installation. Wipe down the entire wall with a damp microfiber cloth to remove any glue, dust, or debris. For stubborn spots, use a mild detergent solution, but avoid abrasive cleaners that could scratch the panel finish.
Add trim
Install baseboard trim at the bottom and crown molding at the top to frame the accent wall. This gives the installation a polished, built-in appearance and hides any uneven edges where the panels meet the floor or ceiling. Paint the trim to match either the wall or the surrounding room for a cohesive look.
Shop top-rated 3D wall panels
Finding the right panels comes down to material, texture, and how you plan to install them. Most DIYers start with peel-and-stick options for their ease of use, while others prefer glue-down PVC or wood for a more permanent finish.
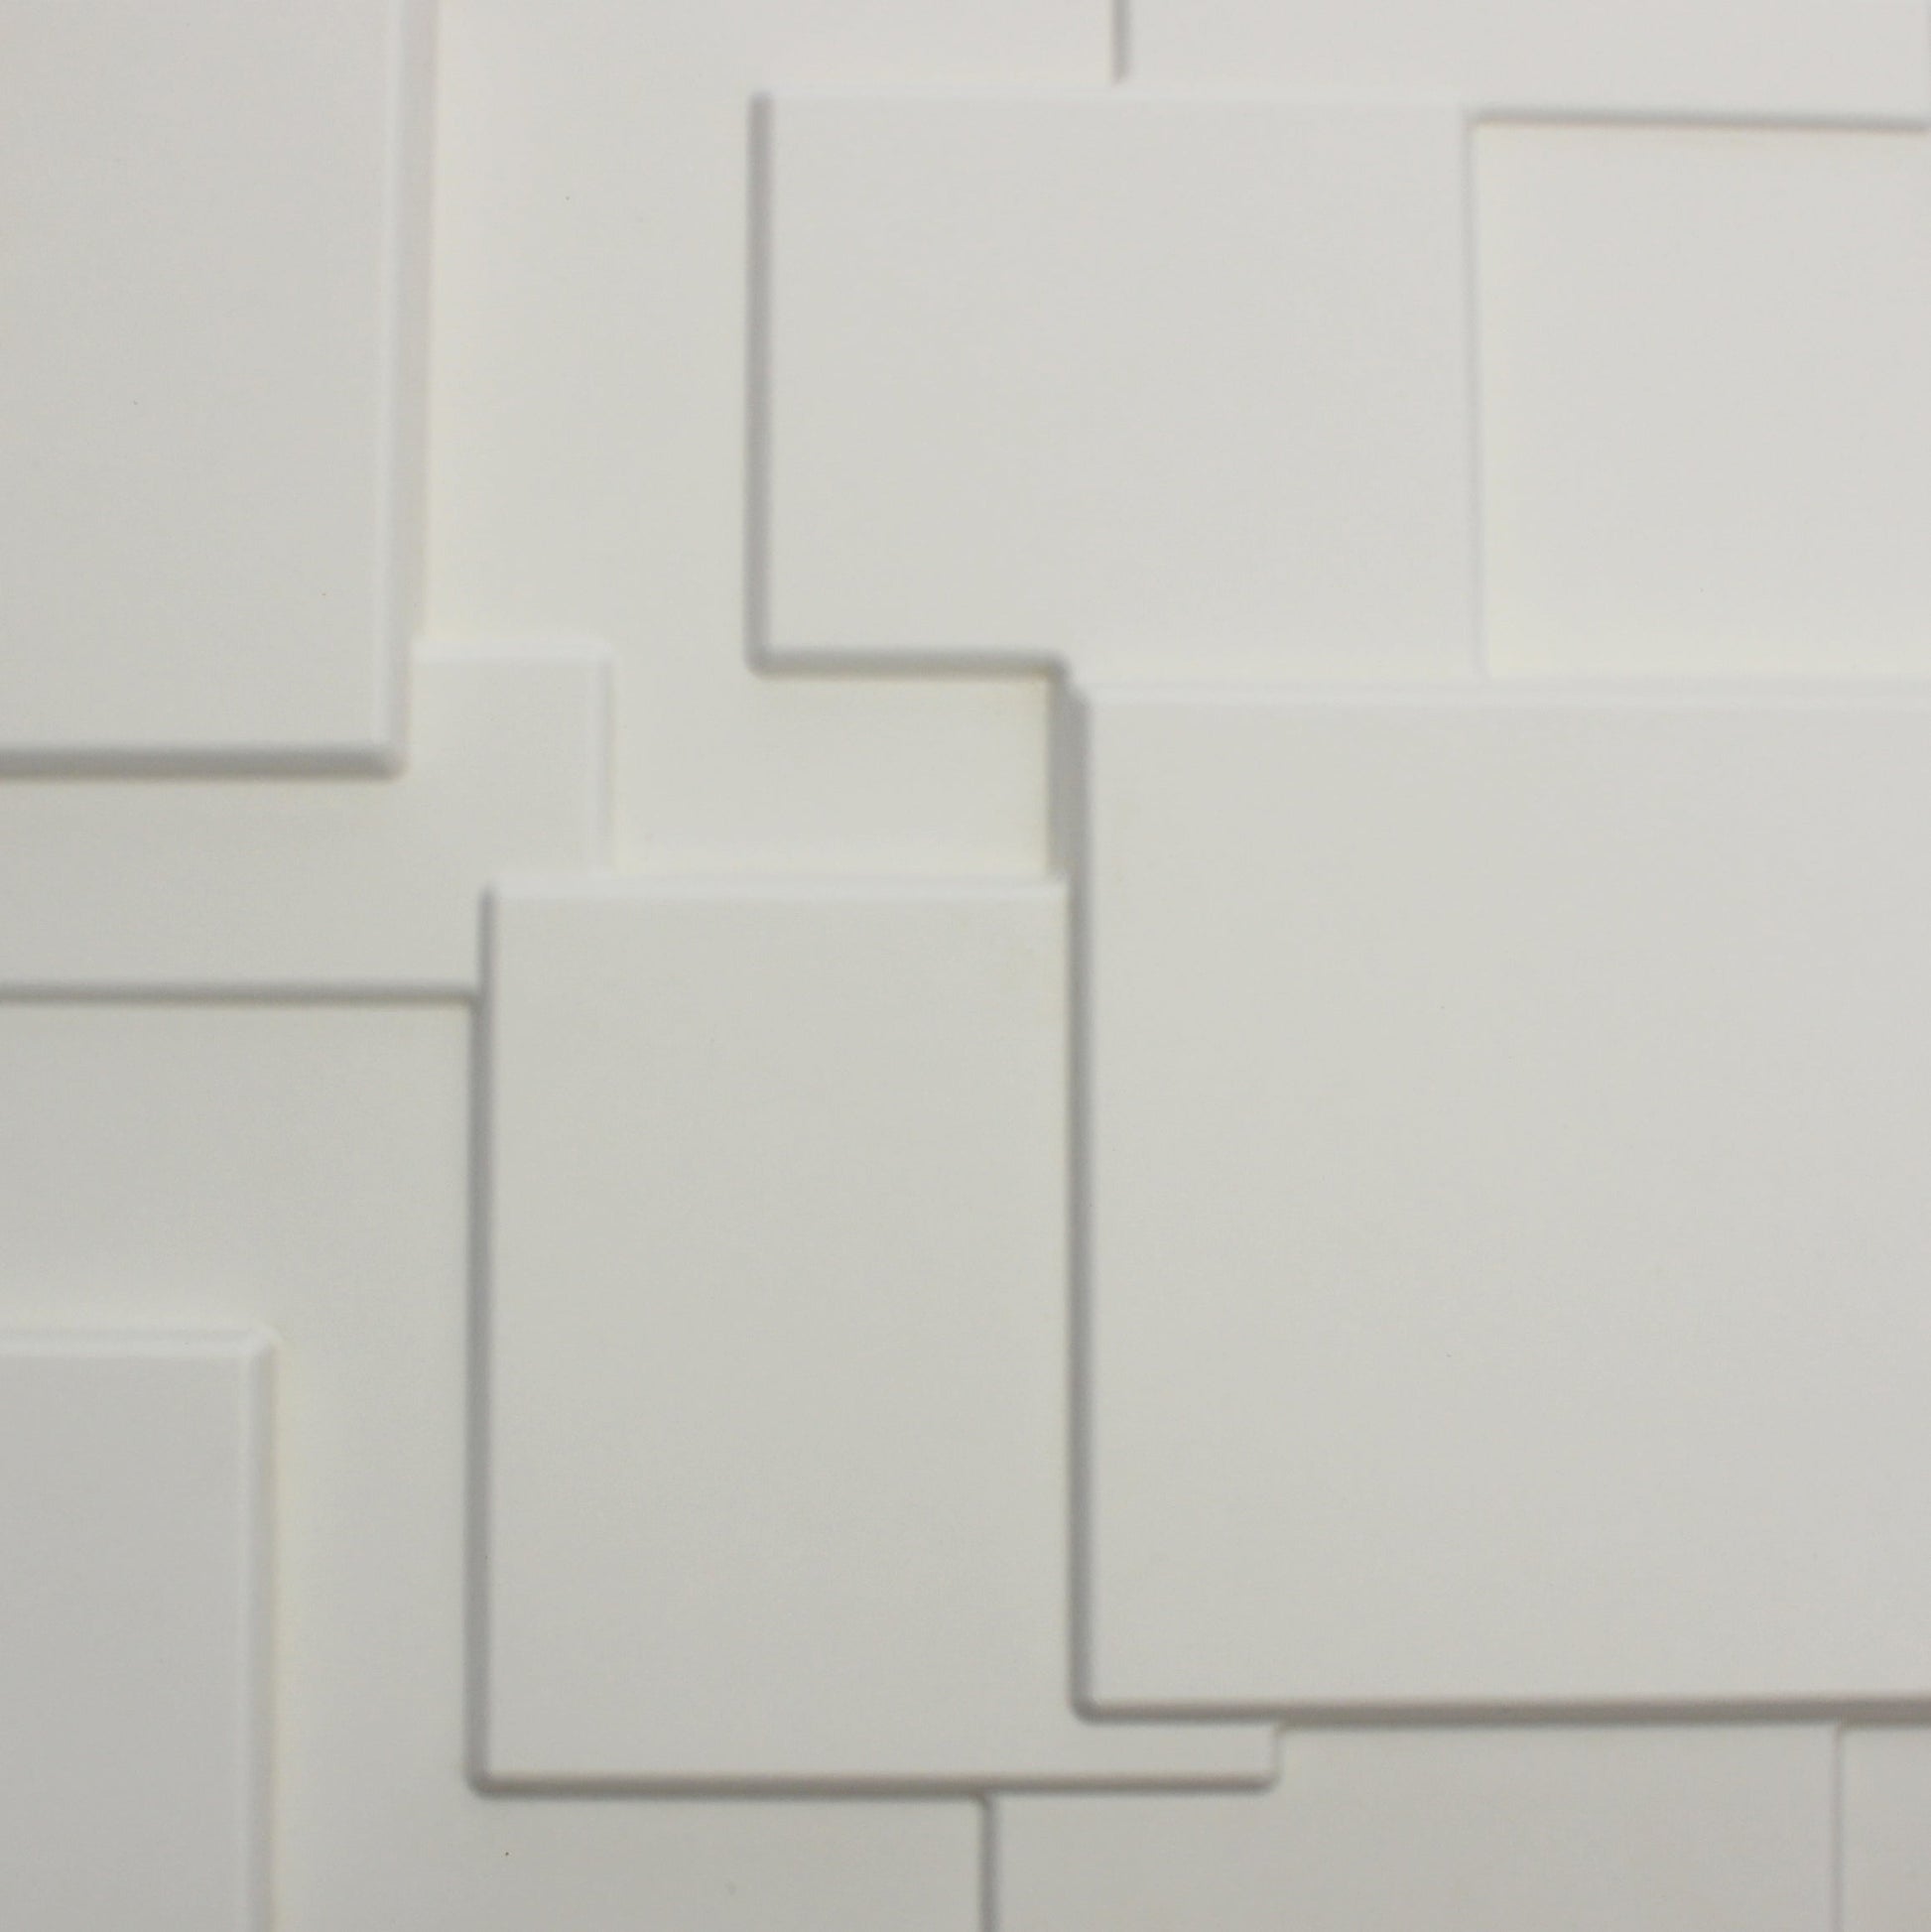
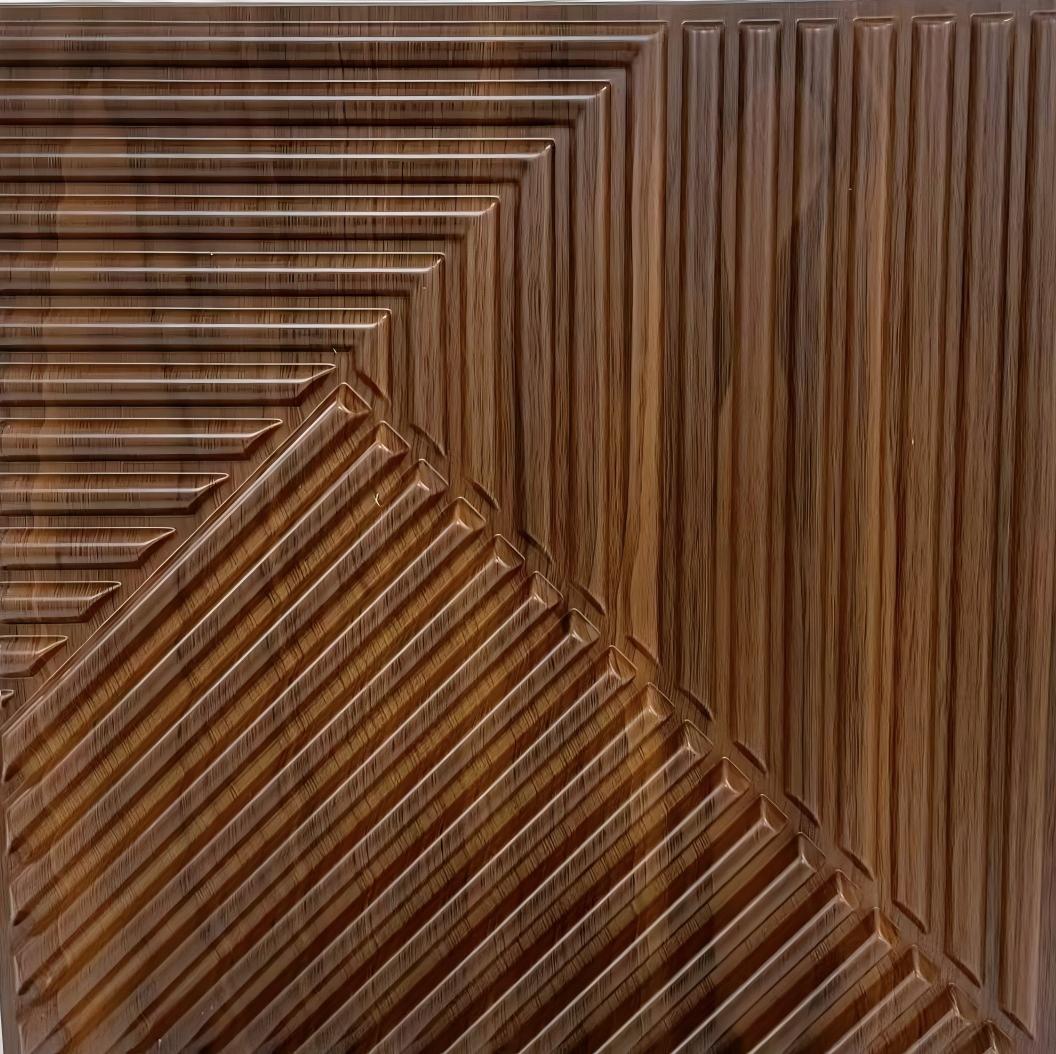
The grid below highlights top-selling 3D wall panels on Amazon. These selections cover popular styles like geometric, wood-look, and fabric-wrapped designs. Check the ratings and recent reviews to ensure the finish matches your room's lighting and aesthetic.


As an Amazon Associate, we may earn from qualifying purchases.
No comments yet. Be the first to share your thoughts!