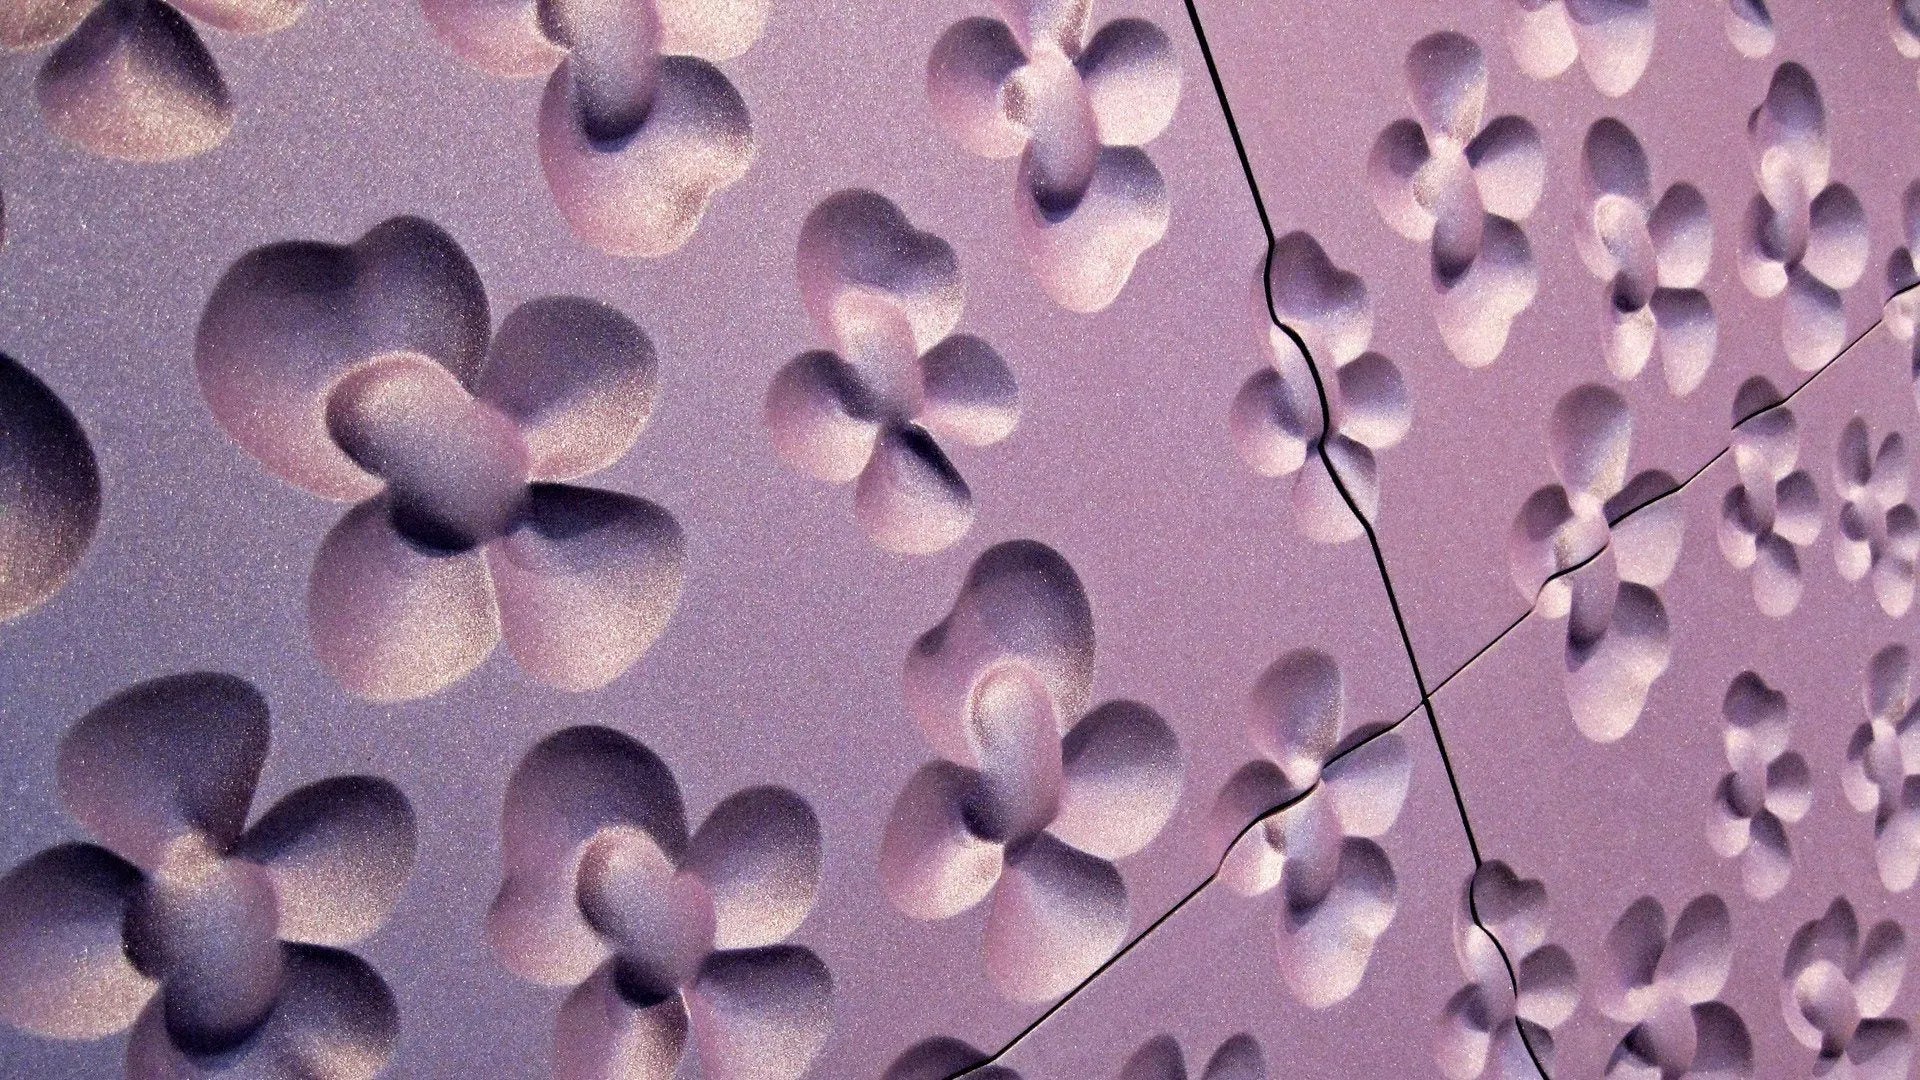

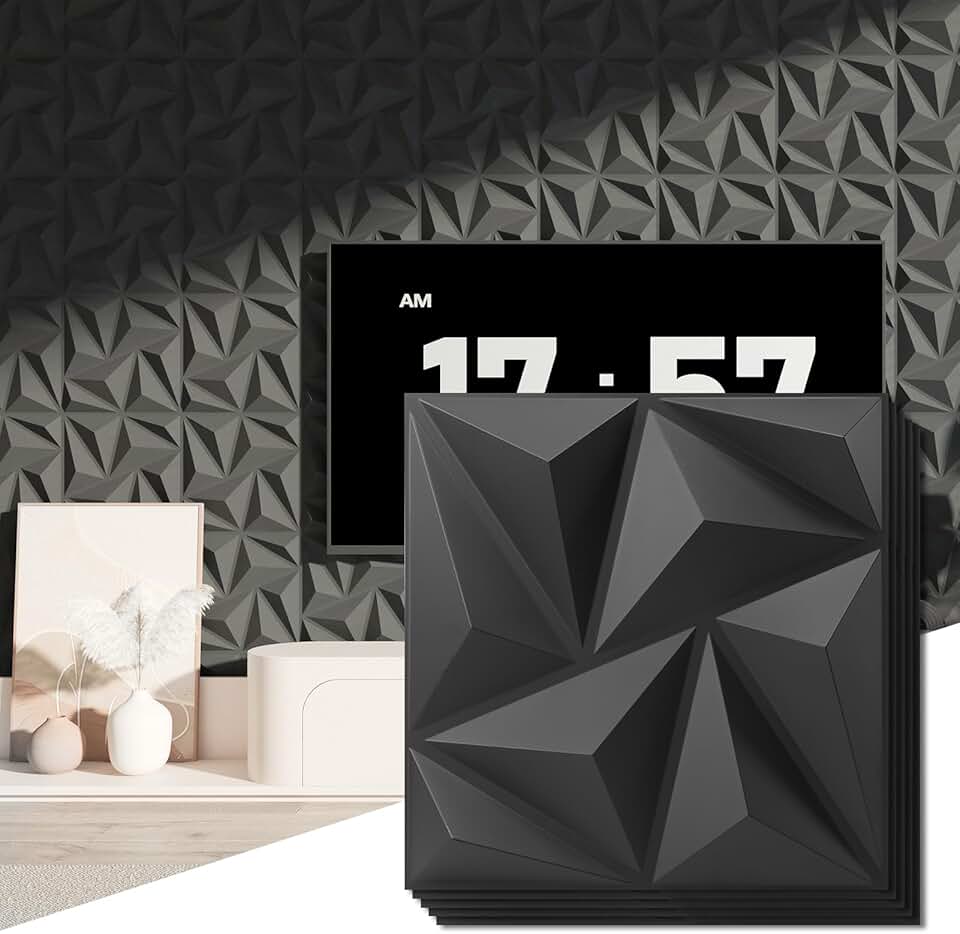
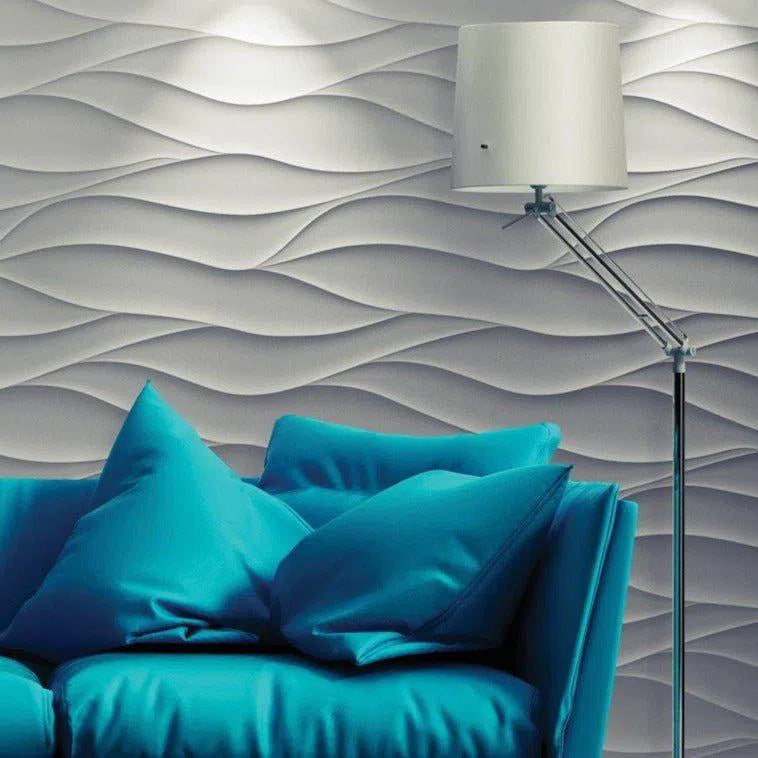
Choose your 3D wall panels style and material
Selecting the right 3D wall panels starts with matching the installation method to your skill level and the room’s conditions. The two main options are adhesive-backed panels, which rely on strong tape or glue strips, and glue-up panels, which require construction adhesive. Material choice—typically PVC, MDF, or foam—determines durability, weight, and finish.
Adhesive-backed panels are ideal for renters or beginners. They are lightweight, often made from thermoformed PVC, and can be removed with care without damaging drywall [src-serp-2]. Glue-up panels offer a more permanent, high-end look but require a perfectly smooth wall surface and careful alignment.
| Feature | Adhesive-Backed Panels | Glue-Up Panels |
|---|---|---|
| Installation | Adhesive backing; no tools needed | Construction adhesive; trowel required |
| Skill Level | Beginner | Intermediate |
| Removability | Generally removable | Permanent; may damage wall |
| Best For | Renters, quick updates | Homeowners, permanent accents |
| Feature | Adhesive-Backed | Glue-Up |
|---|---|---|
| Installation | Adhesive backing; no tools needed | Construction adhesive; trowel required |
| Skill Level | Beginner | Intermediate |
| Removability | Generally removable | Permanent; may damage wall |
| Best For | Renters, quick updates | Homeowners, permanent accents |

As an Amazon Associate, we may earn from qualifying purchases.
Material choice also matters. PVC panels are water-resistant and easy to clean, making them suitable for bathrooms or kitchens [src-serp-1]. MDF panels offer a wood-like aesthetic but are heavier and less moisture-resistant. Foam panels are the lightest option but less durable. For most accent walls, PVC adhesive-backed panels provide the best balance of ease and appearance.
Gather tools and prep the wall surface
Installing 3D wall panels requires a focused set of tools and a wall that is perfectly flat. Skipping preparation is the fastest way to create visible gaps or uneven seams once the panels are on the wall. Gather these essentials before you begin: a level, a measuring tape, a utility knife or scissors (depending on panel material), a construction adhesive or adhesive backing, and a clean microfiber cloth.
The wall surface must be clean, dry, and smooth. Dust and grease act like invisible spacers, preventing adhesive from bonding properly and causing panels to lift over time. Wipe the area with a damp cloth and let it dry completely. If the wall has texture, bumps, or peeling paint, sand it down or apply a skim coat to create a uniform base.
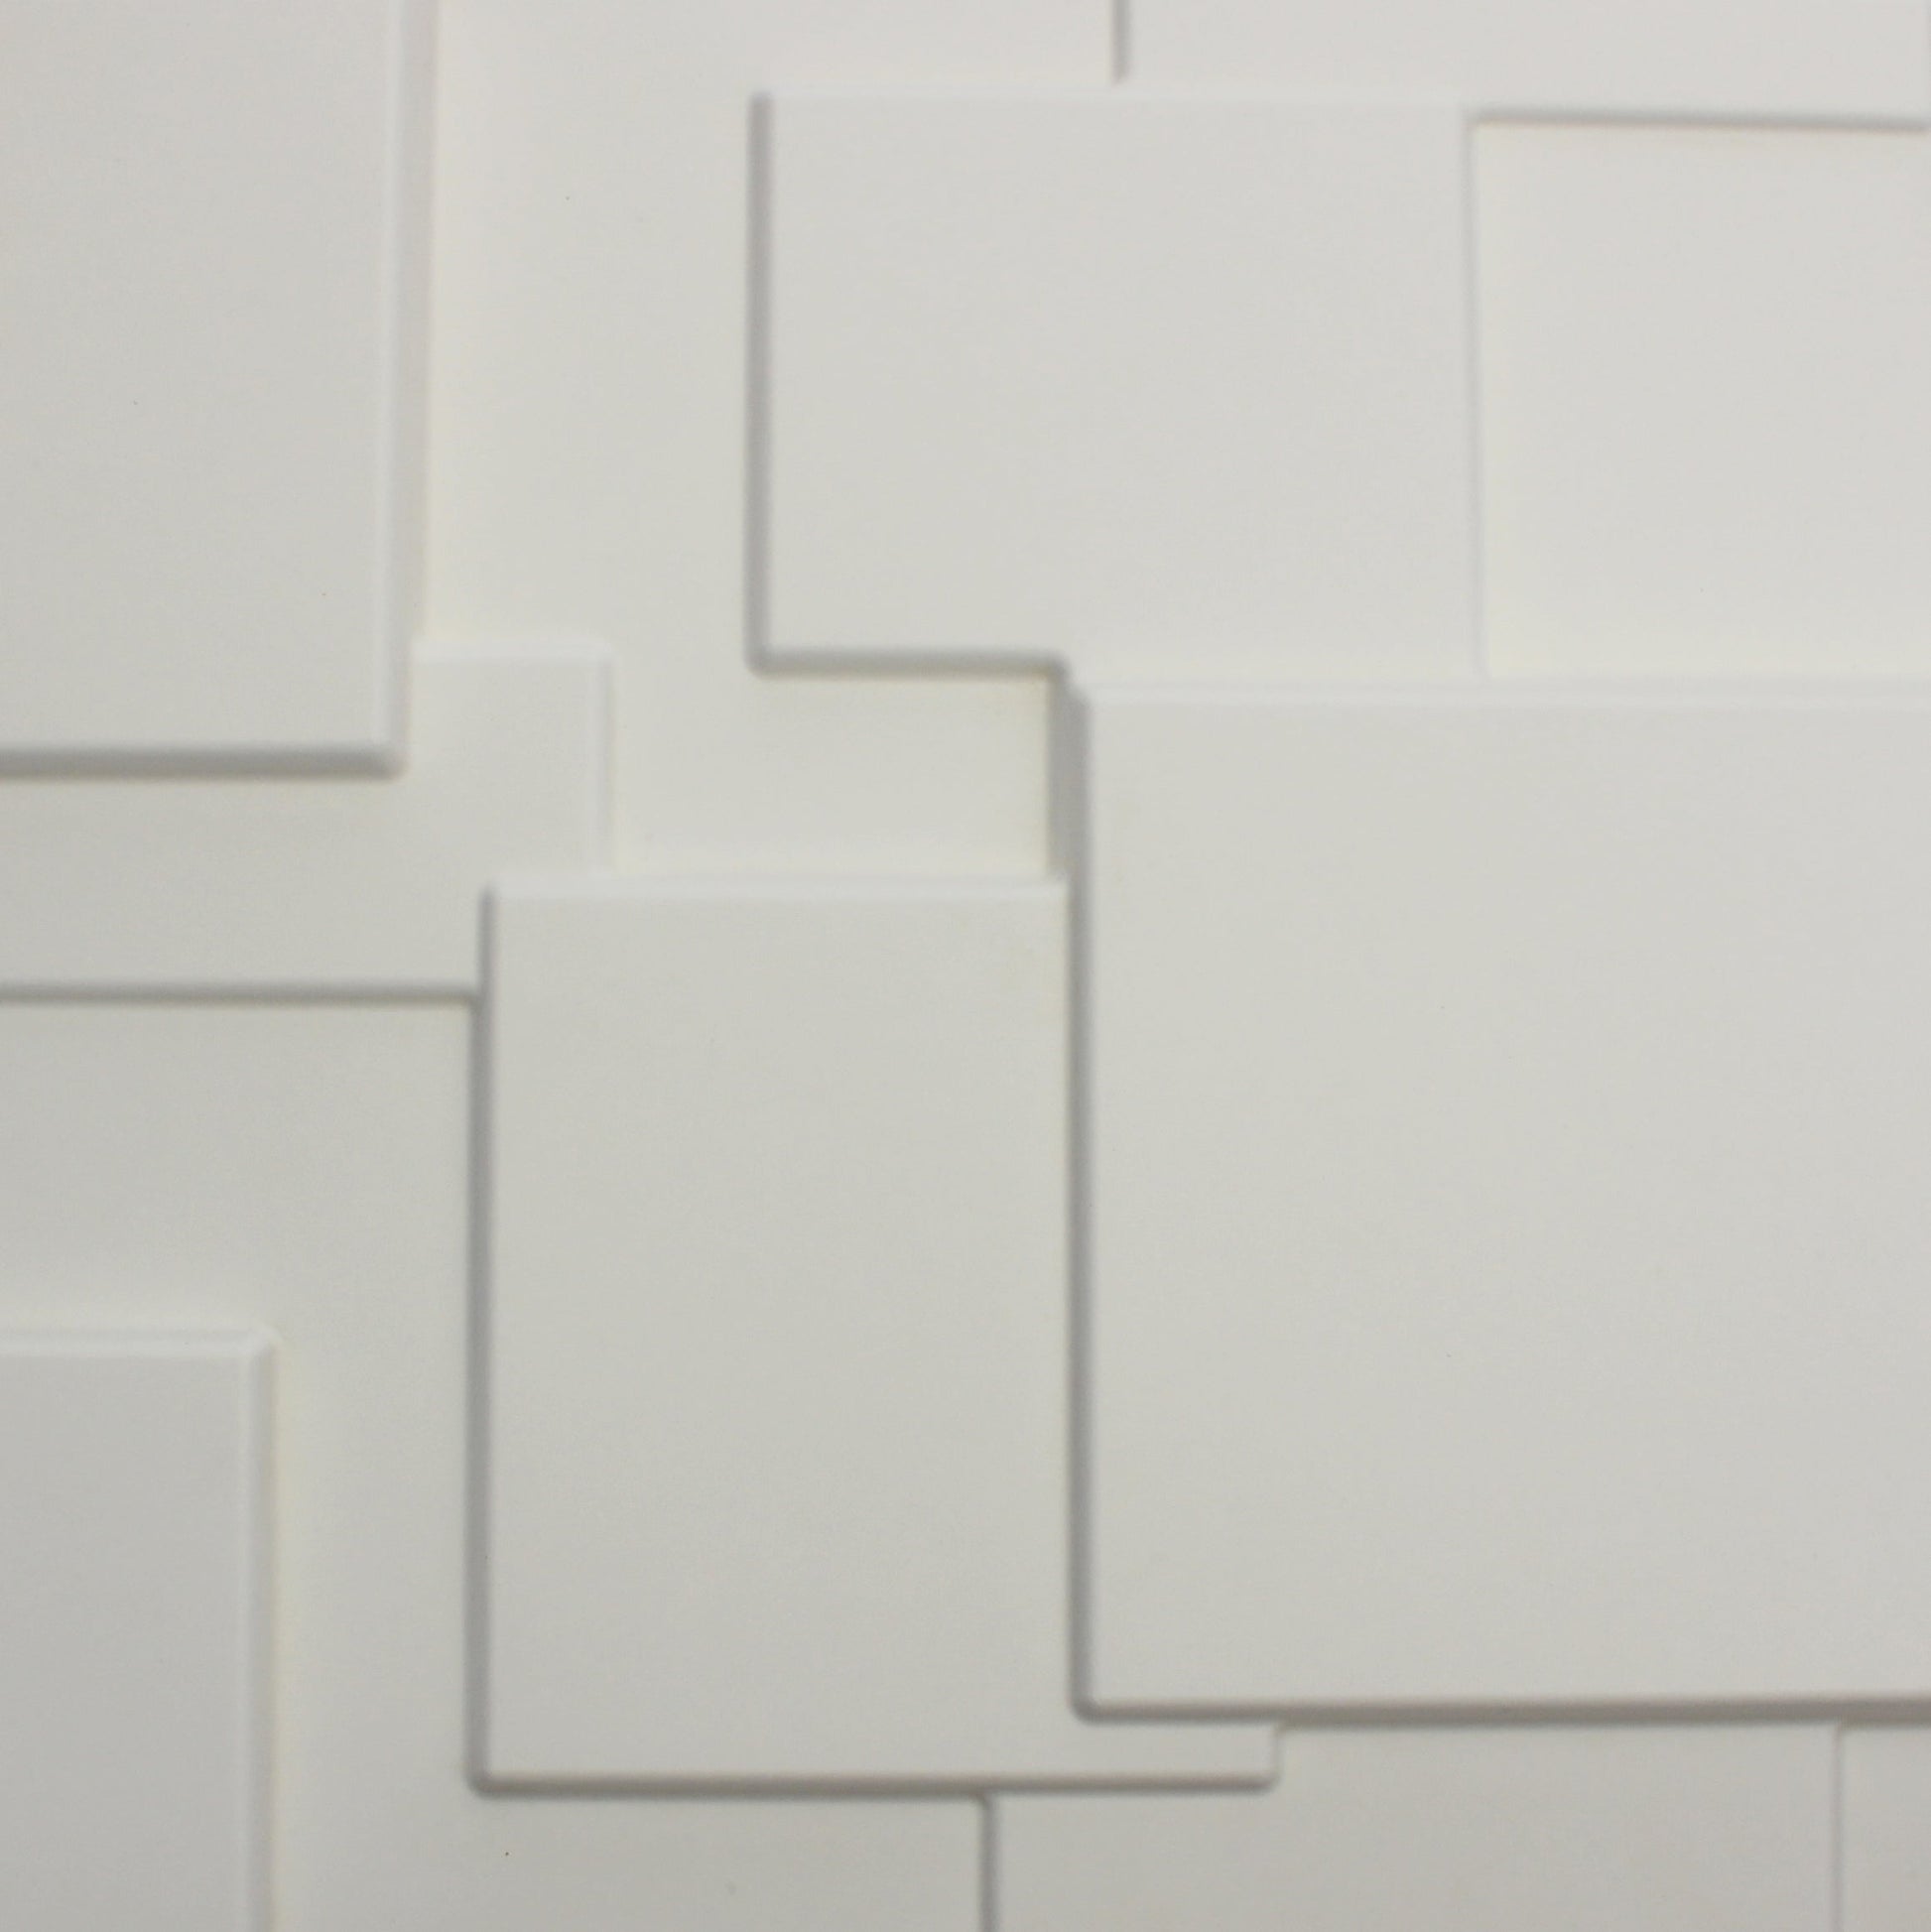
A flat wall ensures the 3D panels sit flush against the surface, highlighting their geometric design rather than revealing the wall's imperfections. This preparation step is critical for achieving the modern, seamless look that 3D wall panels are known for.
Measure, cut, and plan the layout
Before applying adhesive or peeling backing, you need a precise plan. Measuring your wall and dry-fitting the 3D wall panels prevents awkward gaps and ensures the pattern aligns correctly. This preparation step saves time and material, turning a potentially messy installation into a clean, professional-looking accent wall.
Use a tape measure to record the height and width of your accent wall. Measure at multiple points, as walls are rarely perfectly straight. Subtract the width of any windows, outlets, or doors from your total coverage area. Add 10% extra to your panel count to account for cuts and potential errors.
Start from the center of the wall to ensure symmetry. Mark a vertical center line with a level and a pencil. If your panels have a specific grain or directional pattern, dry-fit a few rows to check the alignment. This visual check helps you adjust the starting point to avoid thin, awkward slivers of panels at the edges.
Mark your cut lines on the back of the 3D wall panels using a straight edge and pencil. For foam or PVC panels, a sharp utility knife and a steady hand are usually sufficient; score the material deeply and snap it along the line. For gypsum or heavier materials, use a fine-tooth saw. Test-fit the cut pieces before committing to adhesive.
Once your layout is mapped and panels are pre-cut, you are ready for the installation phase. A well-planned grid makes the actual sticking process much faster and reduces the need for on-the-spot adjustments.
Install panels using the correct method
The way you attach your 3D wall panels depends entirely on the material and the finish you want. Adhesive-backed options offer speed and reusability, making them ideal for renters or quick updates. Glue-up methods provide a permanent, heavy-duty bond for textured stone or wood panels that need to stay put for decades.
Adhesive-backed installation
This method is the fastest way to add depth to a room. Start by cleaning the wall surface with a damp cloth to remove dust and grease. Peel back the adhesive backing and align the first panel carefully. Press firmly from the center outward to remove air bubbles. You can remove these panels later by peeling them slowly and gently, leaving little to no residue.
Glue-up installation
For heavier materials like gypsum or high-density foam, construction adhesive is the standard. Apply a zigzag pattern of adhesive to the back of the panel. Press the panel against the wall and hold it in place for thirty seconds. Use a level to ensure the edges are straight before the glue sets. This method creates a solid, permanent bond that won't shift over time.
Wipe the wall with a damp cloth and let it dry completely. Any dust or oil will prevent the adhesive from bonding properly. Fill small holes with spackle and sand them smooth for a flat surface.
Use a level and pencil to draw a straight vertical line where the first panel will go. This ensures your installation stays plumb. If you are using a patterned panel, align the design carefully before committing.
For adhesive-backed, remove the backing and press the panel onto the wall. For glue-up, apply adhesive to the back and press firmly. Interlock the panels according to the manufacturer's design, ensuring tight seams.
Use a utility knife to trim panels that need to fit around outlets or corners. Clean up any excess adhesive immediately with a damp cloth. Allow glue to cure for 24 hours before painting or adding decor.
Fix common installation mistakes
Even with careful planning, small errors can disrupt the clean lines of 3D wall panels. Misalignment, air bubbles, and uneven cuts are the most frequent pitfalls, but each has a straightforward fix. Addressing these issues early ensures your accent wall looks professional and intentional.
Correcting Misalignment
Panels can drift if the wall isn't perfectly flat or if you don't check your level frequently. If you notice a panel is off by even a millimeter, peel it back gently before the adhesive sets. For adhesive-backed options, you have a small window to reposition.
Removing Air Bubbles
Trapped air creates unsightly bumps under the surface. Start from the center of the panel and press outward toward the edges to push air out. If a bubble persists, use a pin to prick a tiny hole in the panel surface, then press the air out and apply a small amount of adhesive underneath if needed.
Fixing Uneven Cuts
Sharp edges from cutting panels can look jagged. Use a utility knife for initial cuts, then smooth the edges with fine-grit sandpaper. This is especially important for foam or EPS panels, which can fray easily. A clean edge ensures the next panel sits flush against it.
Maintain and clean your 3D wall panels
Because 3D wall panels feature intricate, textured surfaces, dust settles into every groove and shadow. Without regular care, these panels quickly lose their sharp definition and can look dull. The good news is that maintenance is straightforward and requires minimal effort.
Weekly Dusting Routine
Start with a soft-bristle brush attachment on your vacuum cleaner. Gently run it over the panel surfaces to lift loose dust from the deep textures. Avoid using a standard cloth, which often just smears dirt deeper into the crevices. For stubborn spots, a dry microfiber cloth works well to wipe away residue without scratching the finish.
Deep Cleaning for Stains
When dusting isn't enough, use a mild soap solution. Mix a few drops of dish detergent with warm water and apply it with a soft sponge. Wipe the affected area gently, then immediately dry it with a clean towel to prevent water spots. Avoid abrasive cleaners, bleach, or harsh chemicals, as these can damage the PVC or wood finish.
Protecting Your Investment
Keep high-traffic areas clear of furniture that might scrape against the walls. If a panel does become damaged, most adhesive-backed options are removable, allowing you to replace just the single piece rather than redoing the entire wall. Regular cleaning preserves the modern aesthetic and extends the life of your installation.
Frequently Asked Questions About 3D Wall Panels
What are the disadvantages of 3D wall panels?
The main drawback is maintenance. The textured surface of 3D wood or composite panels traps dust, requiring frequent cleaning to keep the accent wall looking fresh. Additionally, the bold geometry can make a small room feel cluttered if not balanced with minimal furniture. If a single panel cracks or breaks, replacing it can be difficult because matching the specific texture and color of an installed section is often impossible.
Are 3D wall panels removable?
Most adhesive-backed 3D wall panels are designed to be removable without destroying your drywall. The adhesive allows for removal, but the process requires patience. You must work slowly and gently to peel the panels away, ideally using heat from a hairdryer to soften the glue. Rushing this step can pull paint or drywall paper off the wall, so careful handling is essential for a clean removal.
No comments yet. Be the first to share your thoughts!