
Beyond Texture: The Rise of Dynamic Walls
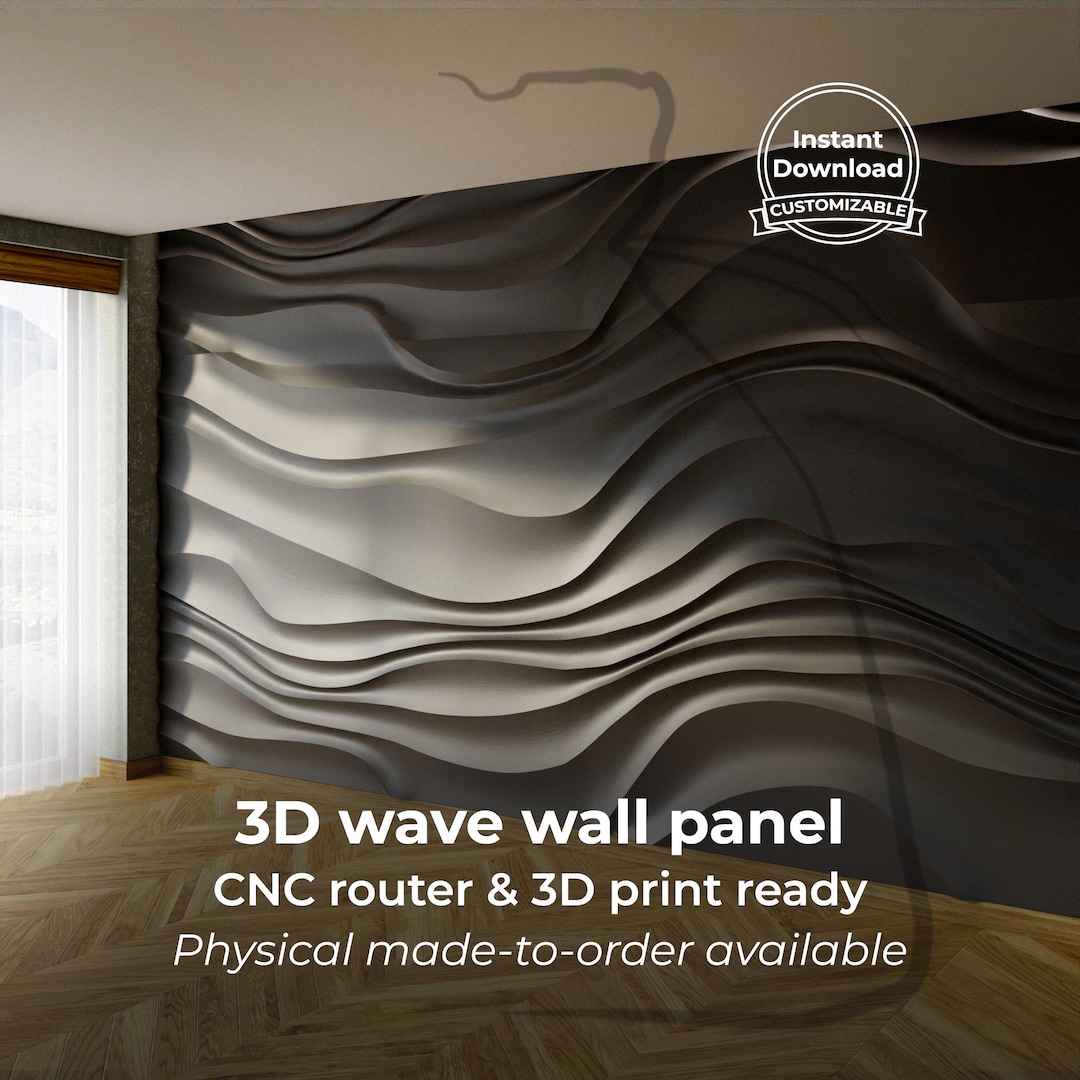
3D wall panels have long added visual interest and depth to interiors, initially focusing on texture and geometric patterns. Now, people want walls that respond and change, becoming active parts of a room's atmosphere.
Color-changing LED technology drives this evolution, moving beyond static decoration to functional wall design. These panels control mood, enhance experiences, and personalize living spaces.
The appeal is practical. Imagine a calming blue for evenings, a vibrant spectrum for parties, or a subtle accent to match furniture. This customization surpasses traditional paint or wallpaper, offering a more immersive and interactive experience than texture-focused panels.
How Do These Panels Actually Work?
Color-changing panels use embedded or rear-positioned LED technology to illuminate the surface, emphasizing texture and allowing dynamic color changes.
Common technologies include RGB LEDs for a wide color range, RGBW LEDs for better white light and natural tones, and addressable LEDs for individual control and complex effects.
Unlike LED strips on a regular wall, these panels integrate and diffuse light through their 3D structure. This scattering creates an even, consistent glow, minimizing hotspots for a high-quality, immersive look.
Design Styles: Matching Panels to Your Home
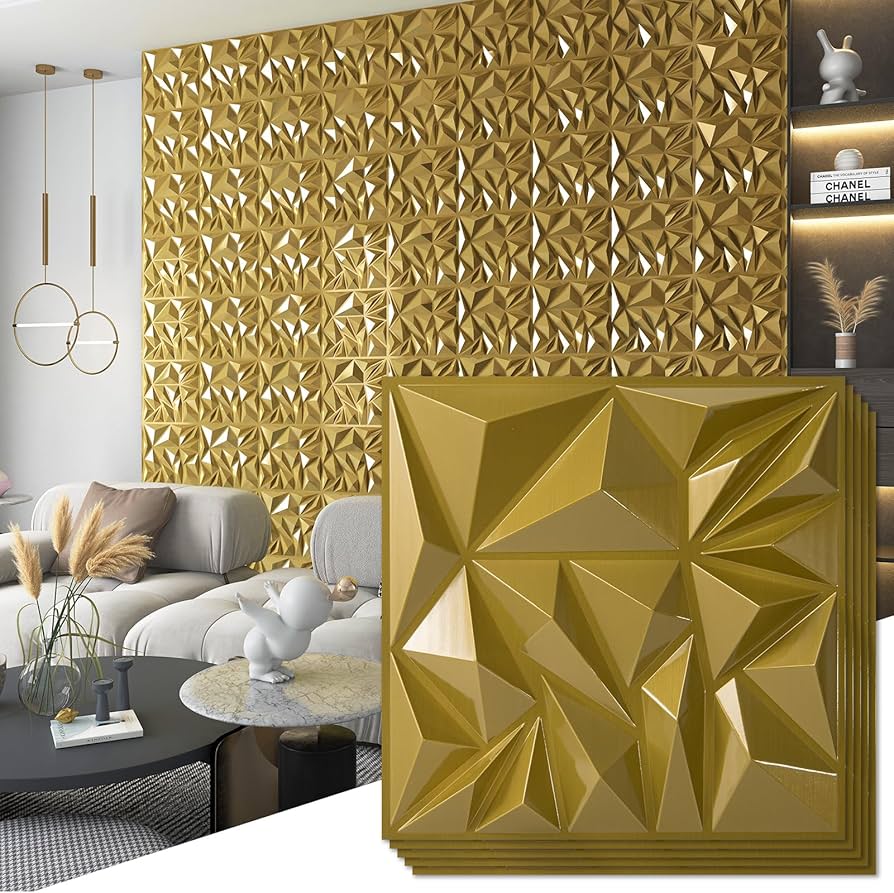
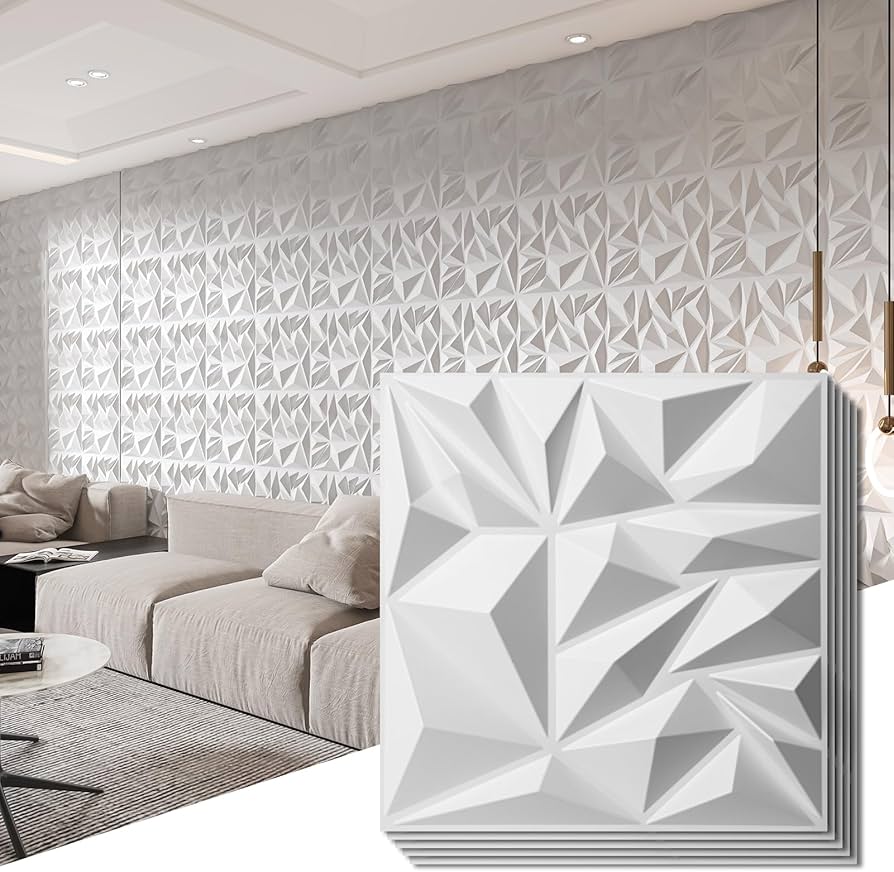
Color-changing 3D panels are versatile and complement many interior design styles. Consider how color and pattern interact with your decor. In modern settings, geometric panels with cool, neutral tones add sleekness and sophistication.
Minimalist spaces benefit from subtle textures and limited colors. Low-relief panels with calming, monochromatic hues add depth without overwhelming. Maximalist interiors can use bolder patterns and a wider color range as a focal point.
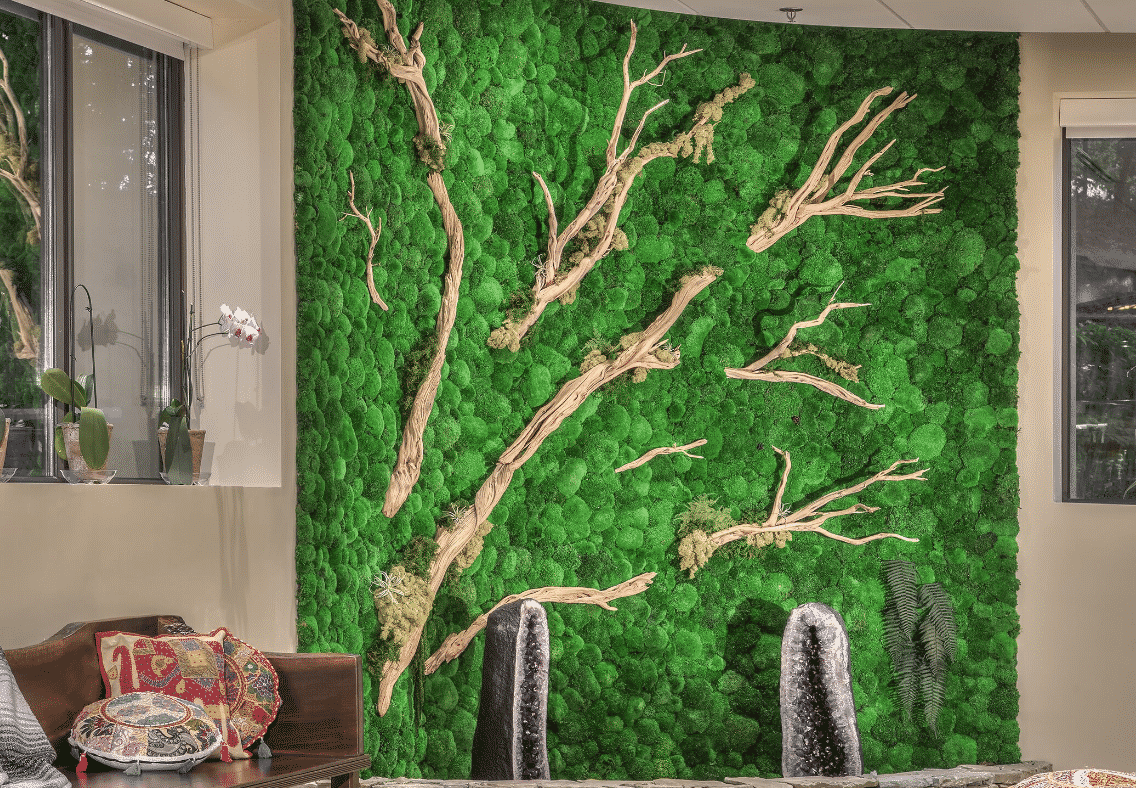
Traditional styles can also benefit. Ornate patterns with warmer colors complement classic furniture. Whole3D offers diverse patterns, from geometric to floral, catering to various tastes.
Color sets the mood: warm reds and oranges create coziness, while cool blues and greens promote relaxation. Experiment with schemes for each room.
- Modern: Geometric patterns, cool neutrals
- Minimalist: Subtle textures, monochromatic colors
- Maximalist: Bold patterns, wide color range
- Traditional: Ornate patterns, warmer tones
Design Styles & Palettes
- Modern - A sleek aesthetic benefits from dynamic color shifts. Palette 1: #29ABE2 (Bright Sky Blue), #FFFFFF (White), #666666 (Gray). Palette 2: #003049 (Deep Navy), #D62828 (Crimson), #F77F00 (Orange).
- Minimalist - Subtle color transitions enhance the clean lines. Palette 1: #F0F0F0 (Off-White), #A9A9A9 (Dark Gray), #E0E0E0 (Light Gray). Palette 2: #FFFFFF (White), #333333 (Charcoal), #808080 (Silver).
- Bohemian - Layered textures and vibrant hues are amplified by adaptable lighting. Palette 1: #C69B7B (Terracotta), #A5D6A7 (Sage Green), #F2D7D5 (Blush Pink). Palette 2: #7B3F00 (Dark Brown), #D2B48C (Tan), #E6B8AF (Dusty Rose).
- Industrial - Raw materials and exposed brick gain a futuristic edge. Palette 1: #4A4A4A (Iron Gray), #BDBDBD (Light Gray), #212121 (Black). Palette 2: #795548 (Brown), #A1887F (Taupe), #4E342E (Dark Chocolate).
- Scandinavian - Light and airy spaces become more inviting with gentle color washes. Palette 1: #F8F9FA (Snow), #E9ECEF (Light Gray), #CED4DA (Medium Gray). Palette 2: #FFFFFF (White), #A7A9AB (Cool Gray), #778899 (Light Slate Gray).
- Coastal - Evoke the ocean and beach with calming and shifting blues and whites. Palette 1: #ADD8E6 (Light Blue), #FFFFFF (White), #B0E2FF (Powder Blue). Palette 2: #008080 (Teal), #F0FFFF (Azure), #FA8072 (Salmon).
- Mid-Century Modern - Warm tones and geometric patterns are enhanced with dynamic lighting. Palette 1: #E67E22 (Burnt Orange), #A93226 (Burgundy), #F1C40F (Mustard Yellow). Palette 2: #34495E (Charcoal Blue), #F39C12 (Orange), #D35400 (Pumpkin).
Installation: Is It DIY-Friendly?
Installation complexity varies by panel system and wall structure. Many Whole3D panels use adhesive or interlocking systems for straightforward installation, though it's not always effortless.
Basic steps include wall preparation, layout planning, adhesive application, and panel positioning. Electrical connections for LEDs add complexity.
This may not be a first-time DIY project. Comfort with basic electrical work and wall preparation is needed. Consult a professional if unsure. Whole3D's website offers detailed guides to assess difficulty.
Control & Customization: Beyond the Remote
Control options are sophisticated. Beyond remotes, many systems offer smartphone app control for color and brightness adjustments from anywhere. Integration with voice assistants like Alexa and Google Assistant is also common.
Customization extends beyond color choice. Create custom schemes, dynamic effects (fading, strobing, cycling), or sync lighting to music or movies for immersive entertainment.
Customization extent varies by system. Whole3D offers good control over color, brightness, and effects. Smart home integration allows automated scenes with other devices.
Real-World Applications: More Than Just Living Rooms
These panels are versatile beyond living rooms. Whole3D highlights their use in home theaters, where immersive ambient lighting enhances viewing.
Bedrooms benefit from calming schemes and relaxation-promoting effects. Home offices can use energizing colors for productivity. Restaurants and retail spaces create unique atmospheres to attract customers and enhance branding.
Event venues use panels for dynamic backdrops for performances, parties, and corporate events. Their color-changing ability makes them a versatile tool for designers.
Maintenance & Longevity: Keeping Your Walls Looking Great
Proper maintenance ensures longevity. Clean regularly with a soft, dry cloth. Avoid harsh chemicals or abrasive cleaners that can damage the surface.
LED failures are possible but rare. Replacement may be feasible depending on panel design. Handle panels carefully during installation and cleaning to prevent damage. Whole3D offers specific maintenance tips.
Periodically check electrical connections for security. These steps help maintain the panels' appearance for years.
What’s Next for Dynamic Wall Decor?
Dynamic wall decor will advance with more energy-efficient, higher-resolution LED technology, leading to more vibrant and realistic color displays.
AI and machine learning integration is a possibility. Imagine panels automatically adjusting color based on mood, time of day, or weather, or learning preferences for personalized scenes.
undefined may see panels that are more flexible, lightweight, and sustainable. The goal is to create walls that are not only beautiful and functional but also environmentally responsible. The trend toward personalization and immersive experiences will continue to drive innovation in this space.
No comments yet. Be the first to share your thoughts!