
Why Choose Whole 3D's 3D Wall Panels?
Why Choose Whole 3D's 3D Wall Panels?
When it comes to transforming your home, Whole 3D's 3D wall panels offer a unique and innovative solution that can elevate your space to a whole new level. These panels not only add depth and dimension to your walls, but they also provide a modern and stylish touch that can enhance any room. So, why should you choose Whole 3D's 3D wall panels for your home improvement project? Here are some compelling reasons:
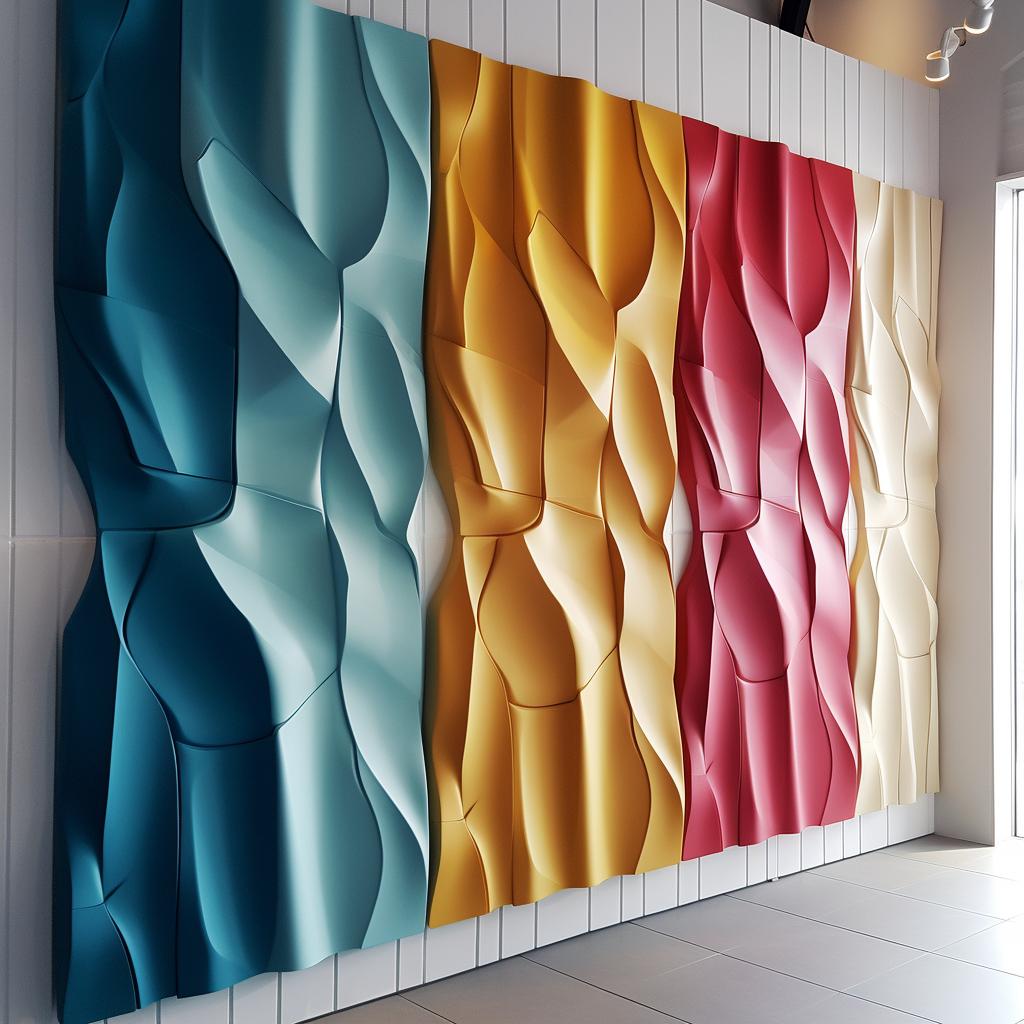
1. Aesthetic Appeal: Whole 3D's 3D wall panels come in a wide variety of designs, textures, and patterns, allowing you to create a truly customized look for your space. From geometric shapes to nature-inspired motifs, there's a design for every taste and style. 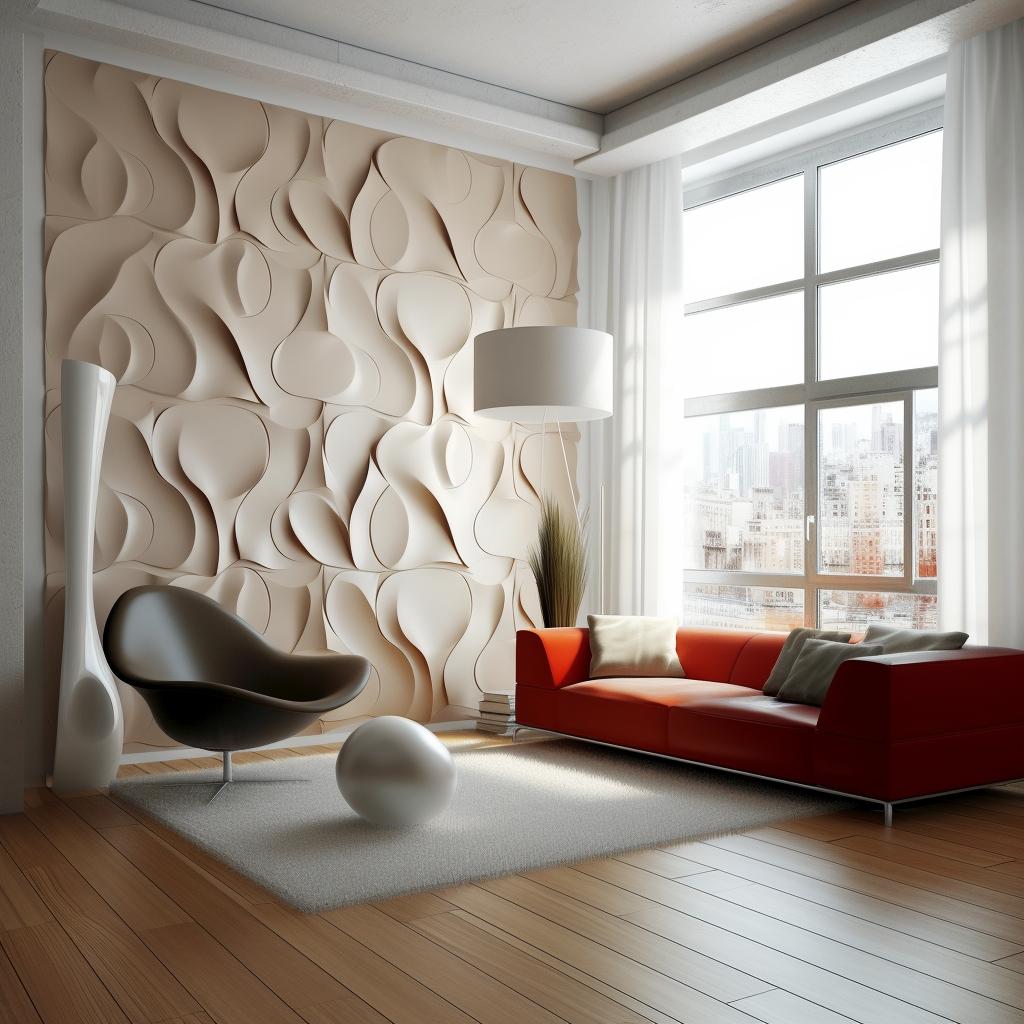
2. Easy Installation: One of the key benefits of Whole 3D's 3D wall panels is their ease of installation. With a simple step-by-step guide, even homeowners with limited DIY experience can successfully install these panels. Plus, they can be easily cut and trimmed to fit any wall size or shape.
3. Durability: Made from high-quality materials, Whole 3D's 3D wall panels are designed to last. They are resistant to wear and tear, ensuring that your walls will look stunning for years to come.
4. Eco-Friendly: Whole 3D is committed to providing environmentally friendly products. Their 3D wall panels are made from sustainable and recyclable materials, making them a responsible choice for your home.
5. Easy Maintenance: Keeping your 3D wall panels looking their best is a breeze. With minimal maintenance required, you can enjoy a stunning and stylish space without the hassle of constant upkeep.
In conclusion, Whole 3D's 3D wall panels offer a unique and innovative way to transform your home. With their aesthetic appeal, easy installation, durability, eco-friendliness, and easy maintenance, it's no wonder that homeowners are choosing these panels to create stunning and personalized spaces. Get ready to elevate your home's design with Whole 3D's 3D wall panels!
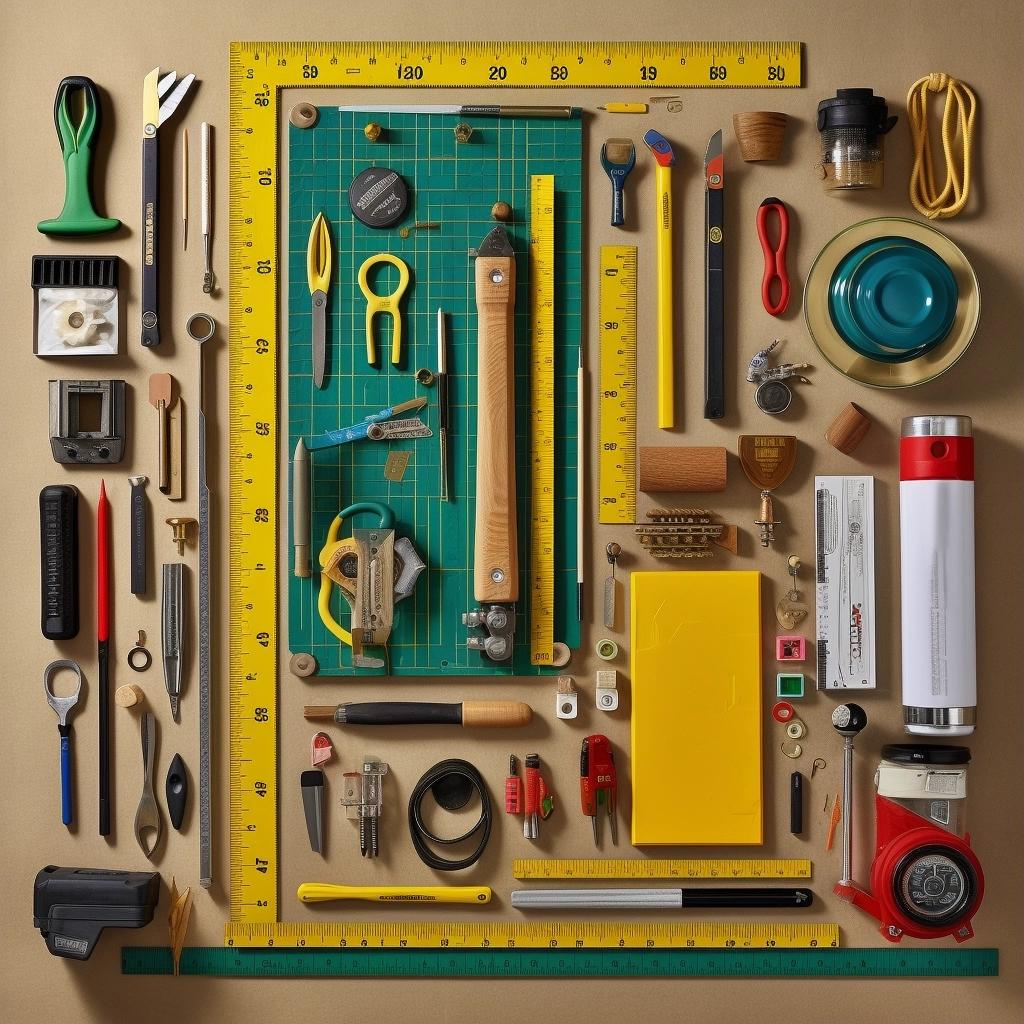
Tools and Materials Needed for DIY 3D Wall Panel Installation
Tools and Materials Needed for DIY 3D Wall Panel Installation
Before you begin installing your 3D wall panels, it is important to gather all the necessary tools and materials. Here is a list of what you will need:
- 3D wall panels: Choose the design and quantity of panels you need for your project. Whole 3D offers a wide variety of options to fit any style and budget.
- Measuring tape: Measure the dimensions of your wall to determine how many panels you will need.
- Pencil: Use a pencil to mark where you will be installing the panels.
- Level: A level will ensure that your panels are installed straight and even.
- Adhesive: Choose a strong adhesive that is suitable for your wall type. Whole 3D recommends using a construction adhesive.
- Caulk gun: A caulk gun will help you apply the adhesive evenly.
- Saw: You may need to cut some panels to fit your wall. A saw will be necessary for this step.
- Sandpaper: Sandpaper will help you smooth out any rough edges after cutting your panels.
- Paint: If you plan on painting your panels, choose a paint that is suitable for the material of your panels.
- Paintbrush: Use a paintbrush to apply the paint to your panels.
Having all of these tools and materials on hand before you begin your installation will make the process much smoother and easier.
Preparing Your Wall for 3D Wall Panel Installation
Preparing Your Wall for 3D Wall Panel Installation
Before you begin installing your 3D wall panels, it's crucial to prepare the surface of your wall to ensure a smooth and lasting finish. Follow these steps to get your wall ready for the transformation:
1. Clean the wall: Start by wiping down the wall with a damp cloth to remove any dust, dirt, or debris. This will help the adhesive bond more effectively to the wall. If your wall has any greasy spots or stains, use a mild detergent to clean the area thoroughly. Allow the wall to dry completely before moving on to the next step. 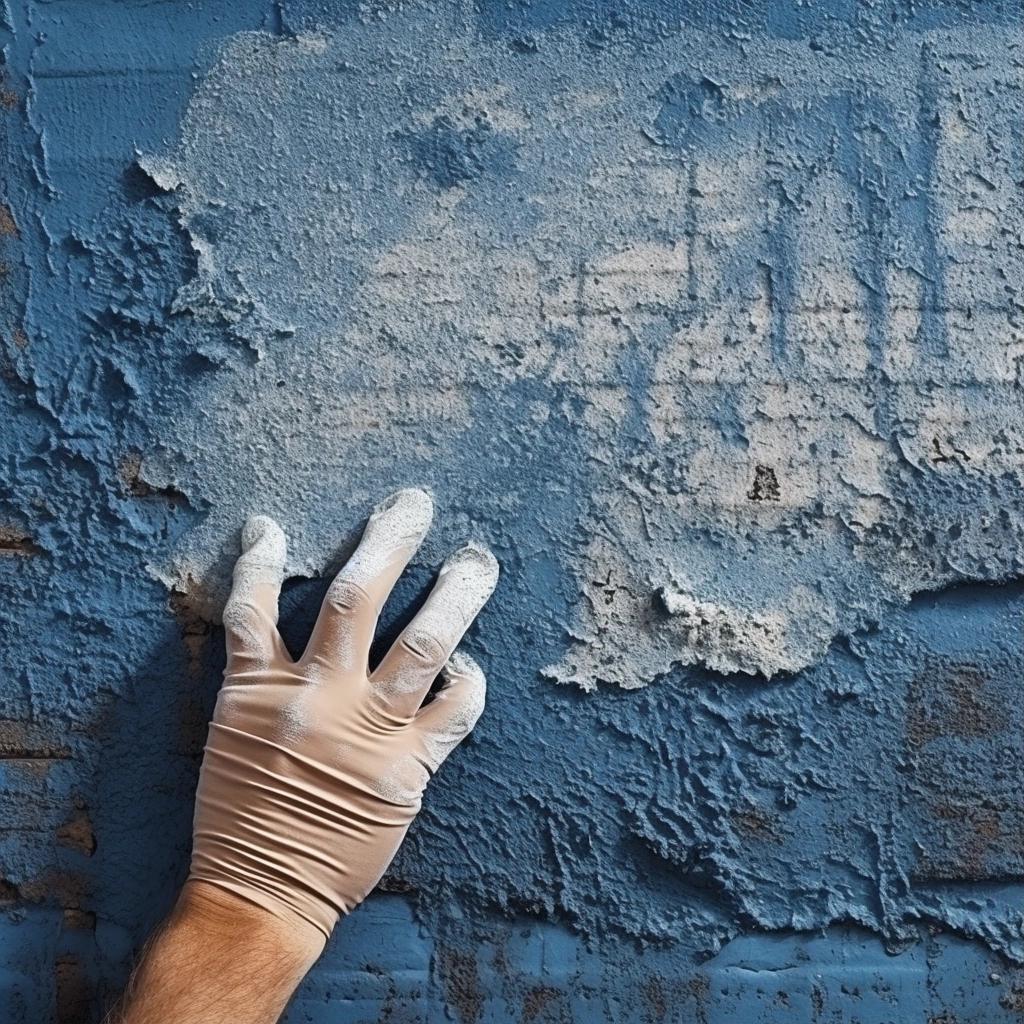
2. Repair any damage: Inspect the wall for any cracks, holes, or other imperfections that may affect the installation of the 3D wall panels. Use a putty knife and spackling compound to fill in any holes or cracks, and then sand the area smooth once the compound has dried. 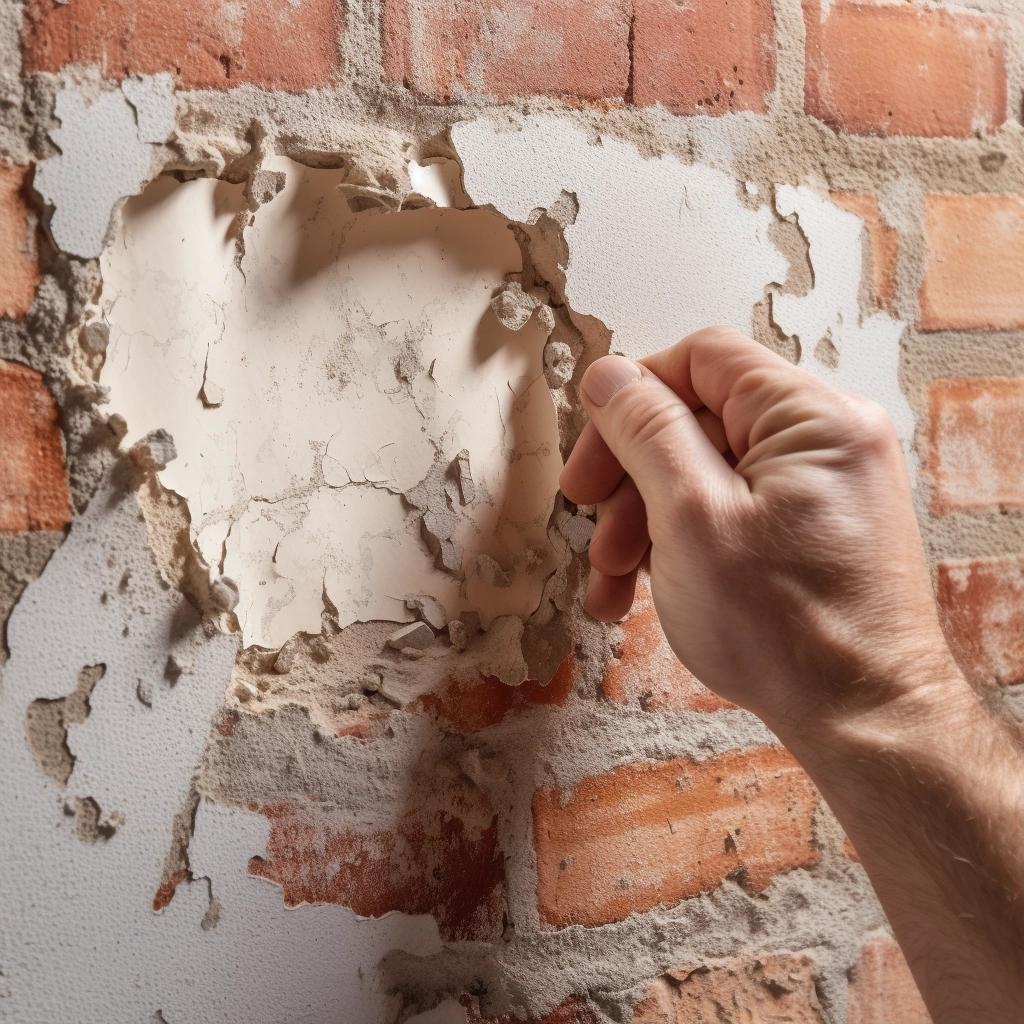
3. Measure and mark: Measure the dimensions of your wall and the 3D wall panels to determine the layout and placement of the panels. Use a level and a pencil to draw guidelines on the wall, ensuring that the lines are straight and level. This will help you align the panels correctly during installation. 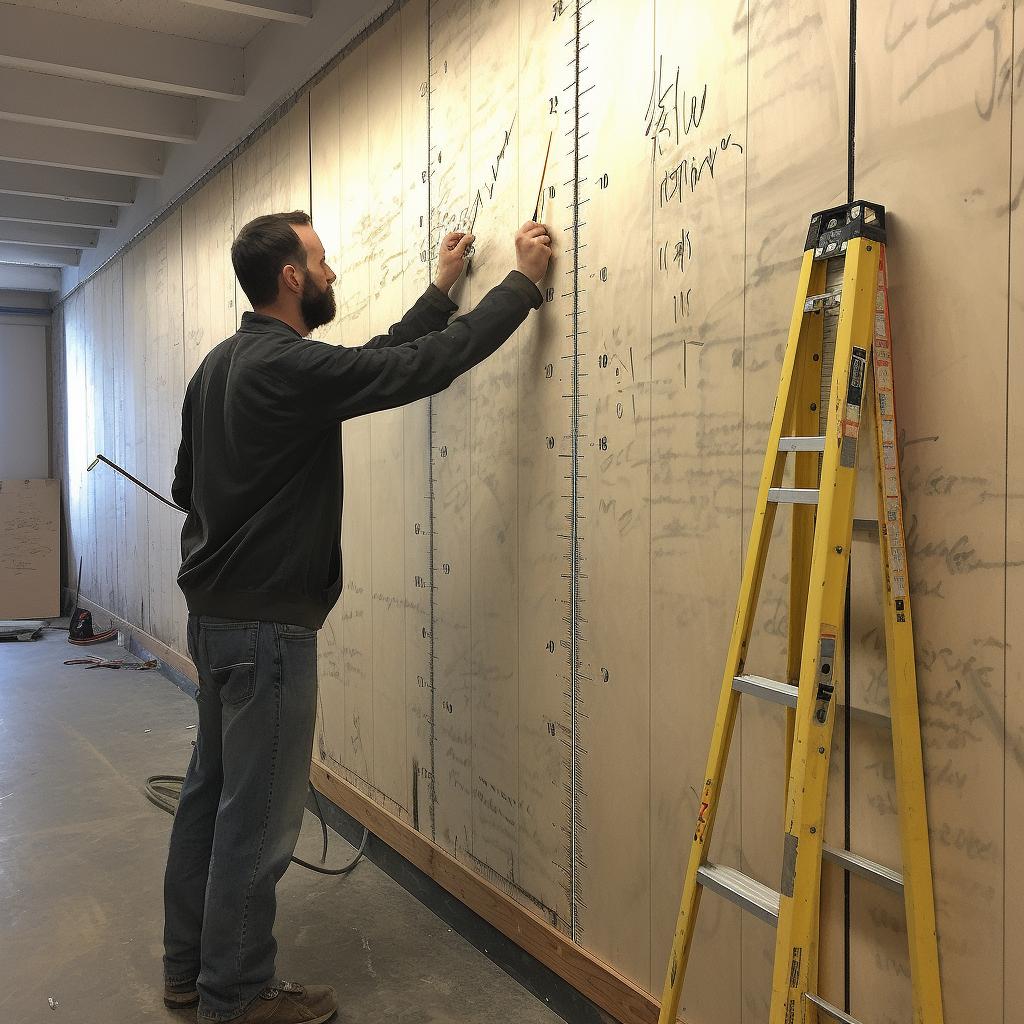
4. Prime the wall (optional): If your wall is painted with a glossy or semi-gloss paint, it's a good idea to prime the surface with a bonding primer. This will help the adhesive adhere better to the wall and ensure a more secure installation. Allow the primer to dry according to the manufacturer's instructions before proceeding. 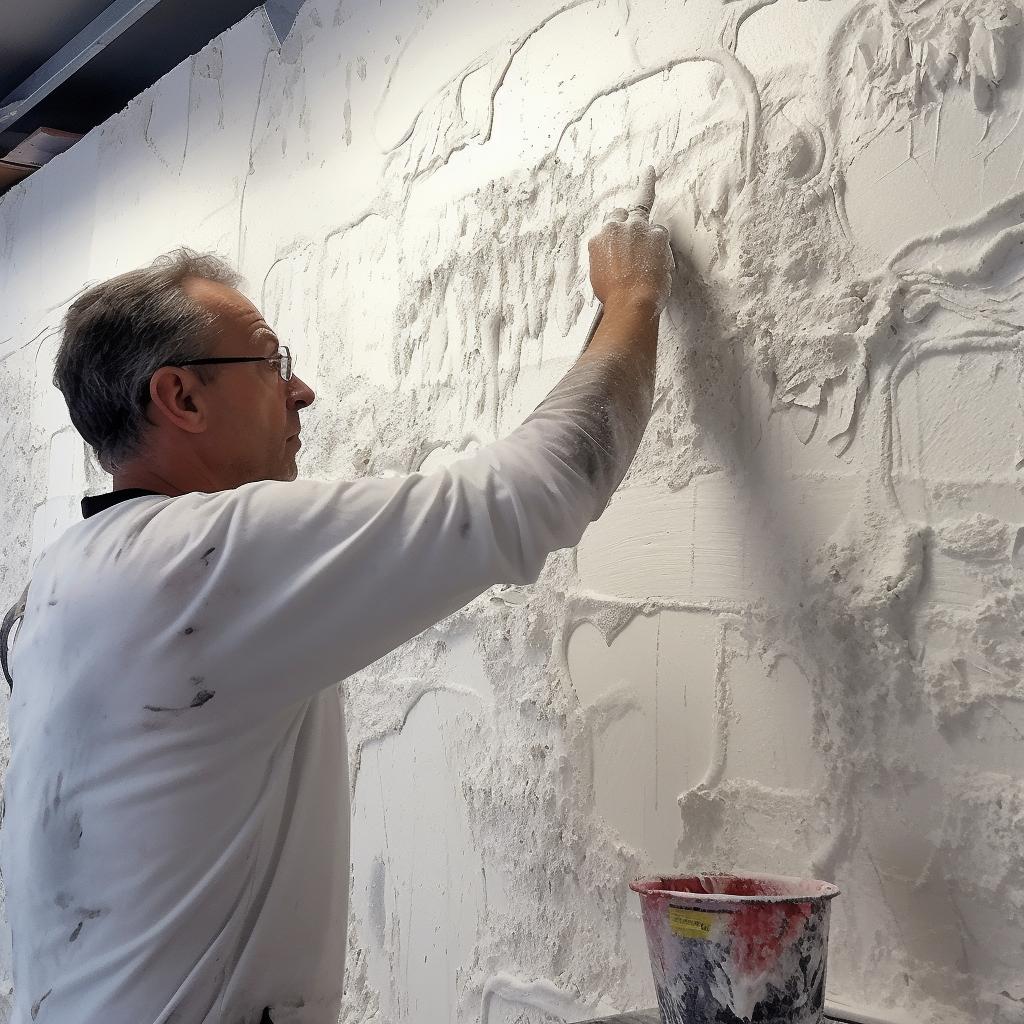
With your wall now prepared, you're ready to move on to the exciting part - installing your Whole 3D's 3D wall panels! Remember, a well-prepared surface is key to achieving a professional-looking result and ensuring the longevity of your 3D wall decor.
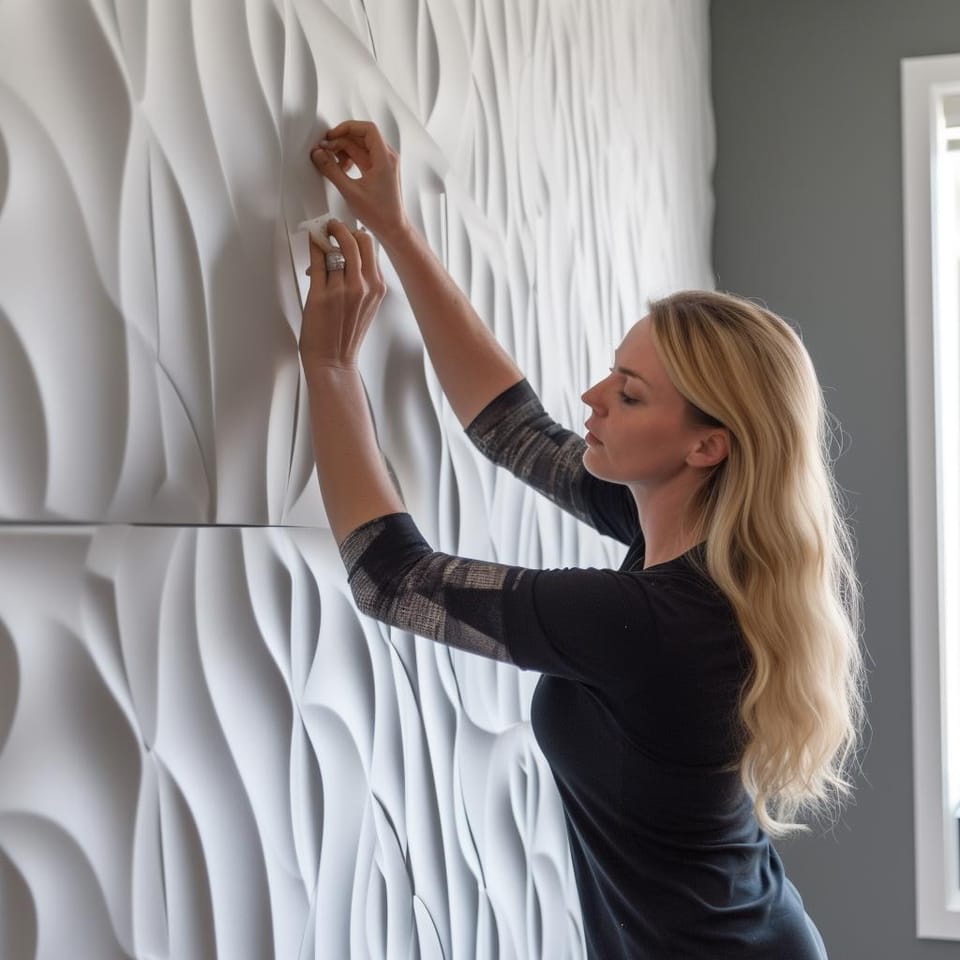
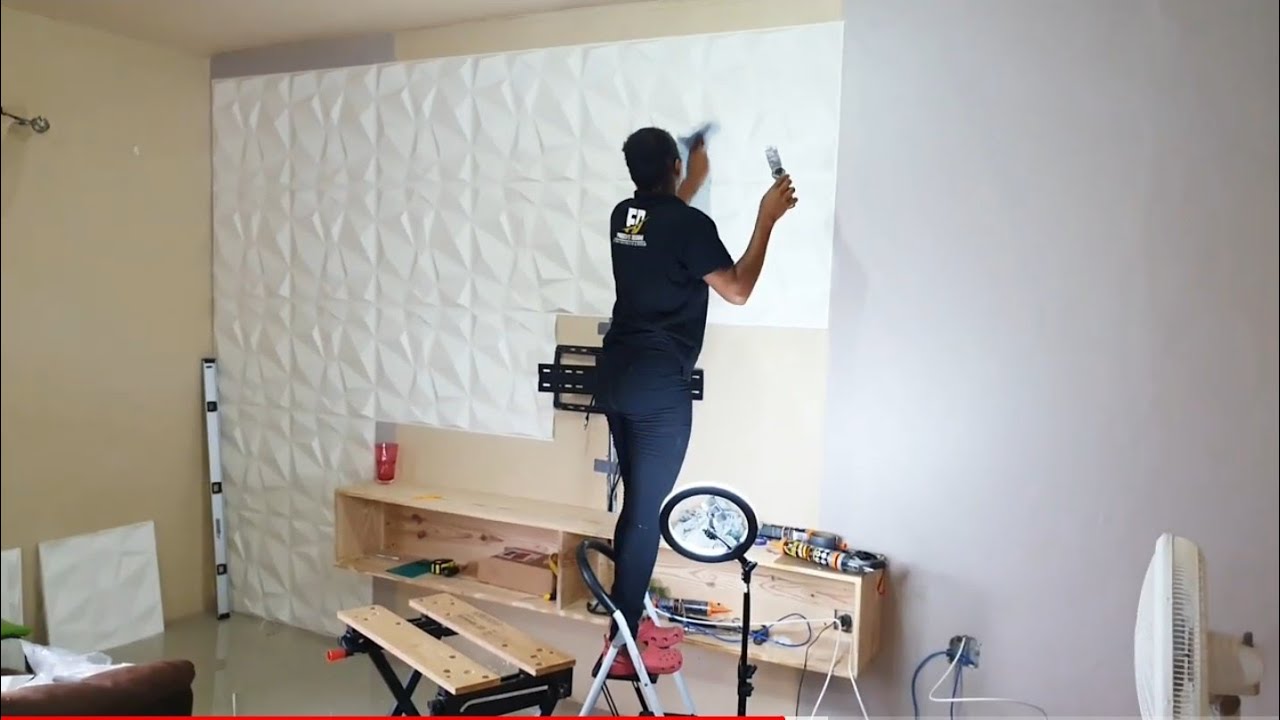
Step-by-Step Guide to Installing 3D Wall Panels
Step-by-Step Guide to Installing 3D Wall Panels
Installing 3D wall panels may seem daunting, but with the right tools and preparation, it can be a fun and rewarding DIY project. Here is a step-by-step guide to help you install your Whole 3D wall panels:
Step 1: Measure your wall and calculate the number of panels needed. Make sure to order extra panels to account for any cuts or mistakes.
Step 2: Prepare your wall by cleaning it thoroughly and filling in any holes or cracks. Allow the wall to dry completely before proceeding.
Step 3: Lay out your panels on the floor and arrange them in the desired pattern. This will help you visualize the final result and make any necessary adjustments.
Step 4: Start installing the panels from the bottom corner of the wall. Apply a generous amount of adhesive to the back of the panel and press it firmly onto the wall. Use a level to ensure that the panel is straight.
Step 5: Continue installing the panels, making sure to leave a small gap between each panel for expansion. Use a jigsaw or handsaw to cut the panels to fit around corners or outlets.
Step 6: Once all the panels are installed, fill in any gaps with caulk and paint or stain the panels to your desired finish.
Step 7: Enjoy your new 3D wall panels!
Remember to take your time and follow the manufacturer's instructions for the adhesive and installation process. With a little patience and effort, you can transform your space with beautiful and unique 3D wall panels.
Customizing Your 3D Wall Panels: Tips and Tricks
Customizing Your 3D Wall Panels: Tips and Tricks
One of the best things about Whole 3D's 3D wall panels is their versatility and ability to be customized to suit your unique style and preferences. In this section, we'll share some tips and tricks to help you make your 3D wall panels truly your own.
1. Choose the right design: Whole 3D offers a wide range of designs and textures to choose from. Consider the overall theme and style of your room when selecting the perfect 3D wall panel design. For a modern and minimalist look, opt for simple geometric patterns. If you prefer a more classic and elegant feel, choose panels with intricate and ornate designs.
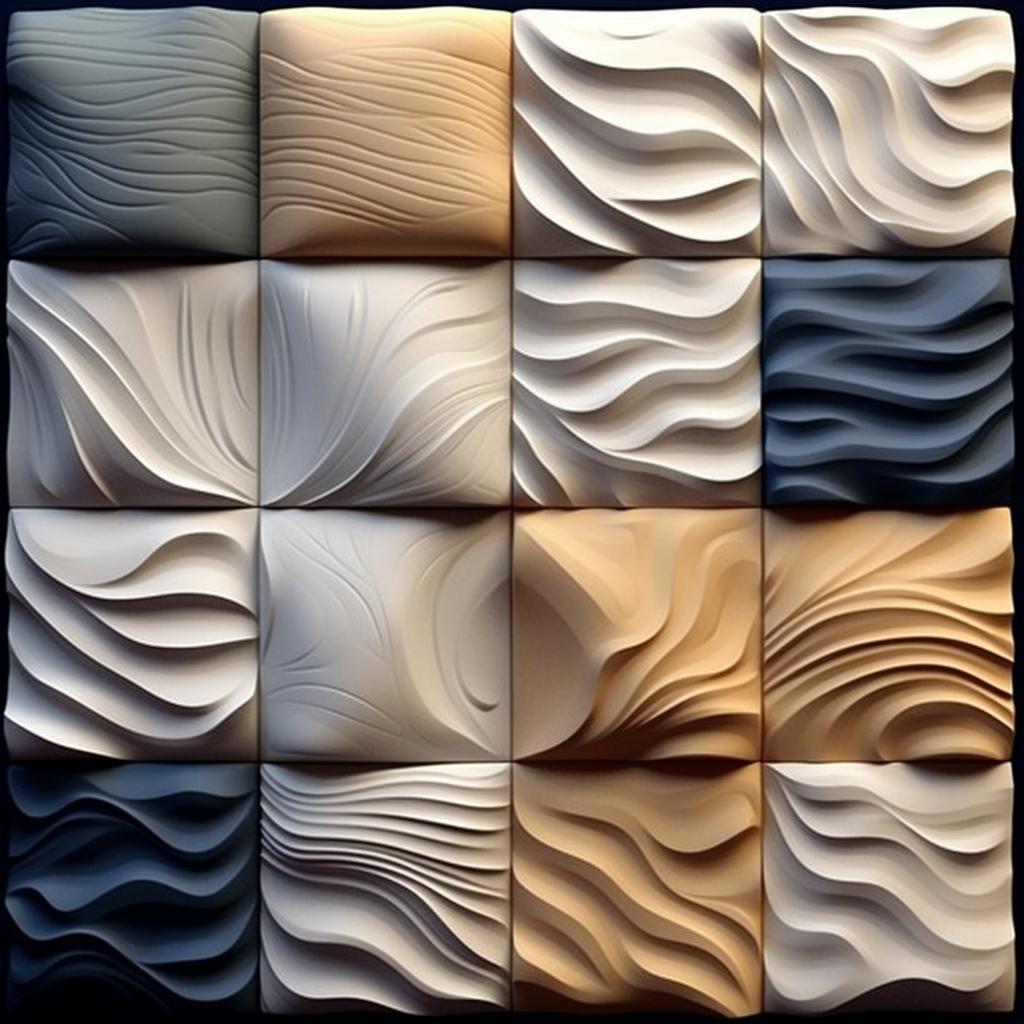
2. Play with colors: 3D wall panels can be painted to match or contrast with your existing color scheme. Use a high-quality paint that is suitable for the panel material and follow the manufacturer's instructions for the best results. You can even create a gradient effect or use multiple colors for a truly unique look.
3. Combine different panel designs: Who says you have to stick to just one design? Mix and match different 3D wall panel designs to create a dynamic and visually interesting space. This can be especially effective in larger rooms or open-concept spaces where you want to create a sense of flow and movement.
4. Add lighting: Enhance the visual impact of your 3D wall panels by incorporating strategic lighting. Install LED strip lights or spotlights to highlight the texture and depth of the panels, creating a stunning focal point in your room.
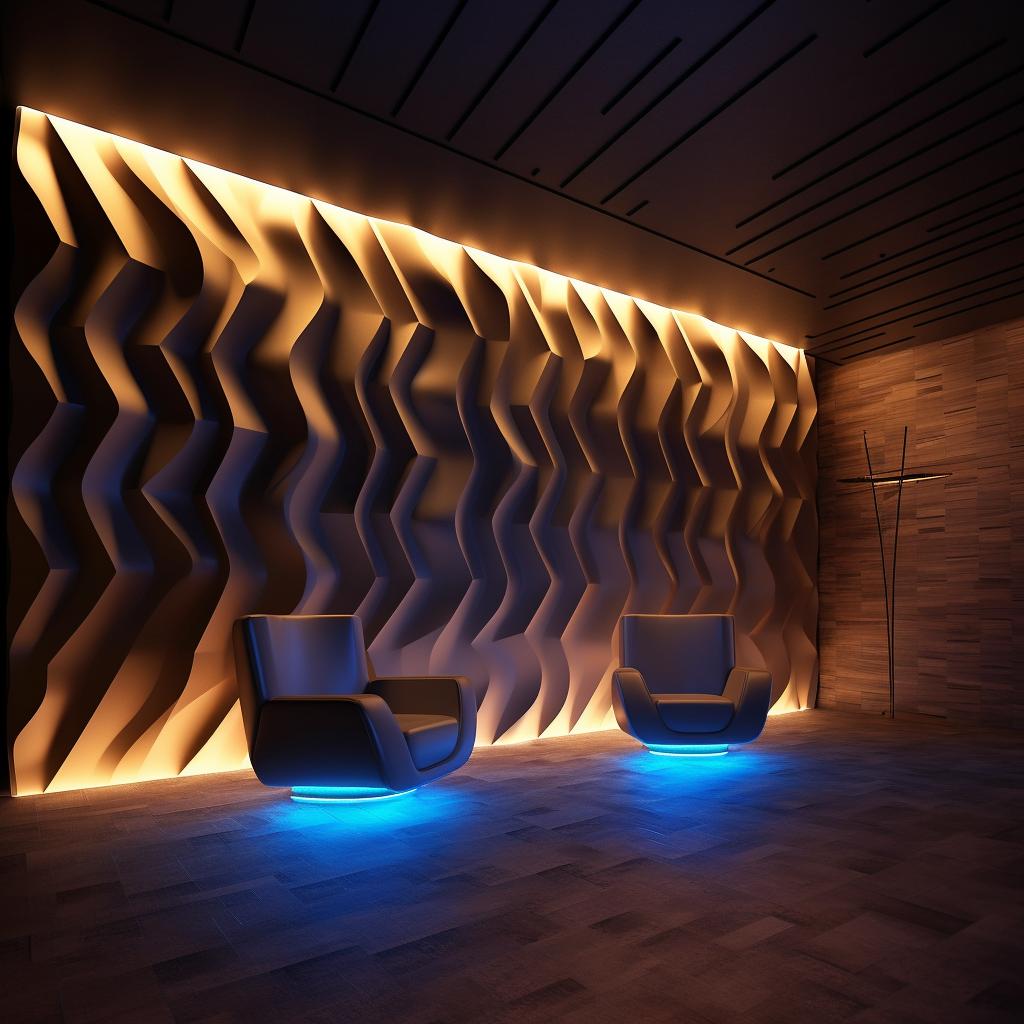
5. Accessorize: Don't be afraid to add artwork, mirrors, or other decorative elements to your 3D wall panels. Just be mindful of the overall balance and composition to ensure that your wall doesn't become too cluttered or overwhelming.
With these tips and tricks, you can transform your 3D wall panels into a personalized and eye-catching feature in your home. Remember, the only limit is your imagination, so don't be afraid to get creative and experiment with different ideas!
Maintenance and Care for Your 3D Wall Panels
One of the many advantages of choosing Whole 3D wall panels is their durability and low maintenance requirements. However, to keep them looking their best and ensure their longevity, it's essential to follow some simple maintenance and care tips. In this section, we'll discuss the proper way to clean and maintain your 3D wall panels, as well as address any minor damage that may occur over time.
Cleaning Your 3D Wall Panels
Regular cleaning is crucial to maintaining the appearance and integrity of your 3D wall panels. To clean your panels, simply use a soft cloth or duster to remove any dust or debris. For more stubborn dirt or stains, use a damp cloth with a mild soap solution, gently wiping the surface of the panel. Be sure to avoid using harsh chemicals or abrasive materials, as these can damage the panel's finish. After cleaning, allow the panels to air dry or use a soft, dry cloth to remove any excess moisture. 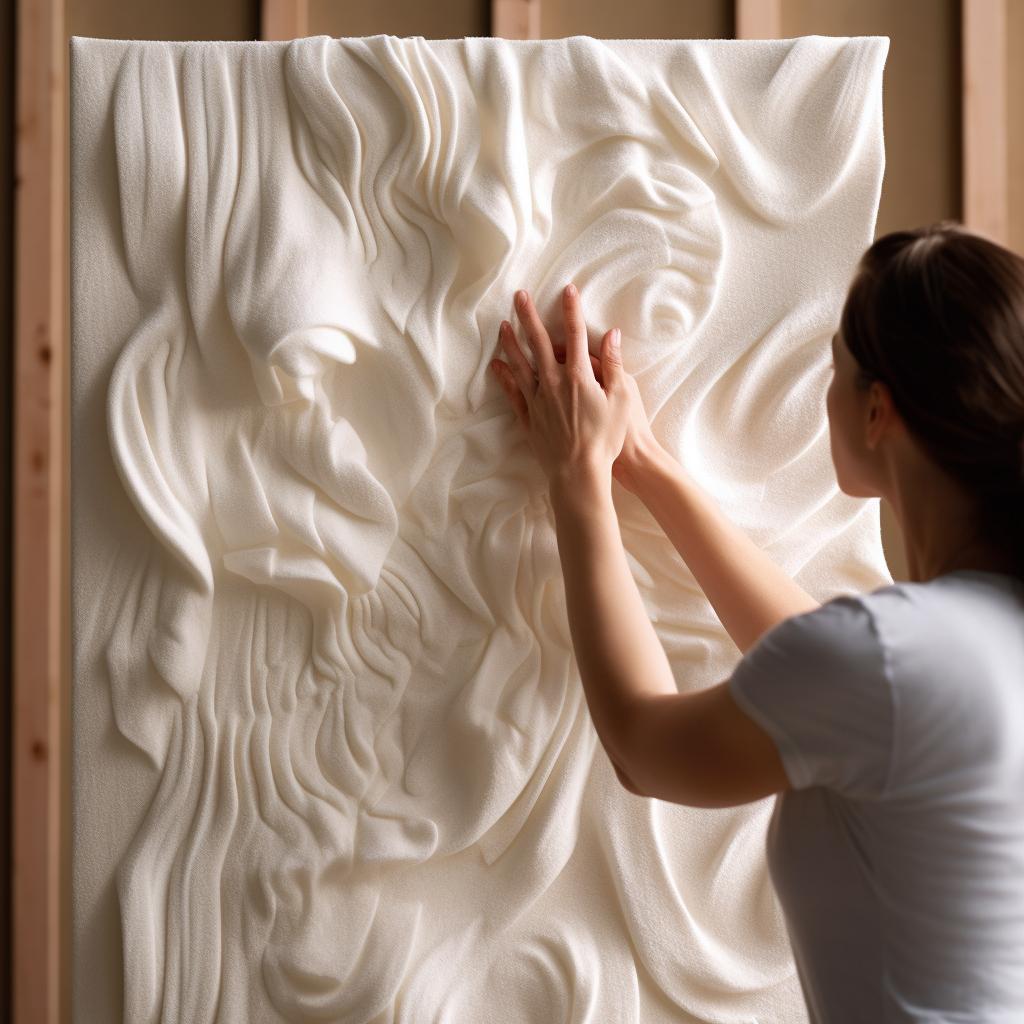
Addressing Minor Damage
Although Whole 3D wall panels are designed to be durable, accidents can happen, and minor damage may occur. If you notice any small scratches or dents, you can use a touch-up paint or filler to repair the affected area. Be sure to choose a paint or filler that matches the color and finish of your panels. Always test the repair material on a small, inconspicuous area before applying it to the damaged spot. If the damage is more extensive, you may need to replace the affected panel. Consult the installation guide for instructions on removing and replacing panels.
Preventing Damage
To prevent damage to your 3D wall panels, avoid placing heavy or sharp objects against the panel surface. Additionally, be mindful of the panel's exposure to direct sunlight, as prolonged exposure can cause fading or discoloration. If your panels are installed in an area with high humidity or moisture, such as a bathroom, ensure proper ventilation to prevent mold and mildew growth.
By following these simple maintenance and care tips, you can keep your Whole 3D wall panels looking stunning and ensure they last for years to come.
Transform Your Home with Whole 3D's 3D Wall Panels
Transform Your Home with Whole 3D's 3D Wall Panels
With Whole 3D's innovative 3D wall panels, you can effortlessly transform any room in your home into a stunning and unique space. These panels are not only visually appealing, but they also add depth and texture to your walls, creating a dynamic and modern look. Whether you want to make a bold statement in your living room, add a touch of elegance to your bedroom, or create a cozy atmosphere in your dining area, Whole 3D's 3D wall panels are the perfect solution.
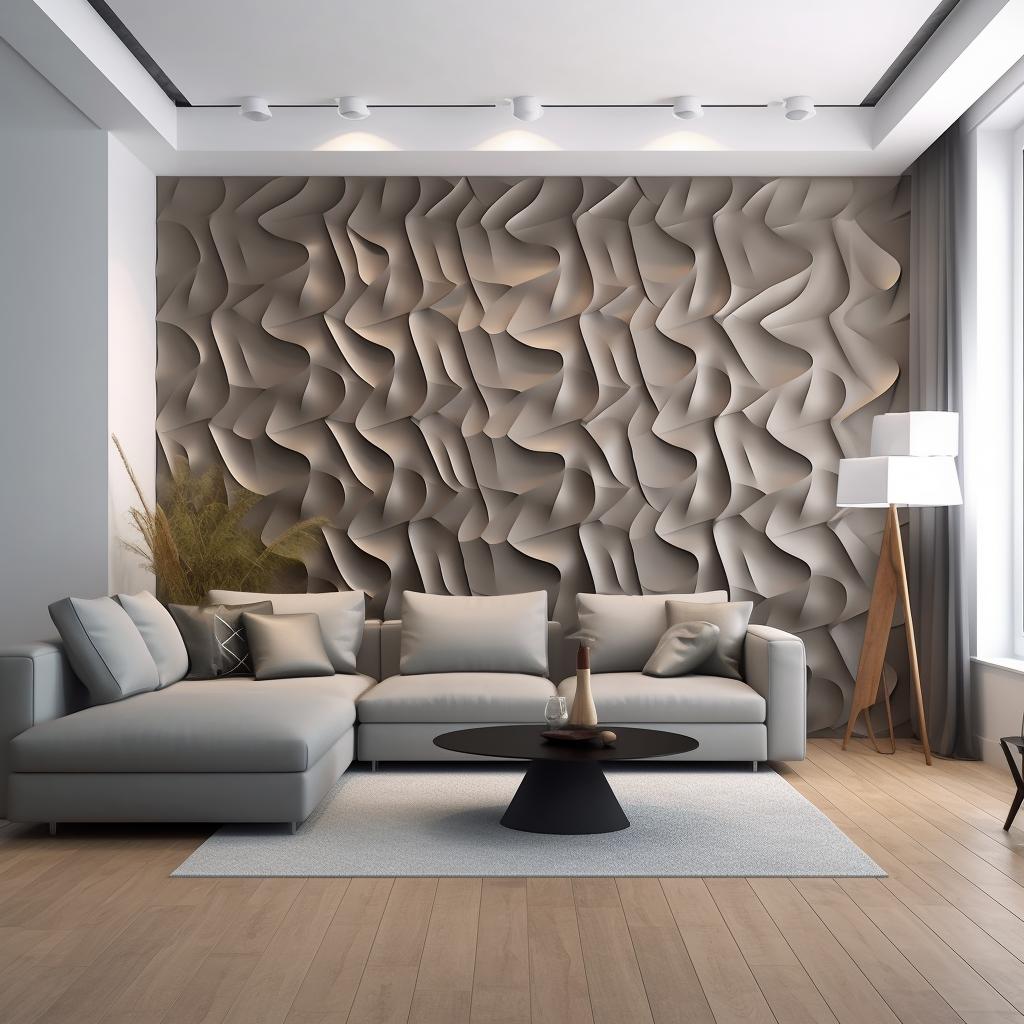
One of the greatest advantages of using Whole 3D's 3D wall panels is the endless design possibilities they offer. With a wide range of styles, patterns, and colors to choose from, you can easily find the perfect panels to match your existing décor or create a completely new look. Plus, you can customize the panels by painting or staining them to achieve the desired effect.
Another significant benefit of Whole 3D's 3D wall panels is their durability and easy maintenance. Made from high-quality materials, these panels are designed to last for years without fading or peeling. They are also water-resistant and easy to clean, making them an ideal choice for busy households and high-traffic areas.
Before and after comparison of a room with and without 3D wall panels

Installing Whole 3D's 3D wall panels is a straightforward process that any DIY enthusiast can tackle with confidence. With the right tools, materials, and our step-by-step guide, you can have your panels up and ready to impress in no time. And if you ever decide to change your décor, removing the panels is just as easy as installing them.
In conclusion, Whole 3D's 3D wall panels are an excellent investment for homeowners looking to enhance their living spaces with a touch of creativity and sophistication. With their versatility, durability, and ease of installation, these panels are the perfect way to transform your home and make it truly one-of-a-kind.


No comments yet. Be the first to share your thoughts!