
Beyond Small: Visual Space Tricks
It’s a feeling most of us share: the desire for more space. Whether you're working with a cozy apartment, a compact home office, or simply a room that feels a bit cramped, the need to maximize every square inch is real. But what if I told you that you don't always need to physically expand your walls to make a room feel bigger? That’s where the clever use of design, and specifically 3D wall panels, comes in.
These aren't just decorative elements; they’re a tool for manipulating perception. They work by playing with how our eyes and brains interpret the space around us. The idea isn’t new – artists have been using optical illusions for centuries to create depth and perspective where none physically exists. 3D wall panels are a modern application of these age-old principles, bringing a level of sophistication and ease to space-expanding design.
At their heart, optical illusions rely on our brains filling in gaps and interpreting visual cues. 3D wall panels capitalize on this by creating shadows, depth, and patterns that trick the eye into perceiving a larger volume than is actually there. It's a relatively simple concept, but the impact can be surprisingly dramatic.
The Psychology of Expansion
To understand why 3D wall panels work so well, we need to look at how our brains process visual information. Our perception of space isn’t based on absolute measurements, but rather on the cues our eyes send to the brain. Things like linear perspective – the way parallel lines appear to converge in the distance – are key components of this process.
3D panels can actively manipulate these cues. A panel with a repeating pattern that seems to recede into the distance will create the illusion of depth. The brain interprets this as a longer space than it actually is. Similarly, the way light and shadow play across the textured surface of a 3D panel creates a sense of volume and dimension.
Texture is incredibly important here. A smooth, flat wall reads as a solid surface. But a textured wall – like one covered in 3D panels – provides more visual information, prompting the brain to work harder to interpret the space. That extra processing creates a richer, more dynamic perception, often translating to a feeling of greater spaciousness. It’s not just about looking bigger, it’s about feeling bigger.
Panel Patterns: Which Expand Best?
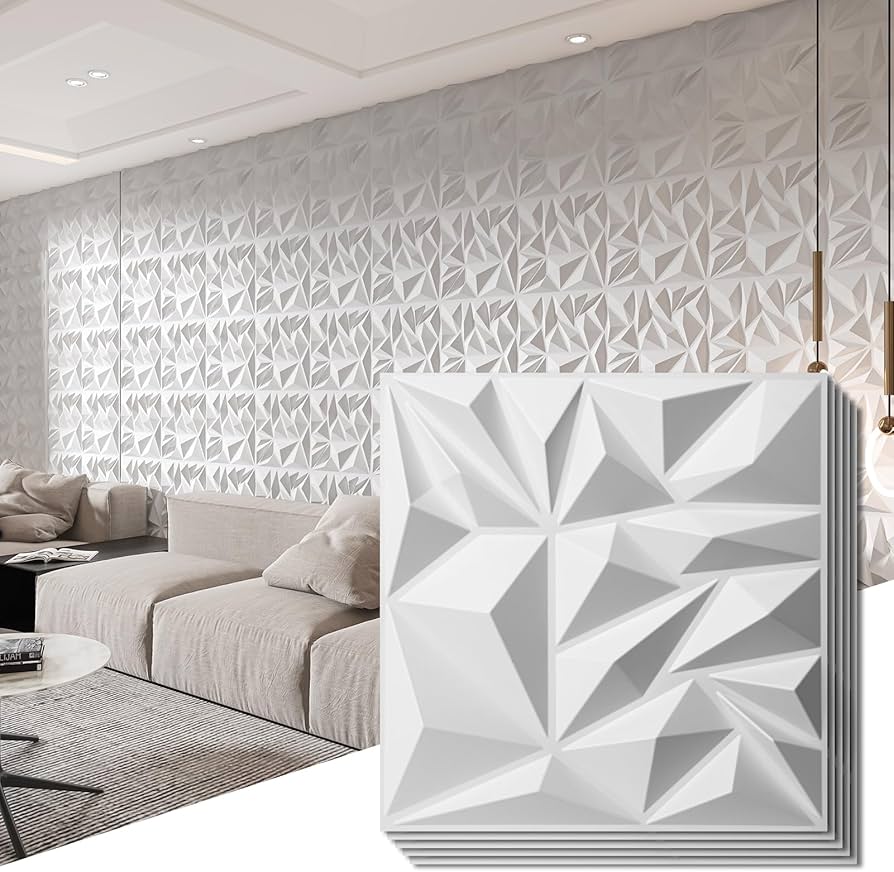
Not all 3D panel patterns are created equal when it comes to maximizing space. Geometric patterns, like triangles and hexagons, tend to be particularly effective. These shapes create a sense of movement and visual interest, drawing the eye across the wall and making the room feel less confined. The repetition inherent in these patterns also contributes to the illusion of depth.
Vertical patterns can visually raise ceilings. By drawing the eye upwards, they create the impression of height, which is especially helpful in rooms with low ceilings. Conversely, horizontal patterns can widen a room, making it feel less narrow. The key is to consider the existing proportions of the space and choose a pattern that complements them.
Panel size also matters. Larger panels can create a bolder, more dramatic effect, but they can also be overwhelming in a small space. Smaller, more intricate designs can be a better choice for creating a subtle but noticeable expansion. According to a 2024 trend report by Whole3D, homeowners are increasingly opting for modular panels that allow for custom arrangements, offering flexibility in pattern creation.
I’ve noticed in my experience that panels with a subtle, three-dimensional relief – meaning they aren’t overly protruding – tend to work best for creating a sense of spaciousness without feeling visually cluttered. Overly ornate or busy patterns can actually have the opposite effect, making a small room feel even smaller.
- Geometric patterns: Triangles, hexagons, and other repeating shapes create depth.
- Vertical patterns: Visually raise ceilings, ideal for low-ceilinged rooms.
- Horizontal patterns: Widen a room, making it feel less narrow.
- Modular panels: Offer custom arrangements for flexible design.
3D Panel Illusion Ratings
- Arc - Featuring a repeating, curved wave design, Arc panels create a sense of gentle movement across the wall. This subtle texture can draw the eye and make a space feel less boxy.
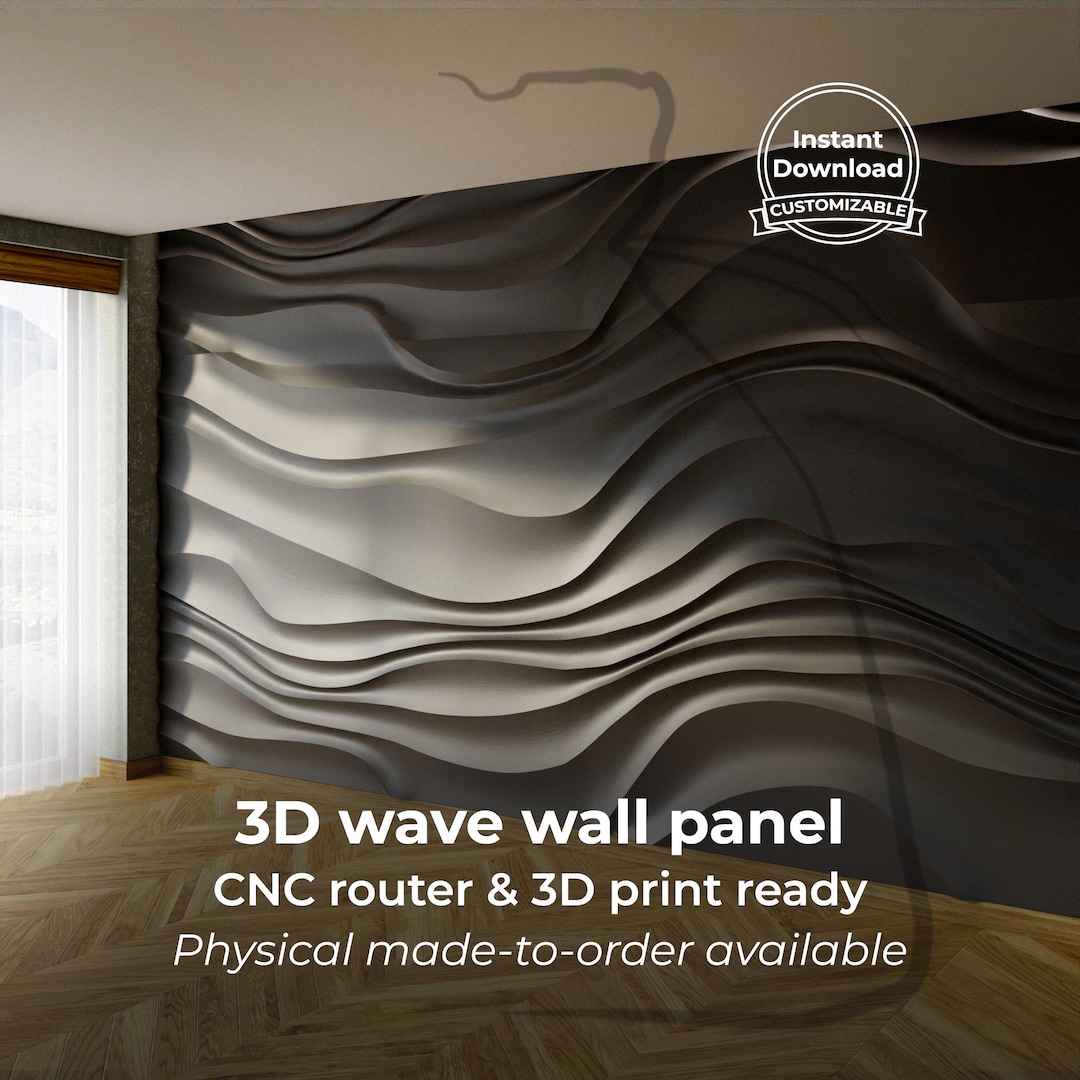
- Wave - As the name suggests, Wave panels mimic the form of ocean waves. The dynamic, flowing pattern adds depth and can visually lengthen a room. Best in spaces needing a coastal or organic feel.
- Honeycomb - Composed of a repeating hexagonal pattern, Honeycomb panels offer a modern, geometric aesthetic. The angles created by the hexagons can subtly disrupt visual lines, making a space feel larger.
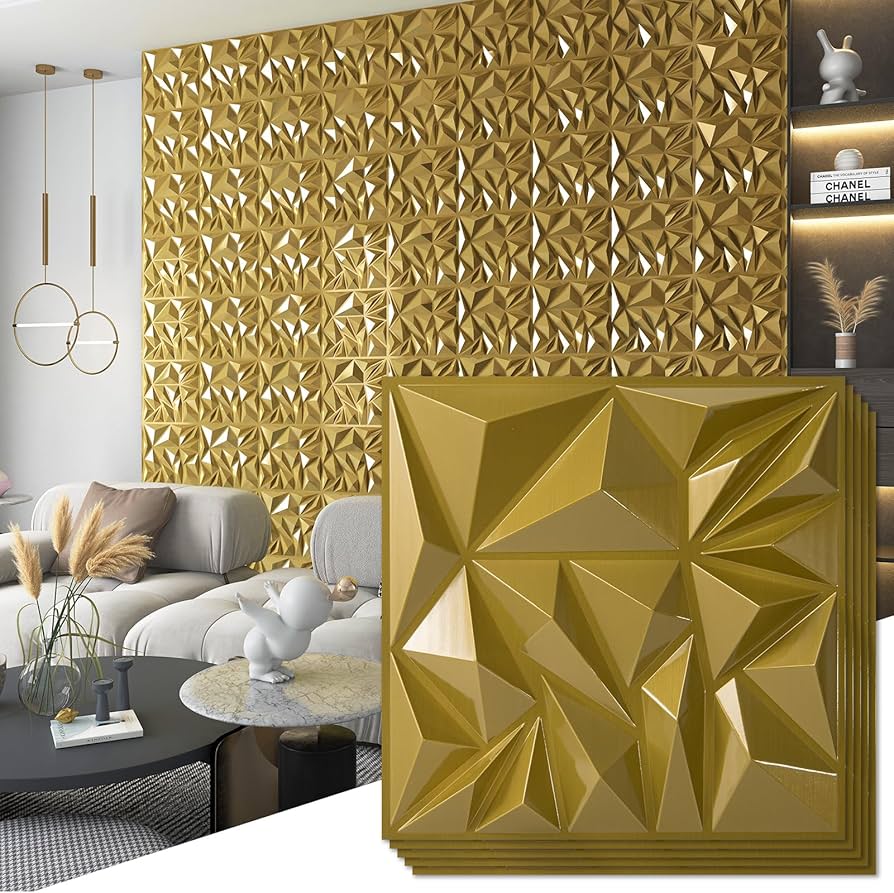
- Diamond Grid - This pattern utilizes a network of raised diamond shapes. The intersecting lines and angles create a strong visual texture that can add depth and dimension, potentially expanding perceived space.
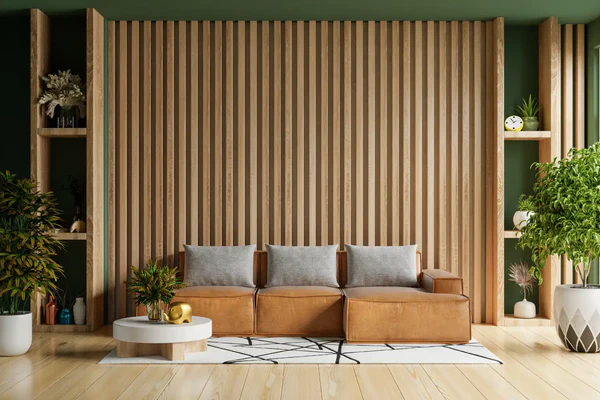
- Ribs - Rib panels feature a series of vertical, raised lines. This design can effectively draw the eye upward, creating the illusion of increased ceiling height. Effective when installed across a full wall.
- Stripe - A simple yet effective design, Stripe panels consist of raised, linear stripes. Similar to Ribs, vertical stripes can visually lift the ceiling, making a room feel taller and more open.
- Geo - Geo panels present a randomized, angular pattern. This irregular texture can break up the monotony of flat walls and create a sense of depth, contributing to a more spacious feel.
Color & Light: Amplifying the Effect
3D wall panels don’t operate in isolation; color and lighting play a crucial role in maximizing their space-expanding potential. Generally, lighter colors make spaces feel larger and more open. Whites, creams, and pale grays reflect light, creating a brighter, airier atmosphere. However, don’t shy away from darker shades entirely.
Strategic use of darker colors can actually create depth and dimension. A darker accent wall with 3D panels can recede visually, making the room feel longer. The contrast between light and dark also emphasizes the texture of the panels, further enhancing the illusion of depth.
Lighting is equally important. Side lighting will emphasize the texture and shadows of the panels, accentuating their three-dimensional quality. Spotlights can highlight specific patterns or design elements. Avoid harsh, direct lighting, which can flatten the surface and diminish the effect. A common mistake is using overly busy patterns in already cluttered spaces. Simplicity is often key – let the panels be the focal point.
Consider the existing light sources in the room. If the space is naturally dark, opt for lighter panel colors and brighter lighting. If it’s already well-lit, you can experiment with darker shades and more subtle lighting schemes.
Installation Simplified: A Realistic View
The idea of installing wall panels might sound daunting, but with Whole3D panels, it’s surprisingly straightforward. Many of our panels come with pre-applied adhesive backing, making them easy to apply directly to the wall. The materials are also lightweight, reducing the risk of damage or strain during installation.
Preparation is key. Before you begin, ensure the wall is clean, dry, and smooth. Filling any holes or imperfections will create a more even surface for the panels. Priming the wall is also recommended, especially if it's a porous surface. This will help the adhesive adhere properly.
Cutting panels to fit around windows, doors, or other obstacles is often necessary. A utility knife or a fine-toothed saw can be used for this purpose. Take your time and measure carefully to ensure a clean, precise cut. Aligning the patterns can also be a bit tricky, so it’s helpful to dry-fit the panels before applying the adhesive.
While the process is generally easy, it’s important to be patient and methodical. Rushing the installation can lead to mistakes and a less-than-ideal result. Whole3D provides detailed installation guides and videos to help you every step of the way.
- Clean and prepare the wall: Ensure it is clean, dry, and smooth.
- Prime the wall: Recommended for porous surfaces.
- Dry-Fit Panels: Align patterns before applying adhesive.
- Cut Carefully: Use a utility knife or fine-toothed saw.
Real Rooms, Real Results
Seeing is believing. Whole3D panels have transformed countless small spaces, and the results speak for themselves. In a recent project, a homeowner used our 'Wave' panels in a narrow hallway to create a sense of depth and flow. The light color and subtle texture made the hallway feel significantly wider.
Another customer utilized our geometric panels in a small bedroom to visually raise the ceiling. The vertical pattern and light gray color created a more open and airy feel. A home office was revitalized with a dark accent wall featuring 3D panels, creating a sophisticated and spacious work environment.
These aren't show homes, these are real spaces owned by people who wanted to make the most of what they had. The key in each case was understanding the principles of space-expanding design and choosing panels that complemented the room’s existing features.
Beyond Walls: Expanding the Concept
The versatility of 3D wall panels extends beyond traditional walls. Consider using them on ceilings to create a loft-like feel, adding a dramatic and unexpected element to the space. Accent walls are another great option, drawing the eye and creating a focal point that can visually expand the room.
In open-plan layouts, panels can be used to break up the space or define zones. For example, you could use panels to create a distinct dining area within a larger living room. While these applications require a bit more creativity, they can yield stunning results.
Maintenance & Longevity
Maintaining the beauty of your Whole3D panels is simple. Regular dusting with a soft cloth will remove most dirt and debris. For more stubborn stains, gently wipe the panels with a damp cloth and mild detergent. The materials are durable and resistant to damage, but avoid using abrasive cleaners or harsh chemicals.
Most of our panels are paintable, allowing you to customize the color to match your existing décor. This also means you can refresh the look of your panels over time without having to replace them. With proper care, your Whole3D panels will enhance your space for years to come.
No comments yet. Be the first to share your thoughts!