
Kickstart Your Home Transformation: The Magic of 3D Wall Panel Decor
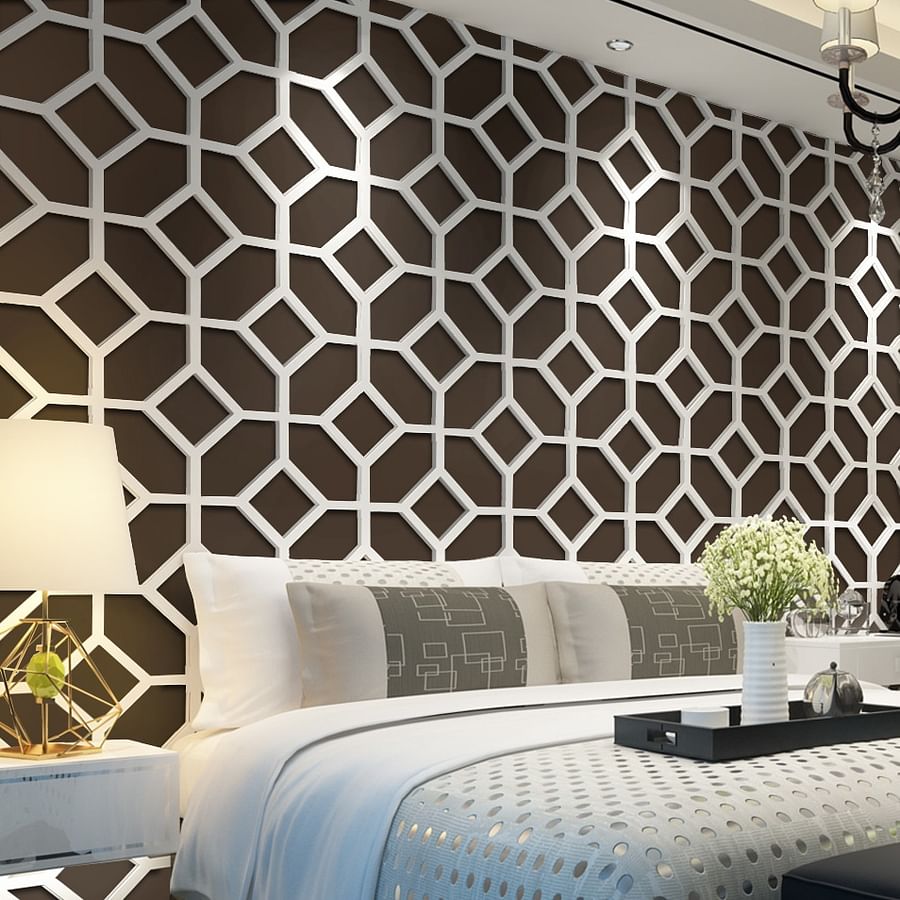
Imagine stepping into a room that feels like a living, breathing entity, where walls aren't just barriers but canvases telling a story. Welcome to the world of 3D wall panel decor, a game-changer in home transformation. These innovative panels elevate your space from the ordinary to the extraordinary, but their installation requires precision. And that's where the art of cutting and trimming 3D wall panels comes into play.
Why is this so crucial? Because the beauty of a 3D wall panel design lies in its perfect fit and seamless finish. The slightest misstep in cutting or trimming can mar its visual appeal. But don't worry, we've got you covered. We're about to guide you through the process, ensuring you avoid common pitfalls and achieve a stunning result. Ready to dive into the world of customizing 3D wall panels?
The ABCs of 3D Wall Panels: From Materials to Design
Immerse yourself in the world of 3D wall panels, where design and functionality merge to create a unique aesthetic for your space. These panels come in a variety of materials, each with its own unique properties. Whether you're working with eco-friendly panels from our green collection or experimenting with the limitless possibilities of custom designs, the cutting and trimming process is crucial. Different materials require different approaches, and understanding this is key to a seamless installation. So, how does the material affect the cutting and trimming process? And how can you ensure a perfect fit every time? Let's dive into these questions, and more, as we explore the fascinating world of 3D wall panel decor.
Your Toolbox Essentials: What You Need for Cutting 3D Wall Panels
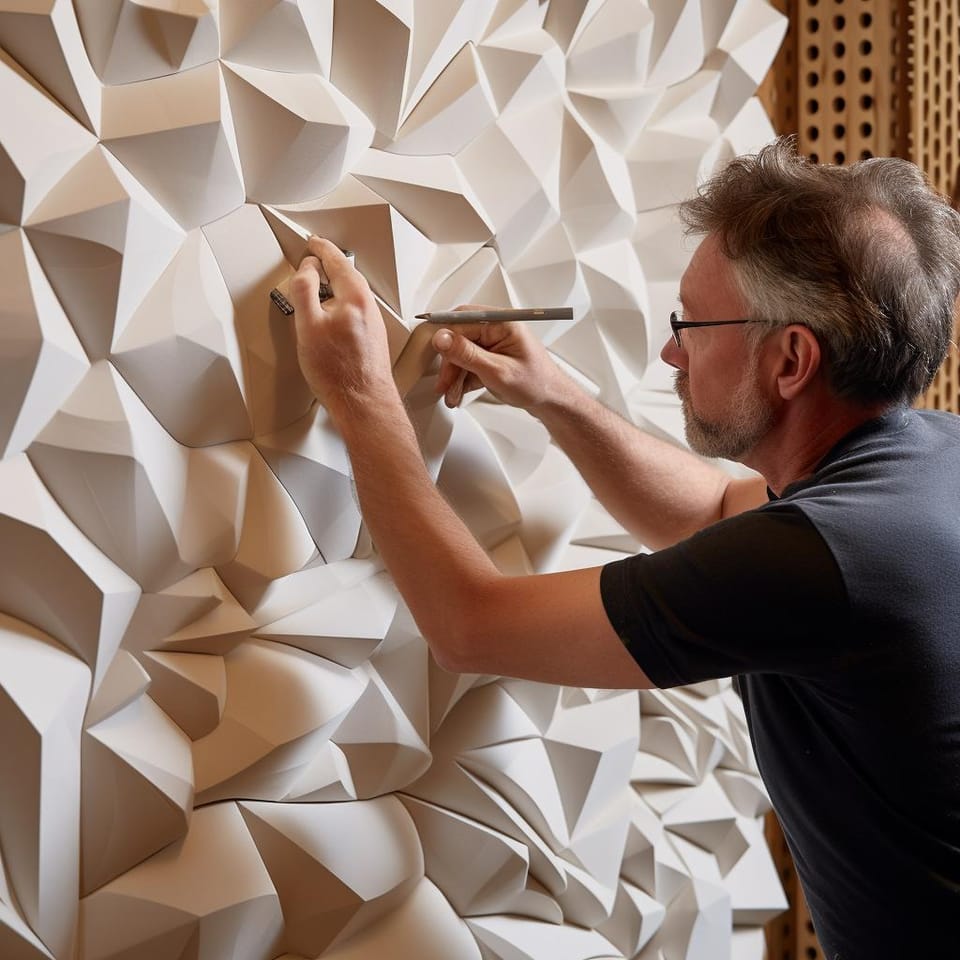
So, you're ready to add some depth and drama to your walls with 3D wall panel decor, but you're wondering about the right tools for cutting and trimming 3D wall panels? Well, fear not, my friend! Just like a seasoned chef needs their trusty knife, you too will need a few key tools to get the job done.
First, a sturdy utility knife is your best ally for cutting 3D wall panels. A straightedge ruler will ensure your cuts are precise and clean. A measuring tape is essential for accurate sizing. Finally, some fine-grit sandpaper is perfect for smoothing out any rough edges after trimming. Remember, customized 3D wall panel design is all about precision and attention to detail. So, are you ready to transform your home with 3D panels?
Next, let's dive into the step-by-step guide to 3D wall panel installation.
Essential Tools for Cutting and Trimming 3D Wall Panels
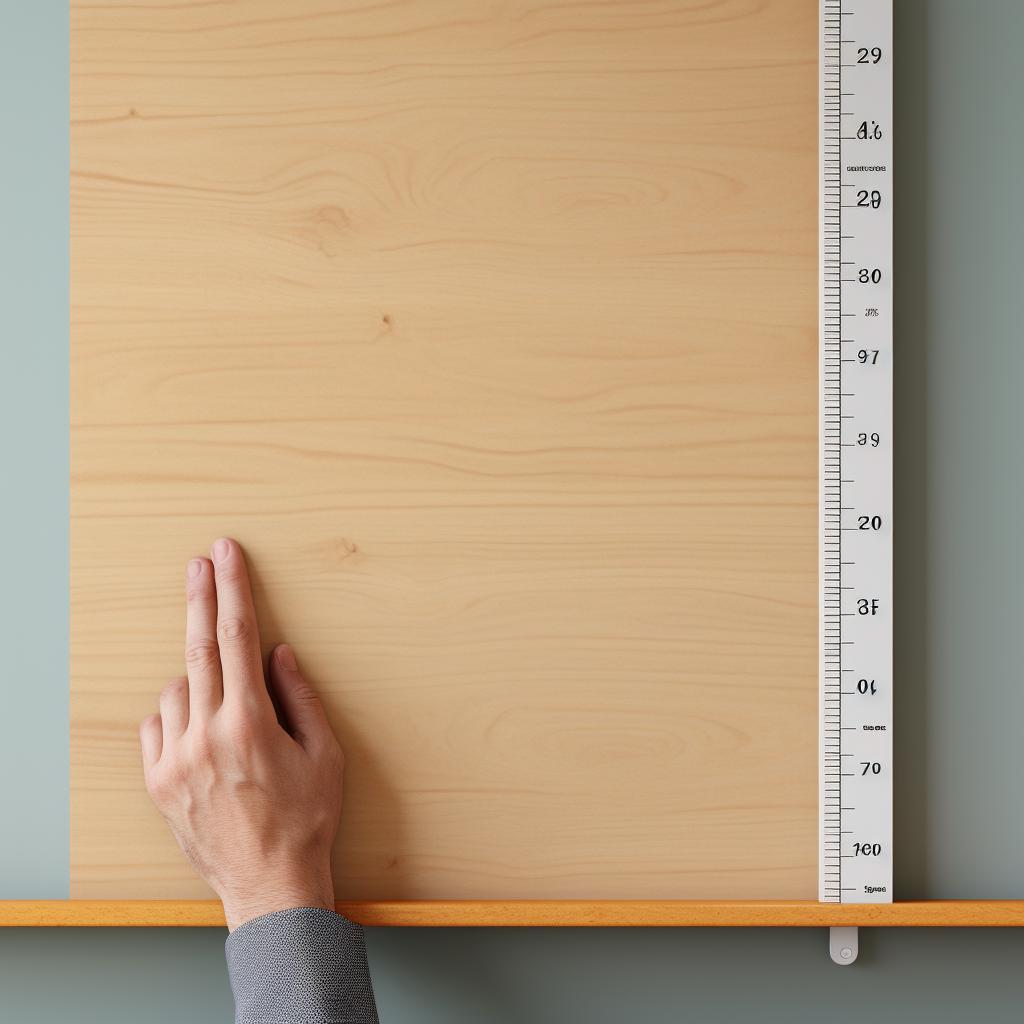
- Measuring Tape: An essential tool for accurate measurements of your wall and panels. It ensures that your 3D wall panels fit perfectly onto your wall.
- Utility Knife: A sharp utility knife is crucial for making clean, precise cuts on your 3D wall panels. A dull blade can lead to rough edges and uneven cuts.
- Straightedge: A straightedge or a level helps guide your utility knife for straight cuts. It's especially helpful when you need to cut long, straight lines.
- Fine-grit Sandpaper: After cutting and trimming your 3D wall panels, you may find some rough edges. Fine-grit sandpaper is perfect for smoothing these out and ensuring a professional finish.
- Marker or Pencil: A marker or pencil is necessary for marking your measurements on the 3D wall panels before cutting. Always remember to mark on the backside of the panel to avoid visible lines.
- Work Gloves: Safety is paramount in any DIY project. Work gloves protect your hands from accidental cuts and provide a better grip on your tools.
- Safety Glasses: While cutting and trimming 3D wall panels, small particles can fly off. Safety glasses protect your eyes from these potential hazards.
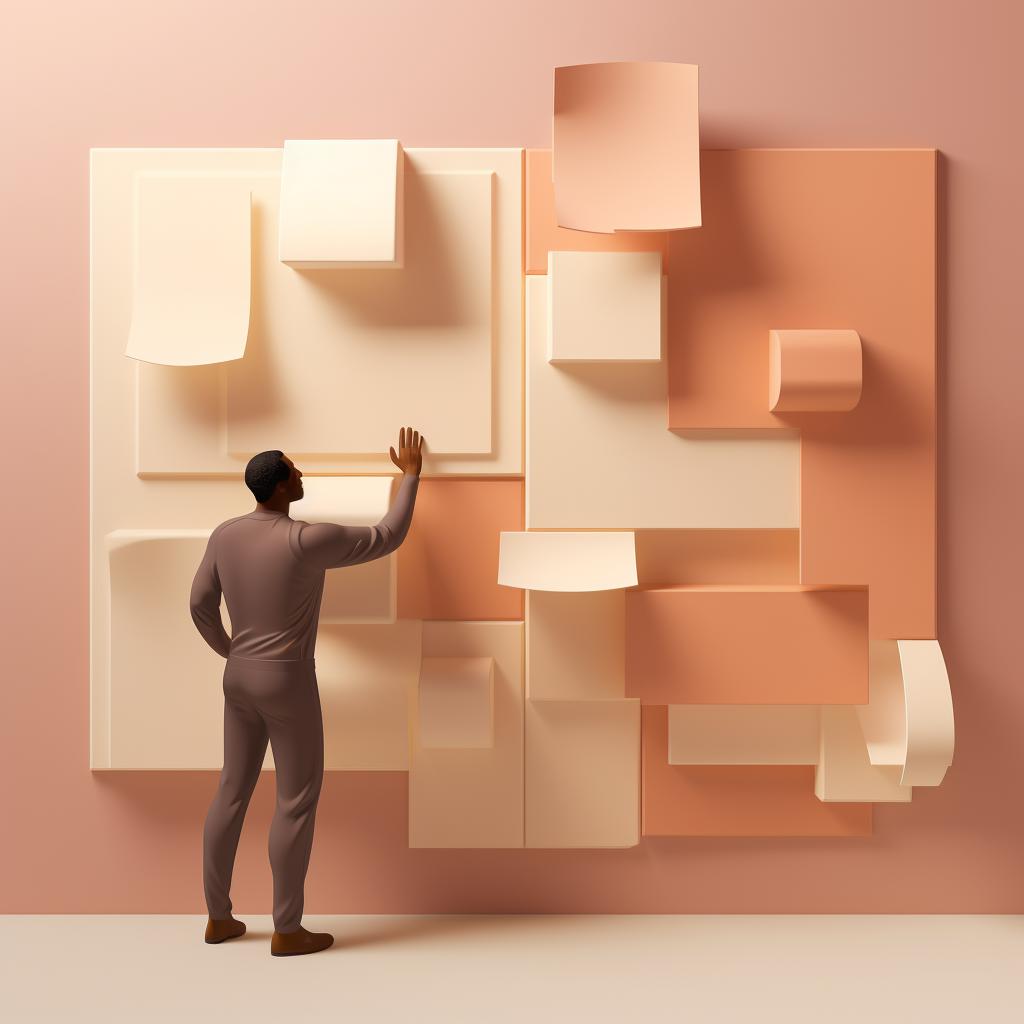
Master the Art of 3D Wall Panel Installation: A Step-by-Step Guide
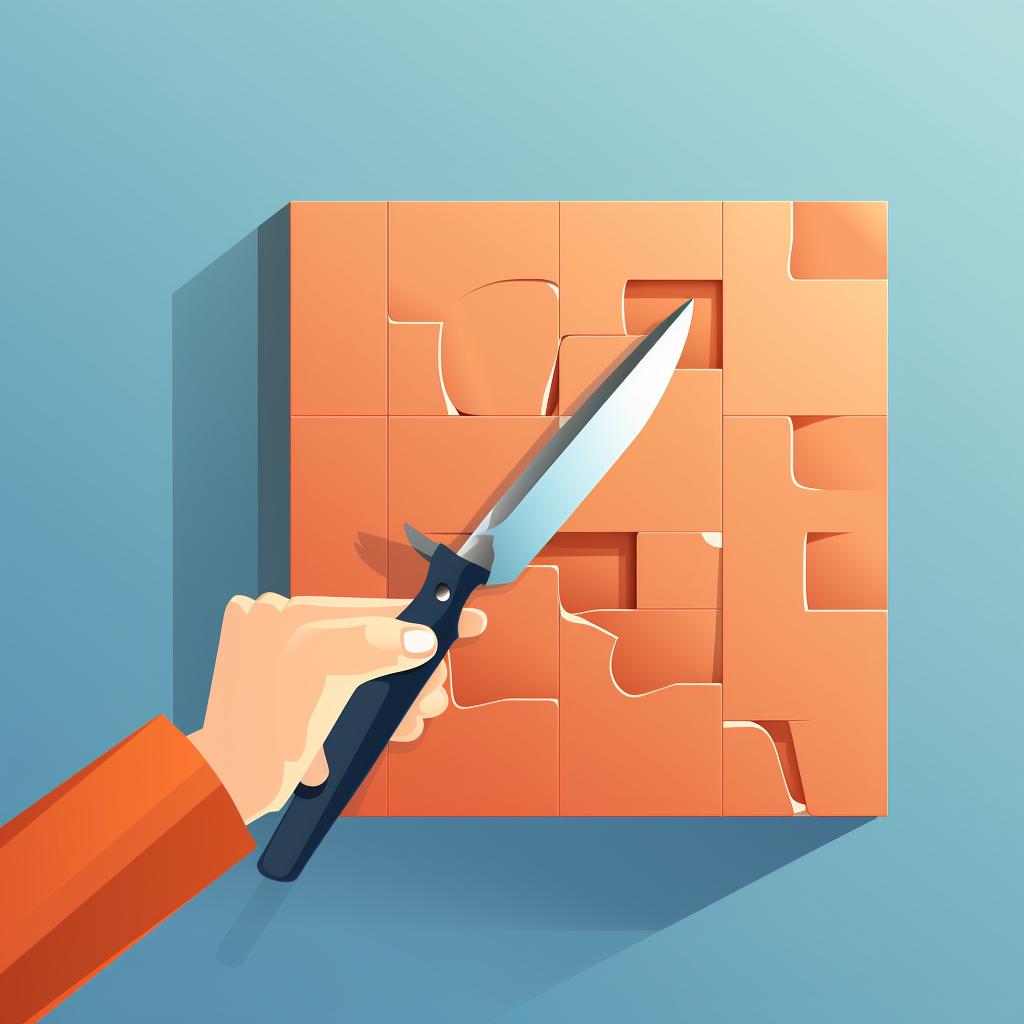
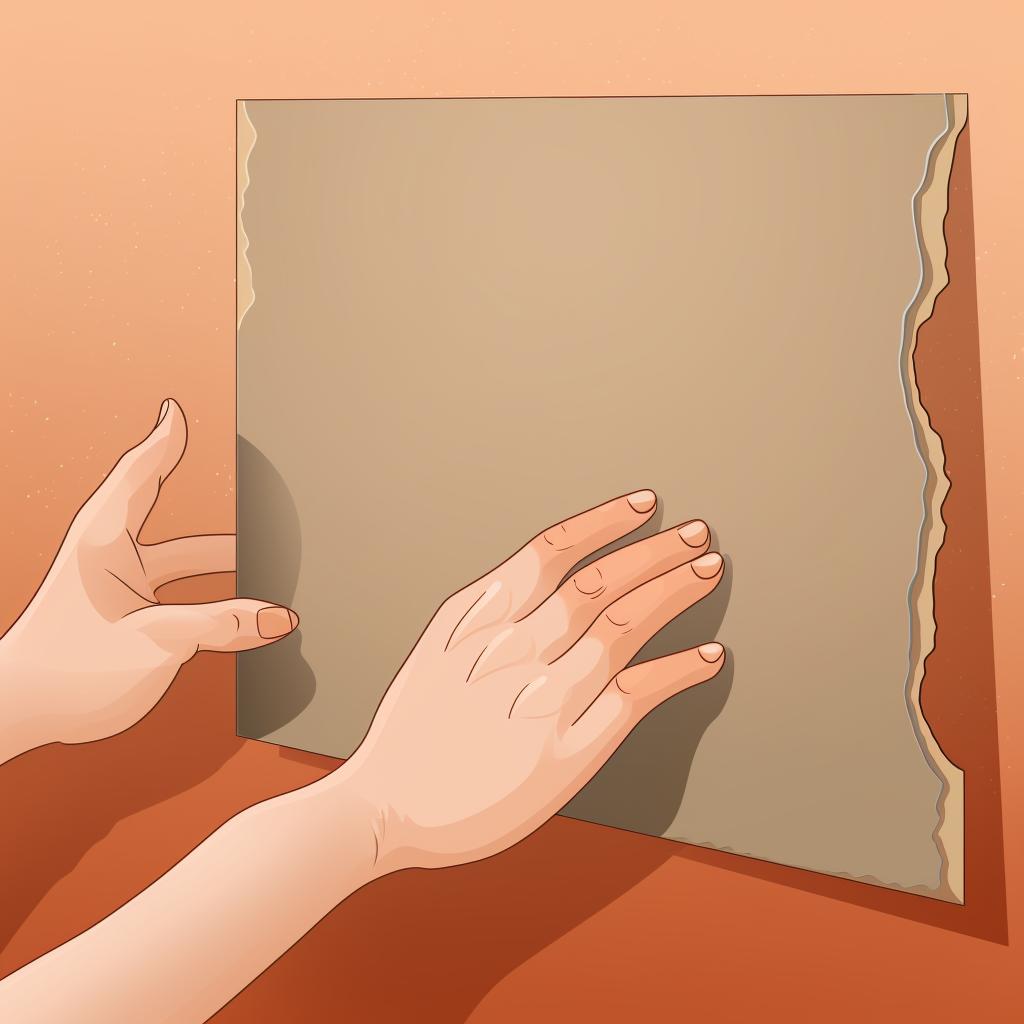
Now that we've understood the types of 3D wall panels and gathered our tools, let's dive into the step-by-step process of cutting and trimming these panels. Each step will include helpful tips and common mistakes to avoid.
Master the Craft: Cutting and Trimming 3D Wall Panels

Learn more about Master the Craft: Cutting and Trimming 3D Wall Panels ✂️ or discover other Whole 3D guides.
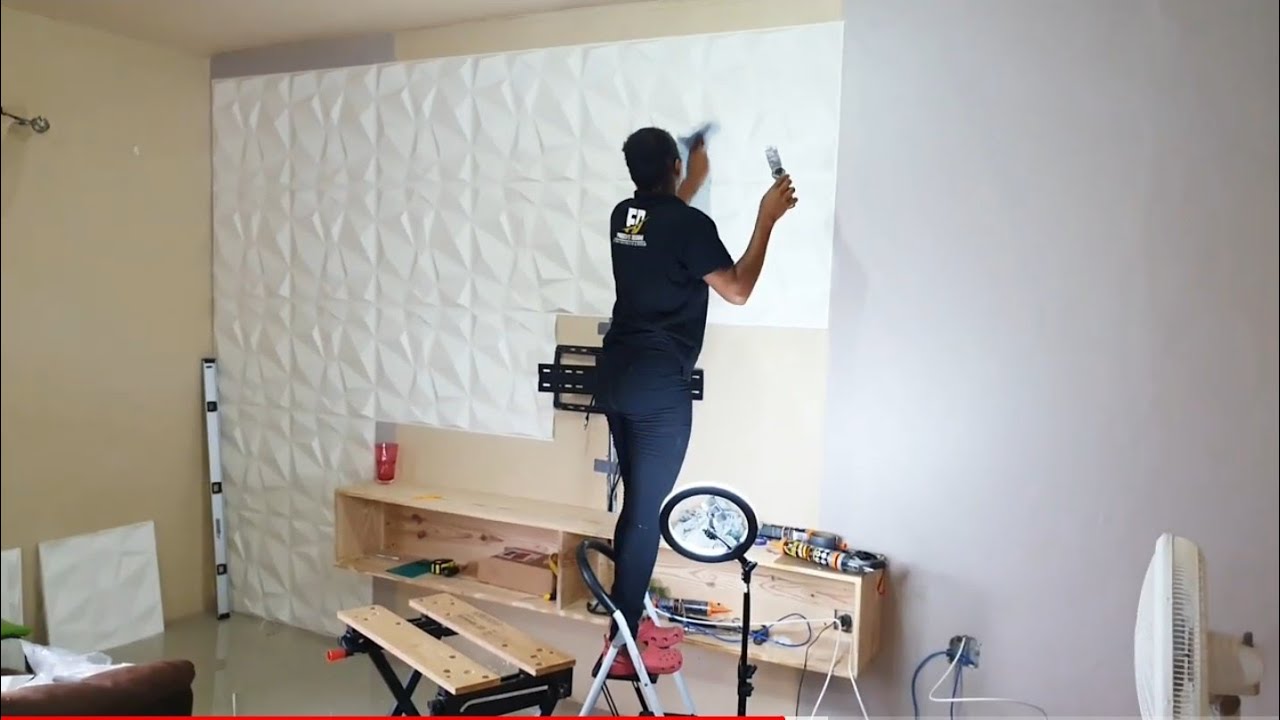
That's it! You've successfully cut and trimmed your 3D wall panel. Now, let's move on to the installation process. For a visual guide, check out our video tutorial below.
Let's take a look at a practical demonstration of the steps discussed above. This video tutorial by 'IVORI Home' provides a concise and clear guide on how to properly cut and trim 3D wall panels.
Having seen the practical demonstration, let's move on to discuss some safety tips and best practices to keep in mind while performing these tasks.
Safety First! Best Practices for Cutting and Trimming 3D Wall Panels
While the thrill of transforming your space with 3D wall panel decor is undeniably exciting, it's crucial to prioritize safety and precision. Cutting and trimming 3D wall panels demands a keen eye, steady hands, and a respect for the tools you're wielding. Remember, one wrong move could not only risk injury but also compromise the quality of your panels. So, how can you ensure both safety and accuracy?
It starts with the right mindset. Approach your 3D wall panel installation with thoughtfulness, patience, and a willingness to learn. Don't rush the process; take your time to measure twice and cut once. And always, always handle your tools with care. These simple practices will not only protect you but also ensure the longevity and aesthetic appeal of your 3D wall panel design. Ready to dive in? Let's explore some essential safety tips and best practices.
Before we dive into the Frequently Asked Questions, let's ensure you're well-equipped to handle the tools and equipment safely. Here's a quick safety checklist for you to follow:
Now that you're aware of the safety precautions, let's move on to some common questions you might have about cutting and trimming 3D wall panels.
Got Questions? We've Got Answers: FAQs on 3D Wall Panel Installation
We understand that cutting and trimming 3D wall panels can be a bit challenging, especially if you're new to it. Here are some frequently asked questions that might help you in your project:
We hope these answers have clarified any doubts you had about cutting and trimming 3D wall panels. Remember, precise cutting and trimming are key to a perfect fit and finish. Happy decorating!
Wrapping Up: The Impact of Precision on Your 3D Wall Panel Design
As we wrap up our symphony of 3D wall panel customization, it's clear that precision and patience are the unsung heroes of a flawless finish. With the right tools and a careful approach, you can cut and trim your panels to create a harmonious design that will transform your space.
Remember, your home is your canvas, and these 3D wall panels are your medium. Will you craft a serene sanctuary or a vibrant hub of creativity? Perhaps you'll add a touch of elegance to your home office or a splash of fun to a child's playroom. The choice is yours.
So, take the plunge, embrace the process, and let the transformation begin. And if you're still thirsting for more tips, don't forget to check out our installation guide. After all, isn't it time your walls matched the depth of your dreams?


No comments yet. Be the first to share your thoughts!