
Choose the right 3D wall panels
Selecting the correct material and pattern is the foundation of a successful installation. Match the panel type to your wall surface and the room's humidity levels to avoid warping or poor adhesion.
PVC, MDF, and Foam: Material Comparison
The three most common materials for 3D wall panels are PVC, MDF, and foam. Each has distinct properties regarding durability, weight, and water resistance.
| Material | Durability | Weight | Best Use Location |
|---|---|---|---|
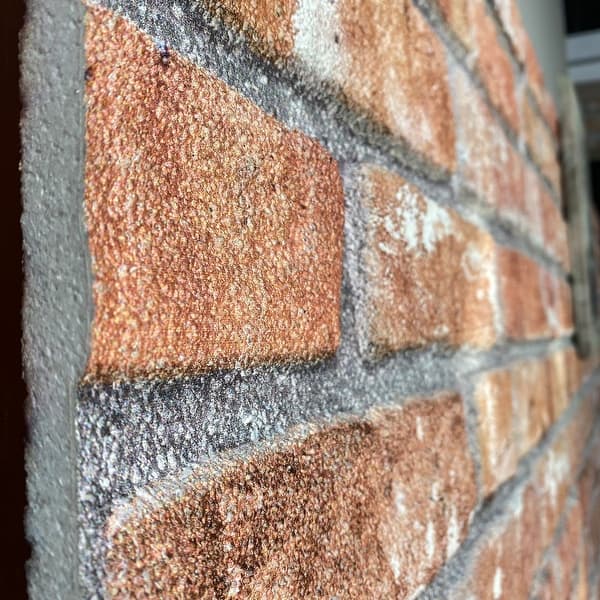
| PVC | High | Light | Bathrooms, kitchens, high-traffic areas |
| MDF | Medium | Heavy | Living rooms, bedrooms, accent walls |
| Foam | Low | Very light | Temporary decor, ceilings, low-traffic zones |
PVC panels are thermoformed and highly durable, making them ideal for moisture-prone areas like bathrooms and kitchens. They are lightweight and easy to cut with a utility knife. MDF panels offer a smoother, paintable surface but are heavier and sensitive to water. They work best in dry, climate-controlled rooms. Foam panels are the lightest option and easiest to install, but they lack the structural integrity for long-term use in high-traffic areas.
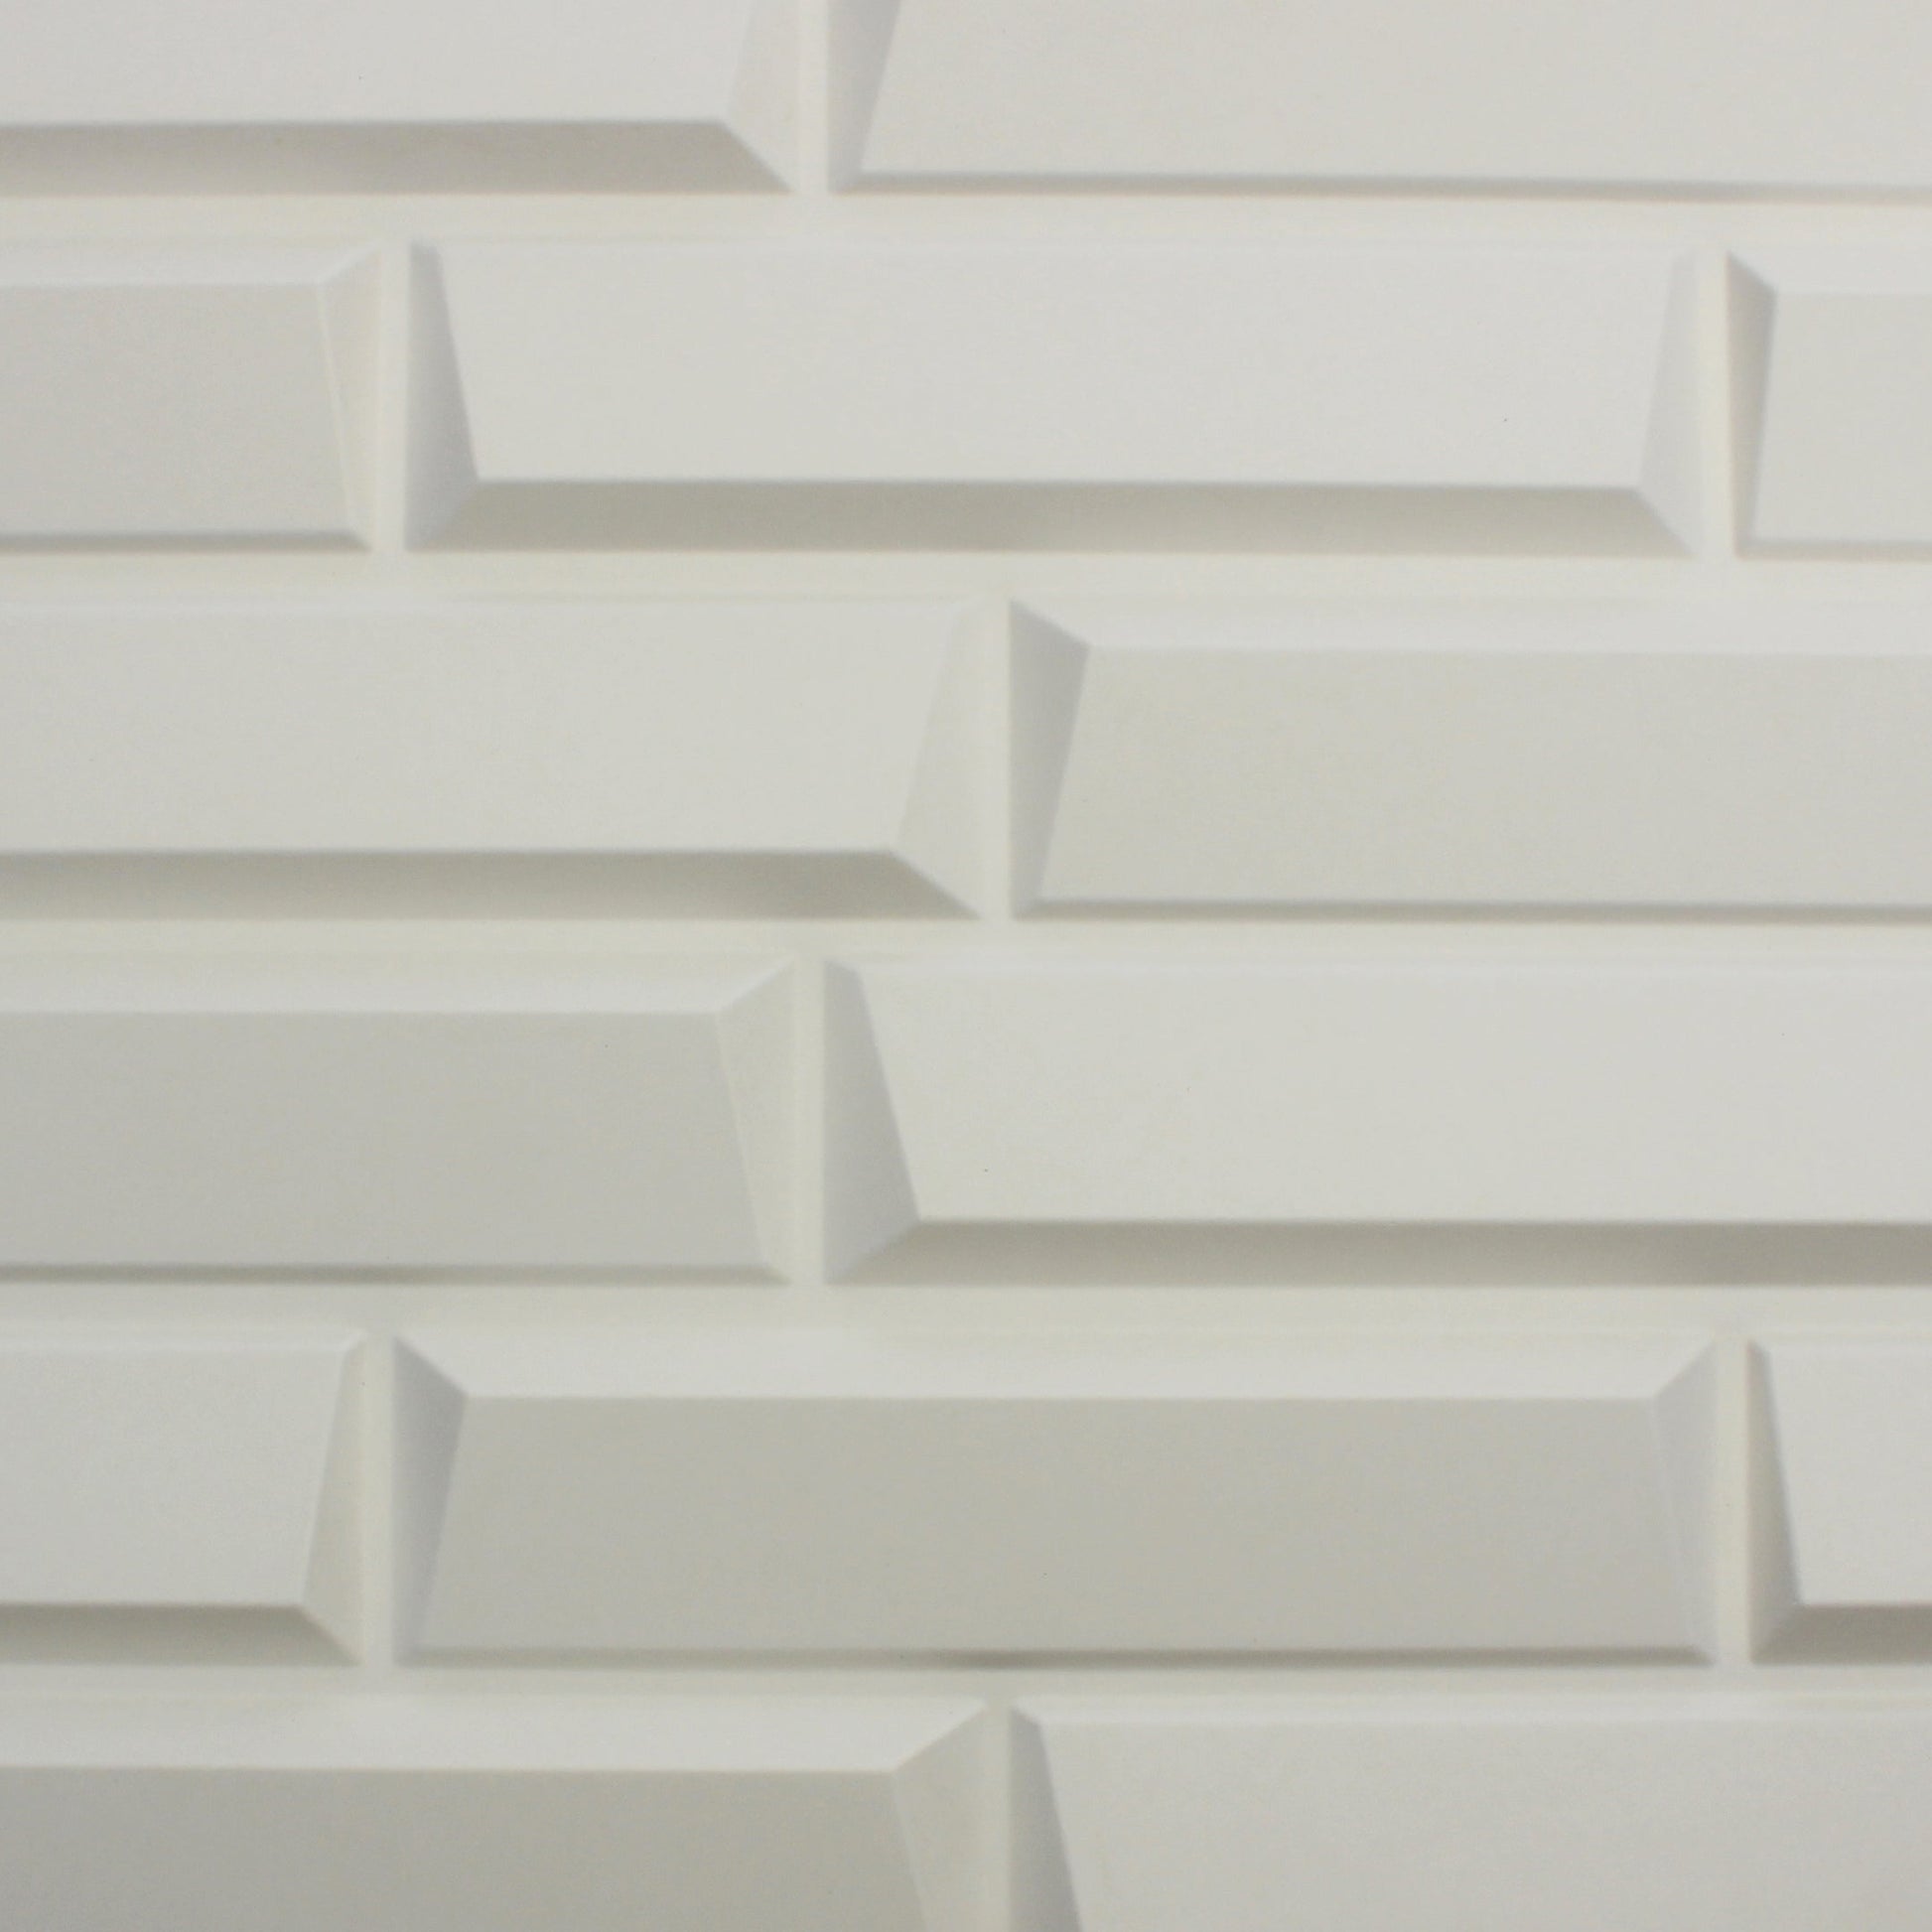
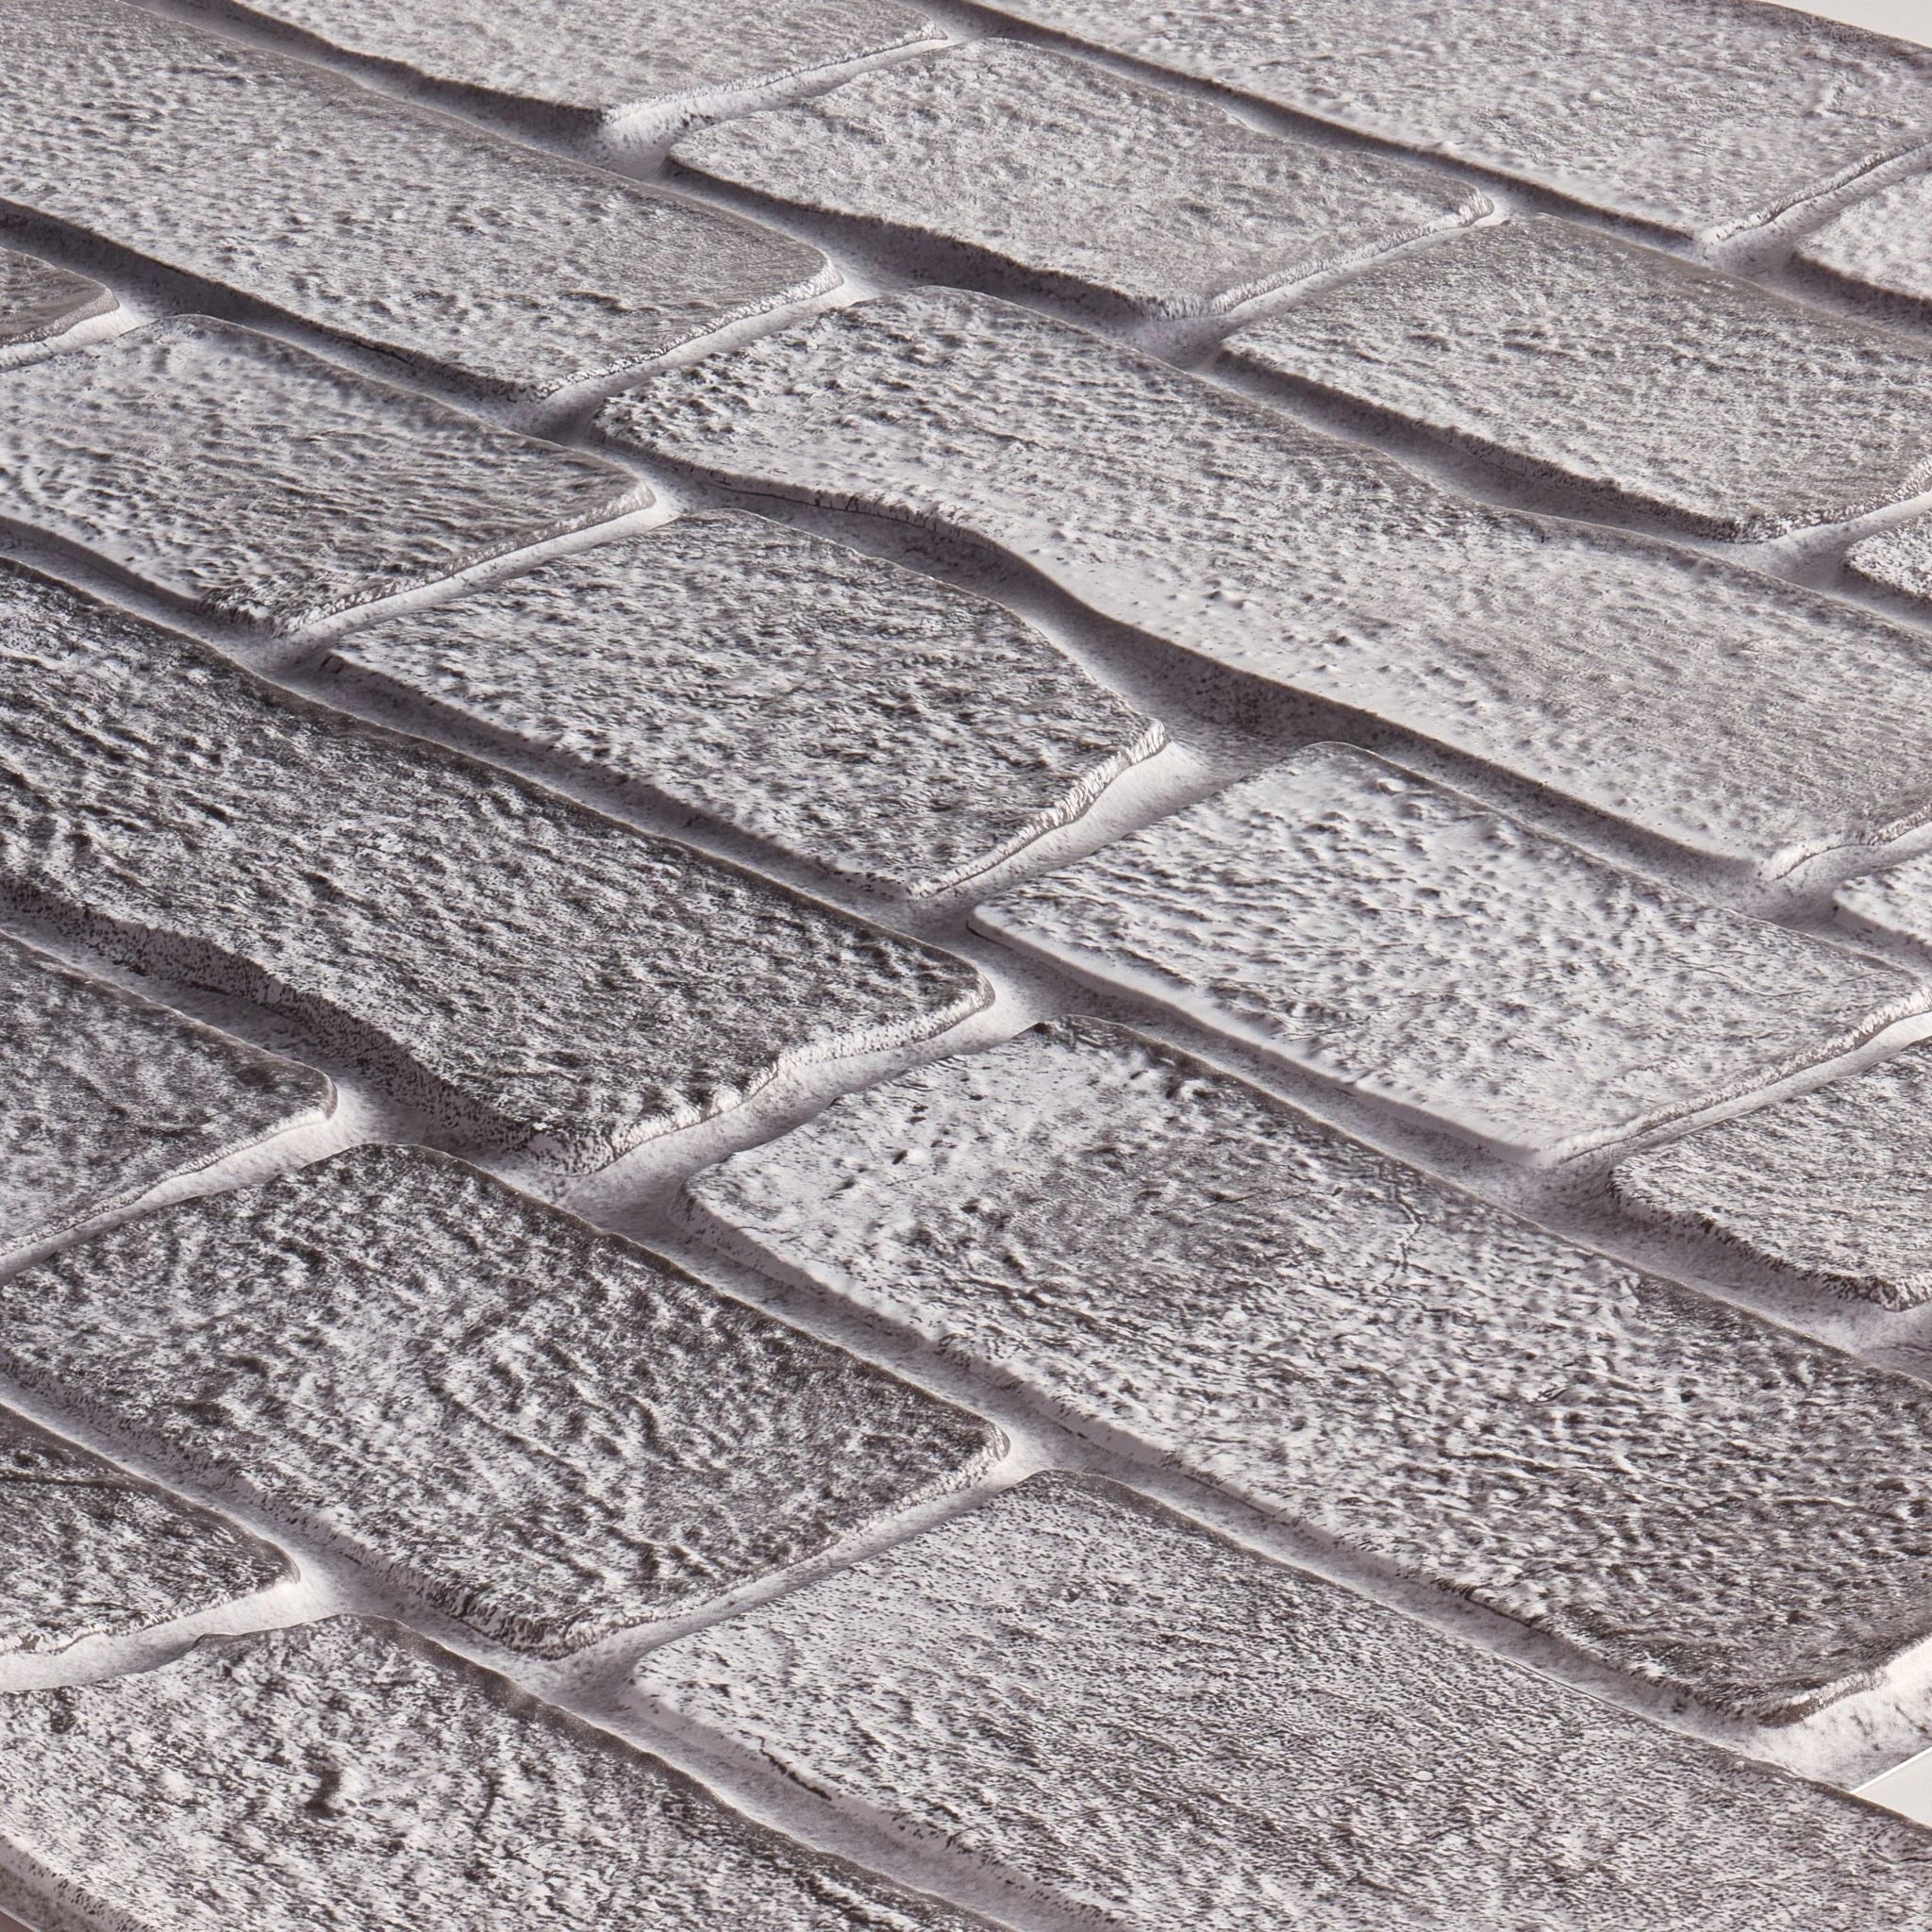
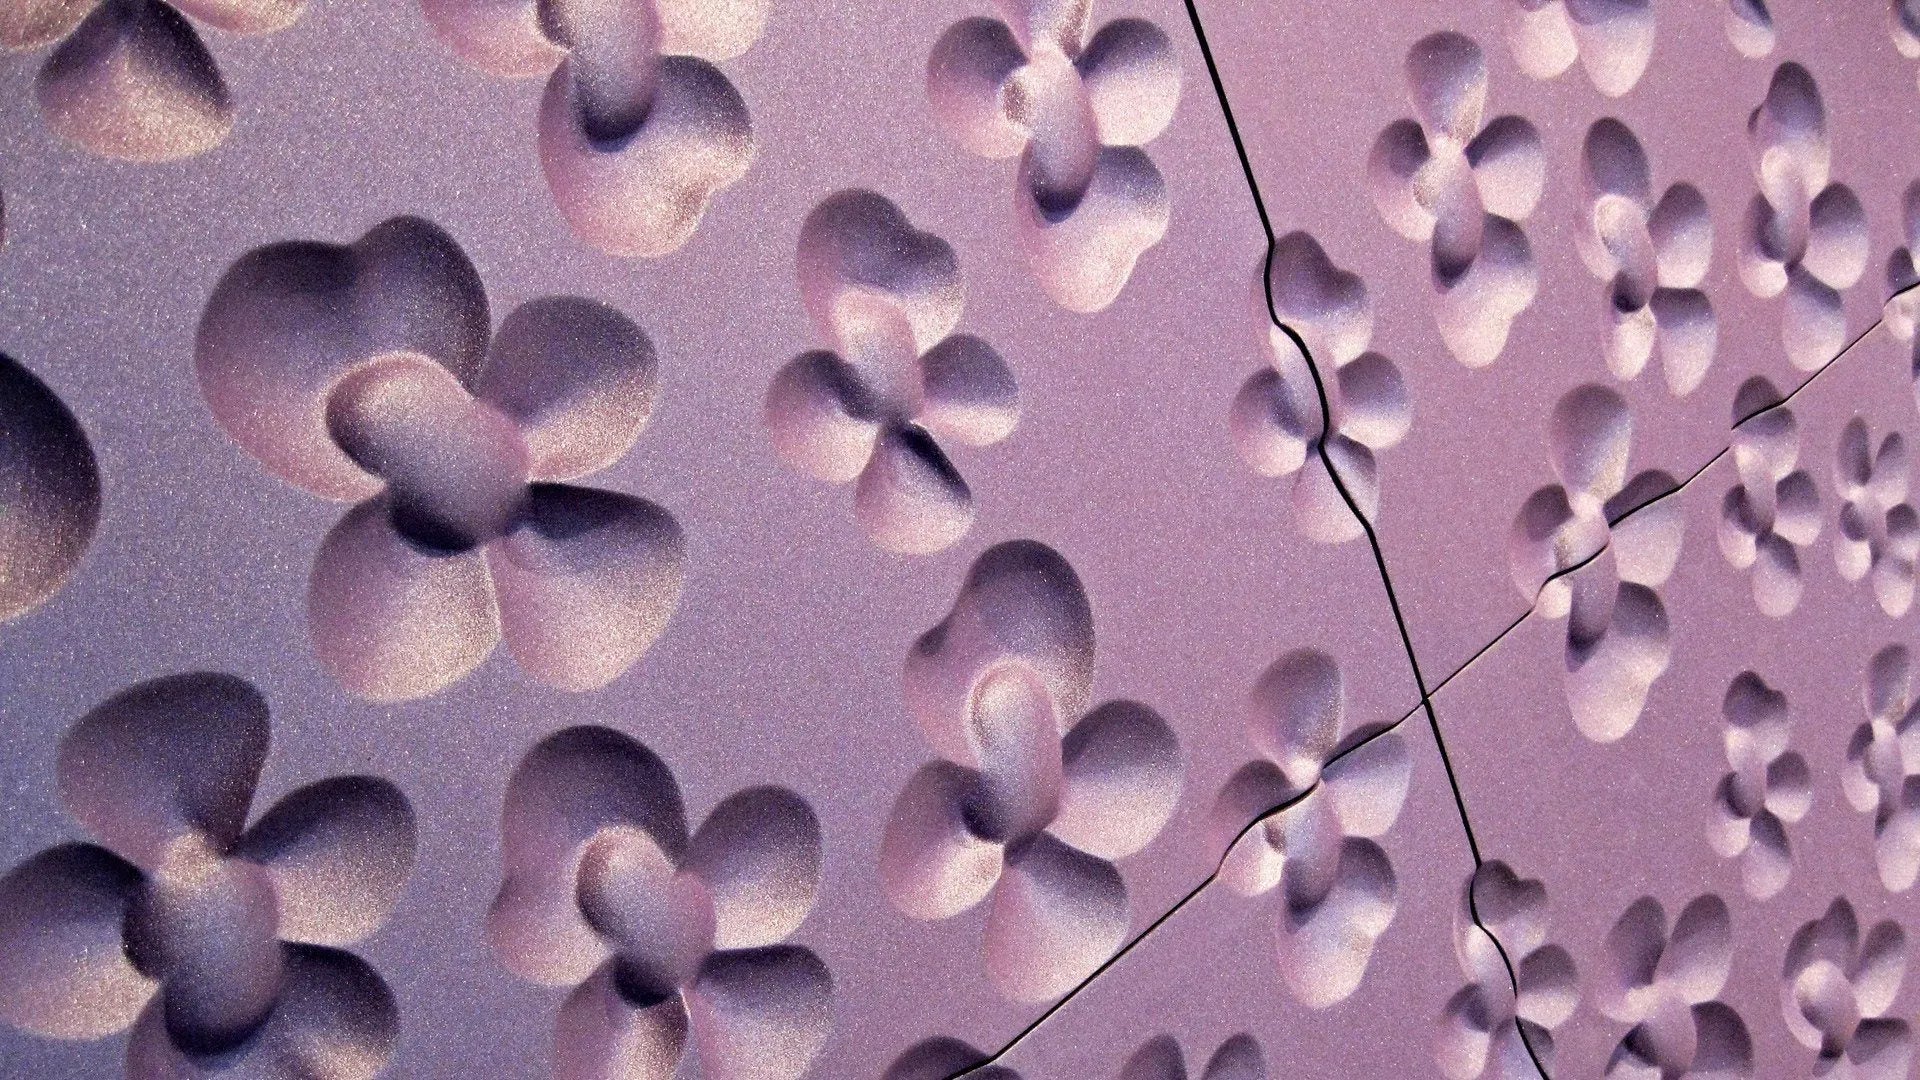
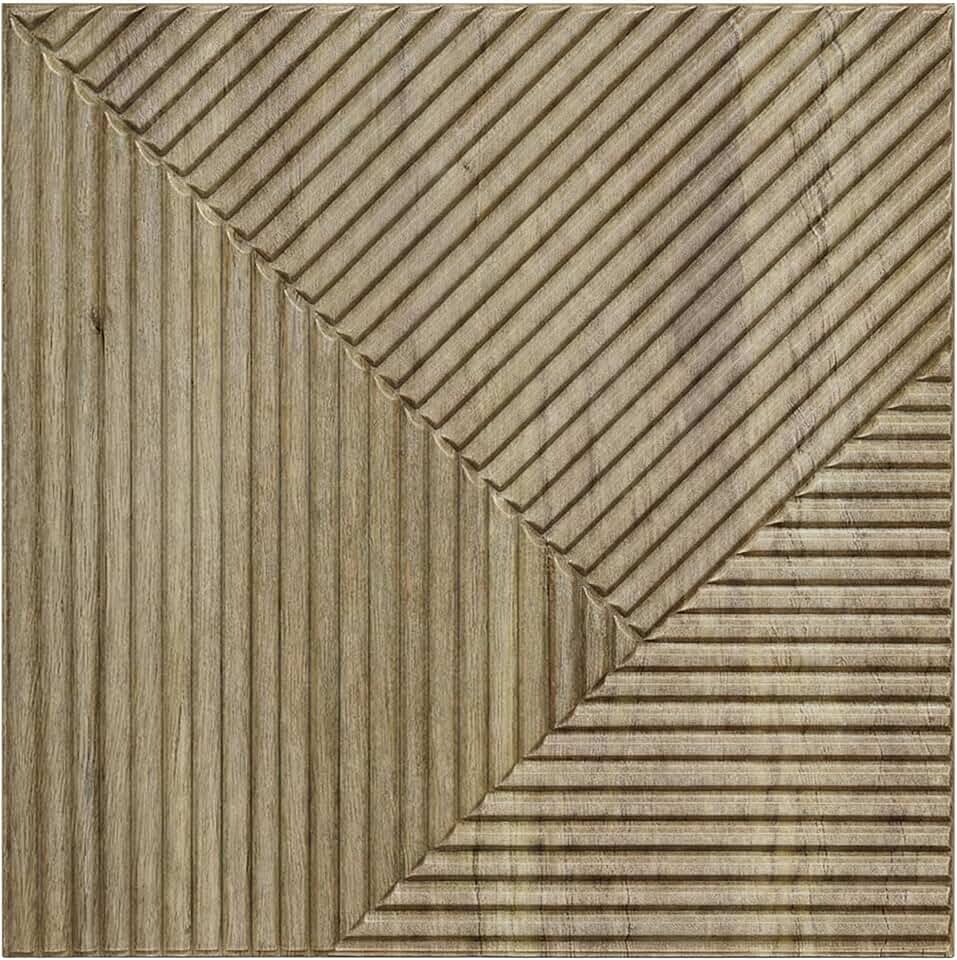
Matching Patterns to Your Space
Beyond material, the pattern determines the visual impact. Geometric designs like waves or diamonds add depth and shadow, while organic patterns mimic natural textures like stone or wood. Consider the room's size: small, intricate patterns can make a large room feel cozy, while large-scale patterns can overwhelm a small space.
Before buying, check the manufacturer's specifications for mounting requirements. Some panels require adhesive, while others are peel-and-stick. Ensure your wall is clean, dry, and smooth to guarantee a secure bond.
-
Measure wall area and calculate panel coverage
-
Choose PVC for wet areas, MDF for dry accent walls
-
Verify wall surface is clean and flat
-
Order 10% extra material for cutting waste
Prepare the wall surface
Before installing 3D wall panels, you must ensure the wall is clean, dry, and smooth. Skipping this step often leads to peeling, uneven surfaces, or adhesive failure.
Start by removing any existing hardware, such as switches, outlets, or picture hooks. Clean the wall thoroughly to eliminate dust, grease, and dirt. A mixture of warm water and mild detergent works well for most surfaces. Rinse with clean water and let the wall dry completely.
Inspect the wall for imperfections. Fill any holes, cracks, or dents with spackling paste. Sand the patched areas smooth once the paste dries. If the wall has a glossy finish, lightly sand it to create a textured surface for better adhesion. Wipe away any sanding dust with a damp cloth.
Take down any switches, outlets, or hooks. Wash the wall with warm soapy water to remove dust and grease. Rinse with clean water and allow it to dry completely.
Fill cracks and dents with spackling paste. Sand the areas smooth once dry. Lightly sand glossy surfaces to improve adhesive grip. Wipe away all dust.
Check for loose drywall or peeling paint. Repair any structural issues. Ensure the wall is completely dry before applying adhesive to prevent future peeling.
Plan the layout and cut panels
Before you apply adhesive, you need a clear map of where every piece belongs. 3D wall panels often feature repeating geometric or organic patterns, and a single misaligned panel can throw off the entire visual rhythm.
Measure and mark your starting point
Start by measuring the wall’s height and width. If the wall is uneven, measure at multiple points and use the smallest dimension to ensure panels fit without forcing. Find the center of the wall—both horizontally and vertically—and mark a light pencil line. Starting from the center helps you maintain symmetry, especially if you’re installing panels around a focal point like a fireplace or mirror. If you start from a corner, be prepared to cut the final column of panels, which can look uneven if the wall isn’t perfectly plumb.
Dry-fit panels for pattern alignment
Lay the panels on the floor or lean them against the wall in your planned arrangement. Check how the edges interlock and how the pattern repeats. Many 3D wall panels are designed to interlock or butt together seamlessly, but manufacturing tolerances can vary. If you notice gaps or misaligned ridges, adjust the layout slightly before committing to cuts.
Use a level to draw a vertical and horizontal centerline on the wall. These lines act as your anchor, ensuring the first panel is perfectly straight. If your panels have a specific directionality (like a wave or brick pattern), mark an arrow on the back of the first panel to remind you of the correct orientation.
Place the panels against the wall without adhesive. Check the seams and edges. If you encounter a tight spot or a pattern mismatch, mark the panel for trimming now. This prevents you from cutting into a panel that’s already glued up, which is much harder to fix.
Use a fine-tooth saw or a utility knife for thinner PVC panels. For thicker gypsum or wood panels, a jigsaw with a fine blade works best. Cut slowly to avoid chipping the edges. If you’re cutting around outlets or corners, measure the exact distance from your centerline and mark the cut line clearly before sawing.
Trim for outlets and corners
The most common stumbling block in 3D panel installation is working around obstacles. For electrical outlets, turn off the power, remove the cover plate, and measure the center point from your reference lines. Transfer these measurements to the back of the panel, then cut a hole slightly smaller than the box. You can then trim the edges with a utility knife for a snug fit. For corners, you may need to miter the edges or use a flexible panel that can bend slightly to follow the wall’s angle.
Apply adhesive and mount panels
Adhesion is the foundation of a successful 3D wall panel installation. Whether you are using construction adhesive or peel-and-stick backing, the bond must be secure to support the panel's weight and texture.
For rigid materials like gypsum or polyurethane, use a high-quality construction adhesive. Apply the adhesive in a zigzag pattern or large dots across the back of the panel, avoiding the very edges to prevent squeezing out. For lighter foam panels, peel back the backing paper and press firmly against the wall, starting from the top corner.
Apply construction adhesive to the back of the panel in a zigzag pattern. Avoid the edges to prevent messy squeeze-out. Press firmly to ensure even coverage.
Align your first panel using a level and tape measure. Press it firmly against the wall, holding it in place for several seconds to allow the adhesive to grab.
Use painter's tape to hold the panel in place while the adhesive cures. Continue installing subsequent panels, ensuring tight seams and aligned patterns.
Once positioned, hold the panel firmly for 10–15 seconds. Use painter's tape to secure it to the adjacent wall or ceiling if the adhesive requires more curing time. This prevents shifting while the bond sets.
When joining panels, ensure the seams are tight. For textured panels, check that the pattern aligns correctly. Wipe away any excess adhesive immediately with a damp cloth before it dries.
Style and finish your wall
Caulking seals the joints between your 3D wall panels, hiding seams and creating a unified surface. Apply a thin bead of paintable acrylic caulk along the vertical and horizontal edges where panels meet. Smooth the bead with a damp finger or a caulking tool, then wipe away excess immediately.
If your panels are unpainted gypsum or wood, apply a primer before the topcoat. Primer helps the paint adhere to the textured surface and prevents uneven absorption. Use a roller with a thick nap to push paint into the crevices, then finish with a brush for any missed spots. Two thin coats provide better coverage than one heavy layer, preserving the depth of the 3D design.
Lighting transforms your 3D wall panels from a flat surface into a dynamic focal point. Install adjustable wall sconces or picture lights above and below the installation to cast shadows that accentuate the texture. Avoid direct overhead lighting, which can flatten the visual impact. Instead, aim for angled beams that highlight the peaks and valleys of the panels.

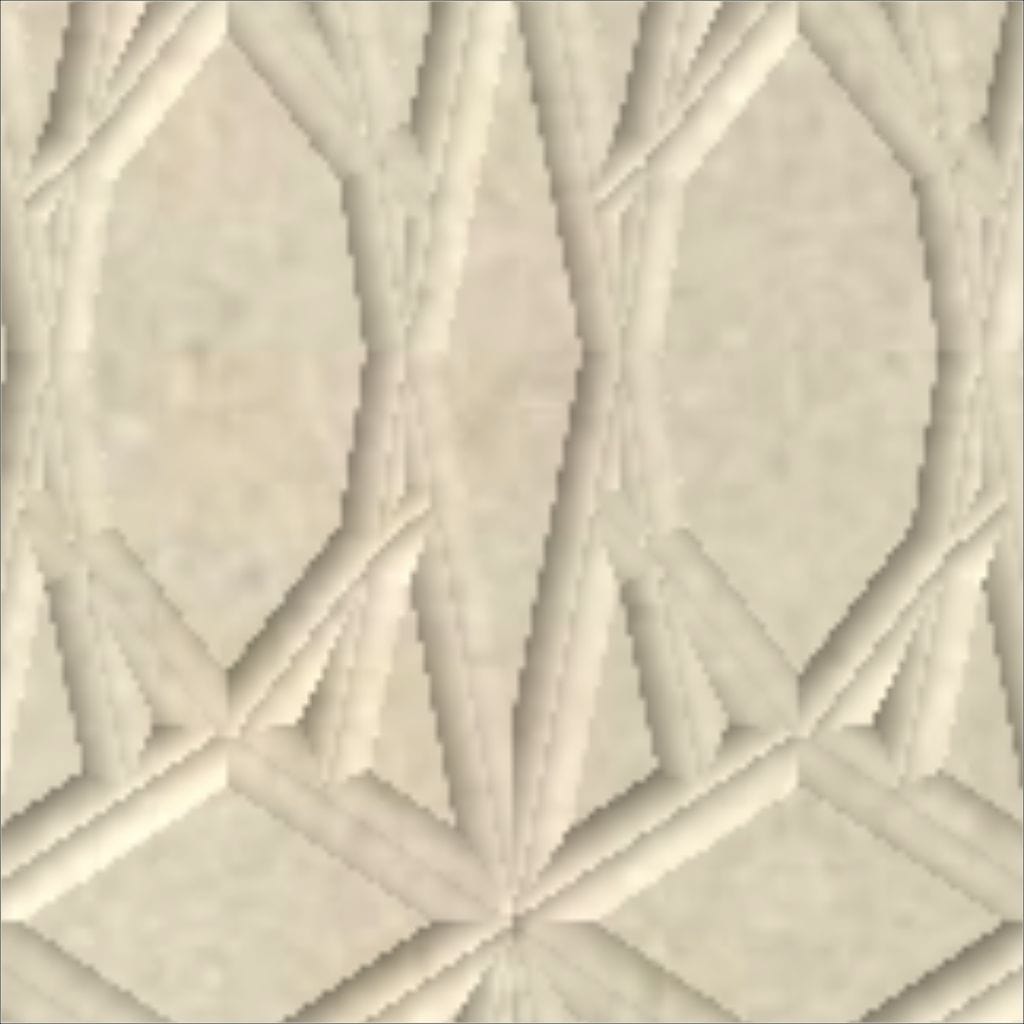
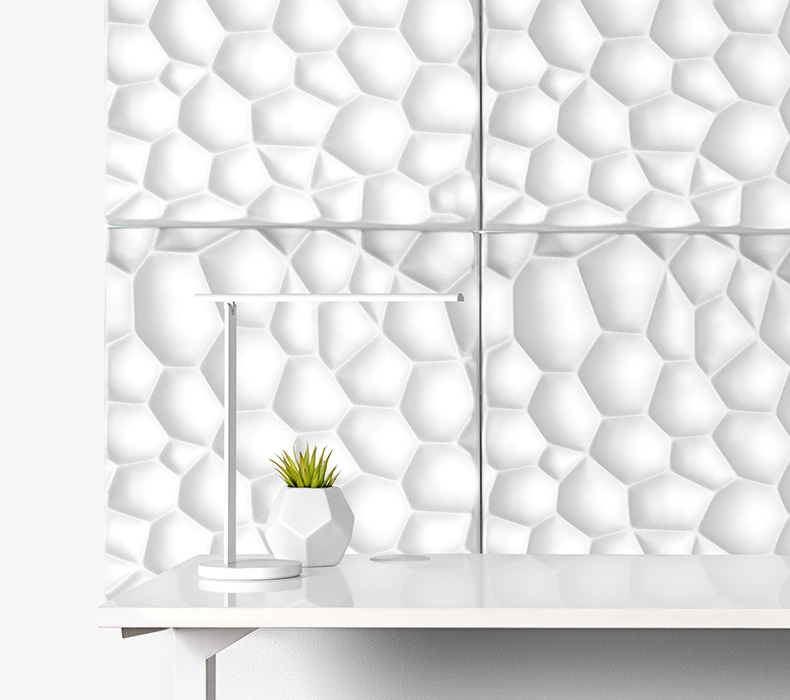
Recommended 3D wall panels
Choosing the right material depends on your budget and the look you want. PVC panels are the most popular choice because they are waterproof, lightweight, and easy to cut for complex layouts. Gypsum panels offer a more traditional plaster look but require careful handling to avoid chipping. Wood and foam options sit in between, balancing cost with aesthetic warmth.
The image below shows a 3D Cellular Acoustic Wall Panel, which demonstrates how texture can add depth without overwhelming a room. These panels often include sound-dampening properties, making them a practical upgrade for home offices or media rooms.


As an Amazon Associate, we may earn from qualifying purchases.
No comments yet. Be the first to share your thoughts!