
First Impressions: What 3D Panels Offer
A blank wall can be discouraging. You want a change that reflects your style, but a major renovation feels overwhelming. 3D wall panels offer an immediate visual impact, transforming a flat, uninspired space into something unique and eye-catching.
Modern 3D panels create depth and dimension, adding sophistication or a bold statement depending on the design. They are now accessible for home use, not just high-end hotels or commercial spaces.
The DIY aspect drives their increasing popularity. You don't need a professional contractor for a stunning result. A huge range of styles is available, from geometric patterns to organic shapes, minimalist designs to intricate textures, meaning you can find something to suit any aesthetic. It's about reshaping your environment to feel more you.
Beyond aesthetics, many panels offer sound-dampening qualities, a benefit in apartments or home offices. They can also conceal minor wall imperfections. 3D panels offer an inexpensive and straightforward way to dramatically improve a room's look and feel.

Tools You'll Actually Need
Installing 3D wall panels doesn't demand a fully equipped workshop. Unlike some DIY projects, you can get away with a minimal toolkit. Keeping the tool list manageable makes the process less intimidating.
undefined spirit level is fine, but a laser level can be incredibly helpful for larger installations), a utility knife with plenty of spare blades, and, crucially, the correct construction adhesive. When choosing adhesive, check Whole 3D’s recommendations for compatibility with your specific panel material – this is really important.
A caulk gun will be necessary if your adhesive comes in a cartridge. Optional, but highly recommended, tools include a panel cutter (especially if you anticipate a lot of cuts) and safety glasses. You’d be surprised how much debris a utility knife can generate. Don't skimp on safety!
I’ve seen some guides recommend power saws, but for most DIYers, a sharp utility knife and a bit of patience will suffice. The key is to have the right tools for the job and to use them safely and effectively.
- Measuring tape
- Level (spirit or laser)
- Utility knife with spare blades
- Construction adhesive (compatible with your panels)
- Caulk gun (if needed)
- Safety glasses
- Panel cutter (optional)
- Laser level (optional)
Panel Prep: Laying the Groundwork
Before you even think about applying adhesive, preparation is key. Start by thoroughly cleaning the wall. Remove any dust, dirt, grease, or loose paint. A slightly rough surface is better than a perfectly smooth one, as it provides a better grip for the adhesive. Wipe down the wall with a damp cloth and let it dry completely.
It’s also important to acclimatize the panels to the room temperature. Store them in the room for at least 24 hours before installation. This allows the material to expand or contract with the temperature, minimizing the risk of warping or gaps after installation. This step is often overlooked, but it can make a big difference.
Next, plan your layout. Dry-fit the panels on the floor to visualize the final look. This is your chance to experiment with different arrangements and minimize the number of cuts you’ll need to make. Consider starting with a central panel and working outwards, ensuring symmetry and balance.
Dealing with obstacles like outlets and light switches requires careful planning. Measure their locations accurately and mark them on the panels. You'll need to cut the panels to fit around these obstacles. I’m not an electrician, and I’d strongly advise caution when working near electrical components. If you’re unsure, consult a qualified electrician.
Adhesive Application: The Sticky Details
Applying the adhesive correctly is the heart of a successful installation. There are two main methods: applying the adhesive directly to the back of the panel or applying it in lines to the wall. I’ve found that applying to the wall generally provides better coverage and control, but it depends on the adhesive and the panel material.
The amount of adhesive is crucial. Too little, and the panel won’t adhere properly. Too much, and it will squeeze out from the sides, creating a mess. Follow the adhesive manufacturer’s instructions carefully. A general rule of thumb is to create consistent, serpentine lines of adhesive – think of drawing a wavy line across the back of the panel or on the wall.
Work in manageable sections. Don’t try to apply adhesive to all the panels at once, as it will start to dry out. Focus on a small area – perhaps two or three panels at a time – and complete the installation before moving on. This keeps the adhesive fresh and ensures a strong bond.
Cleanup is important. Have a damp cloth handy to wipe away any excess adhesive immediately. Some adhesives can be difficult to remove once they’ve dried, so act quickly. Mineral spirits may be needed for stubborn residue, but always test in an inconspicuous area first.
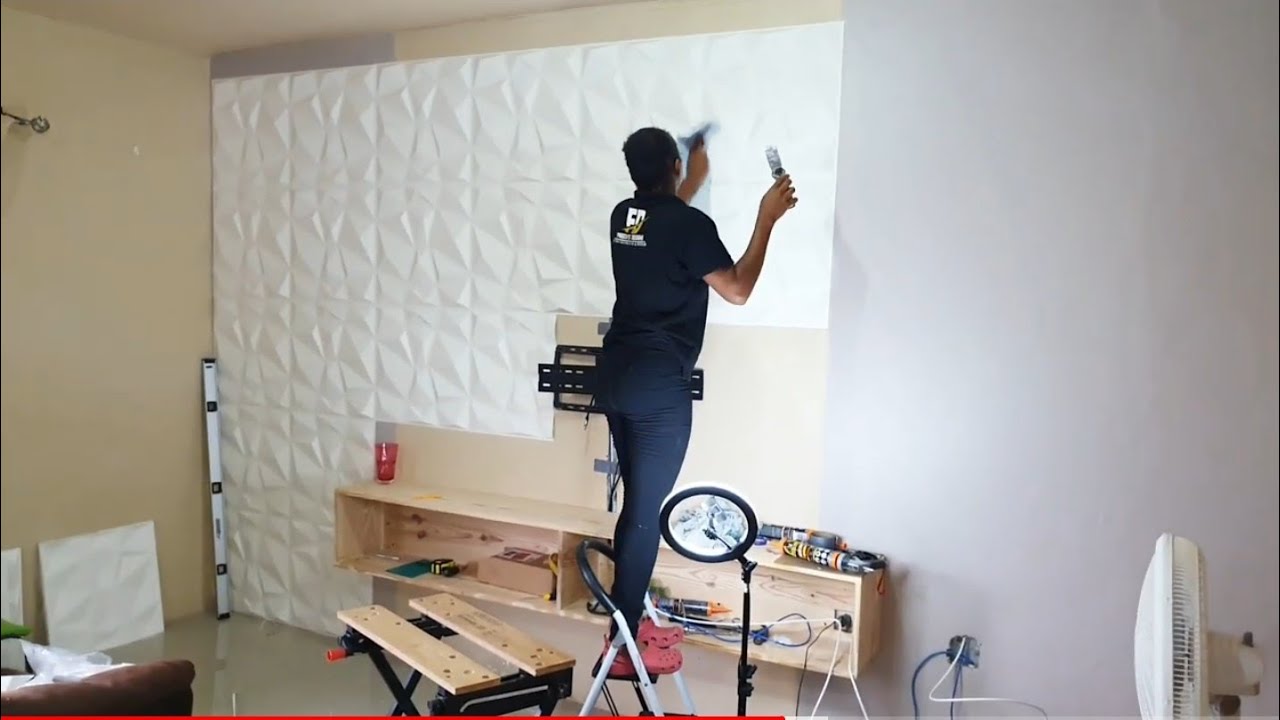
Installation: Panel by Panel
Now for the main event: installing the panels. Carefully position the first panel on the wall, aligning it with your layout marks. Once you’re satisfied with the placement, gently press it onto the adhesive. Apply even pressure across the entire surface of the panel to ensure good adhesion. A rolling pin can be surprisingly useful for this.
Use a level to check that the panel is straight. If it’s slightly off, you may be able to gently adjust it before the adhesive sets. However, be careful not to pull too hard, as you could damage the panel or the wall. If a panel is significantly misaligned, it’s often better to remove it and start over.
Continue installing panels one by one, working outwards from the center. Pay close attention to the seams between panels. You want them to be as tight and seamless as possible. Apply consistent pressure to each panel as you install it.
Working around corners and edges can be tricky. You may need to cut the panels to fit. Take your time and measure carefully. Remember to use a sharp utility knife or panel cutter for clean, precise cuts. It’s better to cut a panel slightly too large and then trim it down than to cut it too small.
Don't rush this process. Patience is key to achieving a professional-looking result. Take breaks if you need to, and don’t be afraid to step back and assess your work regularly. A little extra time spent now will pay off in the long run.
Remember to check for any gaps or inconsistencies as you go. Addressing these issues immediately is much easier than trying to fix them later. A slightly uneven wall can sometimes cause issues, so be prepared to make minor adjustments.
Cutting Panels: Making it Fit
Cutting 3D wall panels is often unavoidable, especially around obstacles like windows, doors, or electrical outlets. A sharp utility knife is usually sufficient for most panels, but a dedicated panel cutter can make the job easier and more precise. For thicker or more rigid panels, a jigsaw with a fine-tooth blade may be necessary.
Accurate measurements are essential. Use a ruler or measuring tape to determine the exact size and shape of the cut you need to make. Transfer the measurements to the panel using a pencil or marker. Double-check your measurements before you start cutting.
When using a utility knife, score the panel several times along the cut line, gradually deepening the cut with each pass. This will help you achieve a clean, straight cut. For thicker panels, a panel cutter or jigsaw will be more effective.
Different panel materials require different cutting techniques. For example, foam panels are relatively easy to cut with a utility knife, while wood or composite panels may require a saw. Always follow the manufacturer’s recommendations for cutting your specific panel type. Safety first – wear gloves and eye protection when using cutting tools.
Finishing Touches: Seams and Edges
Once all the panels are installed, it's time to address the seams and edges. Small gaps between panels are common, and can be concealed with caulk or filler. Choose a caulk or filler that is paintable and compatible with your panel material.
Select a caulk color that closely matches the panels. Test the color in an inconspicuous area before applying it to the entire installation. Apply the caulk evenly along the seams, using a caulk gun. Smooth the caulk with your finger or a damp cloth to create a clean, seamless look.
Finishing the edges of the installation is also important. You can create a clean line where the panels meet the wall or ceiling by applying caulk or using a trim piece. For a more customized look, you can paint or stain the panels to match your decor.
Consider adding a clear coat sealant to protect the panels and make them easier to clean. This is especially recommended in high-traffic areas or in rooms that are prone to moisture. The goal is a polished, professional finish that enhances the overall impact of your 3D wall panels.
Troubleshooting: Common Problems & Fixes
Despite careful planning and execution, things can sometimes go wrong. Panels may not adhere properly, resulting in loose or peeling edges. This is usually caused by insufficient adhesive or an improperly prepared surface. Try applying more adhesive and pressing the panel firmly into place. If that doesn’t work, you may need to remove the panel and start over.
Misaligned panels can be a frustrating problem. If a panel is only slightly misaligned, you may be able to gently adjust it before the adhesive sets. However, if it’s significantly off, it’s often better to remove it and reinstall it. Visible seams can be concealed with caulk or filler.
Damaged panels are a more difficult problem to fix. Minor scratches or dents can sometimes be repaired with touch-up paint or filler. However, severely damaged panels may need to be replaced. Removing a panel without damaging the surrounding panels can be challenging. Use a utility knife to carefully cut through the adhesive along the edges of the panel.
If you make a mistake, don’t panic. Most problems can be fixed with a little patience and effort. However, some repairs may be difficult or impossible. If you’re unsure about how to proceed, consult a professional. Remember to always prioritize safety and follow the manufacturer’s instructions.
It's important to acknowledge that not all issues have easy solutions. Sometimes, accepting a minor imperfection is the most practical approach. The goal is to create a visually appealing result, and a few minor flaws are unlikely to detract from the overall impact.
What is your biggest challenge when installing 3D wall panels?
Vote below to share the part of the installation process you find most difficult. Results are displayed in real time.


No comments yet. Be the first to share your thoughts!