
Why 3D wall panels change a room
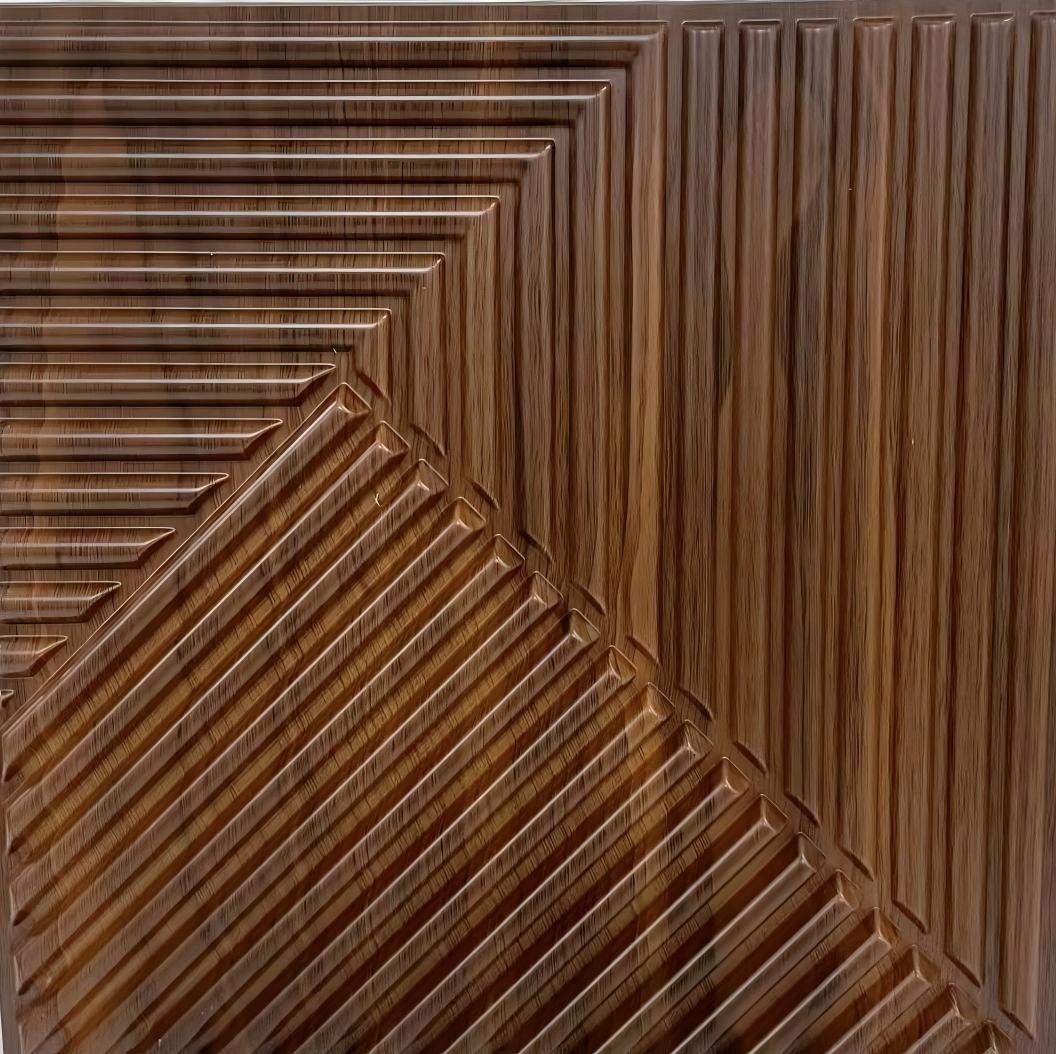
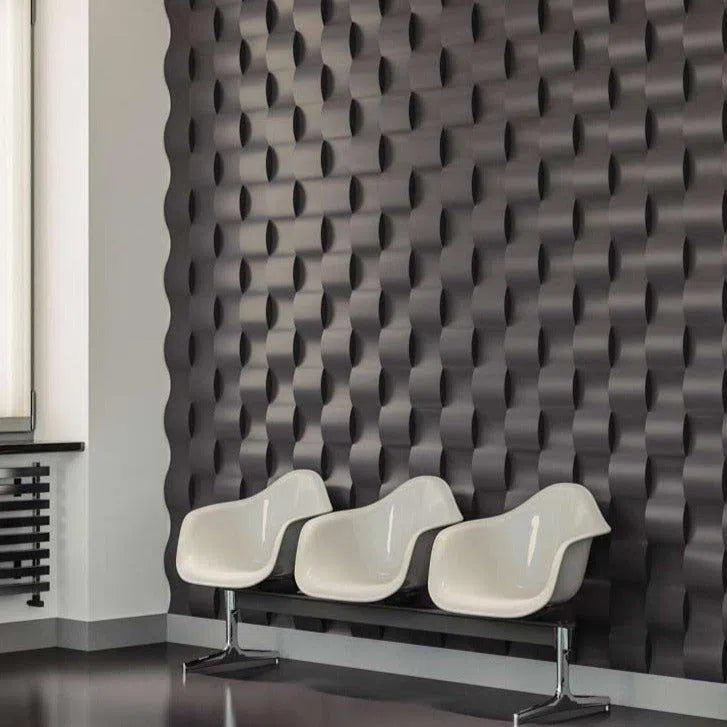
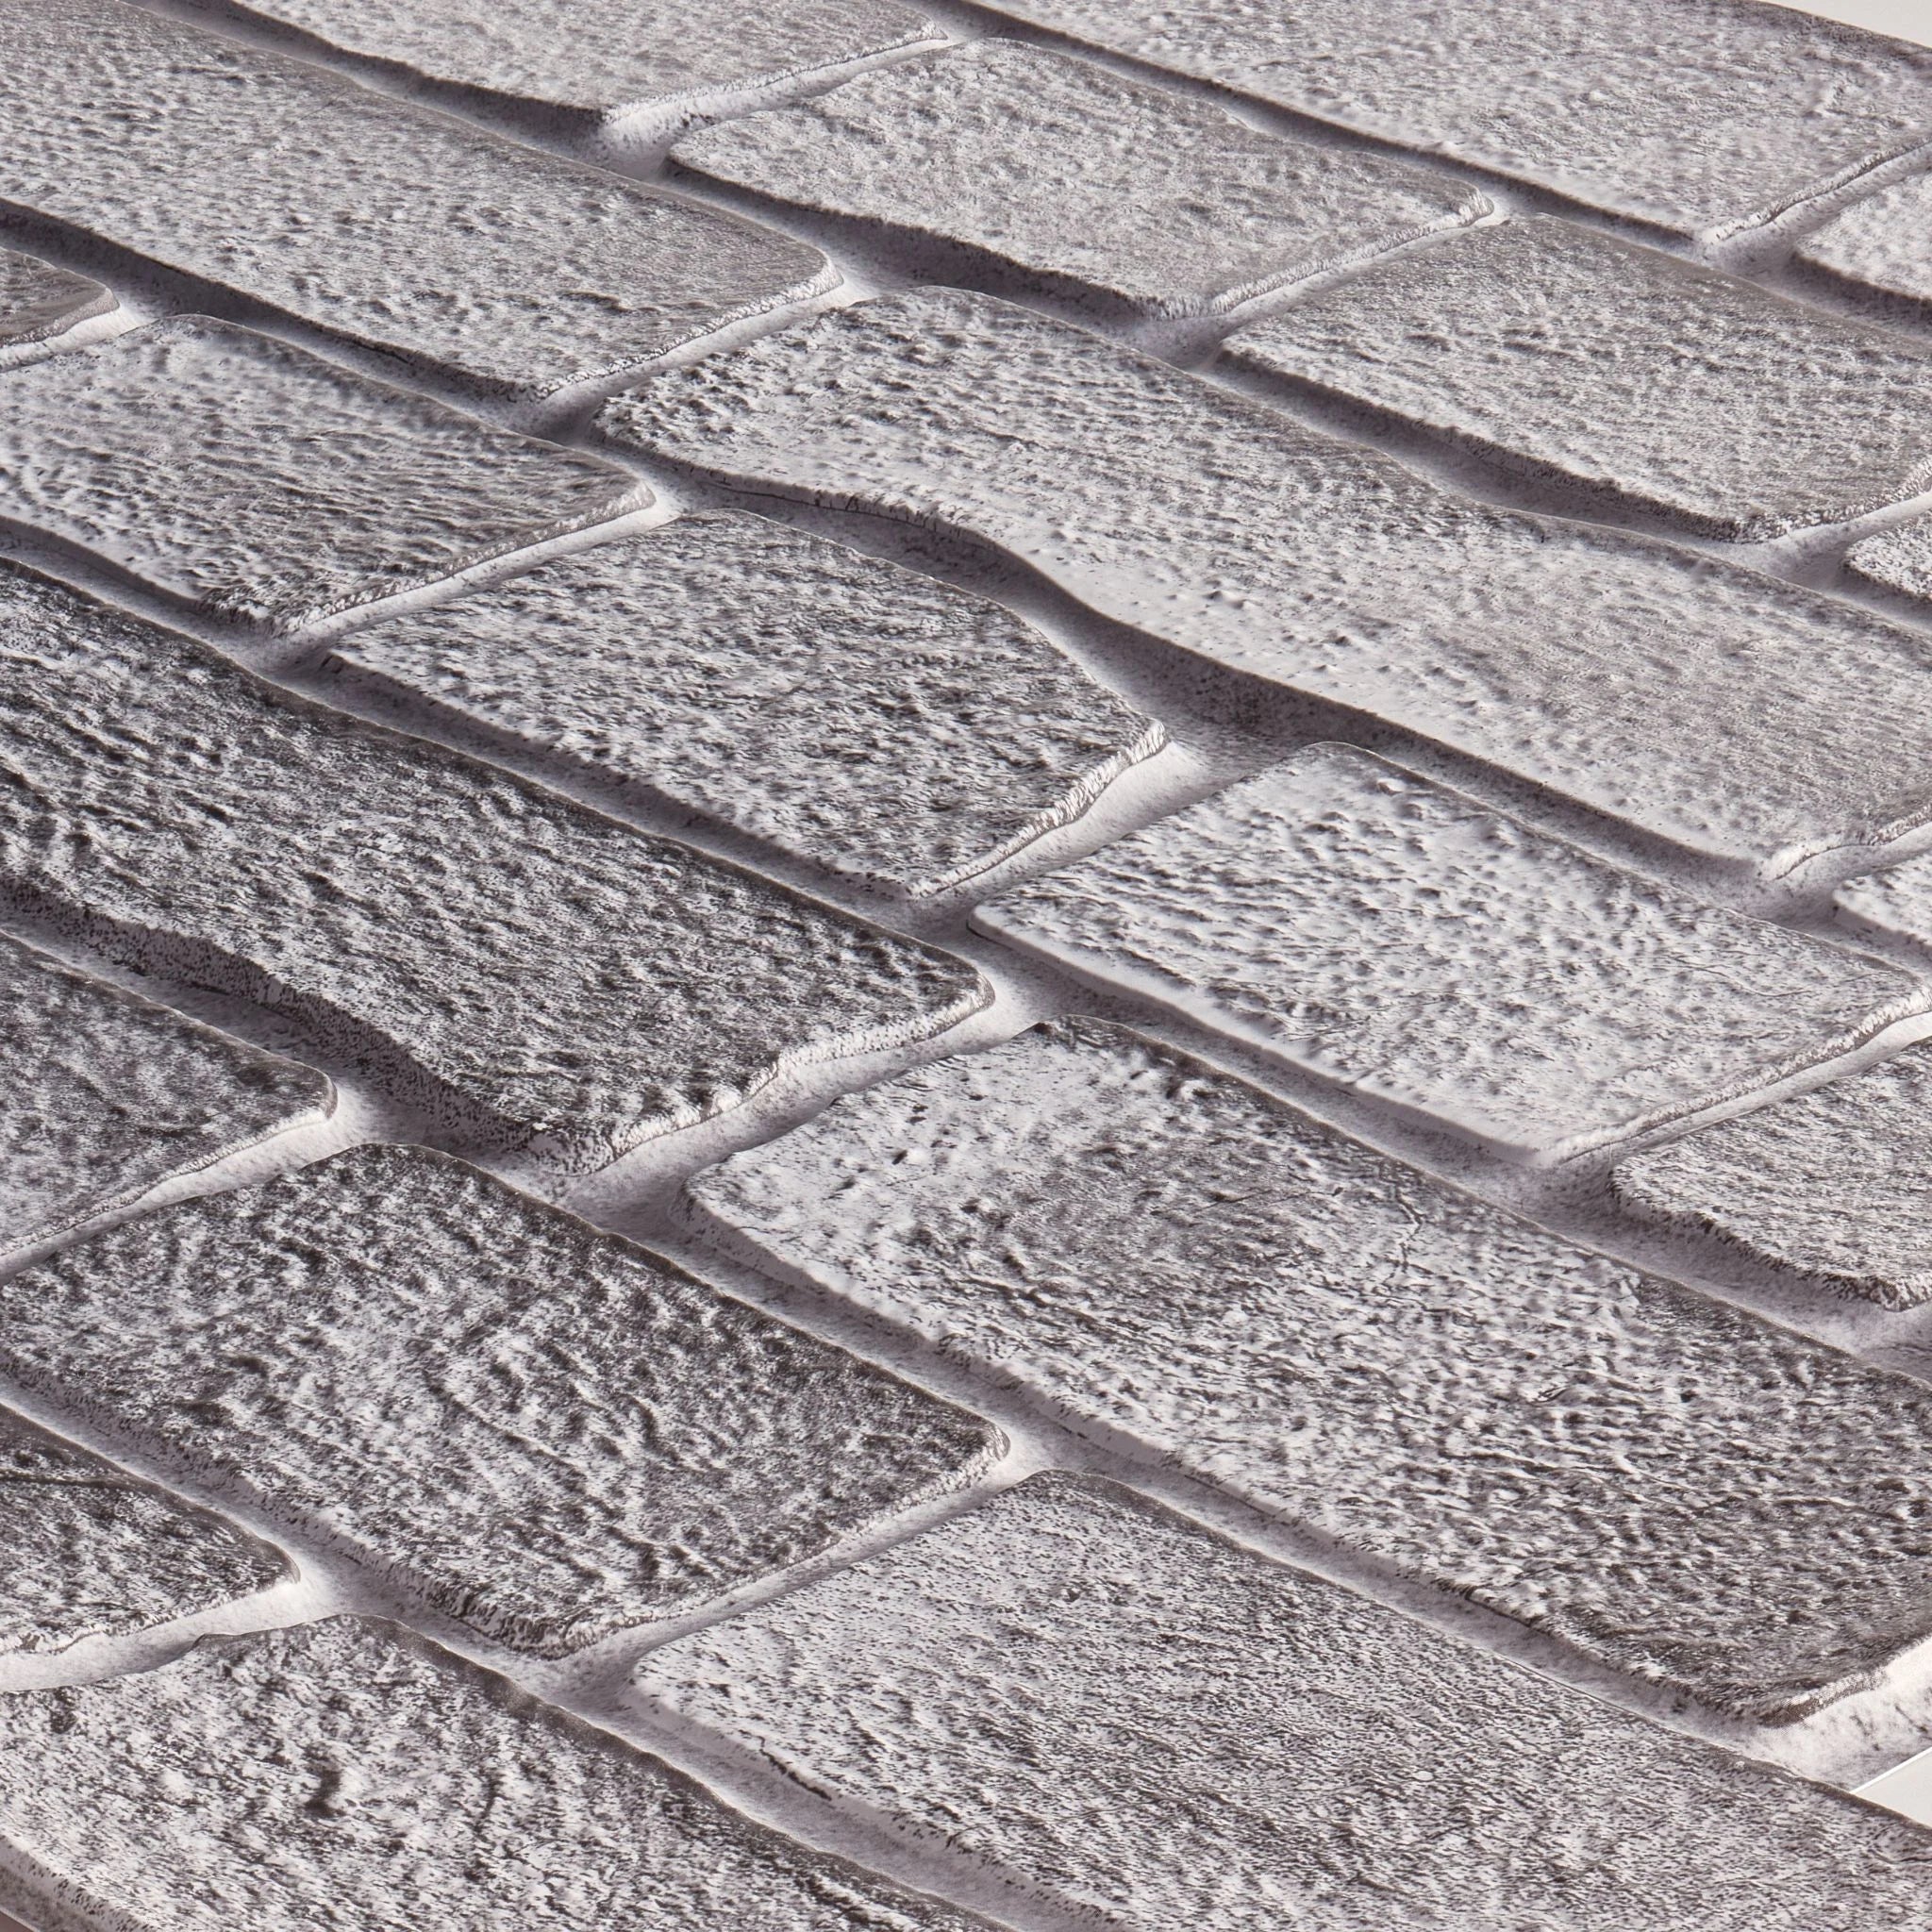
3D wall panels turn flat, boring surfaces into textured focal points without the mess of traditional renovation. Unlike paint or wallpaper, these panels add physical depth that catches light and shadow, creating a dynamic visual effect that changes throughout the day. This simple addition can make a small entryway feel grand or give a modern living room the architectural character it lacks.
Beyond aesthetics, they are a practical upgrade for everyday living. Most 3D wall panels are made from durable materials like polyurethane or PVC, which resist moisture and impact better than drywall. This makes them ideal for high-traffic areas or spaces like bathrooms and kitchens where humidity and wear are common concerns. You get the look of expensive stone or wood cladding at a fraction of the cost.
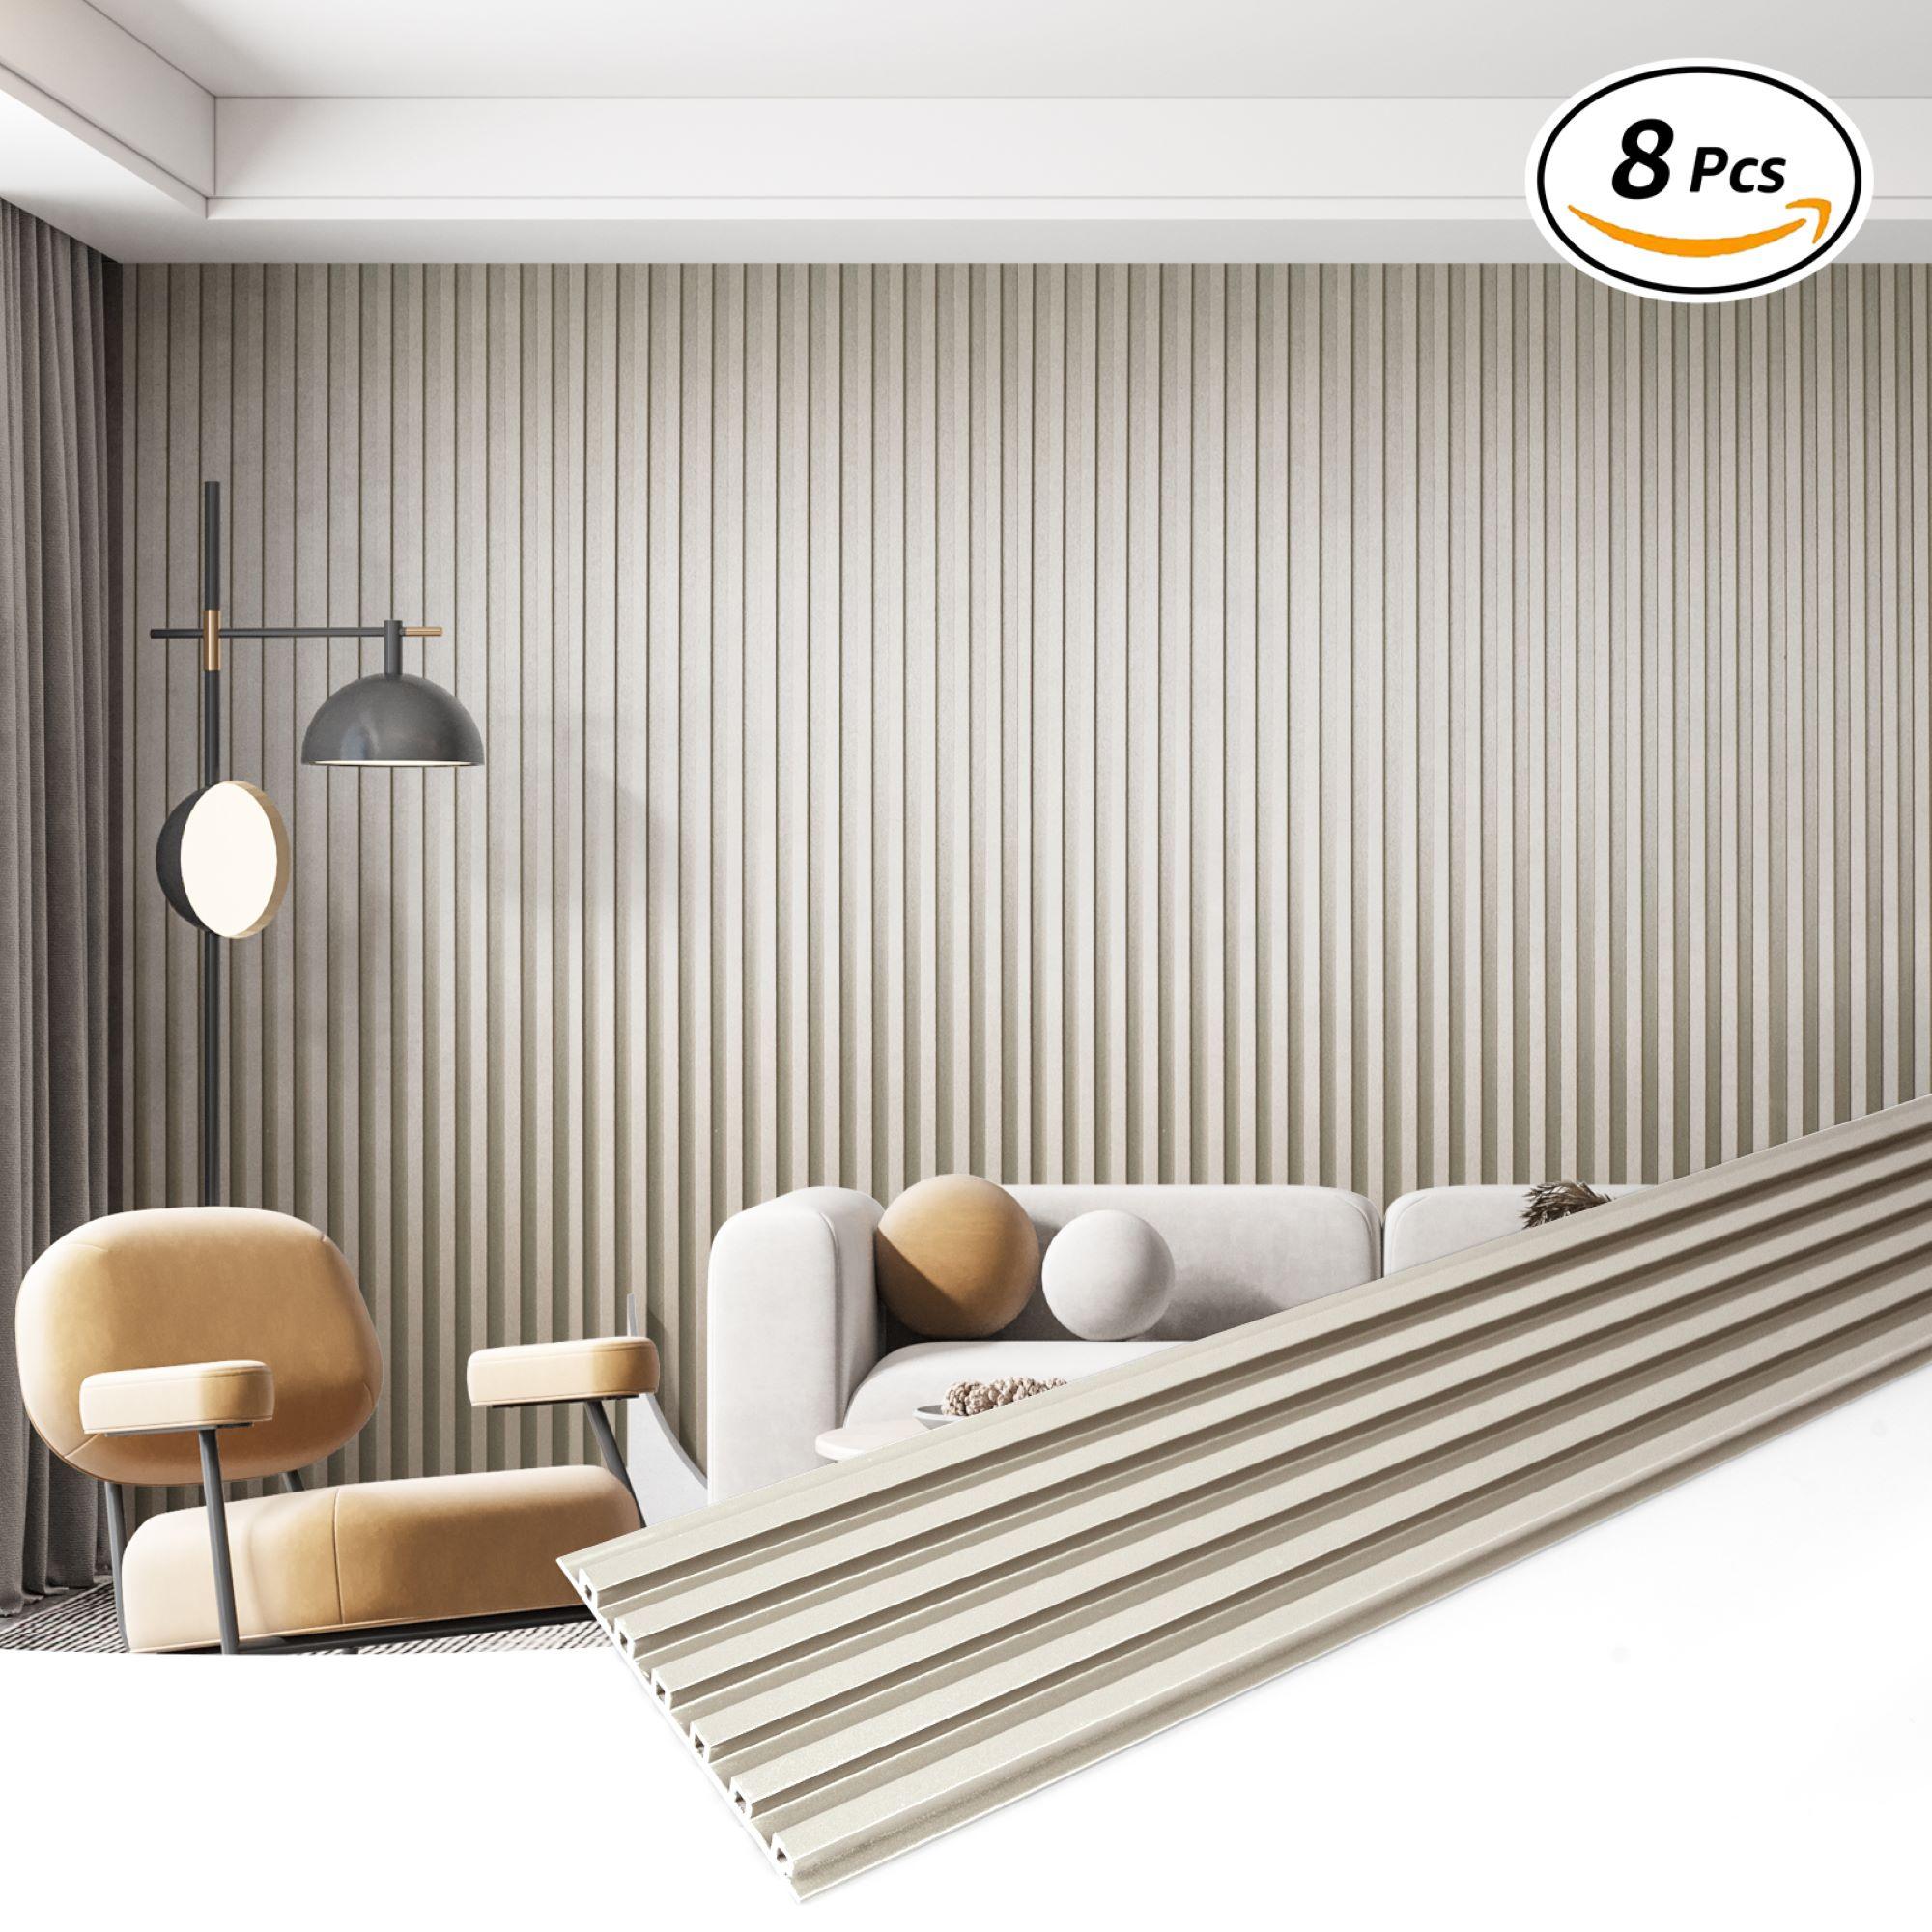
The installation process is designed for homeowners, not just contractors. Many options feature peel-and-stick backing or interlocking edges that snap together, allowing you to cover large areas quickly. Because they are lightweight, you can install them directly over existing walls without reinforcing the structure. This accessibility means you can transform a single accent wall or an entire room over a weekend.
Think of 3D wall panels like jewelry for your walls. Just as a statement necklace can elevate a simple outfit, these panels add the finishing touch that makes a room feel complete and intentional. They bridge the gap between functional home improvement and artistic expression, offering a high-impact makeover that is both affordable and reversible.
Gather tools and materials
Before you begin installing 3D wall panels, assemble the necessary supplies. This ensures a smooth workflow without mid-project interruptions. Most installations require basic carpentry tools and specific adhesives suited to your panel material, such as PVC or wood composite.
Essential Tools
You will need a measuring tape, a level, and a utility knife for trimming panels to fit around outlets or corners. A caulk gun is necessary for applying adhesive or sealant. For larger or heavier panels, a drill with appropriate bits may be required for mechanical fastening.
Adhesives and Fasteners
Check your 3D wall panels manufacturer guidelines for the recommended adhesive. Construction adhesive works for most lightweight panels, while peel-and-stick options are available for self-installation. Have painter’s tape on hand to hold panels in place while the adhesive cures.
Safety Gear
Wear safety glasses when cutting panels to protect your eyes from debris. A dust mask is recommended if you are sanding edges or working in a poorly ventilated area. Gloves protect your hands from sharp panel edges and adhesive residue.
Prep the wall surface
Proper installation starts with a clean, flat foundation. If your wall has bumps, dust, or loose material, the 3D wall panels will not sit flush, leaving visible gaps or causing them to peel over time. Think of the wall as the canvas and the panels as the paint; a flawed canvas ruins the final look.
Clean and repair the surface
Start by removing any existing hardware, such as picture hooks or outlet covers. Wash the wall with a mild detergent solution to remove grease, dust, and grime. Rinse with clean water and let it dry completely. If there are holes or cracks, fill them with spackling compound, sand them smooth once dry, and wipe away the dust.
Ensure the wall is flat
Run your hand over the area where you plan to install the panels. If you feel ridges from previous wallpaper, uneven drywall, or protruding studs, these imperfections will show through the 3D texture. Use a level to check for major deviations. For minor bumps, sand them down. For deeper unevenness, apply a skim coat of joint compound and sand it smooth.
Remove loose paint and debris
Peeling or flaking paint is a major cause of installation failure. Scrape away any loose paint until you reach a firmly adhered layer. If the existing paint is glossy, lightly sand the surface to create a "tooth" for the adhesive to grip. Finally, wipe the entire area with a damp cloth or tack cloth to remove all residual dust. The surface must be clean, dry, and free of loose particles for maximum adhesion.
Clean the wall with a mild detergent to remove dust and grease. Rinse thoroughly and allow it to dry completely before proceeding.
Fill holes and cracks with spackling compound. Sand smooth once dry and wipe away any dust residue.
Scrape away flaking paint and sand glossy surfaces lightly to help the adhesive bond. Wipe the wall clean one last time.
Measure and cut the panels
The easiest mistake with 3D Wall Panels for a Modern Home Makeover is comparing options on the most visible detail while ignoring the day-to-day constraint. A choice can look strong on paper and still fail because it is too hard to maintain, too expensive to repeat, or awkward in the actual setting. Use the same checklist for every option: fit, cost, durability, timing, upkeep, and fallback plan. That keeps the comparison practical instead of drifting into preference alone.

Install panels row by row
Start with the bottom row. This foundation determines the stability and alignment of everything above it. Apply adhesive to the back of the first panel using a zigzag pattern or the method recommended by the manufacturer. Press the panel firmly against the wall, ensuring it sits level.
Use a spirit level to check both horizontal and vertical alignment. Small adjustments are easy to make before the adhesive sets. Once satisfied, press the entire surface evenly to ensure full contact. Repeat this process for each panel in the bottom row, maintaining consistent gaps or butt-joints depending on your panel design.
For subsequent rows, stagger the seams like brickwork unless your pattern requires otherwise. This structural offset adds visual interest and stability. Apply adhesive to the new panel, align it with the row below, and press firmly. Work methodically from one side of the wall to the other to maintain a clean workflow.
Pay close attention to the edges where panels meet. For butt-joints, ensure the edges are flush and smooth. For gapped designs, use spacers to keep the distance uniform. If you encounter a power outlet, turn off the power, remove the cover plate, and cut the panel to fit around the box.
Use a zigzag pattern or manufacturer-recommended method. Press firmly and check level immediately.
Use a spirit level for horizontal and vertical accuracy. Maintain consistent gaps or butt-joints.
Offset seams like brickwork for stability and visual interest. Align edges carefully before pressing.

Turn off power, remove cover plates, and cut panels to fit. Replace plates once installed.
Common installation mistakes
Even with high-quality materials, a flawed installation can ruin the look of your 3D wall panels. The most frequent errors stem from skipping prep work or using the wrong bonding method. Addressing these pitfalls early ensures your panels lie flat and last longer.
Ignoring wall imperfections
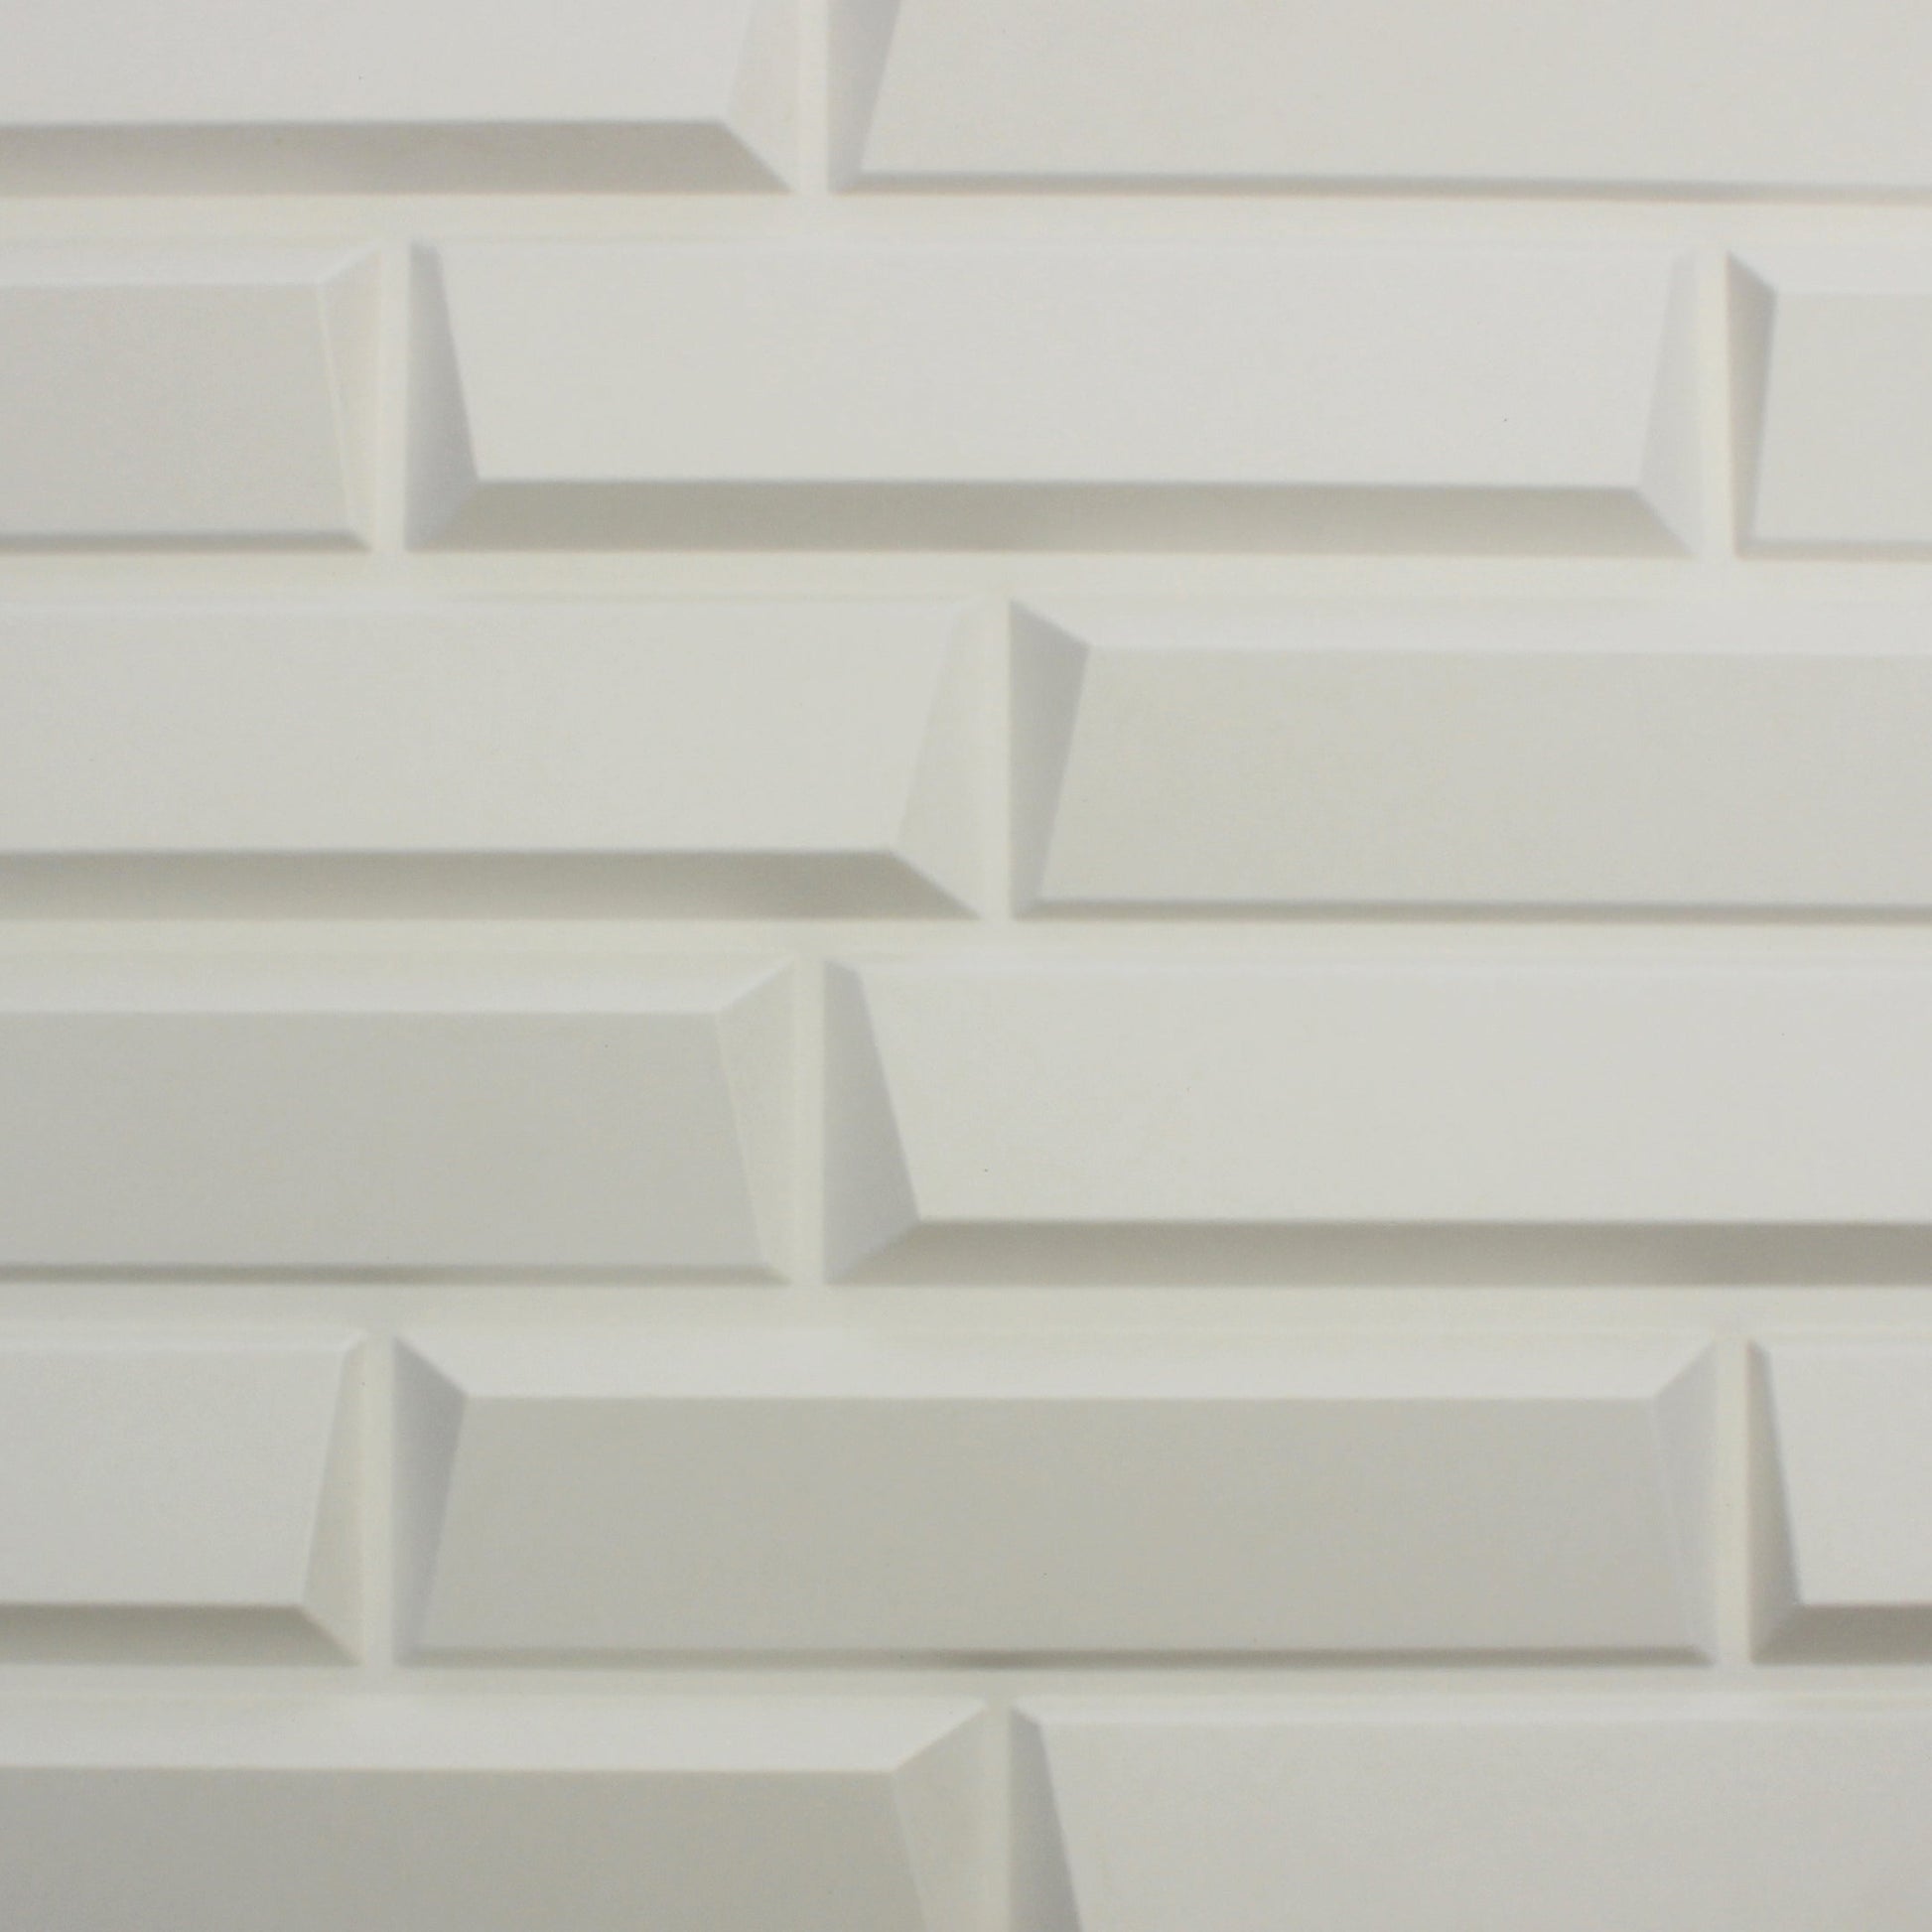
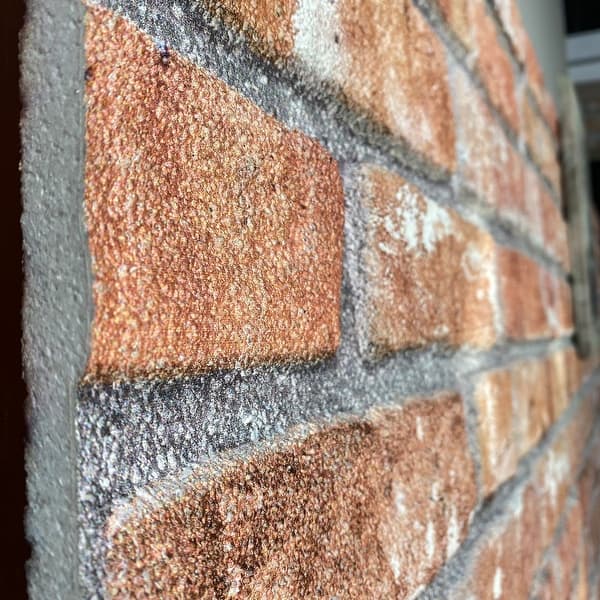
3D panels are unforgiving. Unlike flat paint, the raised texture of gypsum or PVC highlights every bump, dip, or nail hole in the underlying wall. If the surface isn’t perfectly smooth, the panel edges will lift or gap, creating visible shadows that look like poor craftsmanship. Always patch holes, sand rough spots, and ensure the wall is level before applying any adhesive. A flat substrate is the foundation of a professional finish.
Choosing the wrong adhesive
Not all adhesives are created equal. Using standard construction glue on heavy gypsum panels often leads to sagging or detachment over time. For lightweight PVC or foam panels, peel-and-stick backing may suffice, but heavy stone-look panels require a high-strength polyurethane construction adhesive or mechanical fasteners. Check the manufacturer’s weight specifications and choose a bonding agent rated for that load. Weak adhesive is the most common cause of panels falling weeks after installation.
Poor lighting reveals gaps
Harsh lighting, such as recessed ceiling lights or strong directional lamps, acts as a magnifying glass for installation errors. Even a 1mm gap between panels becomes a dark, visible line under direct light. Installers often miss this until the paint is dry. To avoid this, test your lighting angle during the dry-fit phase. Ensure panels are pressed tightly together with no visible seams. If using a grout or caulk, match the color to the panel to hide minor irregularities.
Sand the wall smooth, patch all holes, and clean dust. Ensure the surface is level to prevent uneven panel placement.
Match the adhesive to the panel weight. Use construction adhesive for heavy gypsum or stone panels; peel-and-stick is only for light PVC.
Turn on your room lights during dry-fit. Look for gaps that shadows will highlight. Press panels tightly together before final bonding.
Finish and clean up
The final steps transform your 3D wall panels from installed materials into a polished design feature. Start by addressing the seams. Run a thin bead of paintable acrylic caulk along the joints where panels meet. This fills minor gaps and creates a continuous surface that looks intentional rather than assembled. Smooth the caulk with a damp finger or tool, then wipe away the excess before it dries.
Next, remove any adhesive residue. If you used construction adhesive, keep a cloth dampened with mineral spirits or warm soapy water nearby. Gently dab and wipe the panel surfaces to lift glue smears without scratching the texture. For peel-and-stick installations, a quick pass with a soft cloth and mild detergent is usually enough. Avoid abrasive scrubbers that could dull the finish.
Finally, inspect your work under bright light. Check for lifted edges, uneven seams, or visible adhesive spots. Touch up any missed spots immediately. Once the caulk is dry and the panels are clean, your 3D wall panels are ready to be painted or left in their natural finish.
Watch the installation process
Seeing the sequence in motion clarifies the workflow before you touch the wall. A visual reference helps you anticipate panel alignment and adhesive application, reducing guesswork during the actual install.
The video below demonstrates the core steps for mounting 3D wall panels in a modern creative space. It covers surface prep, layout planning, and the adhesive technique used to secure the panels firmly.
No comments yet. Be the first to share your thoughts!