
Choose the right panel material
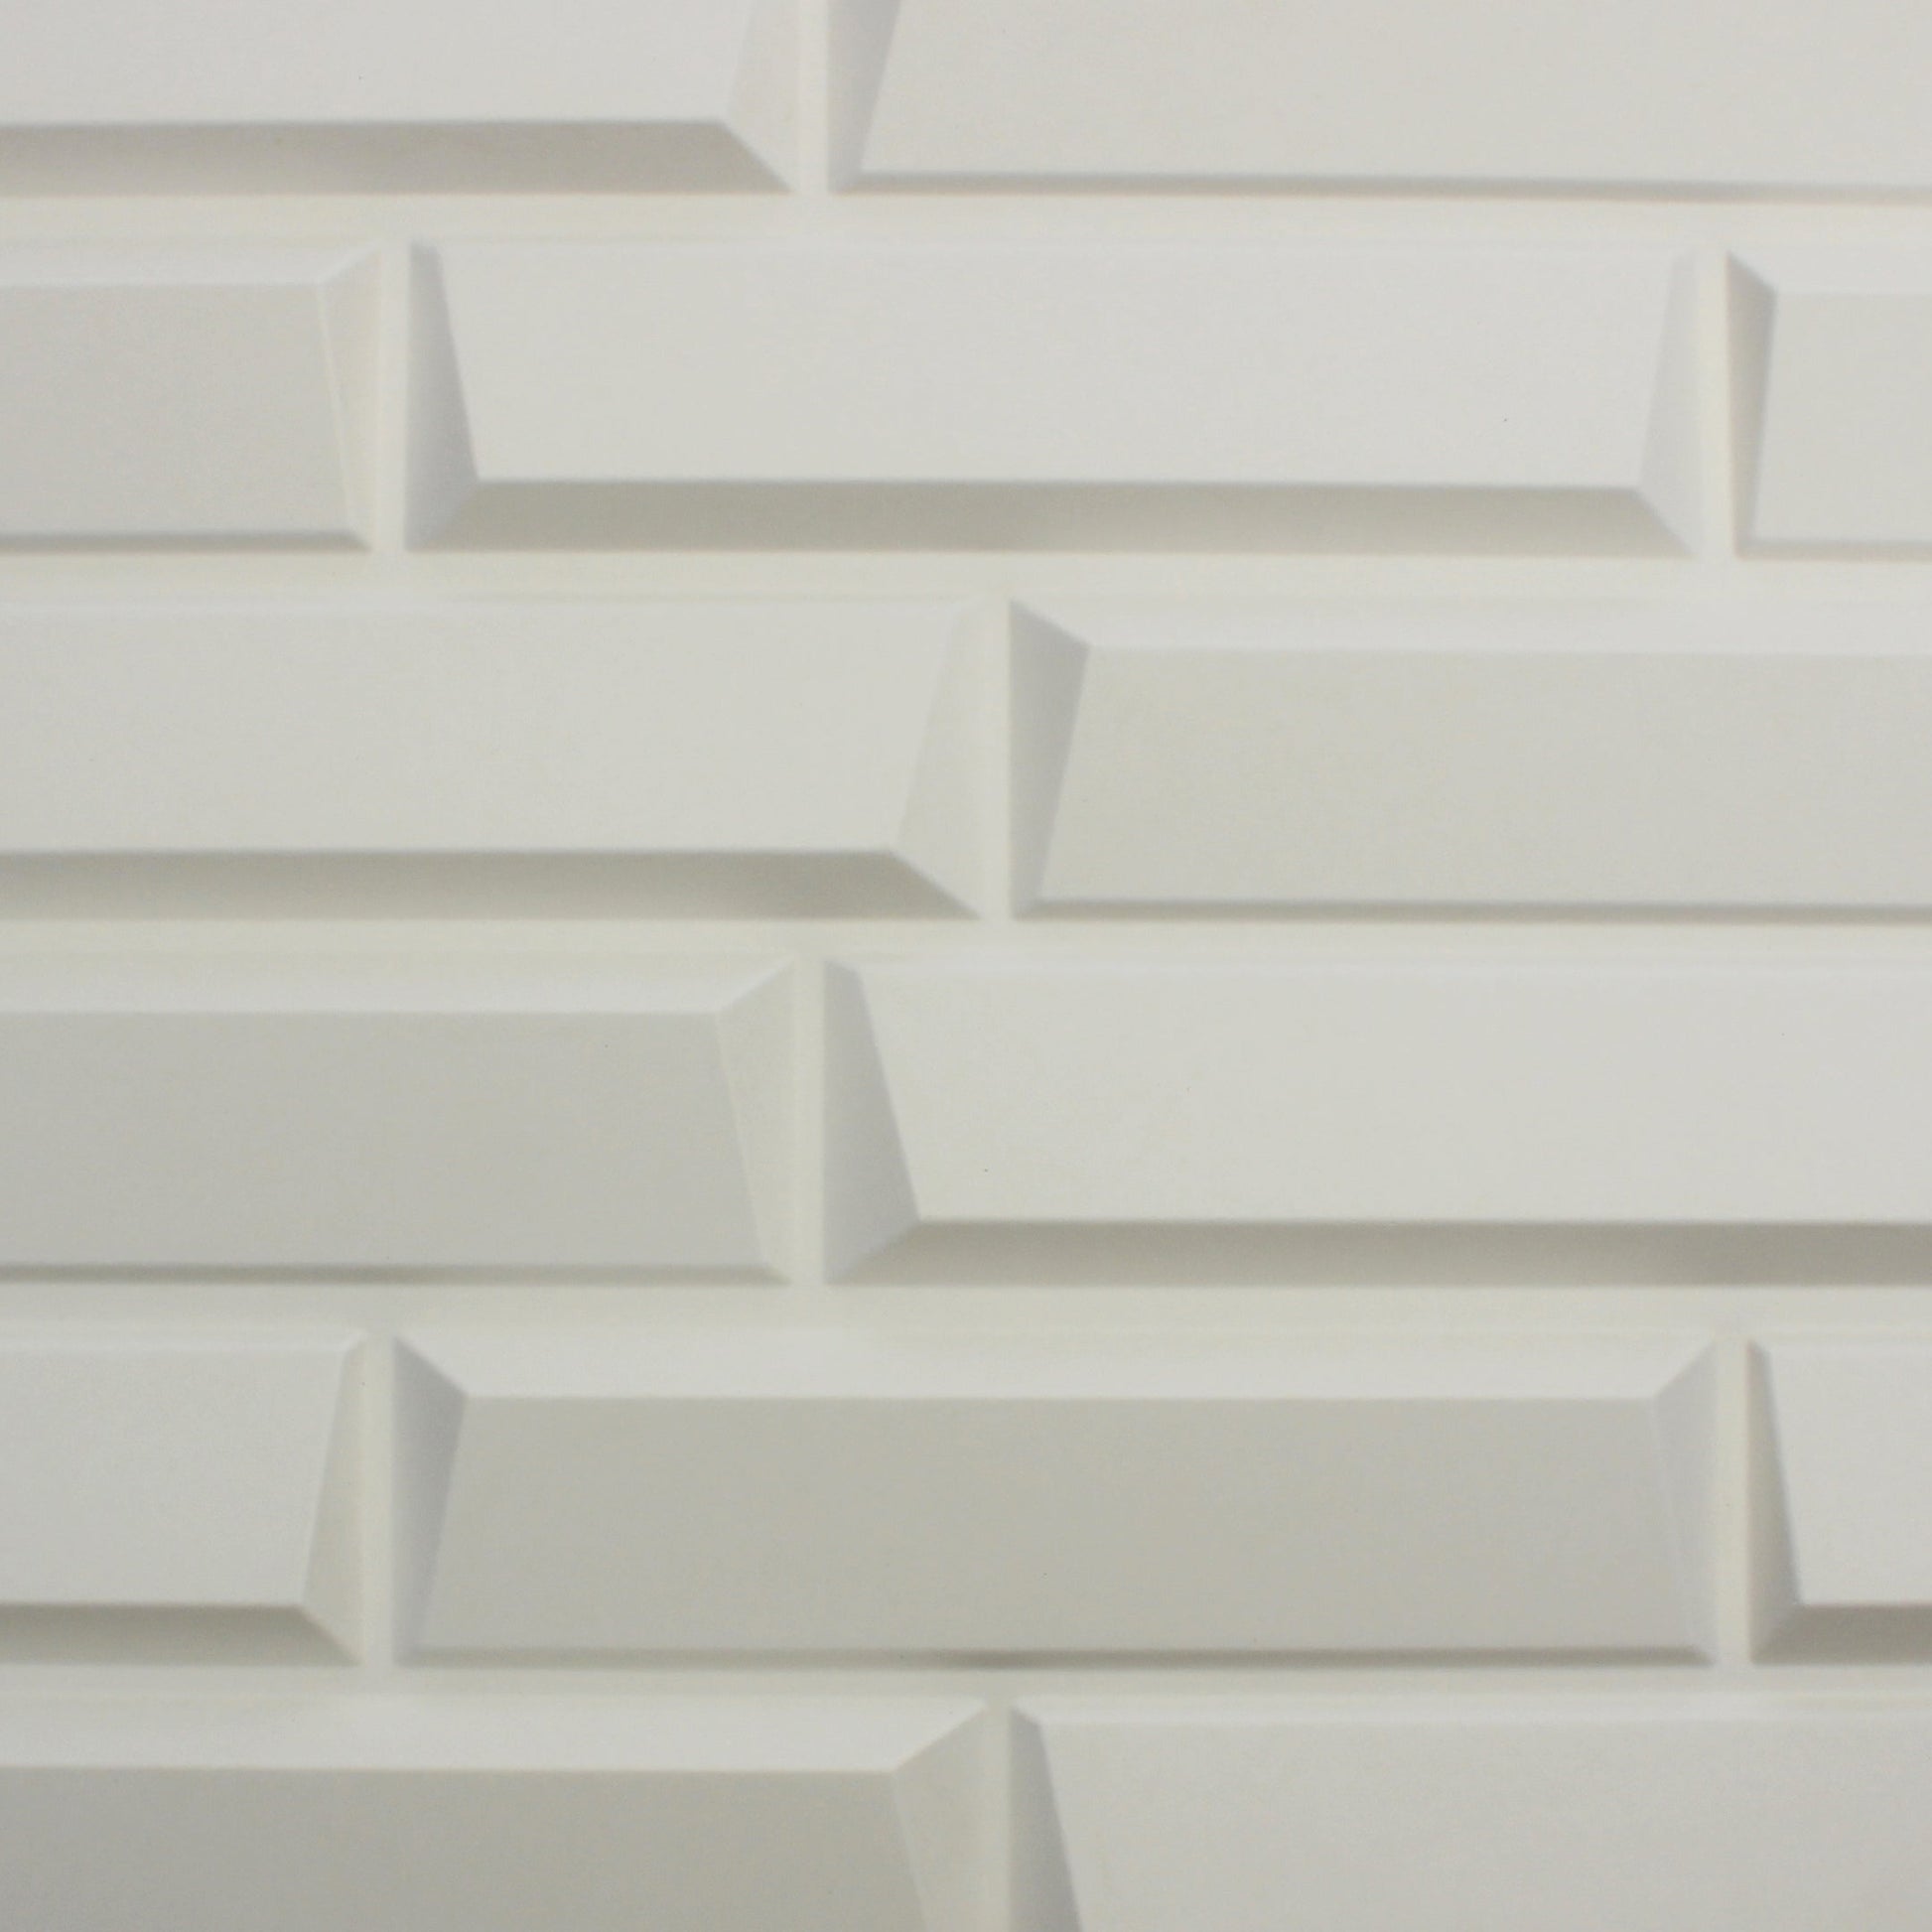
Selecting the correct material for your 3D wall panels depends on the room's humidity and traffic. PVC, MDF, and polyurethane offer distinct trade-offs in durability, weight, and finish.
| Material | Durability | Weight | Best Use | Best Use |
|---|---|---|---|---|
| PVC | High | Light | Bathrooms, kitchens | Bathrooms, kitchens |
| MDF | Medium | Heavy | Living rooms, bedrooms | Living rooms, bedrooms |
| Polyurethane | Medium | Very Light | Ceilings, curved walls | Ceilings, curved walls |
PVC is moisture-resistant and lightweight, making it ideal for bathrooms or kitchens. MDF provides a smooth, paintable surface that mimics wood but requires a dry environment. Polyurethane is extremely light and flexible, allowing it to conform to curved surfaces or uneven walls with ease.
Prepare the wall surface
The success of your 3D wall panels depends entirely on the wall beneath them. These panels are decorative, not structural. They do not bridge gaps or hide imperfections. If the surface is uneven, the panels will not sit flat, and the adhesive will fail to bond properly.
Start by removing any existing hardware, outlets, or switches. Clean the surface thoroughly to eliminate dust, grease, and loose particles. A smooth, clean surface allows the adhesive to form a strong bond. If you are painting over the panels later, ensure the wall paint is fully cured and not peeling.
Fill any holes, cracks, or dents with spackle. Sand the filled areas until they are flush with the surrounding wall. The goal is a perfectly smooth plane. Any bump larger than a coin will create a visible shadow line under the panel. For textured walls, consider sanding down the texture or using a heavy-duty construction adhesive designed for uneven surfaces, though smooth is always preferred for the cleanest modern look.
Turn off power at the breaker and remove outlet covers and switch plates. Wash the wall with a mild detergent solution to remove grease and dust. Rinse with clean water and let it dry completely. A tack-free surface is essential for adhesion.
Apply spackle to any nail holes, dents, or cracks. Once dry, sand the area smooth with fine-grit sandpaper. Wipe away all dust with a damp cloth. The wall should feel smooth to the touch, with no ridges or bumps that could prevent the panel from sitting flush.
Use a level to check if your walls are plumb. Most walls are not perfectly straight. Mark a vertical reference line on the wall to guide your first panel. This ensures that subsequent panels align correctly, preventing a crooked installation that becomes obvious as you cover the entire wall.
Measure and cut the panels
Accurate measuring is the foundation of a professional 3D wall panels installation. Even slight errors compound when you are aligning geometric patterns or textured surfaces. Take your time with this step to avoid gaps, uneven seams, or wasted material. Use a steel tape measure for precision rather than a flexible cloth tape, which can stretch and skew your numbers.
Start by measuring the exact dimensions of your wall space. If the wall has windows, doors, or outlets, measure these obstacles carefully and note their positions relative to the corners. Transfer these measurements to your 3D wall panels, marking the cut lines with a pencil and a straight edge. For PVC or foam panels, a utility knife works well for scoring and snapping. For heavier gypsum or wood-composite panels, a fine-tooth saw will give you the cleanest edge.
When cutting, always score the face of the panel first to prevent chipping or tearing the surface texture. Cut slightly on the waste side of your line, then refine the fit with sandpaper or a file if needed. Dry-fit each piece before applying adhesive to ensure the pattern aligns correctly with adjacent panels. This trial run catches measurement errors early and saves you from ripping up installed panels later.
Use a steel tape measure to record the height and width of the installation area. Note the location of any outlets, switches, or architectural features that will require notches or cuts.
Transfer your wall measurements to the back of the 3D wall panels. Use a pencil and a straight edge to draw clear cut lines, ensuring the pattern orientation matches your design plan.
For PVC or foam panels, score the face deeply with a utility knife and snap along the line. For gypsum or wood, use a fine-tooth saw. Always cut on the waste side of your mark.
Place the cut panels on the wall without adhesive to check the fit and pattern alignment. Sand any rough edges or make minor adjustments with a file before final installation.
Apply adhesive and mount panels
The adhesive application is the foundation of a successful 3D wall panels installation. Whether you are using a construction adhesive, silicone-based glue, or heavy-duty double-sided tape, the bond must be immediate and strong enough to hold the panel's weight without slipping. Unlike flat wallpaper, these panels have depth and texture, meaning even a slight gap can cause visible misalignment or eventual detachment.
Start by applying the adhesive to the back of the panel. For liquid adhesives, use a zigzag pattern or generous dabs in the corners and center. If you are using pre-applied adhesive strips, peel the backing carefully to avoid stretching the tape, which reduces its holding power. Ensure the adhesive covers enough surface area to support the panel, especially for larger formats.
When you press the panel against the wall, apply firm, even pressure across the entire surface. This is where alignment becomes critical. Use your level to check vertical and horizontal lines before the adhesive sets. Once a panel is down, it is difficult to reposition without damaging the adhesive bond or the wall surface, so take the time to get it right the first time. Work from the center of the wall outward or from a corner, maintaining a consistent gap if your design calls for one.
Apply adhesive in a zigzag pattern or use heavy-duty double-sided tape on the back of the panel. Ensure full coverage to support the panel's weight and texture.
Place the panel against the wall using your level. Check that edges align with previous panels or your guide lines before pressing down. Adjustments are difficult once contact is made.
Apply firm, even pressure across the entire surface to ensure a strong bond. Hold for a few seconds if using liquid adhesive to prevent slipping while it sets.
Continue installing panels, working outward from your starting point. Regularly step back to check for visual continuity and ensure no gaps or uneven edges are visible.
Finish edges and seams
The difference between a DIY project and a professional installation of 3D wall panels comes down to the details. Once your panels are adhered to the wall, the final step is ensuring that every corner, edge, and seam blends seamlessly into the room’s architecture.
Trim the edges
Use a utility knife or fine-toothed saw to trim the panels to fit around door frames, windows, and baseboards. For a clean finish, cut slightly oversized and then shave down to the line. If you are installing in a corner, use a miter box to cut 45-degree angles so the panels meet without overlapping or leaving gaps.
Fill and sand seams
Most 3D wall panels come with interlocking edges, but minor gaps can still appear. Apply a thin bead of acrylic caulk or joint compound into the seams. Use a damp sponge or your finger to smooth the filler, blending it with the panel’s texture. Once dry, lightly sand the area to remove any ridges.
Prime and paint
After the filler cures, apply a coat of primer to seal the seams and ensure uniform paint absorption. Use a roller for flat areas and a small brush for the textured details of your 3D wall panels. This final coat hides any visible seams and gives your wall a cohesive, custom look.
Common installation mistakes to avoid
Even the most expensive 3D wall panels can look amateurish if the installation process is rushed. The difference between a professional finish and a DIY failure often comes down to surface preparation and alignment. By sidestepping these frequent pitfalls, you ensure your 3D wall panels remain a lasting focal point rather than a source of frustration.
Skipping wall prep
Adhesive relies on a clean, smooth surface to bond correctly. Skipping the cleaning step is the fastest way to cause panels to peel or warp over time. Dust, grease, and loose paint particles create a barrier that prevents the adhesive from gripping the wall substrate.
Before applying any panels, wipe the wall with a damp cloth to remove dust and let it dry completely. If the wall has existing texture or peeling paint, sand it smooth and apply a primer. This simple prep step ensures your 3D wall panels adhere securely for the long term.
Ignoring level lines
Without a starting reference, even a slight initial tilt compounds with every subsequent panel. A wall that starts crooked will end up looking significantly misaligned, ruining the geometric integrity of the design. This is especially true for interlocking 3D wall panels where precision is key.
Start from the center of the wall or a prominent corner, using a laser level or a standard bubble level to mark your baseline. This reference point acts as a guide, keeping your 3D wall panels straight and symmetrical throughout the installation.
Applying uneven adhesive
Inconsistent adhesive application leads to air pockets, weak bonds, and visible seams. Using too little adhesive causes panels to detach, while using too much results in messy oozing that is difficult to clean. Both scenarios compromise the structural integrity and aesthetic appeal of your 3D wall panels.
Follow the manufacturer’s instructions for adhesive coverage, typically using a notched trowel or a specific bead pattern. Ensure full coverage behind each panel, pressing firmly to eliminate air pockets. This method guarantees a secure bond and a smooth, professional finish for your 3D wall panels.
Wipe the wall with a damp cloth to remove dust and let it dry. Sand any rough spots and apply primer if needed to create a smooth, clean surface for the adhesive to bond to.
Use a laser level or bubble level to draw a horizontal reference line on the wall. This ensures your first panel is perfectly straight, preventing cumulative misalignment as you work.
Spread adhesive according to the manufacturer’s instructions, using a notched trowel for consistent coverage. Avoid excess oozing by applying the recommended amount and pressing firmly to remove air pockets.
Place each panel against the level line, interlocking edges carefully. Press firmly to secure the bond and check alignment frequently to maintain a straight, professional finish.
Tools and materials checklist
Before you start, gather everything you need. Having the right supplies on hand prevents interruptions and ensures a clean finish for your 3D wall panels.
You will need a measuring tape, a level, and a utility knife for cutting the lightweight PVC panels. A rubber mallet helps seat the pieces without damaging the edges. For adhesion, use construction adhesive compatible with your wall surface, along with painter’s tape to hold panels in place while the glue sets. Finish with a paintable caulk to seal gaps between panels and the wall.
- Measuring tape and pencil
- Spirit level
- Utility knife and extra blades
- Rubber mallet
- Construction adhesive
- Painter’s tape
- Paintable caulk and caulk gun
- Clean cloth and mild detergent
Frequently asked questions about 3D wall panels
Can I install 3D wall panels in bathrooms or kitchens? Yes, most 3D wall panels made from thermoformed PVC are water-resistant and suitable for high-humidity areas. Ensure the surface is properly sealed and that you use a moisture-resistant adhesive if required by the manufacturer. Avoid submerging the panels in standing water.
Do 3D wall panels require special tools to install? No, most DIY-friendly panels only require basic tools like a tape measure, utility knife, and a level. Peel-and-stick varieties need no adhesive at all, while glue-down panels require a standard construction adhesive and a caulking gun.
How do I clean and maintain 3D wall panels? Dust regularly with a microfiber cloth or use a vacuum with a brush attachment to remove debris from the textured surface. For deeper cleaning, wipe with a damp cloth and mild soap. Avoid abrasive cleaners or harsh chemicals that could damage the finish.
Can I paint 3D wall panels after installation? While some panels can be painted, it is generally not recommended. Painting can obscure the intricate three-dimensional design and may void the warranty. If you want a different color, choose a pre-finished panel that matches your desired aesthetic from the start.
Are 3D wall panels easy to remove? Removal depends on the installation method. Peel-and-stick panels usually come off cleanly, though some residue may remain. Glue-down panels may damage the underlying drywall or paint when removed, so consider this if you plan to rent or move soon.
No comments yet. Be the first to share your thoughts!