
Pick the right 3D wall panels
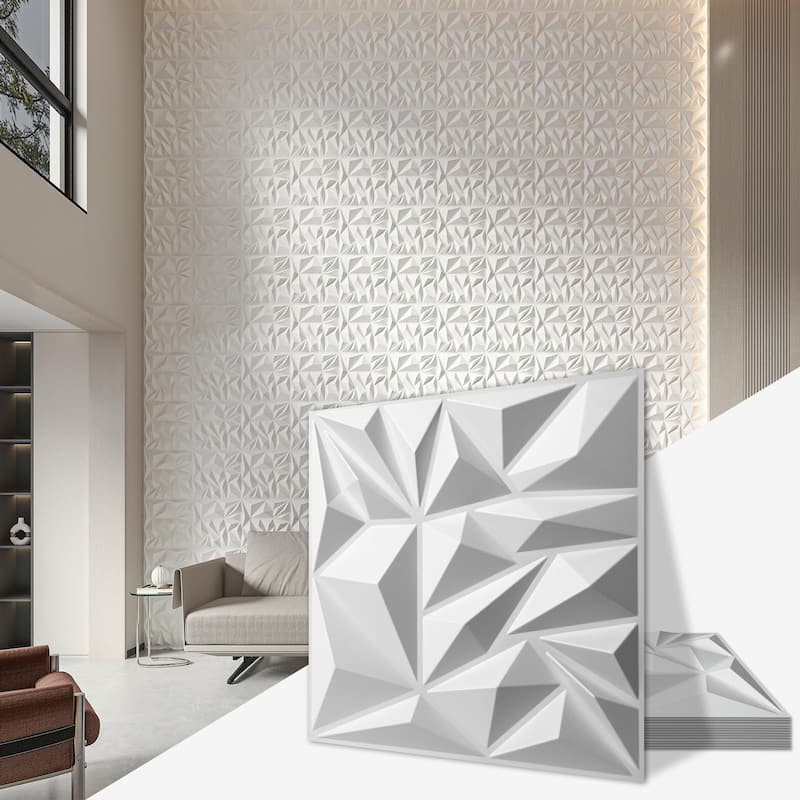
Choosing the right 3D wall panels starts with matching the material to the room's function. PVC, wood, and acoustic panels each bring distinct advantages for durability, moisture resistance, and installation difficulty.
PVC Panels
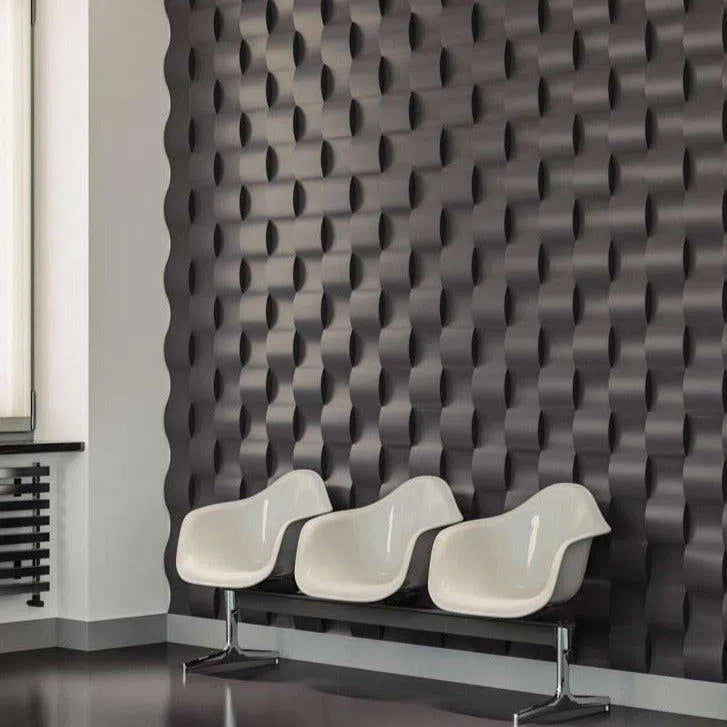
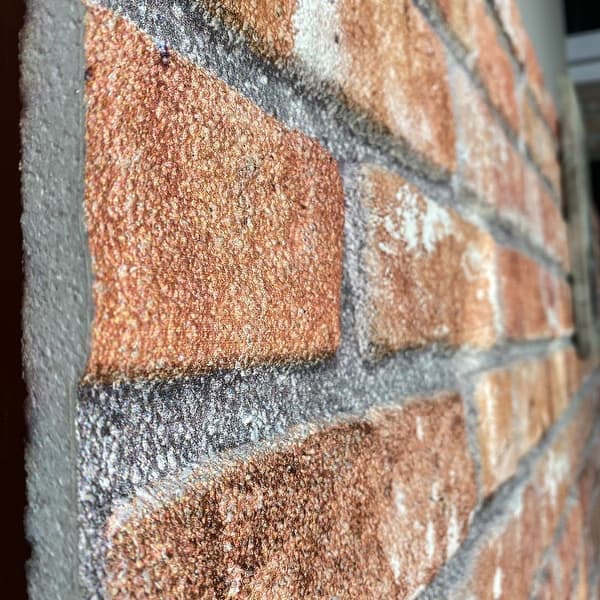
PVC panels are lightweight, durable, and waterproof, making them ideal for bathrooms, kitchens, and basements. They resist moisture and are easy to clean, though they may not offer the same aesthetic warmth as wood.
Wood Panels
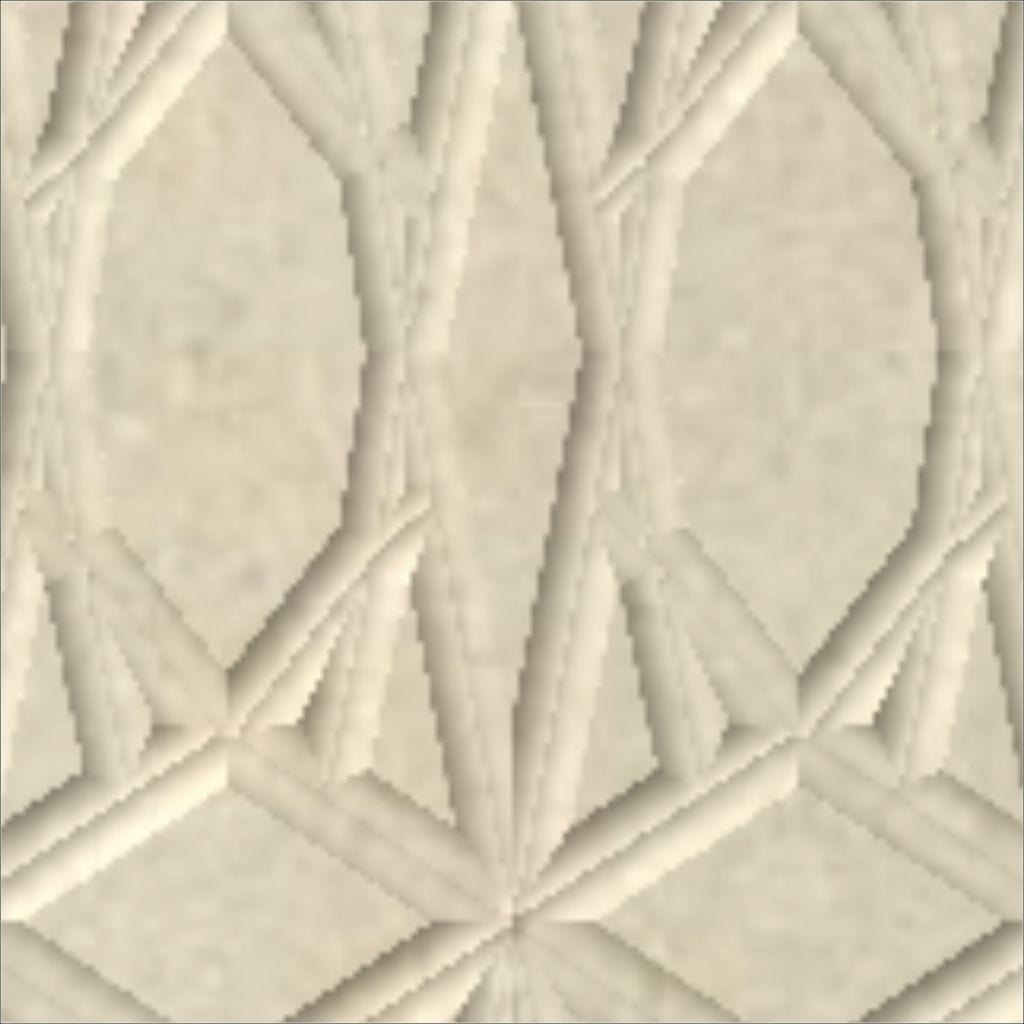
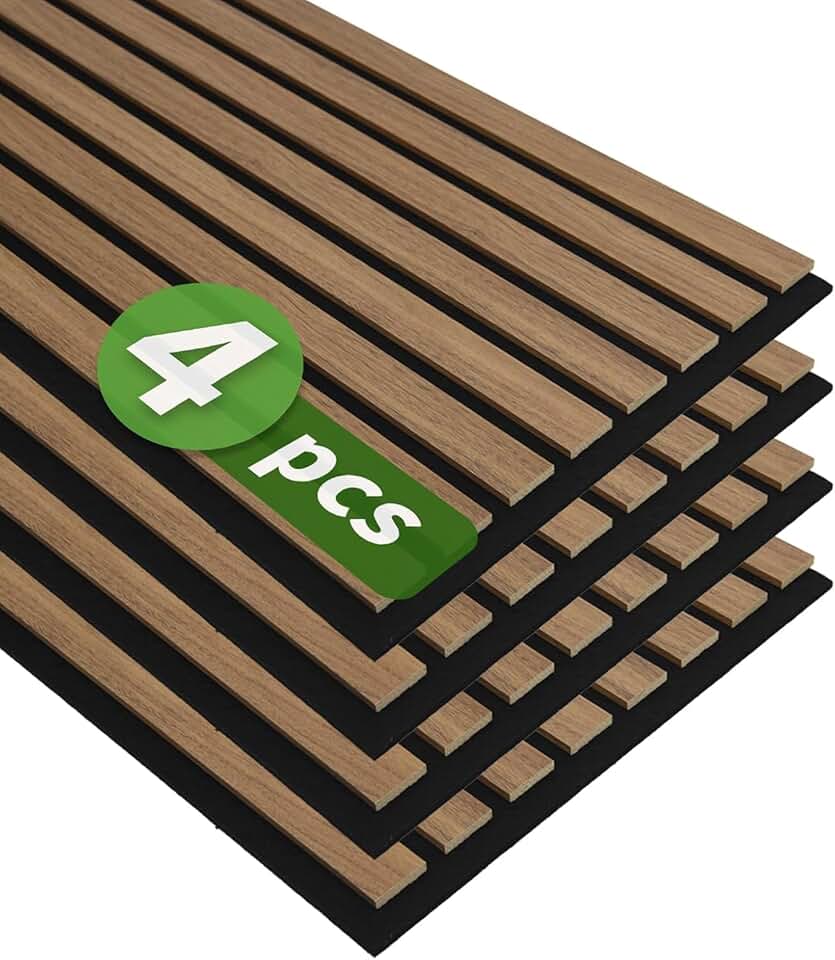
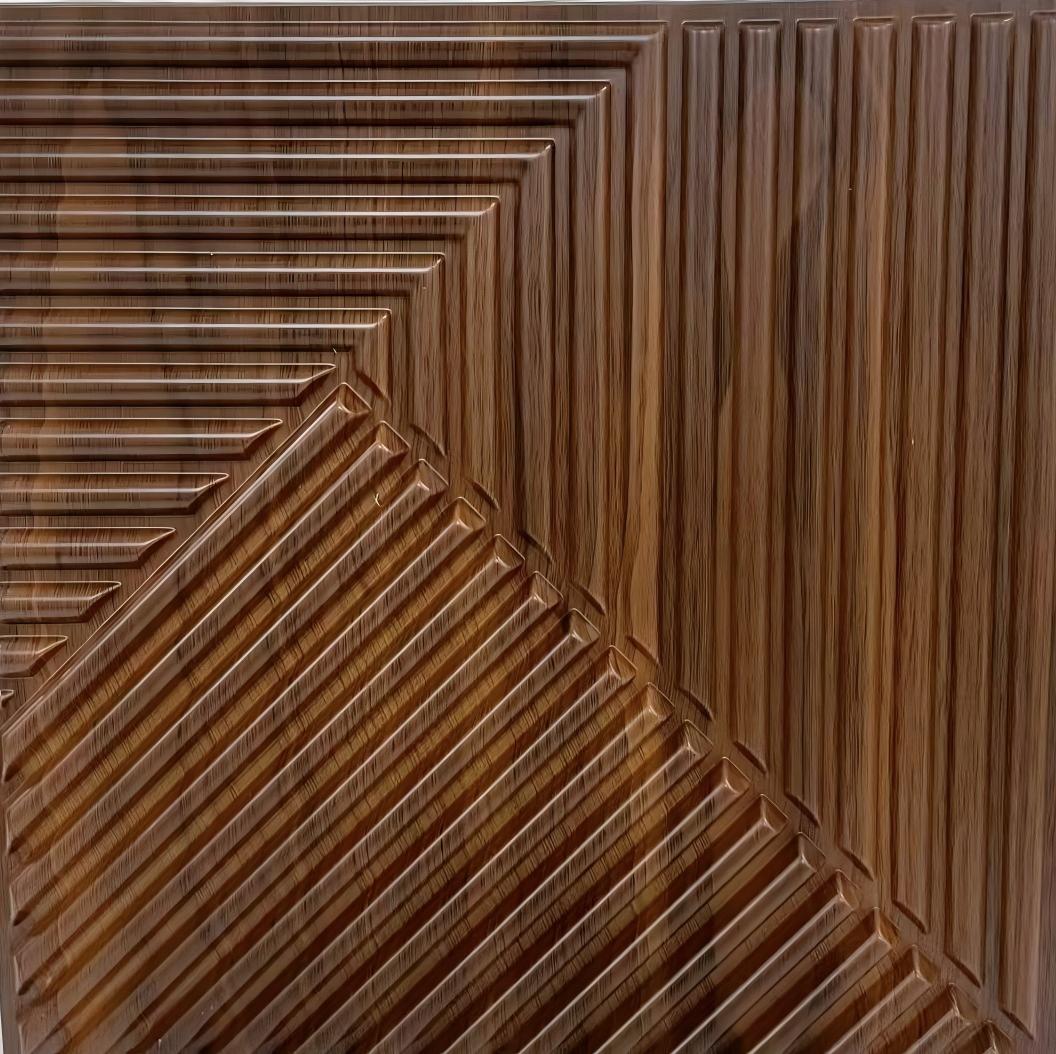
Wood panels bring natural texture and warmth to living rooms and bedrooms. They are more susceptible to moisture and require careful installation in high-humidity areas, but they offer a premium, organic look.
Acoustic Panels
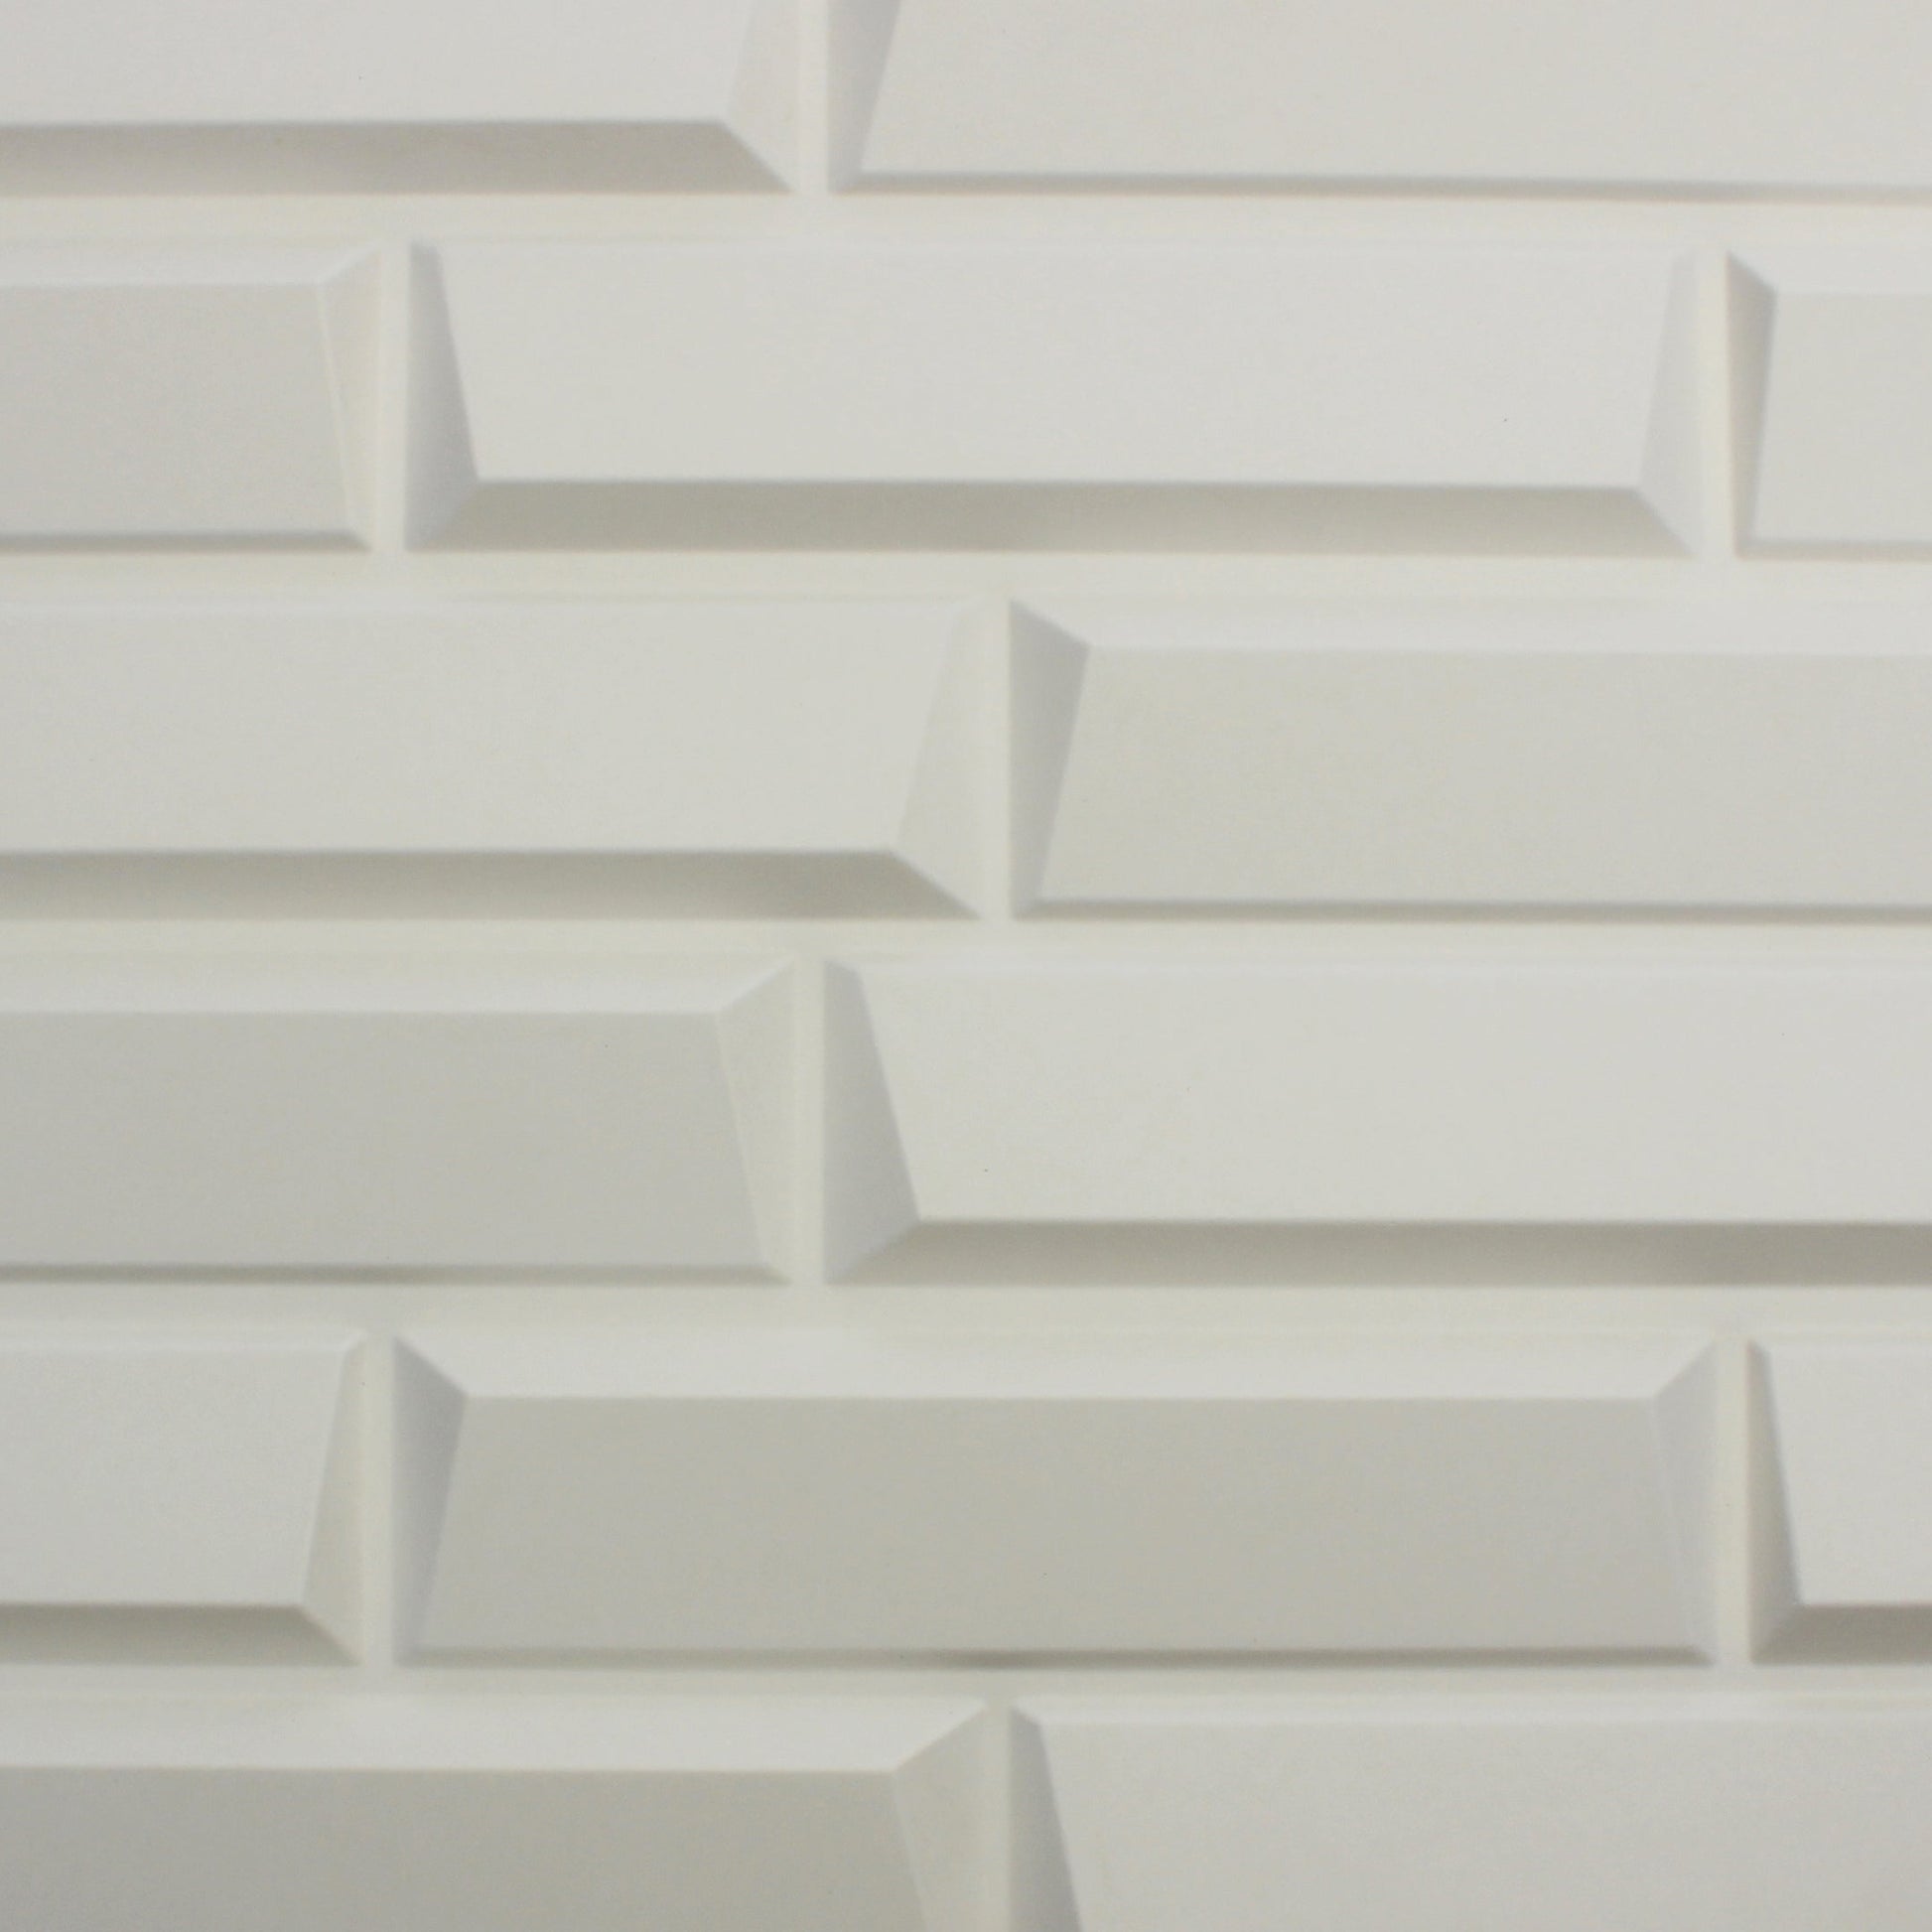
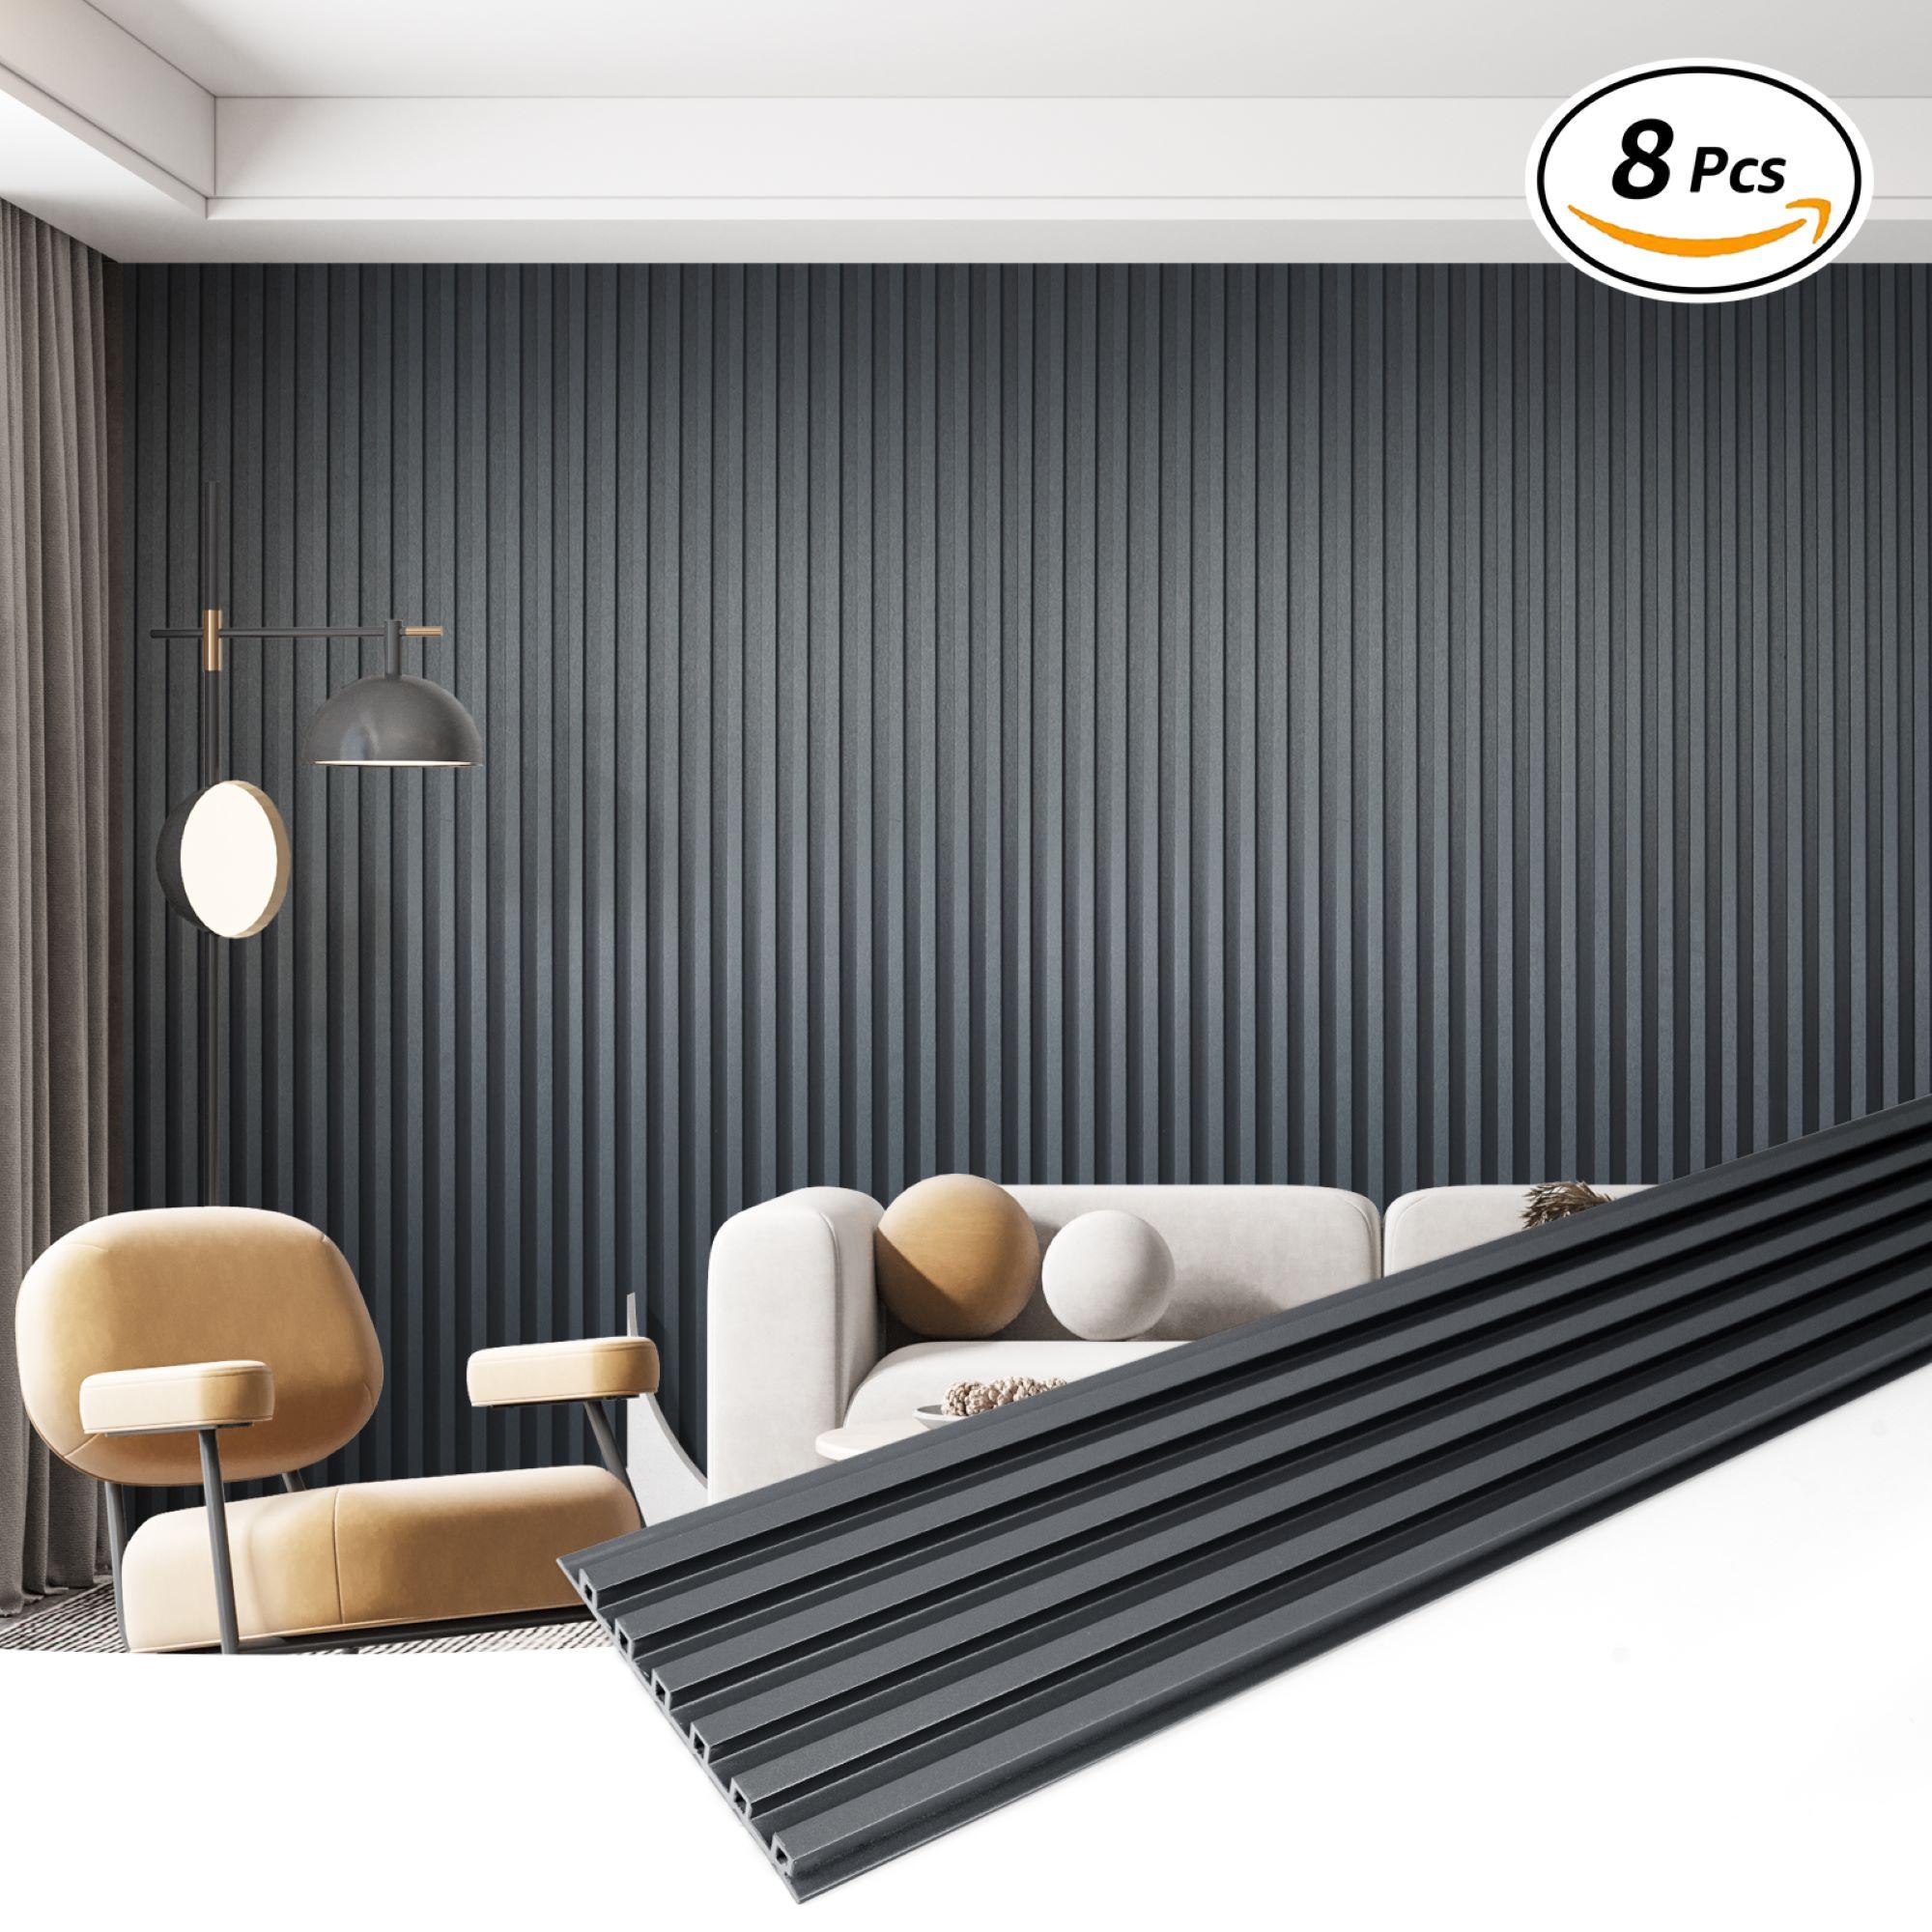
Acoustic panels are designed to absorb sound, reducing echo and noise in home offices or media rooms. They are typically made from porous materials and may be less durable than PVC or wood in high-traffic zones.
| Material | Durability | Moisture Resistance | Installation Difficulty |
|---|---|---|---|
| PVC | High | Waterproof | Easy |
| Wood | Medium | Low | Medium |
| Acoustic | Low | Medium | Medium |


As an Amazon Associate, we may earn from qualifying purchases.
Prep the wall surface properly
The success of your 3D wall panels depends entirely on the condition of the wall beneath them. Because most decorative panels rely on strong adhesive bonds rather than mechanical fasteners, any unevenness, dust, or moisture will compromise the installation. A rough or dirty surface acts like a barrier, preventing the adhesive from gripping the substrate and leading to panels that sag, peel, or fail to align correctly.
Start by removing any existing hardware, such as nails, screws, or anchor plugs. Fill these holes and any other imperfections with spackling paste or joint compound. Once the filler dries, sand the area smooth to ensure the wall surface is flat. If there are large cracks or deep divots, repair them before moving on to the general smoothing process.
Clean the wall thoroughly to remove grease, dust, and loose particles. A damp cloth works well for most surfaces, but for kitchens or areas prone to grease, use a mild detergent solution. Allow the wall to dry completely. Moisture trapped behind the panels can weaken the adhesive bond and promote mold growth, so patience here is essential for a long-lasting finish.
For glossy or semi-gloss walls, lightly sand the surface with fine-grit sandpaper to create a "tooth" for the adhesive to grip. Wipe away the resulting dust with a clean, dry cloth. If the wall has peeling paint or flaking plaster, scrape away all loose material until you reach a solid, stable surface. Patch any remaining bare spots with joint compound and sand smooth once dry.
Pull out all nails, screws, and anchors. Apply spackling paste to holes and imperfections, then sand smooth when dry.
Wipe down the wall with a damp cloth or mild detergent to remove dust, grease, and grime. Rinse with clean water if needed.
Lightly sand glossy paint to create a rougher surface for better adhesion. Sand any high spots or ridges to ensure the wall is flat.
Allow the wall to dry fully after cleaning. Moisture prevents adhesive from bonding correctly, so wait at least a few hours or until the surface feels dry to the touch.
Measure and plan the layout
Skipping the layout plan is the fastest way to end up with a narrow, awkward strip of 3D wall panels on one side of the room. Without a plan, you are guessing where the seams fall, and those guesses usually look messy. A proper layout ensures symmetry and keeps the focal point centered.
Start by measuring the width and height of the wall. Find the exact center point and mark it lightly with a pencil. This center line acts as your anchor. Most 3D wall panels are symmetrical or designed to mirror each other. By starting from the center and working outward, you ensure that the edges on both sides of the room are balanced.
Dry-fit your panels along the floor or a large table before touching the wall. Lay them out exactly as they will appear on the wall. This step reveals potential issues, such as a panel that needs to be cut to fit around an outlet or a corner that doesn't align perfectly. Adjusting the layout on the floor is much faster and cleaner than cutting panels already glued to the wall.
Once you are happy with the dry-fit arrangement, use a level to draw vertical and horizontal guidelines on the wall. These lines are your roadmap. They keep your panels straight and ensure that the pattern flows correctly. If your wall is uneven, use these lines to compensate for minor imperfections, but always aim for a plumb vertical line for the center panel.
Measure the wall width and mark the exact center point with a pencil. This point will be the starting place for your layout, ensuring symmetry on both sides.
Lay the panels on the floor in your planned arrangement. Check how they fit around obstacles like outlets or corners. This prevents costly mistakes during installation.
Use a level to draw vertical and horizontal lines on the wall based on your dry-fit layout. These lines serve as a guide to keep your panels straight and aligned.
Install the panels step by step
Installing 3D wall panels is a straightforward process that relies on precision rather than heavy lifting. Whether you are using lightweight foam, PVC, or gypsum panels, the goal is a flat, seamless finish that transforms the room's texture.
Apply construction adhesive or panel adhesive to the back of the panel using a zigzag pattern. Press the panel firmly against the wall, aligning it with your level line. Use a level to check vertical alignment immediately. If you are using interlocking panels, ensure the tabs and slots engage fully before pressing down to avoid gaps.
Continue installing panels row by row, checking alignment frequently. For heavier panels, you may need temporary bracing or nails while the adhesive cures. Once installed, fill any visible seams with spackle or caulk that matches the panel color. Sand the joints smooth for a unified look before painting or sealing.
Finish edges and seal gaps
The difference between a DIY job and a professional finish comes down to the edges. Once your 3D wall panels are adhered, the seams and corners are where dust and light will reveal any imperfections. Handling these transitions cleanly ensures the texture looks intentional rather than installed.
Start with the corners. Use a flexible, paintable caulk to fill the joint where two panels meet. Run a thin, steady bead along the seam, then smooth it with a damp finger or a caulk tool. This creates a unified line that hides minor gaps without adding bulk. For corners where panels meet the ceiling or floor, use a small amount of caulk to bridge the gap, ensuring a tight seal that prevents peeling.
Apply a thin bead of paintable latex caulk to all vertical and horizontal seams between panels. Smooth immediately with a damp finger for a seamless look.
If using rigid trim pieces, nail or glue them into place. Lightly sand any rough edges or excess adhesive before painting to ensure a smooth surface.
Once caulk is dry, prime and paint the entire wall as one unit. This blends the seams and gives the 3D panels a cohesive, finished appearance.
Finally, inspect the entire surface for any missed spots. A well-sealed edge not only looks better but also protects the installation from moisture and shifting. With the gaps sealed and corners clean, your 3D wall panels are ready to be painted and enjoyed.
Common installation mistakes to avoid
Even with peel-and-stick 3D wall panels, skipping prep work is the fastest way to ruin a room makeover. The adhesive bonds to dust, not drywall. If your wall is uneven, the panels will rock or leave gaps that catch light and highlight every imperfection. Leveling the surface isn't optional; it's the foundation of a clean finish.
Pattern alignment is the second most common error. It's easy to rush the first row and spend the rest of the project chasing a misaligned grid. Start from the center of the wall or a dominant corner, and use a laser level to mark your guide lines. This ensures your 3D wall panels lock together seamlessly, creating a cohesive architectural look rather than a scattered patchwork.

Run your hand over the wall to find bumps. Fill any holes or cracks with spackle and sand smooth. A flat surface ensures the adhesive holds firmly.
Use a laser level to draw horizontal and vertical lines. Start from the center of the wall to keep the pattern balanced and symmetrical.
Press the first panel firmly onto your guide lines. Check the seams immediately. If you adjust it later, the adhesive may lose its grip.
FAQ about 3D wall panels
Checklist for your project
Before you start peeling and sticking, gather everything you need. 3D wall panels are lightweight and durable, but they still require a smooth, clean surface to adhere properly. Skipping prep work is the most common reason installations fail.
Here is the essential toolkit for a quick room makeover:
- 3D Wall Panels: Measure your wall area and add 10% extra for cuts and mistakes.
- Construction Adhesive: A strong bonding agent for permanent security.
- Double-Sided Foam Tape: Helps hold panels in place while the adhesive cures.
- Utility Knife & Straight Edge: For precise trimming around outlets and corners.
- Measuring Tape & Level: Ensures your first row is perfectly straight.
- Cleaning Supplies: Rubbing alcohol and a microfiber cloth to degrease the wall.
Having these items ready keeps the workflow moving. You can buy most of these at any hardware store, while the panels themselves come in various textures and patterns online.
No comments yet. Be the first to share your thoughts!