
Check your wall condition
Before you buy panels, check your wall's condition. Drywall is the easiest surface to work with, but you still need to look for holes or soft spots. If the base isn't solid, the adhesive won't hold.
Plaster walls can be trickier. Older plaster, in particular, can be uneven or crumbly, requiring patching and smoothing before you begin. Concrete walls are durable but require a strong adhesive and potentially a primer specifically designed for concrete. Existing wallpaper is often a problem; it needs to be completely removed to ensure proper adhesion. Any loose wallpaper will create issues, guaranteed.
Uneven surfaces are a major concern. While some minor imperfections can be masked by the panels themselves, significant dips or bumps will be noticeable and can prevent the panels from lying flat. You’ll need to address these with patching compound and sanding. Take the time to feel the wall – run your hand across it to identify any problem areas. A long level can also reveal subtle inconsistencies.
Finally, let’s talk tools. You'll need a measuring tape, level, utility knife, caulk gun, and a good quality construction adhesive. A pencil for marking cuts is a must. Consider a laser level for ensuring perfectly straight lines, especially if you’re covering a large area. I recommend having a shop vacuum on hand for cleanup, too. It's better to be prepared.

Tools and materials
Now that you’ve assessed your wall, let’s get down to specifics. Beyond the basics – measuring tape, level, utility knife – a few tools really make a difference. A notched trowel is helpful for spreading adhesive evenly, and a rubber mallet can ensure the panels are firmly seated. Don’t skimp on the adhesive; a high-quality construction adhesive is worth the investment.
The panels themselves are, of course, the core material. Consider the material – foam panels are lightweight and easy to cut, while wood panels offer a more substantial feel. You’ll also need primer, seam filler, and potentially paint or stain. The type of primer depends on your wall material; a drywall primer is different from a concrete primer.
Adhesive choice is critical. For drywall, a standard construction adhesive like Liquid Nails will often suffice. For plaster or concrete, you might need a more heavy-duty adhesive specifically formulated for those surfaces. Gorilla Glue’s construction adhesive is a popular choice, but read the label carefully to ensure it’s suitable for your panel material. I’ve found that a dual-cartridge caulk gun makes adhesive application much cleaner and easier.
Optional tools like a laser level can save a lot of time and frustration, especially for larger installations. A panel cutter, specifically designed for 3D panels, will give you cleaner, more precise cuts than a utility knife alone. And don’t forget safety glasses and gloves – protecting yourself is always a good idea.
- Measuring tape
- Level or laser level
- Utility knife
- Caulk gun
- Notched trowel
- Rubber mallet
- Construction adhesive
- Primer (appropriate for wall type)
- Seam filler
- Paint or stain (optional)
- Safety glasses
- Gloves
Layout and design
Don’t just start sticking panels randomly. Careful planning is essential for a professional-looking result. The first decision is whether to cover the entire wall or create an accent wall. Accent walls are a great way to add visual interest without overwhelming the space. Full wall coverage can be dramatic, but requires more panels and careful attention to detail.
Centering the design is important. Consider the focal point of the room – a fireplace, television, or window – and plan the layout around that. You want the panels to draw the eye to the desired area. Working around windows and doors requires precise measurements and careful cuts. It's often easier to install panels around these features rather than trying to cut them to fit.
Minimizing waste is key, especially with more expensive panels. Before you start cutting, lay out the panels on the floor and experiment with different arrangements. Consider the panel’s repeating pattern and how to best utilize it. You’ll inevitably have some scraps, but careful planning can reduce the amount.
Different patterns create different effects. A symmetrical pattern looks formal and balanced, while a random pattern feels more modern and organic. Herringbone and brick patterns are popular choices, but require more precise cuts. I’ve seen some really interesting designs created by mixing different panel textures and colors. To calculate the number of panels you’ll need, measure the wall’s area and divide it by the area of a single panel, adding about 10-15% for waste.
Installation steps
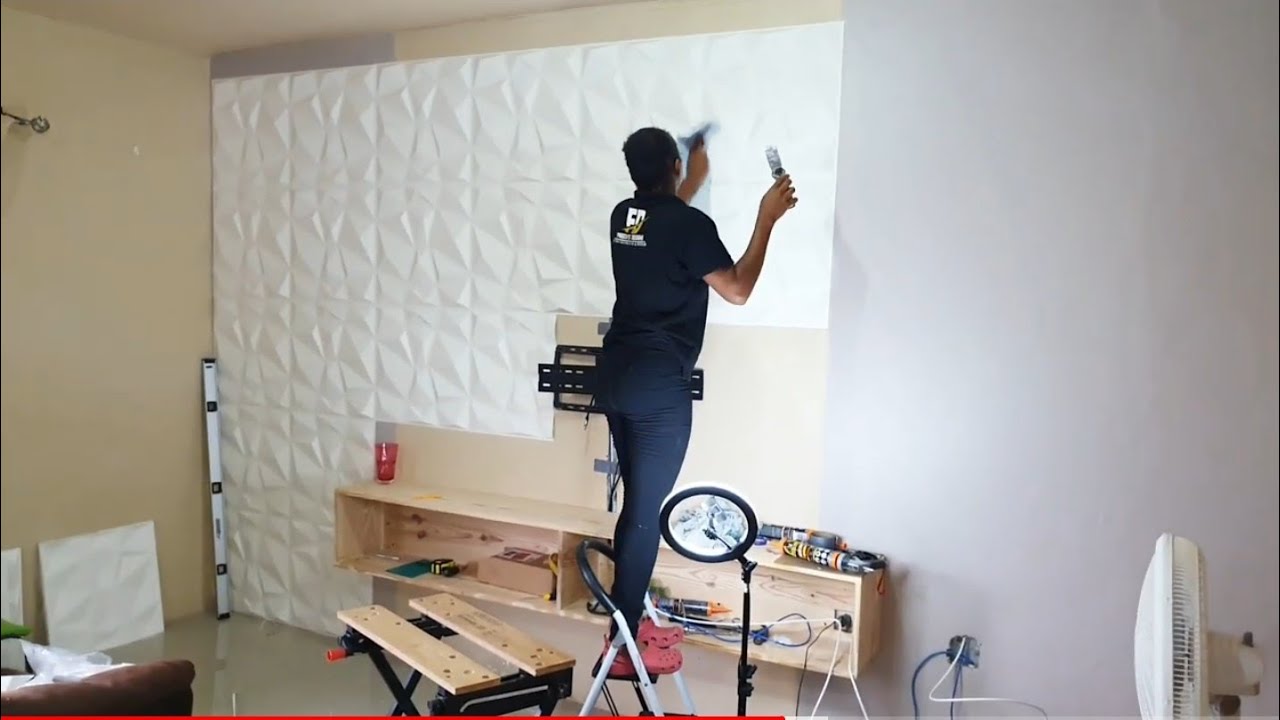
Alright, let's get to the installation itself. First, prime the wall. This is crucial for adhesion, especially on porous surfaces like drywall or plaster. Allow the primer to dry completely according to the manufacturer’s instructions. Next, begin applying the construction adhesive to the back of each panel. Use a notched trowel to spread the adhesive evenly, ensuring full coverage.
Carefully position the panel on the wall, pressing firmly into place. Use a level to ensure it’s straight and aligned with the surrounding panels. Hold the panel in place for a few seconds to allow the adhesive to grab. Repeat this process for each panel, working your way across the wall. I've found that working in small sections – about three or four panels at a time – gives you more control.
When you reach corners or edges, you’ll likely need to cut the panels to fit. Measure carefully and use a utility knife or panel cutter to make precise cuts. Remember to account for the panel’s thickness when measuring. For internal corners, try to create a tight fit, and use seam filler to conceal any gaps. External corners require even more precision.
If you make a mistake, don’t panic. Carefully remove the panel before the adhesive fully sets. You may need to use a scraper or putty knife to gently pry it off. Clean off any remaining adhesive from the wall and the panel, and start over. Different panels react differently, so be careful with delicate materials. Foam panels are easier to remove than wood panels.
Working with different panel types requires slight adjustments. Foam panels are lightweight and easy to cut, but can be easily dented. Wood panels are more durable but require more effort to cut and install. Some panels have a specific orientation – make sure you’re installing them the right way up. Alli and Will demonstrate a good approach to panel installation in their 2025 YouTube video, focusing on desk builds and creative spaces.
Keep a damp cloth handy to wipe away any excess adhesive that squeezes out from under the panels. This will make the seam filling process much easier. Regularly step back and assess your progress, checking for alignment and ensuring the overall design looks balanced. Don’t rush the process; taking your time will result in a better outcome.
For a wall measuring roughly 8.5ft x 19ft, expect to use at least four boxes of standard panels. Always check the square footage on the box against your wall measurements before starting.
Seam Filling and Finishing Touches
Once all the panels are in place, you’ll likely have seams between them. Filling these seams is essential for a seamless look. Choose a seam filler that’s compatible with your panel material and the adhesive you used. Acrylic latex caulk is a good all-purpose option. Apply the seam filler liberally, using a putty knife to smooth it out and remove any excess.
Allow the seam filler to dry completely according to the manufacturer’s instructions. Then, lightly sand the filled seams to create a smooth, even surface. Be careful not to sand too aggressively, as you could damage the panels. If you plan to paint or stain the panels, now is the time to do it. Choose a color that complements the room’s decor.
Painting or staining can help blend the panels with the surrounding wall, creating a more cohesive look. Apply the paint or stain evenly, using a brush or roller. Allow it to dry completely before applying a second coat, if necessary. For a more subtle effect, you can use a tinted primer.
Finally, address any other finishing touches. Clean off any dust or debris from the panels. Inspect the installation for any imperfections and make any necessary repairs. A well-installed 3D wall panel setup should look like one continuous surface, with no visible seams or gaps.
Common problems
Despite careful planning, things can still go wrong. Panels not sticking is a common problem, often caused by insufficient adhesive or an improperly prepared surface. Make sure the wall is clean, dry, and primed before applying the adhesive. If the panels still won’t stick, try using a stronger adhesive or adding more adhesive to the back of the panel.
Uneven alignment can be corrected by carefully removing the panel and repositioning it. Use a level to ensure it’s straight and aligned with the surrounding panels. If you’ve already applied seam filler, you may need to scrape it off and start over. Damaged panels can be replaced, but it’s important to have a few extra panels on hand for just such an occasion.
Old plaster walls can be particularly problematic. The plaster may crack or crumble during installation, requiring patching and sanding. It’s important to reinforce the plaster with a stabilizer before applying the panels. If you encounter unexpected wall conditions, like hidden pipes or electrical wiring, stop work immediately and consult a professional.
Preventative measures can help avoid many of these problems. Thoroughly prepare the wall, use a high-quality adhesive, and take your time during the installation process. Don’t be afraid to ask for help if you’re unsure about something. And remember, patience is key.
Maintaining Your 3D Wall: Cleaning & Care
Once your 3D wall is installed, proper maintenance will keep it looking its best for years to come. Cleaning methods vary depending on the panel material. Foam panels can usually be cleaned with a mild detergent and water. Wood panels require more care, as water can damage the finish. Use a wood cleaner specifically designed for finished wood.
To protect your panels from damage, avoid placing them in direct sunlight or exposing them to excessive moisture. Regularly dust the panels with a soft cloth to remove any buildup. For stubborn stains, try using a specialized cleaner recommended by the panel manufacturer. Avoid using abrasive cleaners, as they can scratch or damage the surface.
Minor scratches or dents can often be repaired with a touch-up pen or filler. Choose a color that matches the panel’s finish. For more significant damage, you may need to replace the panel. Preventing fading or discoloration over time can be achieved by using UV-protective window coverings.
Regular maintenance is key to preserving the beauty and longevity of your 3D wall. By following these simple tips, you can enjoy your stunning new wall decor for years to come.


No comments yet. Be the first to share your thoughts!