
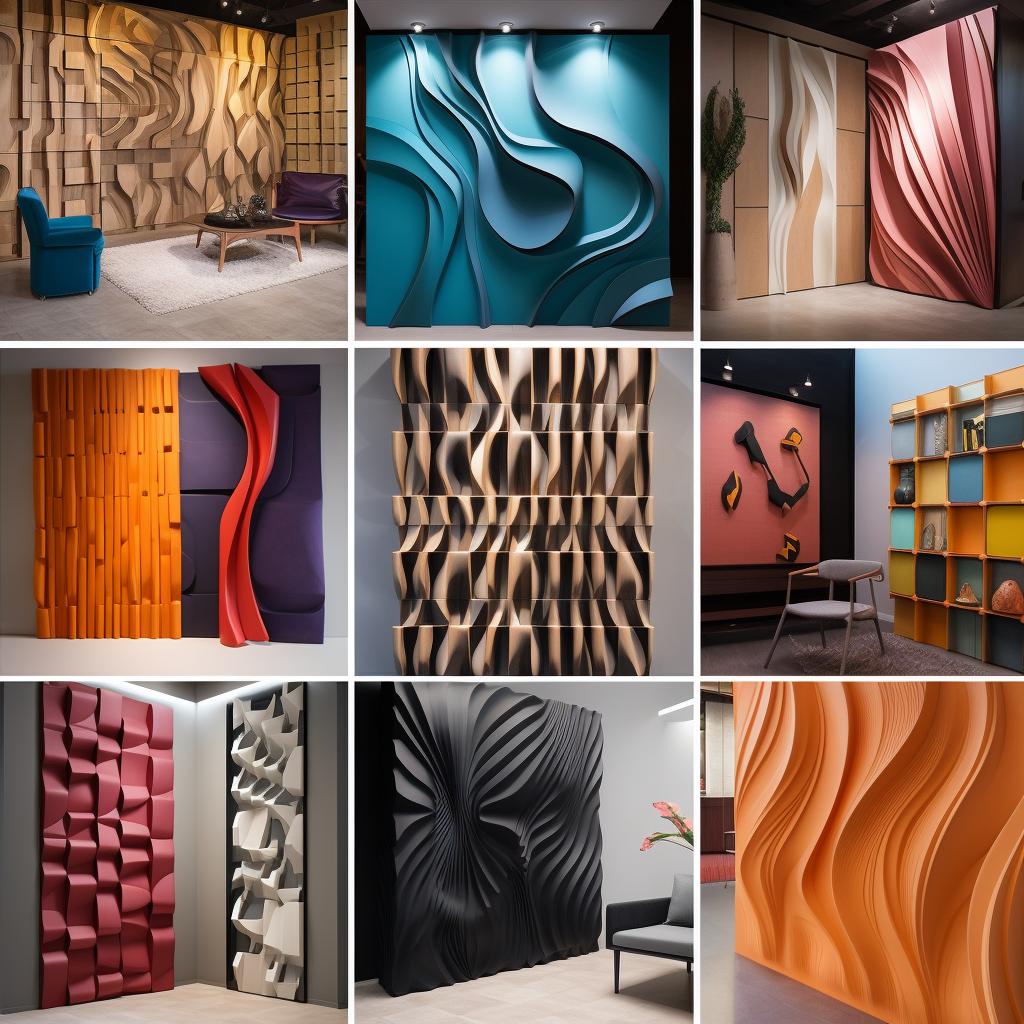
Why Choose Whole 3D Wall Panels?
Why Choose Whole 3D Wall Panels?
If you're looking to add a unique and modern touch to your home or office, Whole 3D's wall panels are the perfect solution. Our panels are made from high-quality materials and are designed to be both durable and easy to install. Here are some reasons why you should choose Whole 3D wall panels:
- Easy to Install: Our wall panels are designed to be easy to install, even for those with little to no experience in DIY projects. With our step-by-step installation guide, you can have your panels up in no time.
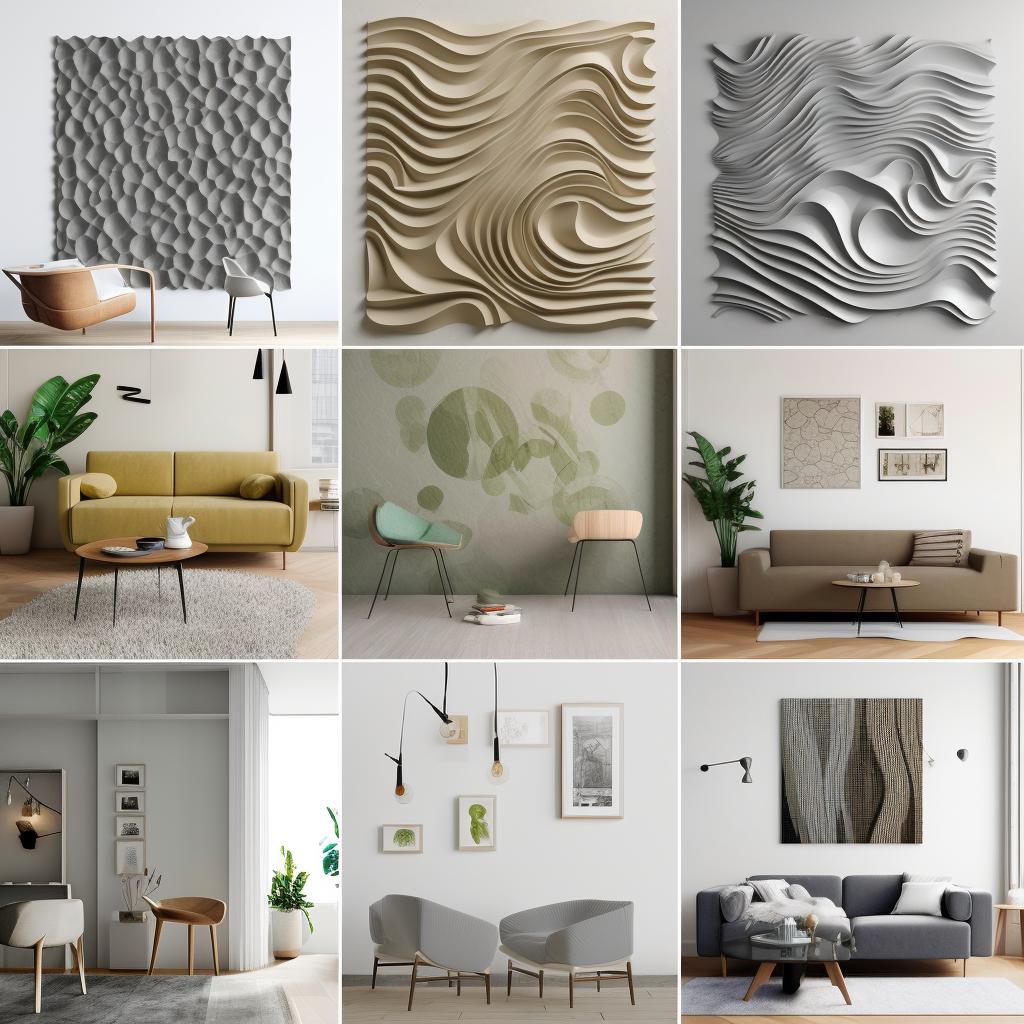
- Customizable: Our panels come in a variety of designs and can be painted or stained to match your existing decor. You can also mix and match different panel designs to create a unique look.
- Durable: Our wall panels are made from high-quality materials that are designed to last. They are resistant to scratches, dents, and other types of damage, making them a great investment for your home or office.
- Unique: Our 3D wall panels are a unique and modern way to add texture and depth to your walls. They are perfect for creating an accent wall or adding interest to a room.
- Sustainable: At Whole 3D, we are committed to sustainability and use eco-friendly materials in our products. Our panels are made from recycled materials and are 100% recyclable.
Overall, Whole 3D wall panels are a great investment for anyone looking to add a unique and modern touch to their space. With our easy installation process, customizable designs, and durable materials, you can transform your walls in no time.
Tools and Materials You'll Need
Tools and Materials You'll Need
Before you begin installing your 3D wall panels, it's important to have all the necessary tools and materials on hand. Here's a list of what you'll need:
- Measuring tape: You'll need to measure your wall to determine how many panels you'll need.
- Pencil: Use a pencil to mark where you'll be installing your panels.
- Level: A level will ensure that your panels are installed straight.
- Saw: You'll need a saw to cut your panels to size.
- Adhesive: Use a strong adhesive to secure your panels to the wall.
- Paint: If you plan on painting your panels, make sure to have the appropriate paint and brushes on hand.
- Spatula: A spatula will help you spread the adhesive evenly.
- Caulk: Use caulk to fill in any gaps between the panels and the wall.
- Sanding block: A sanding block will help you smooth out any rough edges.
Make sure to have all of these tools and materials ready before you begin your installation. This will make the process much smoother and ensure that you have everything you need to achieve a flawless finish.
Preparing Your Wall for Installation
Preparing Your Wall for Installation Before installing your 3D wall panels, it is important to properly prepare your wall to ensure a flawless finish. Here are some key steps to follow:1. Clean the Wall: Start by cleaning the wall where you plan to install the panels. Use a damp cloth to wipe away any dirt, dust, or debris. Allow the wall to dry completely before moving on to the next step.
2. Remove Any Obstacles: Remove any obstacles that may be in the way of the installation process. This includes any wall fixtures, such as light switches, electrical outlets, or wall-mounted decor. If you cannot remove these fixtures, make sure to cover them with masking tape to protect them from damage.
3. Measure and Mark: Measure the height and width of the wall where you plan to install the panels. Use a pencil to mark the center of the wall and draw a straight line from top to bottom. This will serve as your guide when installing the panels.
4. Apply Primer: Apply a coat of primer to the wall to help the adhesive bond better with the surface. Allow the primer to dry completely before moving on to the next step.
5. Plan the Layout: Plan the layout of the panels before installing them. This will help you determine the best placement for each panel and ensure that they fit together seamlessly. Use a level to make sure that each panel is straight and even.
By following these steps, you can ensure that your wall is properly prepared for the installation of your 3D wall panels. This will help you achieve a flawless finish and enjoy your new wall decor for years to come.
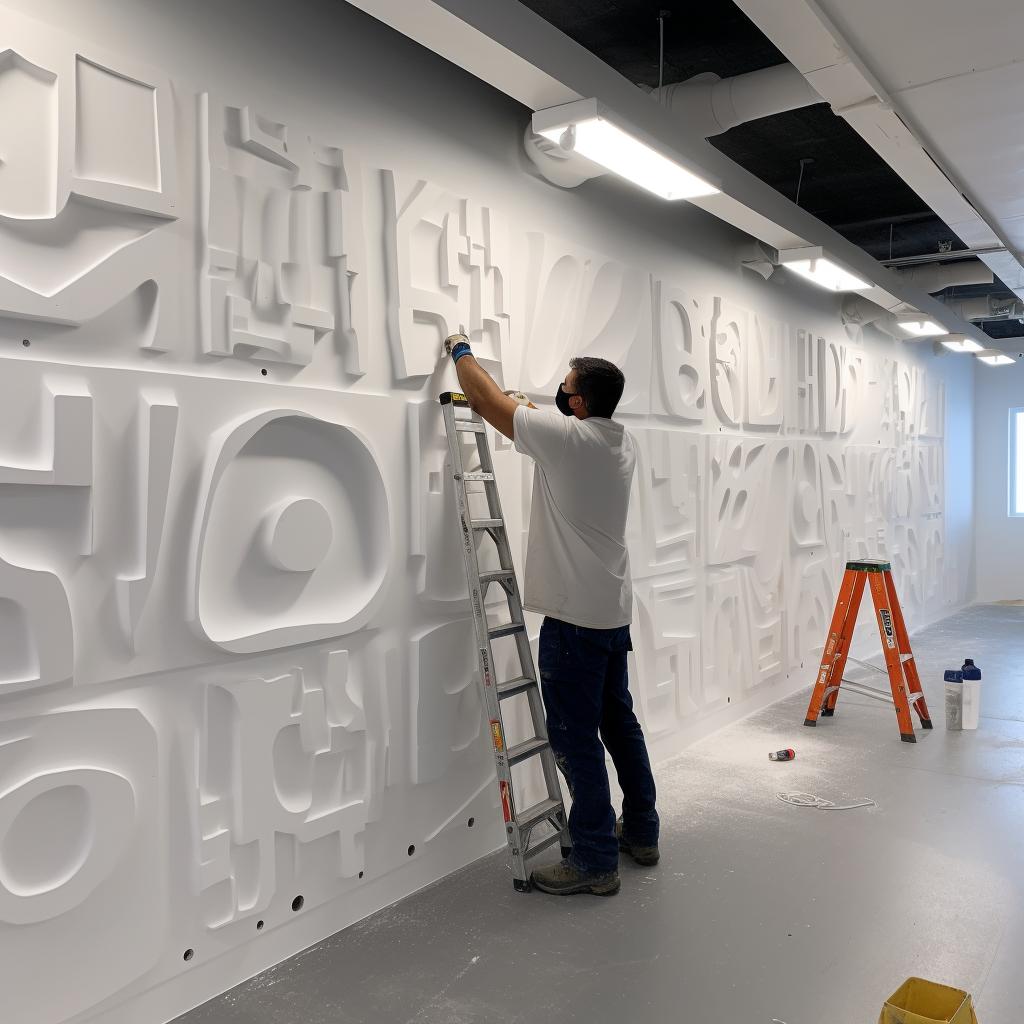
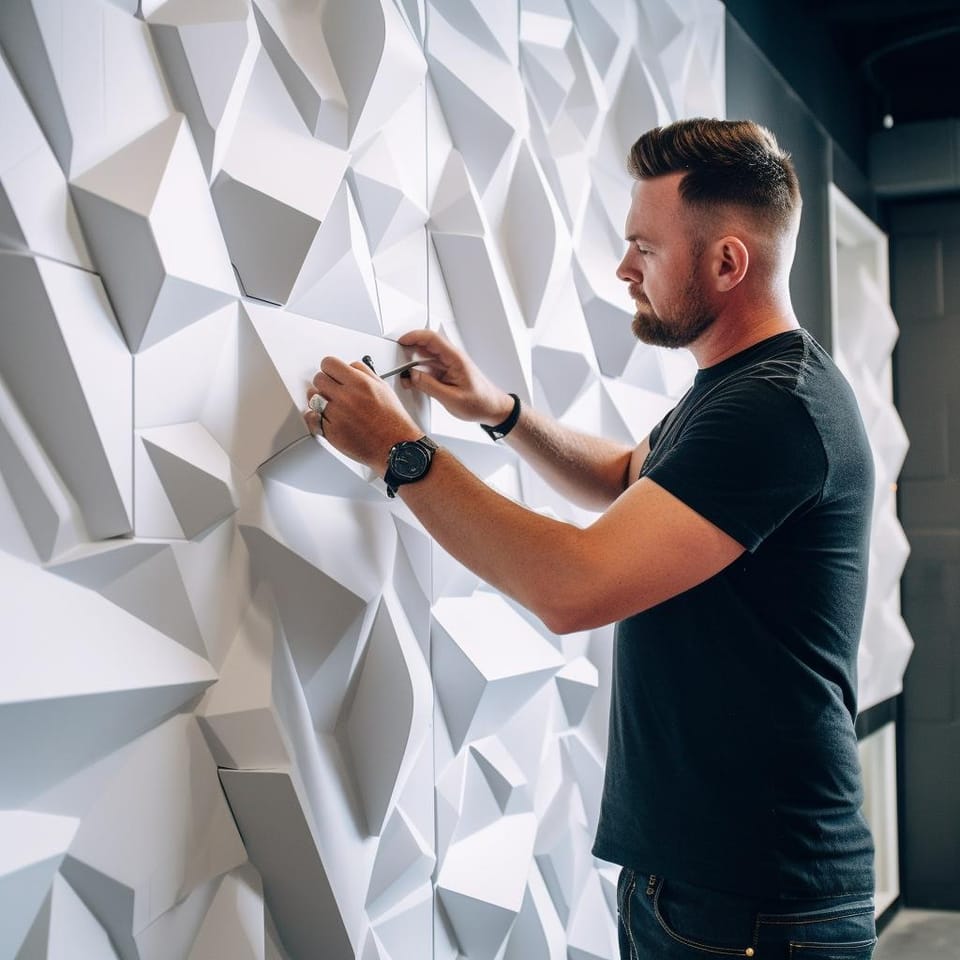
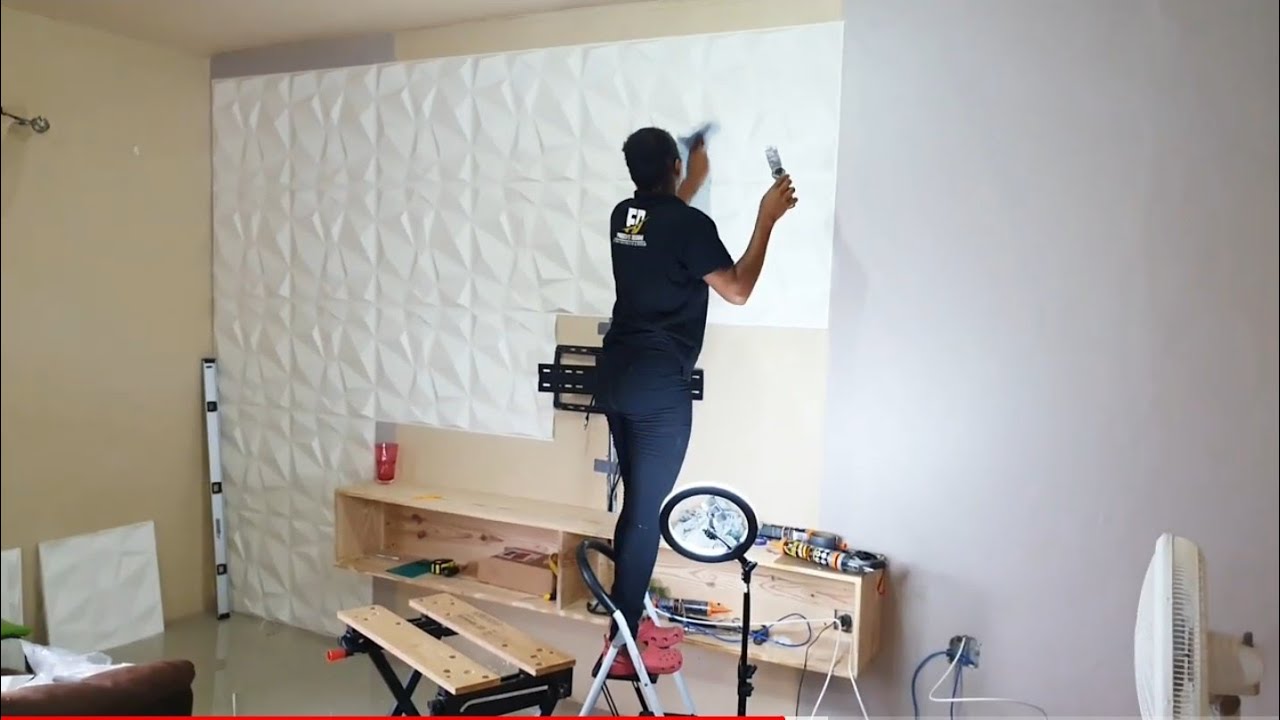
Step-by-Step Installation Guide
Step-by-Step Installation Guide
Installing 3D wall panels from Whole 3D is a simple process that can be completed in just a few hours. Follow these easy steps to achieve a flawless finish:
1. Measure your wall: Before you begin, measure the height and width of the wall where you plan to install the panels. This will help you determine how many panels you need to order.
2. Prepare your tools and materials: You will need a few basic tools and materials to install your 3D wall panels, including a level, a saw, a measuring tape, adhesive, and screws. Make sure you have everything you need before you begin.
3. Prepare your wall: Clean the wall surface where you plan to install the panels. Remove any wallpaper or loose paint, and fill any holes or cracks with spackling paste. Allow the paste to dry completely before sanding the surface smooth.
4. Plan your layout: Before you start installing the panels, plan your layout. Decide where you want each panel to go and mark the position on the wall with a pencil.
5. Cut the panels: Use a saw to cut the panels to the correct size. Make sure you measure carefully and cut accurately to ensure a perfect fit.
6. Apply adhesive: Apply adhesive to the back of each panel, making sure to cover the entire surface. Press the panel firmly onto the wall, making sure it is level and flush with the adjacent panels.
7. Secure the panels: Use screws to secure the panels to the wall. Make sure the screws are placed in the corners and edges of each panel to ensure a secure hold.
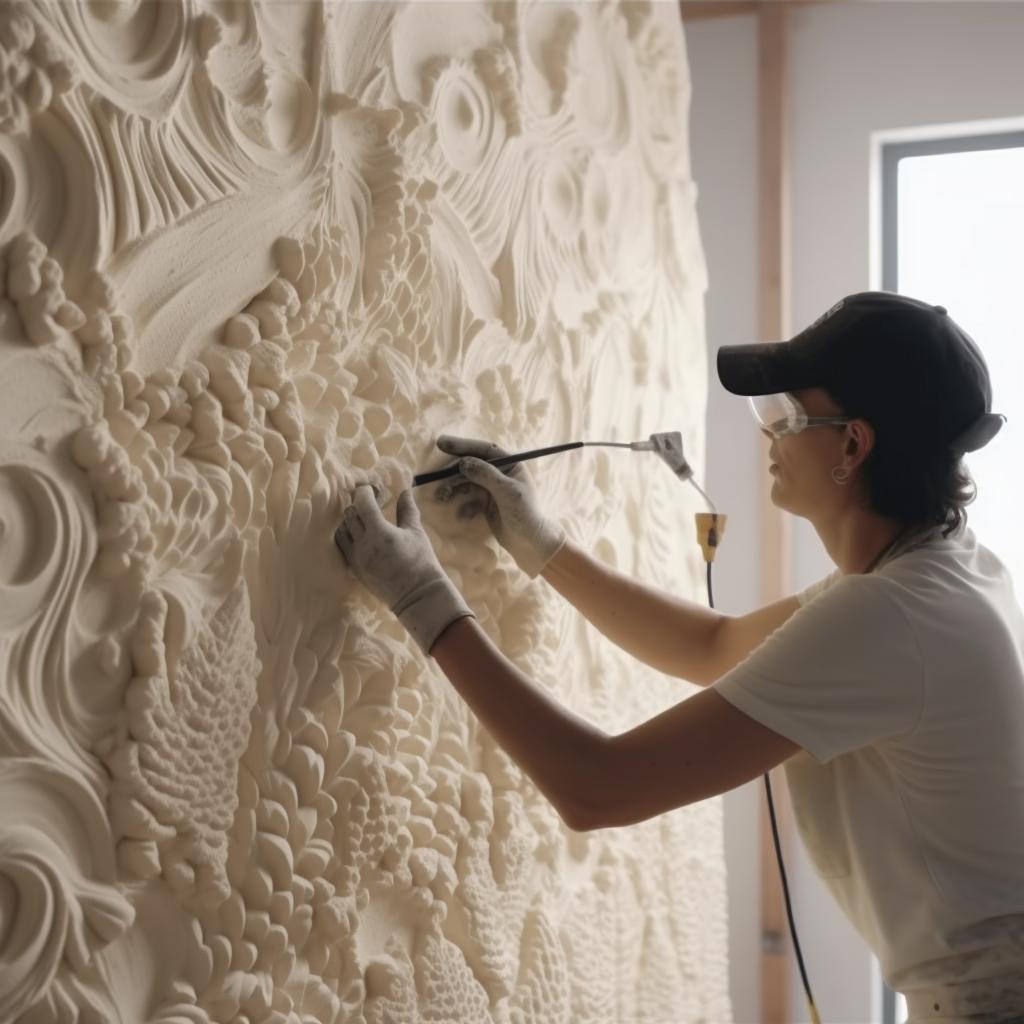
8. Finish the installation: Once all the panels are installed, fill any gaps between the panels with caulk. Sand the surface smooth and paint or stain the panels as desired.
With these simple steps, you can easily install 3D wall panels from Whole 3D and transform your space into a work of art.
Tips for Customizing Your 3D Wall Panels
Tips for Customizing Your 3D Wall Panels
Whole 3D wall panels are not only easy to install, but they also offer endless possibilities for customization. Here are some tips to help you personalize your 3D wall panels:
1. Paint Your Panels
If you want to add a pop of color or match your wall panels to your existing decor, painting your panels is a great option. Use a high-quality paint and primer to ensure a smooth finish. You can also experiment with different painting techniques, such as ombre or stenciling, to create a unique look.
2. Add Lighting
Adding lighting to your 3D wall panels can create a dramatic effect and highlight the texture of the panels. Consider installing LED strip lights behind your panels or using wall sconces to illuminate them.
3. Mix and Match Panels
Don't be afraid to mix and match different 3D wall panel designs to create a unique pattern. You can also combine different finishes, such as matte and gloss, to add depth and texture to your walls.
4. Use Accessories
Accessorizing your 3D wall panels can add a personal touch to your space. Consider adding shelves, artwork, or plants to your walls to create a cohesive look.
5. Experiment with Placement
Don't limit yourself to traditional wall placement. You can use 3D wall panels as a headboard, room divider, or even as a backsplash in your kitchen.
With these tips, you can create a unique and personalized look with your Whole 3D wall panels. Let your creativity run wild and transform your space with ease.
Maintenance and Care for Your 3D Wall Panels
Maintenance and Care for Your 3D Wall Panels
After installing your Whole 3D wall panels, you'll want to keep them looking their best for years to come. Here are some tips for maintaining and caring for your 3D wall panels:
- Clean regularly: Dust and dirt can accumulate on your 3D wall panels over time. Use a soft-bristled brush or a microfiber cloth to gently wipe away any debris. Avoid using harsh chemicals or abrasive materials that could damage the surface of the panels.
- Avoid moisture: While Whole 3D wall panels are moisture-resistant, it's still important to avoid excessive moisture. If you notice any water damage or mold growth on your panels, address the issue immediately to prevent further damage.
- Protect from direct sunlight: Direct sunlight can cause fading and discoloration over time. If your 3D wall panels are exposed to sunlight, consider using curtains or blinds to protect them.
- Repair any damage: If your 3D wall panels become damaged, it's important to address the issue as soon as possible. Contact Whole 3D for guidance on how to repair any damage.
By following these simple maintenance tips, you can keep your Whole 3D wall panels looking beautiful and vibrant for years to come.
Frequently Asked Questions
Frequently Asked Questions
Here are some common questions that people have about 3D wall panels:
Q: Are 3D wall panels difficult to install?
A: While 3D wall panels may seem intimidating at first, they are actually quite easy to install with the right tools and materials. Follow our step-by-step guide for a flawless finish.
Q: Can 3D wall panels be installed on any type of wall?
A: Yes, 3D wall panels can be installed on any type of wall, including drywall, concrete, and brick. However, it's important to make sure that the wall is clean, dry, and free of any debris before installation.
Q: Can 3D wall panels be painted?
A: Yes, 3D wall panels can be painted to match your desired color scheme. Simply use a high-quality paint and primer that is suitable for the material of your wall panels.
Q: How do I clean and maintain my 3D wall panels?
A: To clean your 3D wall panels, simply use a soft cloth or sponge and mild soap and water. Avoid using abrasive cleaners or harsh chemicals that could damage the surface of the panels.
Q: Can 3D wall panels be removed without damaging the wall?
A: Yes, 3D wall panels can be removed without damaging the wall if they were installed properly. Use a putty knife or scraper to gently pry the panels away from the wall, being careful not to damage the wall surface.
For any other questions or concerns, feel free to contact our team at Whole 3D. We're always here to help!


No comments yet. Be the first to share your thoughts!