
First Impressions: 3D Panels in Your Space
3D wall panels add depth and texture to a room, creating a focal point. They offer a quick way to make a significant visual impact.
Previously, achieving a textured wall look meant hiring professionals or extensive carpentry. Now, DIY-friendly 3D wall panels are more accessible. They are increasingly popular in various spaces, from living rooms to home offices. Their appeal stems from their visual impact and growing affordability.
While 3D wall panels might look complex, installation doesn't have to be intimidating. With the right tools, patience, and this guide, beginners can achieve professional results. The process is broken down to feel manageable.

Gathering Your Tools & Materials
Before starting, gather your tools and materials. You'll need the panels and an appropriate adhesive. For lightweight PVC panels, 3M Command Strips may suffice. For heavier wood fiber or substantial designs, Loctite Power Grab adhesive is a more reliable option.
You'll also need a utility knife with replacement blades, a measuring tape, a level (a four-foot level is recommended), a pencil, and safety glasses. Use a drop cloth to protect your flooring from adhesive spills and debris. A vacuum cleaner is useful for cleanup.
Check the adhesive's coverage chart to determine the amount needed based on your wall size and panel coverage. A caulk gun may be necessary for construction adhesive. Panel material affects adhesive choice; PVC is more forgiving than wood fiber, which might require a stronger bond. Keep damp cloths ready for wiping away excess adhesive.
- 3D Wall Panels (sufficient quantity for your wall)
- Adhesive (3M Command Strips or Loctite Power Grab, depending on panel weight)
- Utility Knife with Replacement Blades
- Measuring Tape
- Level (4-foot recommended)
- Pencil
- Safety Glasses
- Drop Cloth
- Vacuum Cleaner
- Damp Cloths
Preparing Your Wall Surface
Proper wall preparation is essential for a successful installation. The wall must be clean, dry, and smooth. Remove any existing wall hangings, nails, or screws. Clean the surface thoroughly with a degreasing cleaner, such as TSP, to remove dirt, dust, and oils that can prevent the adhesive from bonding.
Inspect the wall for holes or imperfections. Fill small nail holes with spackle and larger holes with drywall compound. After patching, sand the area smooth and prime it. Priming is important, especially over dark paint, to create a uniform surface for the adhesive. Lightly sand heavily textured walls for a more even base.
Address any moisture issues before proceeding, as dampness or mold/mildew can prevent proper adhesion and pose health risks. Ensure the surface is level; use your level to identify uneven areas and shim them if needed. An uneven surface can cause panels to shift or fall.
Panel Layout & Design Planning
Plan your panel layout carefully for a professional result. Decide on the overall effect: a full wall statement, an accent wall, or a geometric pattern. Sketching your design beforehand is helpful.
Calculate the total square footage of your wall (width x height) and divide by the square footage of a single panel to determine quantity. Add 10-15% extra for cuts, waste, and errors. Centering the design, especially for accent walls, helps avoid awkward small cuts in prominent areas.
Use graph paper to visualize your layout and experiment with patterns. Digital tools can assist with complex designs. Be aware that some panels are directional; plan their placement to avoid a mismatched look.
Plan how panels will fit around obstacles like light switches or outlets, which may require precise cuts. Planning now prevents frustration and ensures a seamless finish.
Adhesive Application: The Critical Step
Incorrect adhesive application is a common cause of installation failure. Too little adhesive results in a weak bond, while too much can squeeze out and create a mess. Always follow the manufacturer’s instructions for your specific adhesive.
Apply construction adhesive in a zig-zag pattern on the back of the panel, covering the edges and center. For double-sided tape, ensure full surface coverage. Apply even pressure when adhering the panel to the wall. Do not apply adhesive directly to the wall, as it can damage paint or wallpaper.
Consider the working time of your adhesive; construction adhesive allows for repositioning, while double-sided tape requires precision. Wipe away any excess adhesive immediately with a damp cloth. Test adhesives in an inconspicuous area first, as they react differently with various wall surfaces.
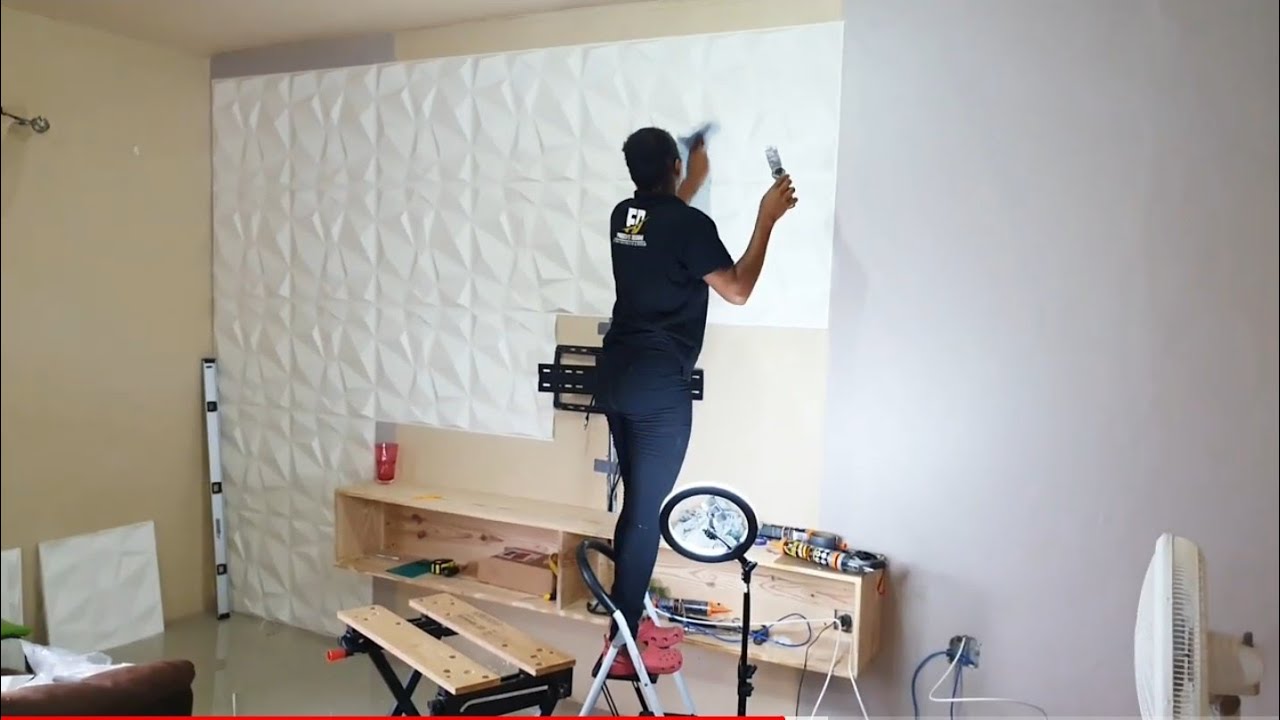
Panel Installation: Piece by Piece
Begin installation in a corner or along an edge for a stable reference. Align the first panel carefully, ensuring it is level, and check frequently with your level. Press firmly for the adhesive manufacturer's recommended time. Install one or two panels at a time to maintain control and prevent errors.
Cutting panels is often necessary for obstacles or design completion. Use a utility knife for PVC panels, scoring multiple times before snapping. For thicker materials, a jigsaw with a fine-tooth blade is recommended. Always wear safety glasses when cutting. Use flexible caulk or color-matched filler to fill inevitable gaps between
If a panel needs to be removed, work slowly and carefully to avoid damaging the wall or the panel itself. Use a putty knife to gently pry the panel loose. You might need to reapply adhesive if the original bond is compromised. Working around outlets or light switches requires precision. Measure carefully and cut the panel to fit snugly around the fixture. Consider turning off the power to the outlet before working near it for safety.
Cutting & Fitting Panels Around Obstacles
Cutting around windows, doors, and light switches is where things get tricky. Accuracy is paramount. Begin by carefully measuring the space and transferring those measurements to the panel. For PVC panels, a sharp utility knife is often sufficient. Score the panel deeply several times along the cut line, then snap it cleanly. For wood fiber or other thicker materials, a jigsaw with a fine-tooth blade is the preferred tool.
When cutting around outlets or switches, it’s best to turn off the power to that circuit. Trace the outline of the fixture onto the panel. Use a drill to create pilot holes in each corner of the outline, then use a jigsaw to carefully cut along the marked lines. Sand the edges of the cut panel to create a smooth, finished look.
Safety is crucial when using power tools. Always wear safety glasses and follow the manufacturer’s instructions. Take your time and make clean, precise cuts. A slightly oversized cut is easier to trim down than an undersized cut. Remember to account for the thickness of the panel when measuring around obstacles. A little extra planning can save you a lot of frustration.
Finishing Touches & Troubleshooting
Once all the panels are installed, clean up any excess adhesive with a damp cloth. Inspect the installation for any minor gaps or imperfections. Use a flexible caulk or color-matched filler to fill any gaps and create a seamless look. If your panels are paintable, consider applying a coat of paint to match your existing décor.
If panels start to fall off, reapply adhesive and ensure the surface is clean and dry. Uneven alignment can be corrected by carefully removing the panel and re-installing it. Adhesive damage to the wall can be repaired with spackle and paint. If you encounter persistent problems, don’t hesitate to reach out to Whole3D customer support for assistance.
Online forums and communities dedicated to home improvement can also be valuable resources for troubleshooting and getting advice from other DIYers. Remember, patience and attention to detail are key to a successful 3D wall panel installation. With a little effort, you can transform your space into a stunning and unique environment.
- Panel Falling Off: Reapply adhesive, ensure clean/dry surface.
- Uneven Alignment: Carefully remove & reinstall panel.
- Adhesive Damage: Repair with spackle and paint.


No comments yet. Be the first to share your thoughts!