
Wall Panels: Beyond Basic Paint
For years, paint was the go-to for a quick room refresh. But people are starting to crave something more – a depth and texture that paint simply can't deliver. There’s a real desire for personalization, for walls that feel less like flat surfaces and more like integral parts of the room’s design.
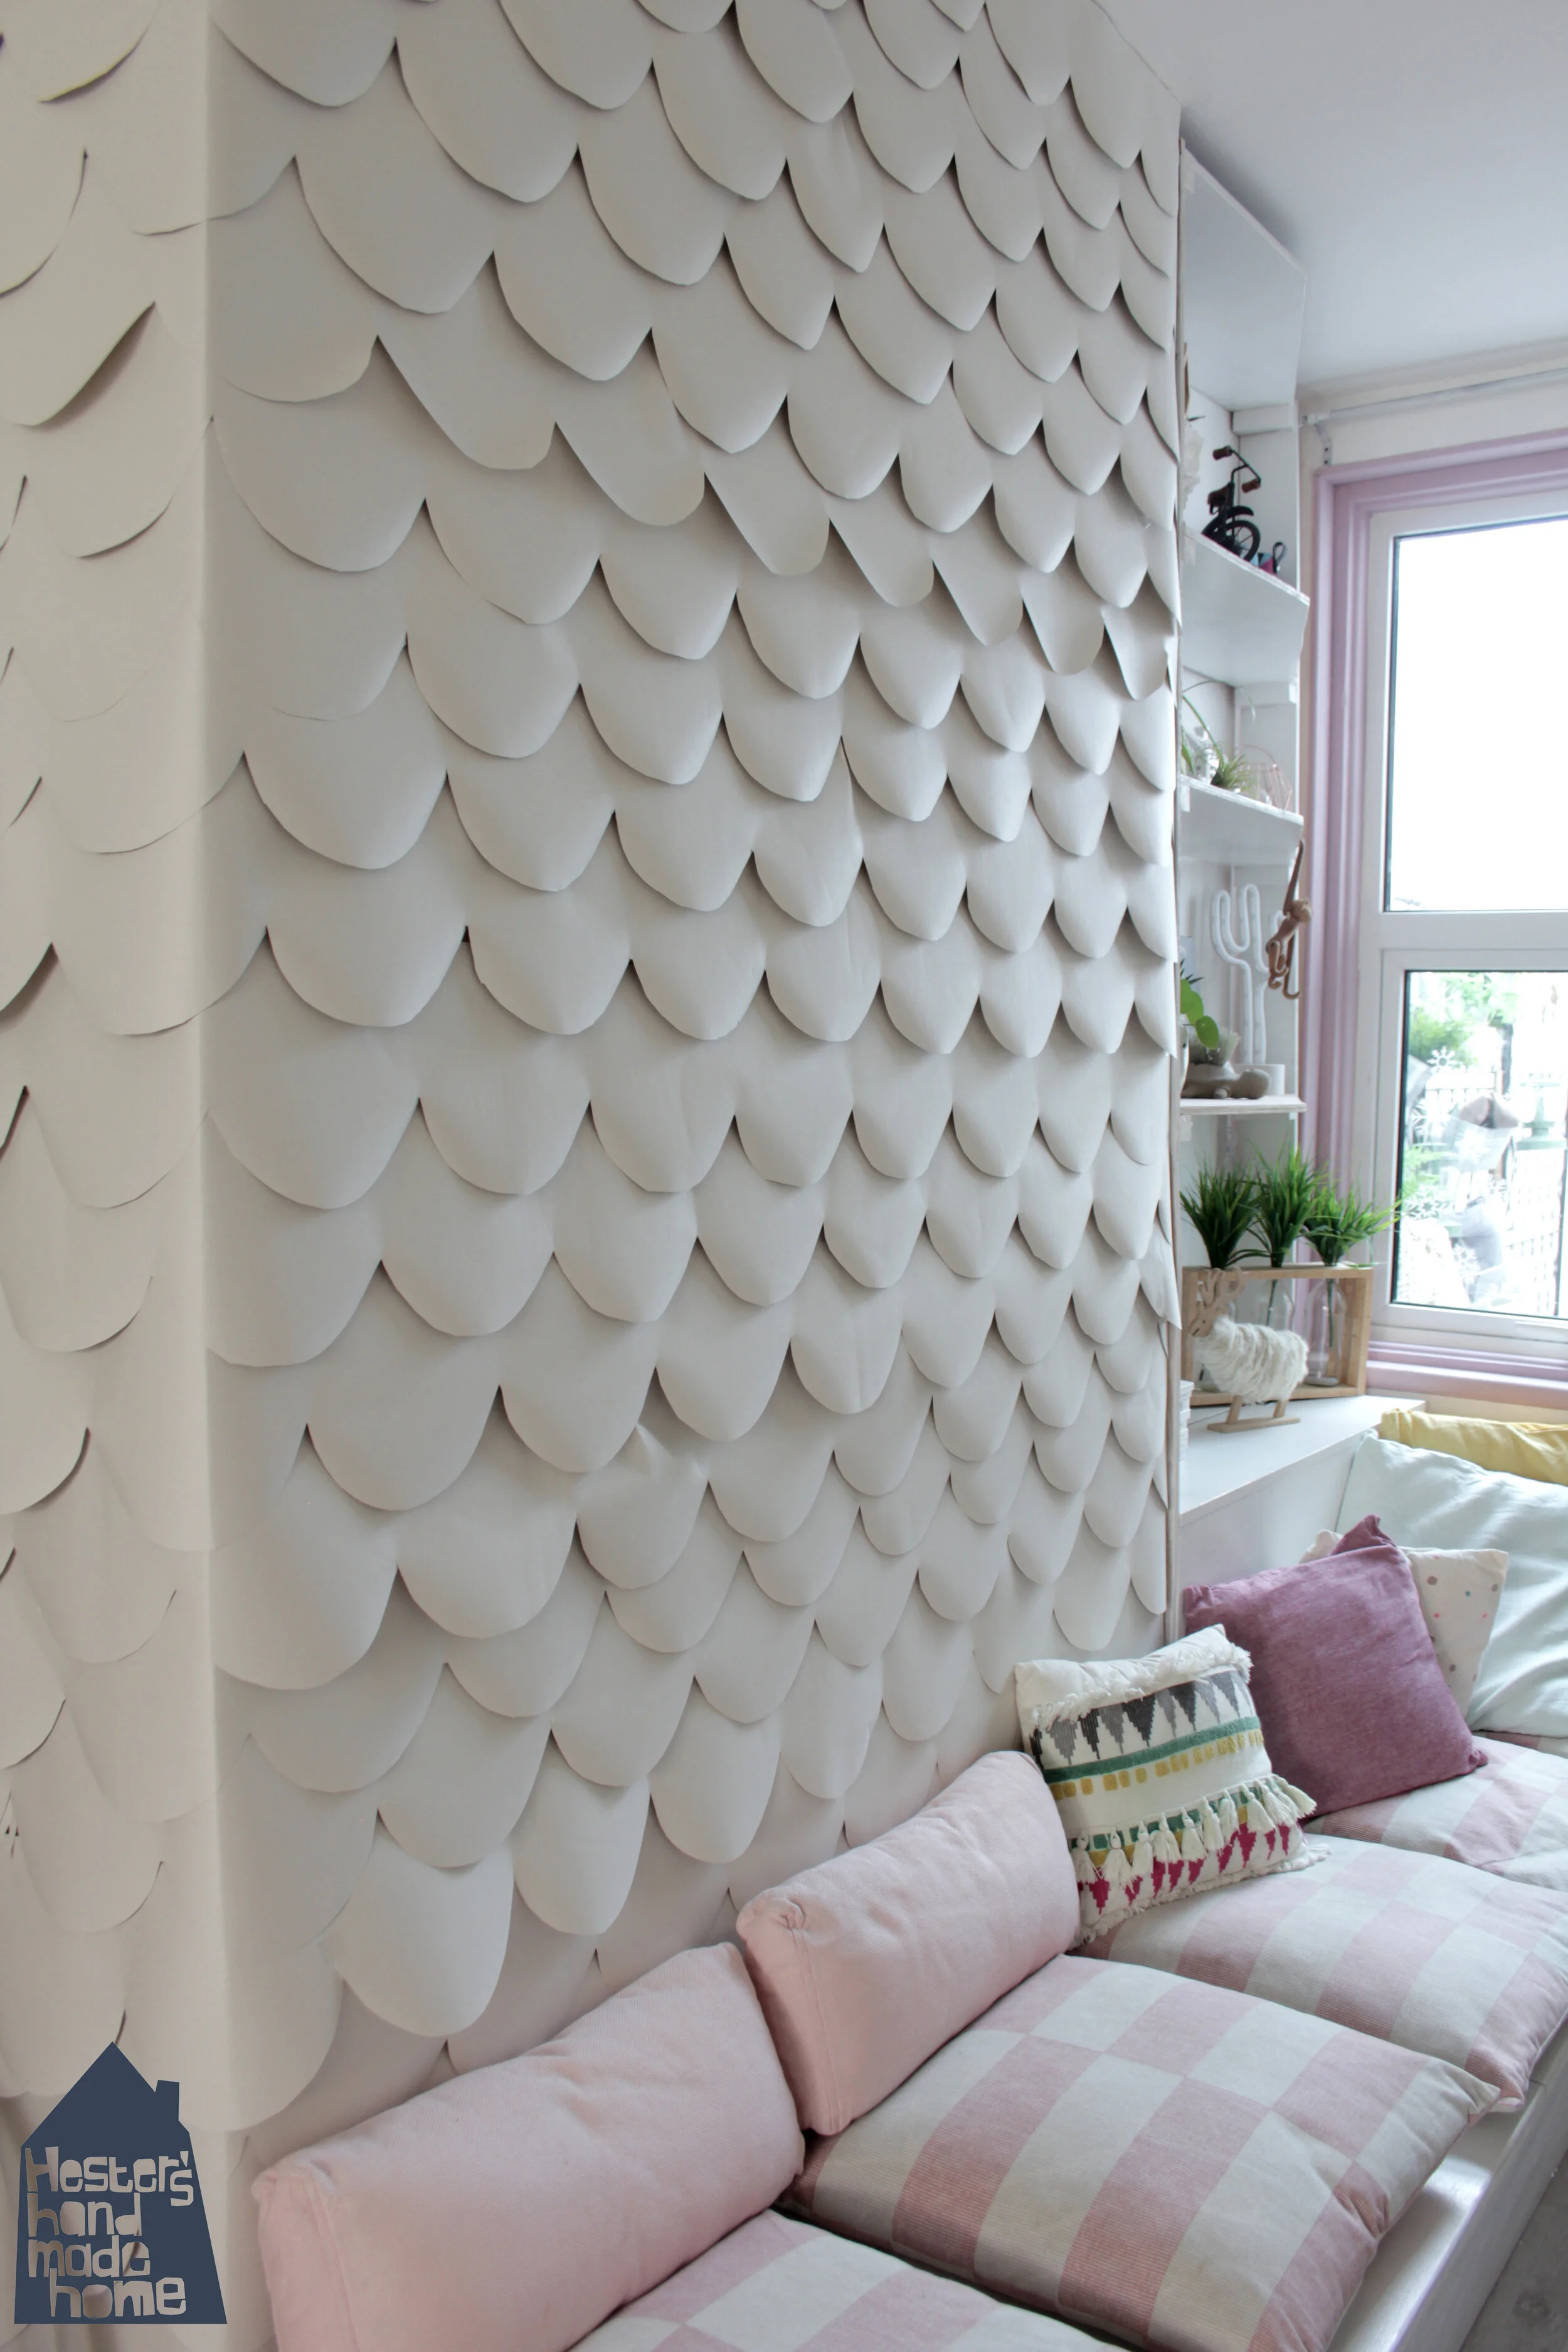
We’re seeing a shift towards tactile experiences in interiors. People want to feel the space as much as see it. This is where 3D wall panels come in. They offer an immediate visual impact and create a sense of depth that’s hard to achieve otherwise. And, surprisingly, you don’t need to spend a fortune.
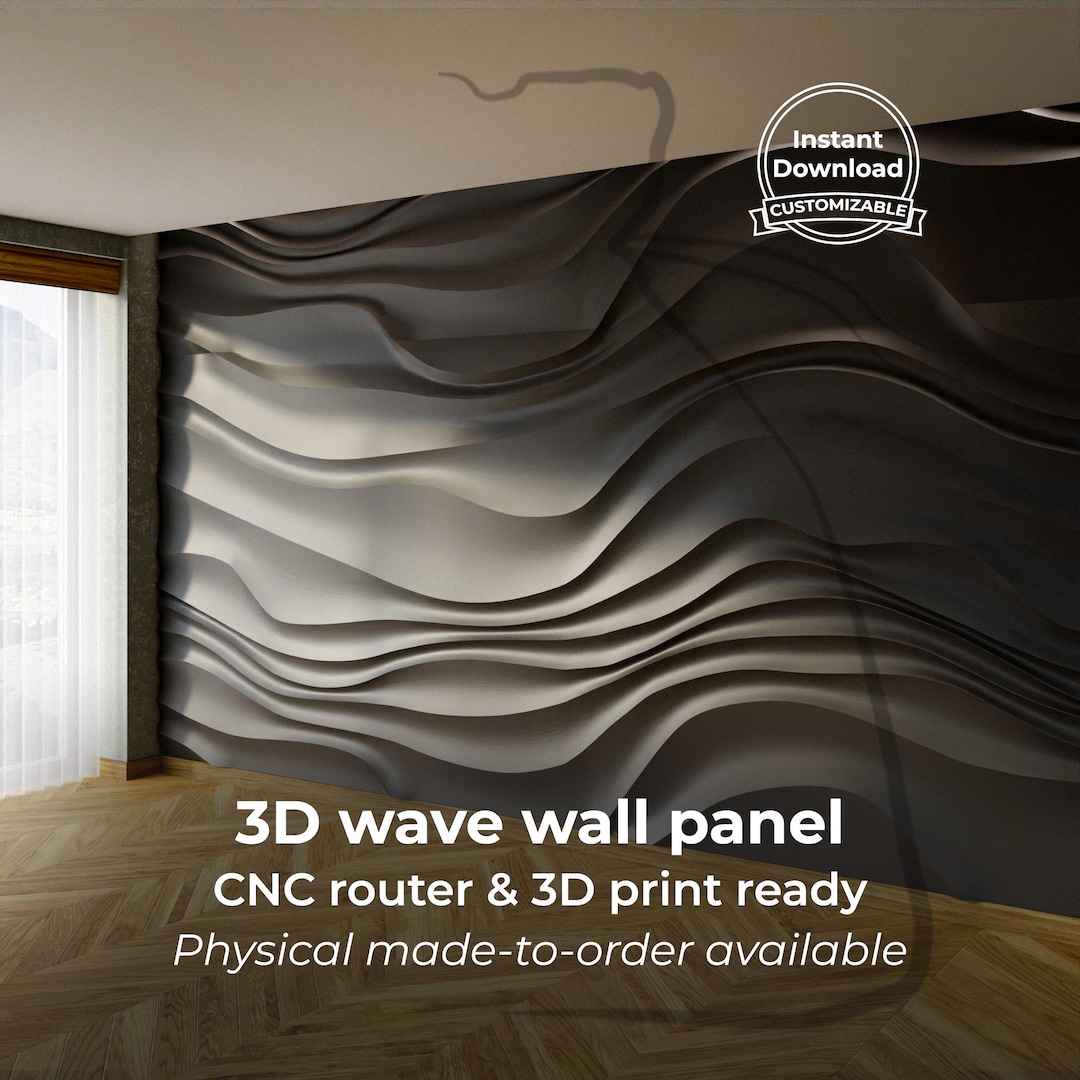
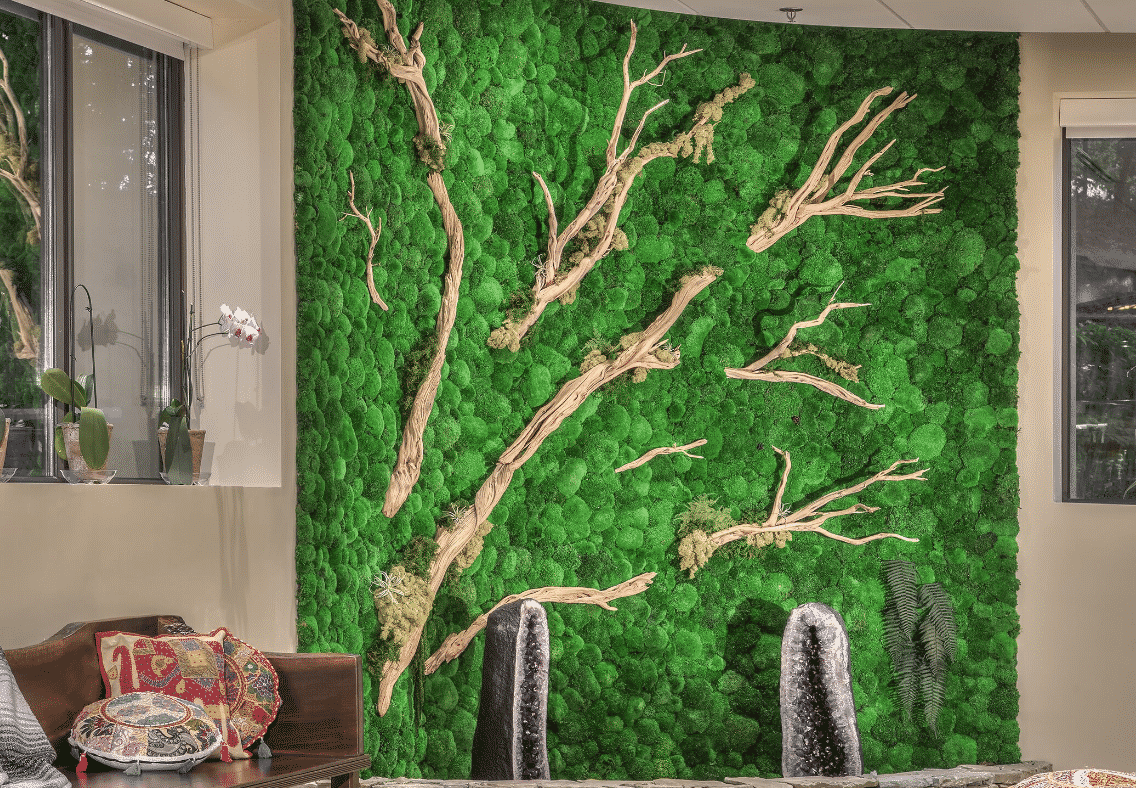
Looking ahead to 2026, I think this trend will only intensify. The continued focus on creating functional and inviting home offices, coupled with the growing popularity of biophilic design – bringing the outdoors in – means people will be seeking ways to add texture and visual interest to their walls. 3D panels fit that bill perfectly. They can mimic natural materials like wood or stone, or offer unique geometric patterns that add a modern touch.
The good news is, achieving this look doesn’t require a complete renovation. With a little planning and some affordable materials, you can transform a room with 3D wall panels without breaking the bank. We'll explore projects under $500 that deliver significant impact.
Under $100: Accent Wall Magic
Let’s start small – projects that deliver a noticeable change for under $100. This is ideal for renters or anyone wanting to test the waters before committing to a larger investment. Peel-and-stick 3D panels are your best friend here. They require absolutely no tools for installation, making them incredibly beginner-friendly.
These panels are typically made from PVC or foam, which keeps the cost down while still providing a good amount of texture. A popular project is creating a feature wall behind your bed’s headboard. A standard queen-size headboard wall might require around 6-8 panels, depending on the size of the panels and the width of your wall.
Another great option is accentuating a small entryway. Even a smaller section of textured wall can create a welcoming first impression. You could also use these panels to highlight a specific area in a home office, like the wall behind your desk. For example, a 6ft x 4ft accent wall with panels costing $20-30 each could easily come in under $100, plus a small amount for cleaning the wall before application.
Be realistic about coverage. A single pack of panels might only cover around 8-12 square feet. Carefully measure your space before purchasing to avoid running short. Don't forget to factor in the cost of any necessary cleaning supplies or a small utility knife for trimming panels around obstacles.
The $100-$250 Range: Expanding Your Vision
Stepping up to the $100-$250 range opens up more possibilities in terms of materials and project scope. You can start looking at lightweight wood panels or composite materials, which offer a more premium look and feel than PVC foam. These materials often require adhesive for installation, so factor that into your budget.
A popular project in this price range is creating a textured TV wall. This can really draw the eye and create a focal point in your living room. A partial wall treatment in a dining area is another good option – perhaps covering the lower half of the wall with panels and painting the upper half. You could also consider a feature wall in a hallway to add visual interest to a transitional space.
Planning and accurate measuring are crucial at this stage. Larger projects require more precision to ensure a seamless look. Don’t be afraid to sketch out your design beforehand and create a detailed materials list. This will help you stay on budget and avoid costly mistakes.
Consider combining different panel types for a unique look. For instance, you could use a geometric pattern on the lower portion of the wall and a more organic texture on the upper portion. Just make sure the styles complement each other.
Mid-Range Makeovers: $250 - $500
This is where you can really start to make a statement. A budget of $250-$500 allows for larger-scale installations and the use of more premium materials. Consider covering an entire room wall with 3D panels – this can completely transform the space.
You can also combine 3D panels with other decorative elements, such as shelving, lighting, or artwork. For example, you could create a statement wall in a living room or bedroom and then add floating shelves to display plants or books. Incorporating LED strip lighting behind the panels can also create a dramatic effect.
With this budget, you can explore more intricate panel designs and textures. Perhaps a panel that mimics the look of reclaimed wood or a geometric pattern with a lot of depth. Remember to consider the room’s overall style and color scheme when choosing panels. You want them to complement the existing décor, not clash with it.
A project like covering a 10ft x 8ft wall with mid-range composite panels could easily fall into this price range, especially if you factor in adhesive, finishing touches, and potentially some minor carpentry work for trimming. Don't underestimate the impact of good lighting to accentuate the 3D effect. Consider spotlights or indirect lighting to highlight the texture.
Featured Products
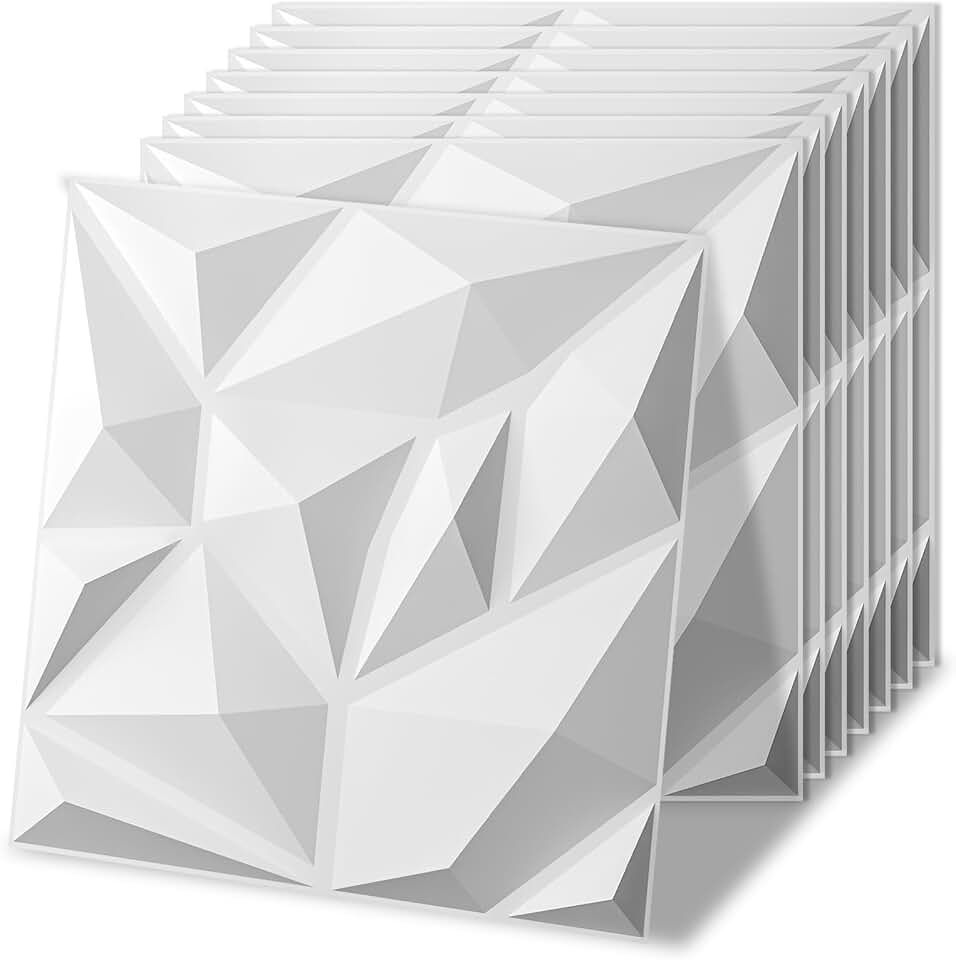
20-pack of 11.8"x11.8" white PVC panels · Covers 19 sq. feet · Suitable for various interior spaces like living rooms, bedrooms, and gaming rooms
These versatile PVC panels provide a clean, modern look for accent walls or full room transformations, offering a significant visual upgrade at a low cost.

6-piece set of 94.6 x 7.4 inch wood slat panels · MDF construction with a walnut finish · Designed for both wall and ceiling applications
These wood slat panels offer a sophisticated, contemporary aesthetic that can dramatically enhance the ambiance of a room, serving as a premium focal point.
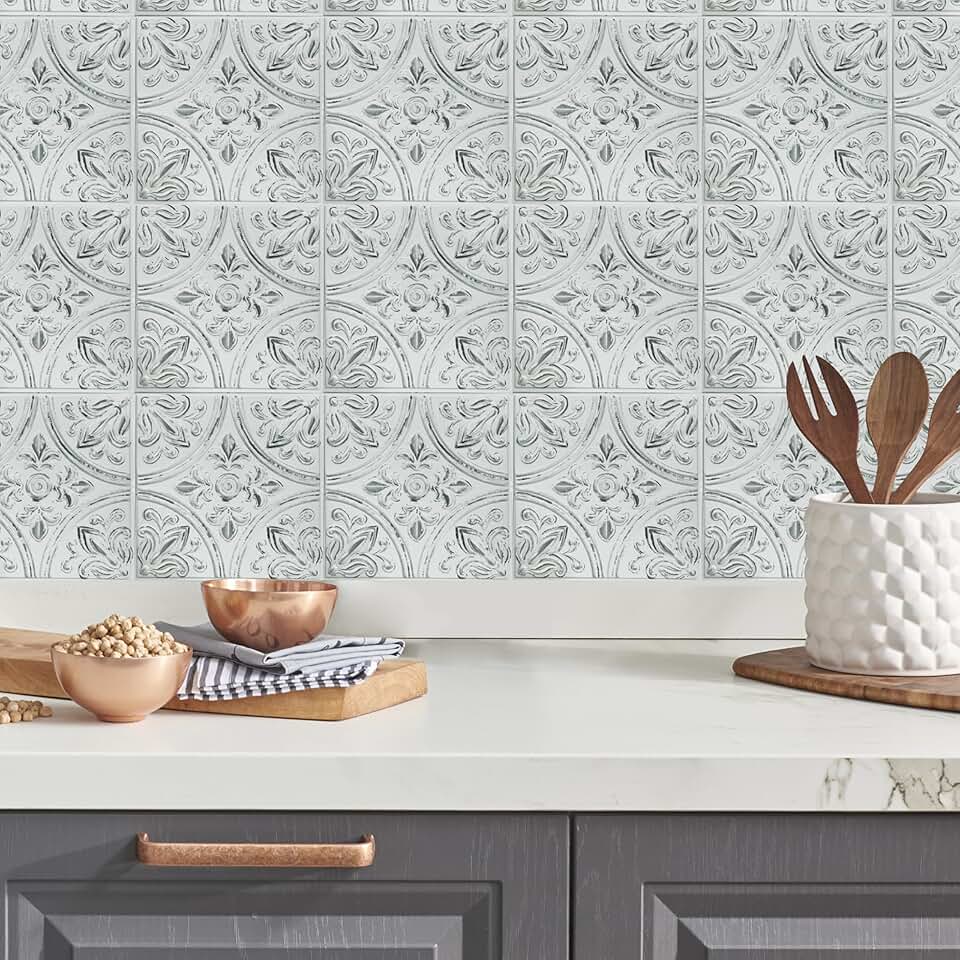
4-count pack of 10.5"x10.5" peel-and-stick tiles · Tin-style design in white · Easy peel-and-stick installation
These quick-install peel-and-stick tiles provide a charming, vintage-inspired look, perfect for refreshing kitchen or bathroom backsplashes with minimal effort.

4-pack of lightweight foam (EPS) panels · Faux brick design in brown nuance weathered finish · Covers 25.84 sq. feet
These faux brick panels offer a rustic, textured appearance and are a lightweight, easy-to-install alternative to traditional brick for creating an impactful accent wall.
As an Amazon Associate I earn from qualifying purchases. Prices may vary.
Installation: Avoiding Common Pitfalls
Even the most beautiful panels won't look good if they're not installed correctly. Surface preparation is key. Ensure the wall is clean, dry, and smooth before you begin. Fill any holes or cracks and prime the surface if necessary. A smooth base will ensure proper adhesion and a professional finish.
Installation methods vary depending on the type of panel you choose. Peel-and-stick panels are the easiest – simply peel off the backing and apply to the wall. Others may require adhesive, nails, or screws. Always follow the manufacturer’s instructions carefully. Accurate measuring and cutting are essential, especially for larger projects.
Take your time when aligning the panels. Use a level to ensure they are straight and even. Pay close attention to corners and edges – these are often the most challenging areas to work with. A sharp utility knife can be helpful for trimming panels to fit around obstacles.
Common mistakes to avoid include uneven panels, visible seams, and improper adhesion. If panels don't stick properly, try applying more adhesive or using a stronger adhesive. If damage occurs during installation, try to repair it immediately. It’s also worth noting that even "easy" installations can be tricky, and you might want to enlist a helper, especially for larger walls. A second pair of hands can make a big difference.
Troubleshooting is inevitable. If adhesive isn't holding, ensure the surface is truly clean and consider a primer. If panels are slightly warped, try applying weight to flatten them before installation. Don't force anything – a little patience goes a long way.
Design Ideas: Styles for 2026
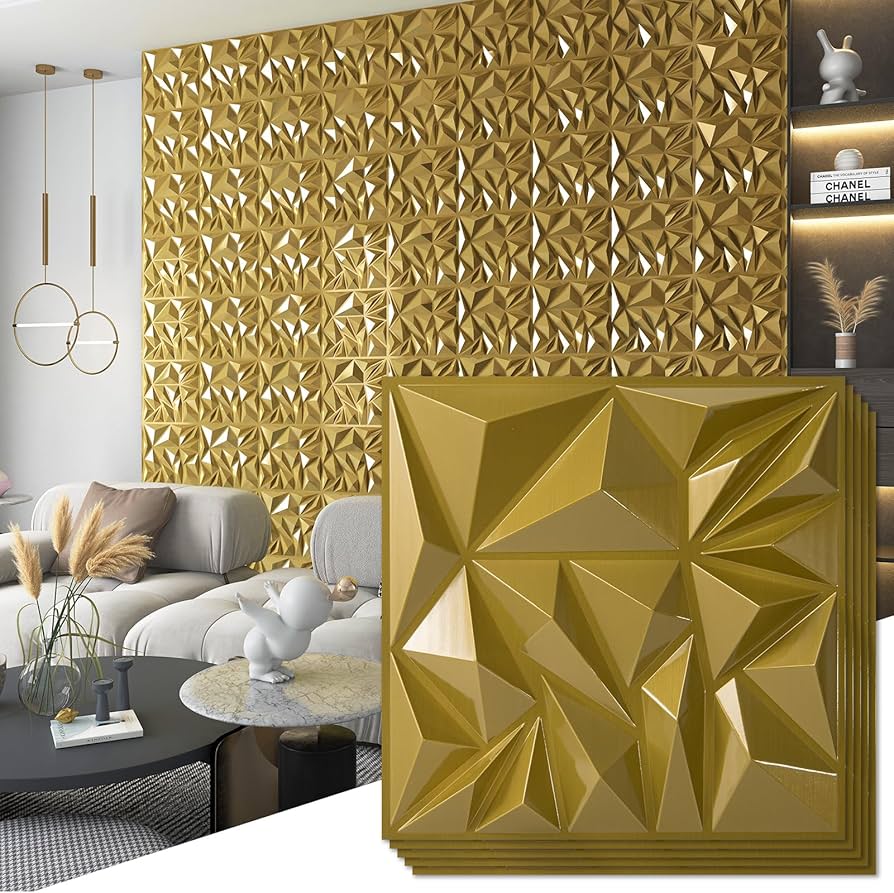
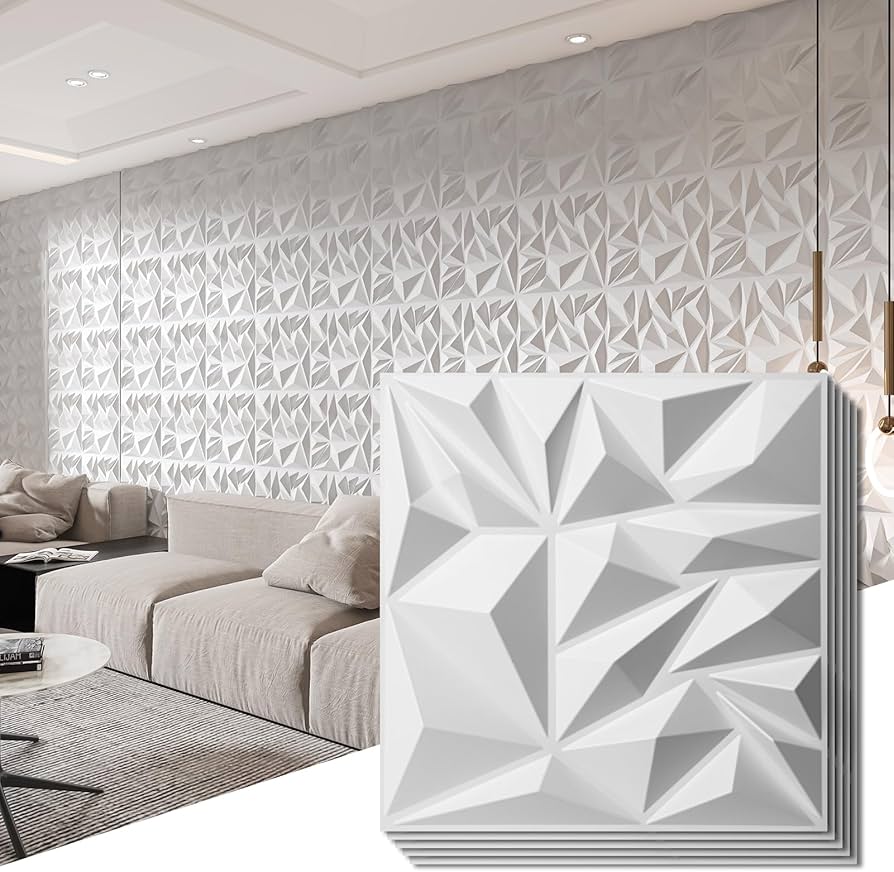
Predicting design trends is always a bit of a gamble, but we can look at current styles and extrapolate. Geometric patterns continue to be incredibly popular, and I expect this will remain true in 2026. Think hexagonal shapes, interlocking triangles, or bold, graphic designs.
Organic textures are also gaining traction, with a focus on materials that mimic nature. Wood panels, stone-look panels, and even panels with leaf or floral motifs are all good options. These textures work well with the biophilic design trend, bringing a sense of calm and connection to the outdoors.
Abstract designs offer a more artistic and unique look. These panels often feature irregular shapes, flowing lines, or subtle textures. Color trends are leaning towards neutral tones – grays, beiges, and whites – with pops of earthy colors like terracotta, olive green, and mustard yellow.
To incorporate 3D panels into different interior design styles, consider the overall aesthetic. For a modern look, choose geometric patterns in neutral colors. For a minimalist space, opt for subtle textures and simple designs. For a bohemian vibe, go for organic textures and bold colors. And for a farmhouse style, consider wood-look panels or panels with a rustic finish. Lighting is crucial – use spotlights or indirect lighting to highlight the 3D effect and create depth.
Maintenance & Longevity
Keeping your 3D wall panels looking their best requires minimal effort, but it's important to be proactive. Regular dusting with a soft cloth is usually sufficient to remove dirt and debris. For more stubborn dirt, you can wipe the panels with a damp cloth and mild soap.
Potential damage – scratches, dents – is a concern, especially in high-traffic areas. Avoid using abrasive cleaners or harsh chemicals, as these can damage the panel's surface. Minor scratches can often be touched up with a matching paint or stain. Larger dents may require professional repair.
Protecting panels from moisture and direct sunlight is also important. Excessive moisture can cause warping or mildew growth, while direct sunlight can fade the color. Consider using curtains or blinds to block direct sunlight. In bathrooms or kitchens, choose panels that are specifically designed to withstand moisture.
The lifespan of 3D wall panels varies depending on the material. PVC foam panels are generally the most durable, lasting for many years with proper care. Wood panels may require more maintenance and may be susceptible to warping or cracking over time. Be realistic about the limitations of your chosen material and adjust your expectations accordingly. A well-maintained panel, even a more affordable one, will look great for a long time.
No comments yet. Be the first to share your thoughts!