
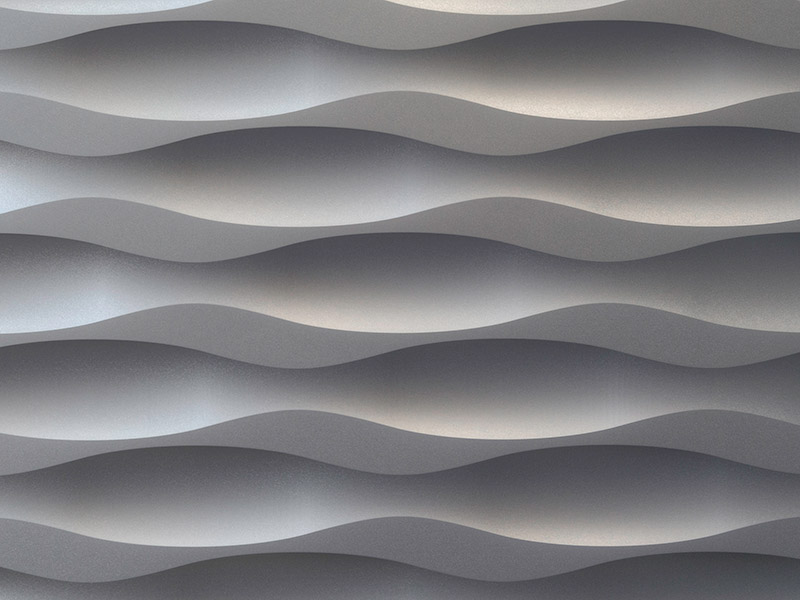

Check setup requirements
Before starting 3D wall panel installation, clear the workspace and gather your tools. These panels are lightweight and flexible, but they demand a smooth, clean surface to adhere properly. Skipping preparation is the most common reason for peeling edges or visible seams later.
1. Clear and prep the wall
Remove all outlet covers, switch plates, and furniture near the work area. Clean the wall with a degreaser or mild detergent to remove dust, oil, and grime. Rinse with water and let it dry completely. Any residue will prevent the adhesive from bonding, causing the panels to lift over time.
2. Check for flatness
Run your hand across the wall to feel for bumps, cracks, or uneven patches. Fill any holes or dents with spackle and sand them smooth. If the wall is significantly uneven, consider a skim coat. 3D panels highlight surface imperfections, so a flat base is essential for a professional look.
3. Gather tools and materials
You will need a measuring tape, level, utility knife, and a straight edge. For adhesive, choose a construction adhesive suitable for your panel material (PVC, gypsum, or foam). If using peel-and-stick panels, ensure the backing paper is intact. Have a pencil ready for marking your layout lines.
4. Plan your layout
Measure the wall and the panels to determine the best starting point. Centering the first panel often looks best, but starting from a corner can save cutting. Use a level to draw a vertical and horizontal guideline. This grid ensures your panels stay straight as you work across the wall.
5. Test fit and cut
Dry-fit the first few panels to check for gaps or alignment issues. Mark any areas that need trimming around outlets or corners. Use a utility knife and straight edge for clean cuts. If the panels are foam-based, they cut easily; PVC may require a finer-toothed saw for precision.
Configure it in order
Installing 3D wall panels transforms a flat surface into a textured focal point, but the result depends entirely on how well you prepare the substrate. Whether you are using lightweight thermoformed PVC or heavier gypsum composites, the installation logic remains the same: the wall must be flat, clean, and level before the first panel touches it. Rushing the layout or skipping the leveling check is the most common cause of visible gaps and misaligned seams in the final finish.
1. Assess and prepare the wall surface
Start by inspecting the wall for imperfections. 3D panels highlight every bump and dip because their raised profiles cast shadows. If the drywall has nail pops, cracks, or uneven joint compound, sand and patch these areas until the surface is smooth. For painted walls, wipe down the area with a degreaser or mild detergent to remove dust and oils that prevent adhesive from bonding. If the wall is freshly painted, wait at least two weeks for the off-gassing to complete and the paint to fully cure.
2. Measure and plan your layout
Do not start at a corner. Measuring the center of the wall and marking a vertical plumb line ensures that your panels are symmetrical and that any cut pieces at the edges are equal in width. Use a laser level or a standard spirit level to draw this line from floor to ceiling. If you are installing panels in a grid pattern, snap a horizontal chalk line as well. This grid acts as your guide, keeping the installation straight even if the room’s corners are slightly out of square.
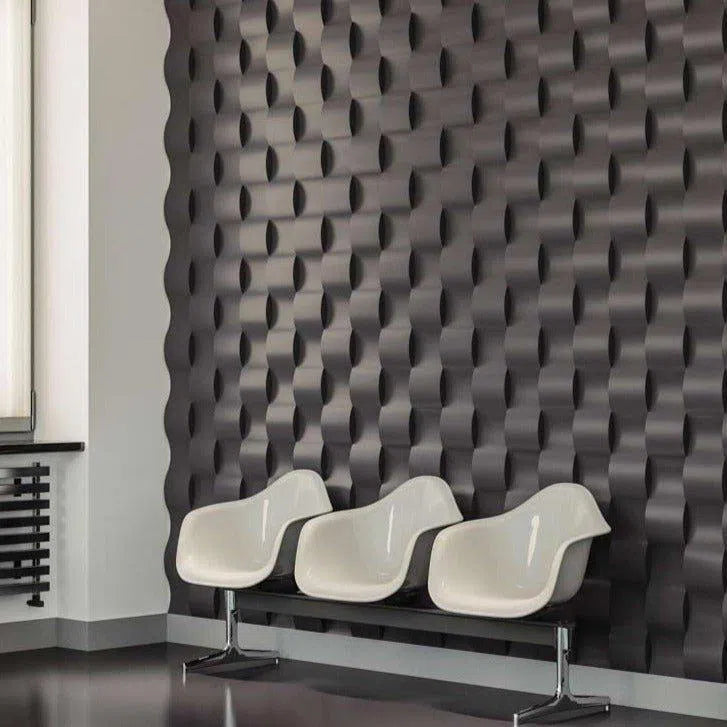
Place the panels on the floor or lean them against the wall to check the pattern flow. Most 3D panels have a specific orientation; some require a 90-degree rotation for the design to interlock correctly. Verify that the edges align without forcing them. If you are using peel-and-stick varieties, remove the backing from just one panel to see how the adhesive behaves before committing to the wall.
For heavy panels like gypsum or stone veneer, use a construction adhesive applied in a zigzag pattern across the back. For lighter PVC or foam panels, high-quality double-sided mounting tape or a specific panel adhesive works well. Ensure the adhesive covers the perimeter and at least two points in the center to prevent sagging. If using tape, apply it to the wall first, then press the panel firmly against it.
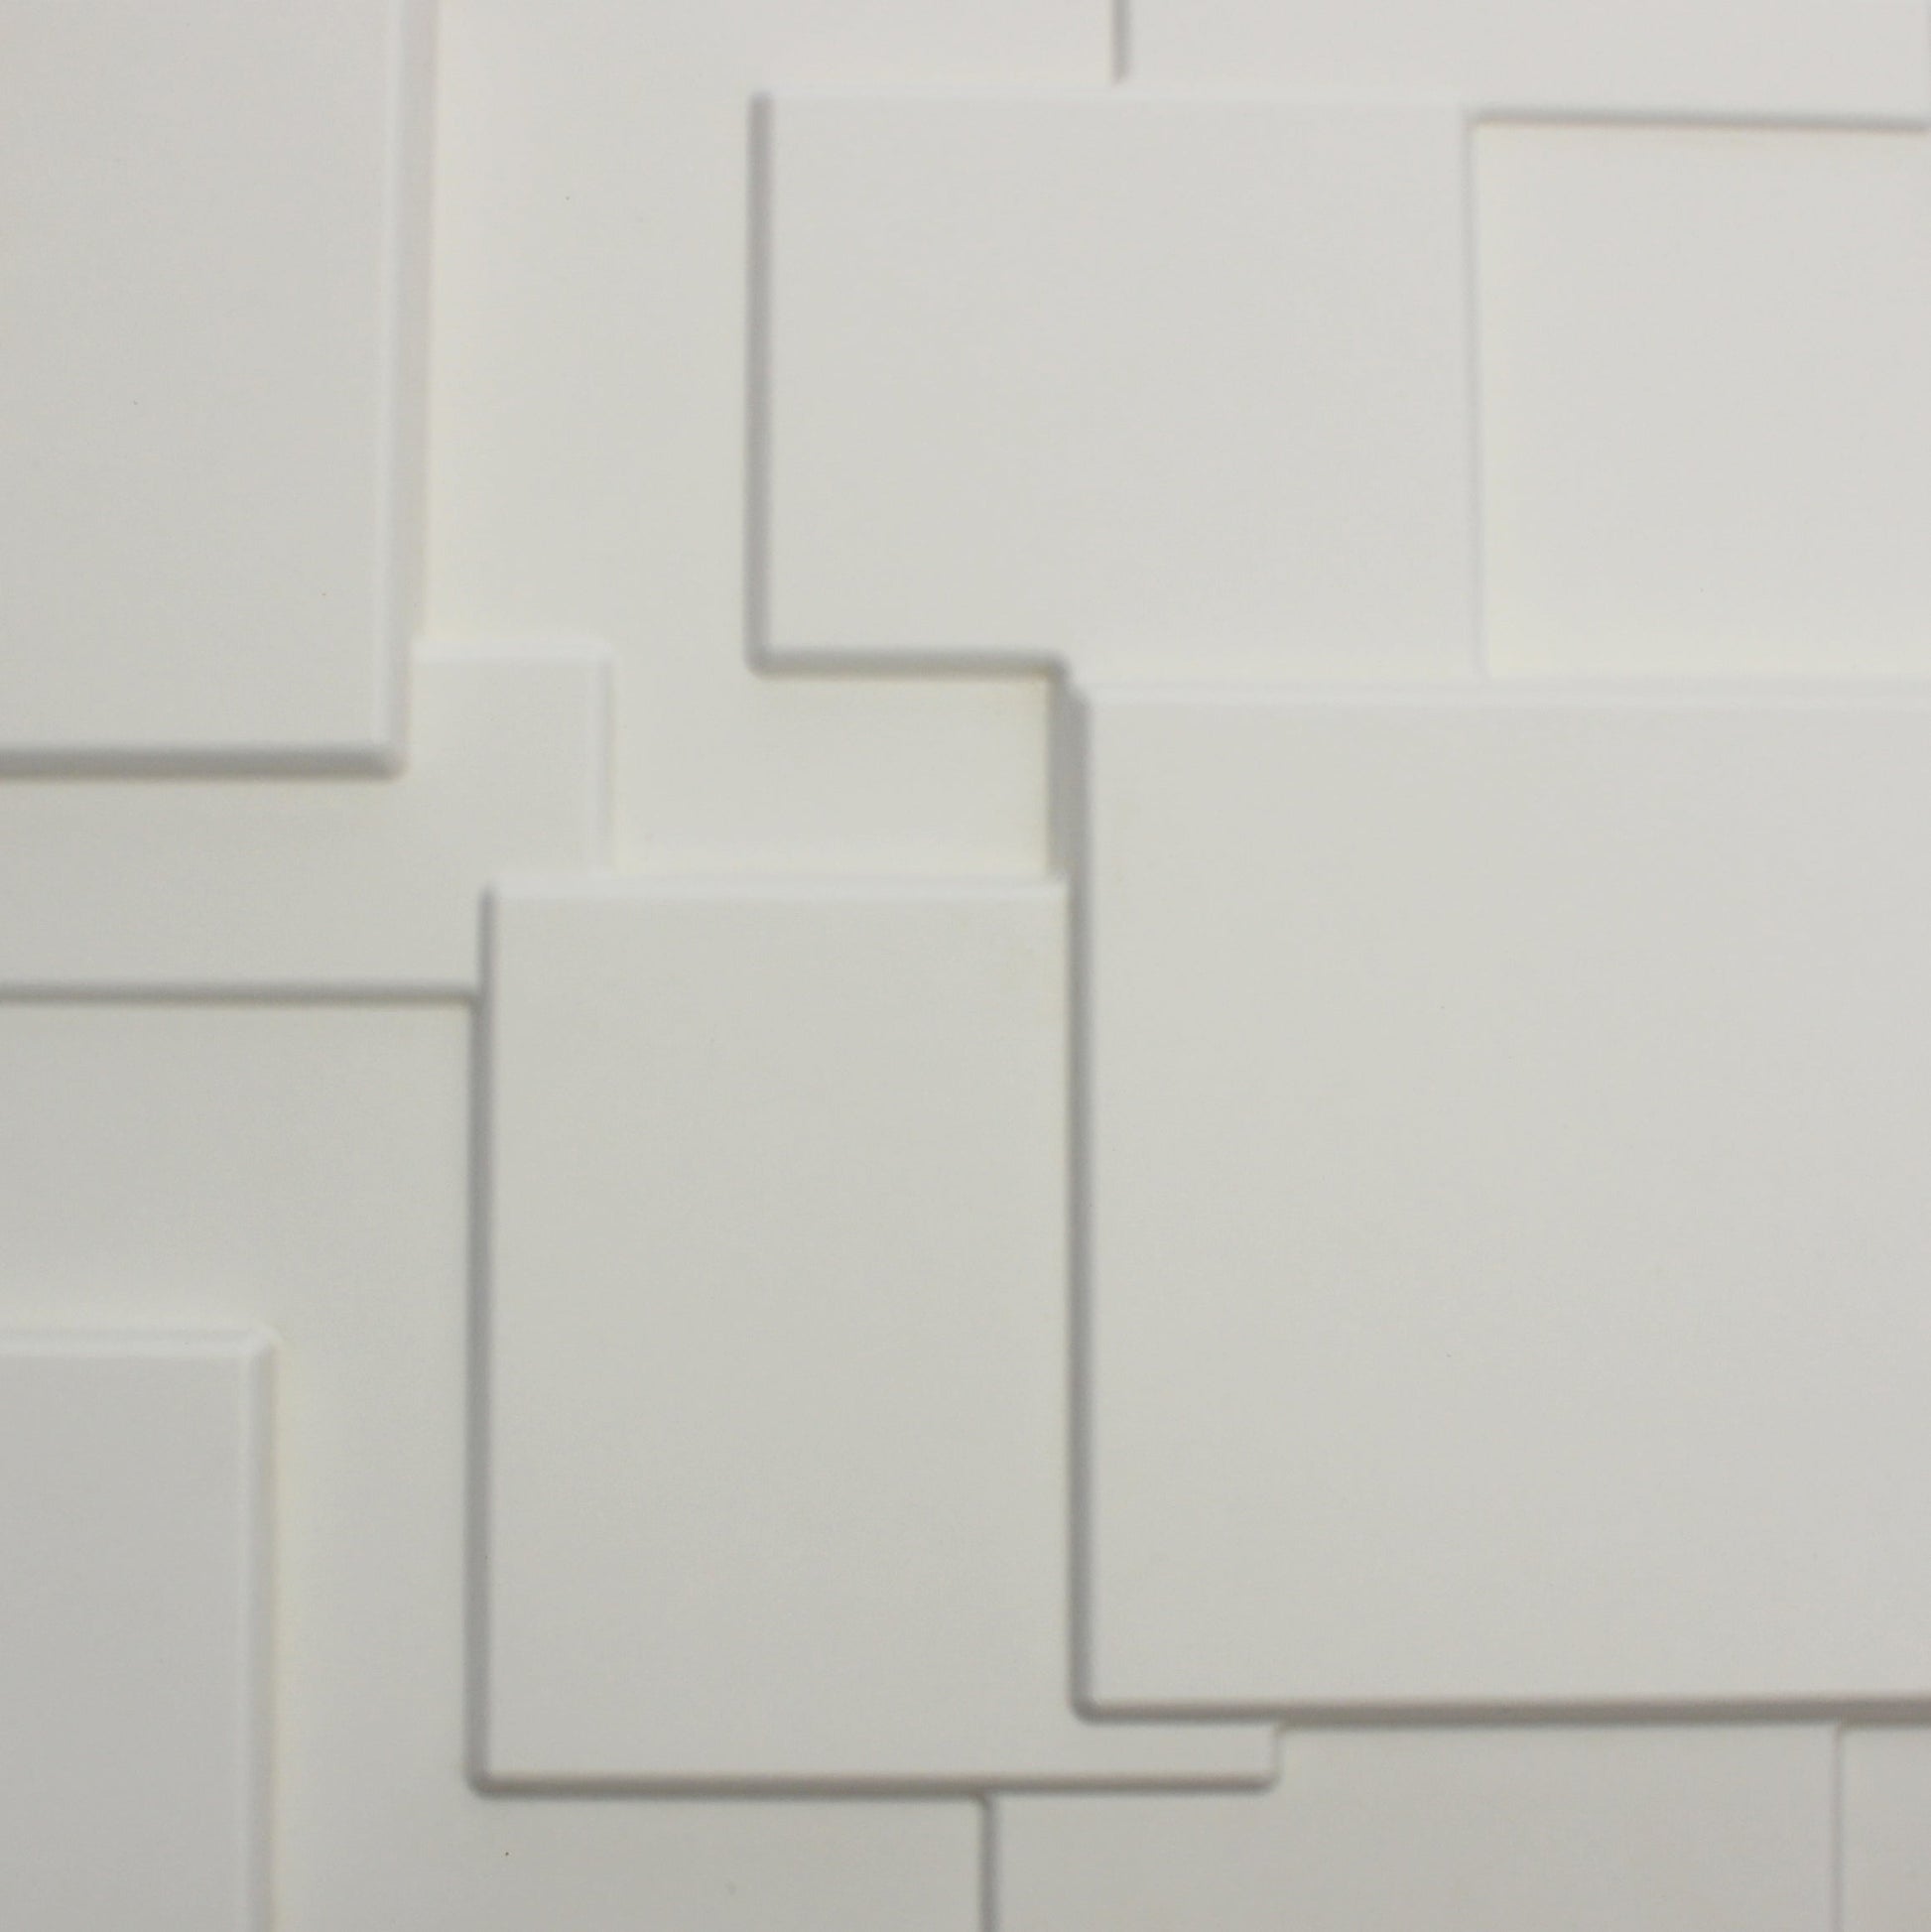
Press the first panel onto your center line, aligning the top edge with your horizontal mark. Use a level to check both vertical and horizontal alignment. If the panel is slightly off, most adhesives allow for minor adjustments within the first few minutes. Once satisfied, press firmly along the edges and corners to ensure full contact. Wipe away any excess adhesive that squeezes out immediately with a damp cloth.
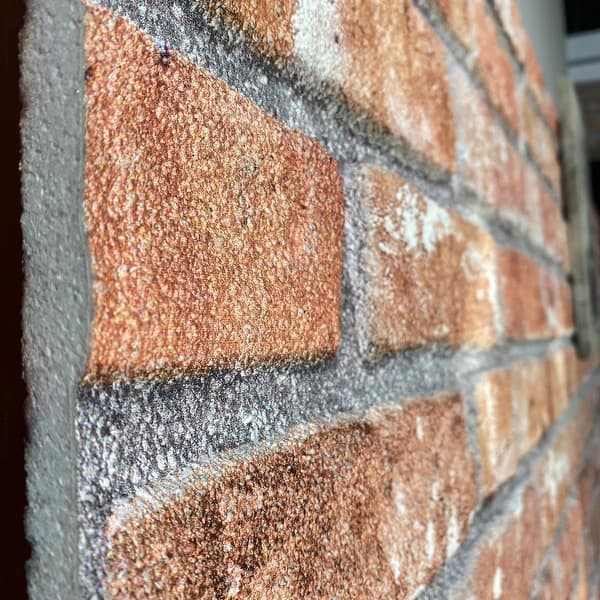
Install the next panel, ensuring the edges interlock or butt up tightly against the first. Use a rubber mallet or a block of wood and a hammer to gently tap the edges together if there are small gaps. Do not force the panels, as this can crack the material or distort the 3D pattern. Continue this process, checking your level every few panels to ensure the installation has not drifted.
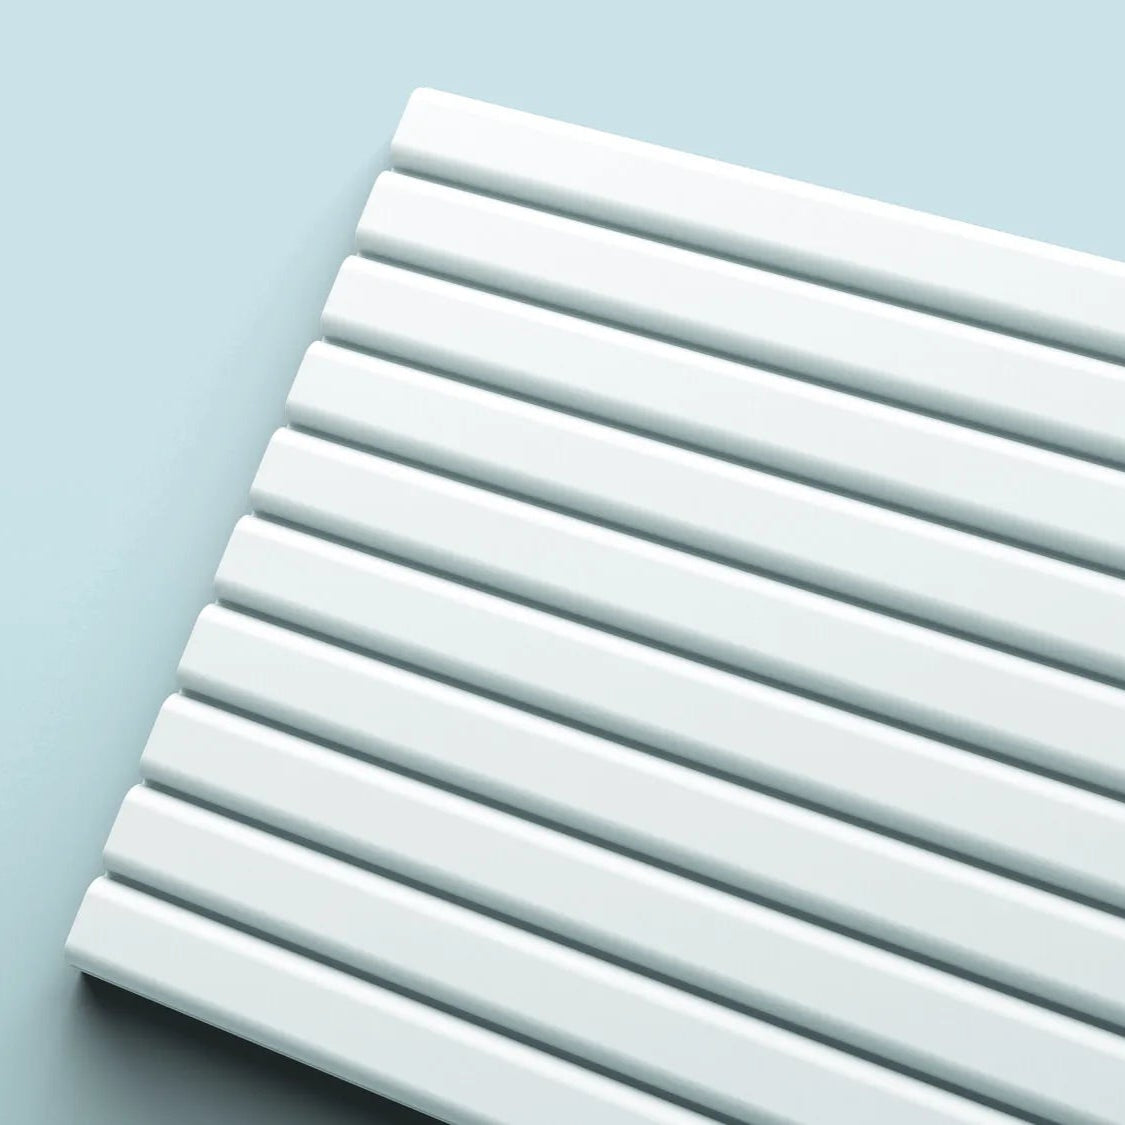
When you reach the edges of the wall or around outlets, measure the remaining space and mark the panel. Use a utility knife for PVC or foam panels, and a fine-tooth saw for gypsum or wood. Cut slightly outside the line first, then trim carefully to fit. Install these cut pieces last, securing them with adhesive and pressing firmly until set.
3. Secure and finish the installation
Once all panels are in place, inspect the seams. If there are visible gaps between panels, use a flexible caulk that matches the panel color to fill them. This is especially important for gypsum panels, which may expand or contract slightly with temperature changes. Allow the adhesive to cure fully according to the manufacturer’s instructions—usually 24 to 48 hours—before applying any paint or sealant. If you plan to paint the panels, use a primer designed for the specific material to ensure even coverage.
4. Final inspection and cleaning
Step back and view the wall from different angles and lighting conditions. The 3D texture will cast shadows that reveal any unevenness or misalignment. If you notice any loose edges, apply a small amount of adhesive behind the panel and press it back into place. Clean the surface with a soft, dry cloth to remove any dust or fingerprints. Avoid using harsh chemicals that could damage the finish or the adhesive bond.
Common Mistakes That Break the Setup
Even with high-quality thermoformed PVC panels, installation errors can lead to peeling edges, visible seams, or panels that simply don’t fit. Avoid these pitfalls to ensure your 3D wall panel installation lasts.
Skipping Surface Prep
Adhesive fails when applied to dusty, uneven, or glossy surfaces. Clean the wall with a mild detergent and let it dry completely. Fill any holes or cracks with spackle, sand smooth, and wipe away the dust. If the wall is painted with high-gloss finish, lightly sand it to create a mechanical bond for the adhesive. Skipping this step is the most common reason panels fall off within months.
Ignoring Level and Plumb
3D panels amplify every imperfection. If your first row isn’t perfectly level, the error compounds with each subsequent row, resulting in a crooked, unprofessional look. Use a laser level or a long spirit level to mark a horizontal guide line. Start from the center of the wall or a prominent corner, working outward. Check the plumb of vertical edges regularly. Don’t rely on your eyes; trust the tools.
Using the Wrong Adhesive
Not all adhesives are created equal. Weak glues or inappropriate tapes won’t hold the weight of thicker 3D panels, especially in humid environments like bathrooms. Use a high-strength construction adhesive or the manufacturer-recommended peel-and-stick backing if provided. For heavier panels, mechanical fasteners may be necessary in addition to adhesive. Always check the panel manufacturer’s guidelines for compatible adhesives.
Rushing the Curing Time
Adhesives need time to set. Pressing the panel firmly in place is just the first step. Avoid disturbing the panels for at least 24-48 hours, depending on the adhesive used. During this time, do not hang anything on the wall or apply pressure to the seams. Rushing this process can cause the panels to shift or detach before the bond is fully established.
Overlooking Expansion Gaps
Thermoformed PVC expands and contracts with temperature and humidity changes. If you install panels tightly against each other or against fixed objects like baseboards or door frames without leaving a small expansion gap, they may buckle or warp over time. Follow the manufacturer’s recommendations for gap size, typically 1/8 inch, and use caulk to seal the edges for a clean finish.
3d wall panels: what to check next
Before committing to a 3D wall panel installation, it helps to address the practical concerns that often stop homeowners halfway through the planning phase. These common questions cover material durability, installation complexity, and long-term maintenance.
No comments yet. Be the first to share your thoughts!