
Pick the right 3D wall panels
Choosing the correct material for your 3D wall panels is the first step toward a professional-looking finish. The material you select will determine how the panels perform in your specific room, how they look over time, and how difficult they are to install. While PVC and MDF are the most common choices for DIY projects, wood offers a distinct aesthetic that requires different care.
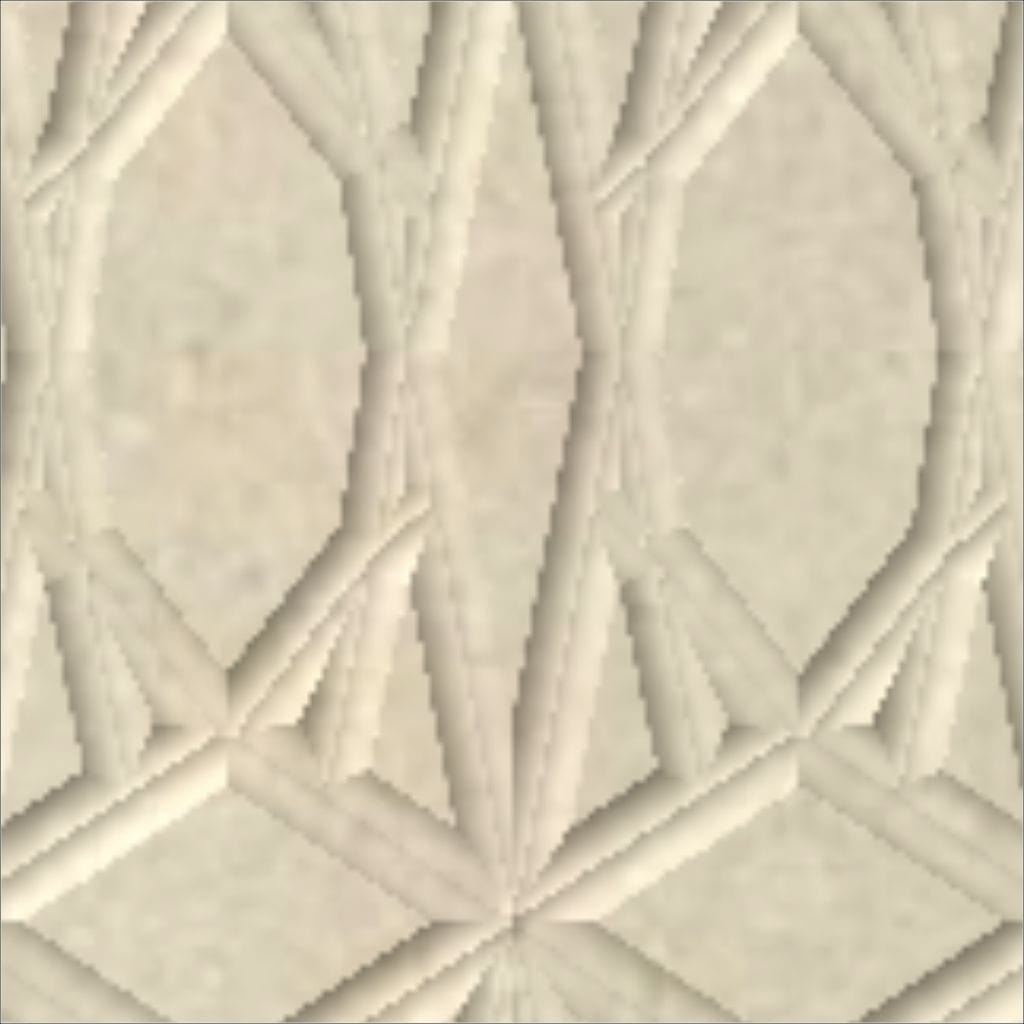
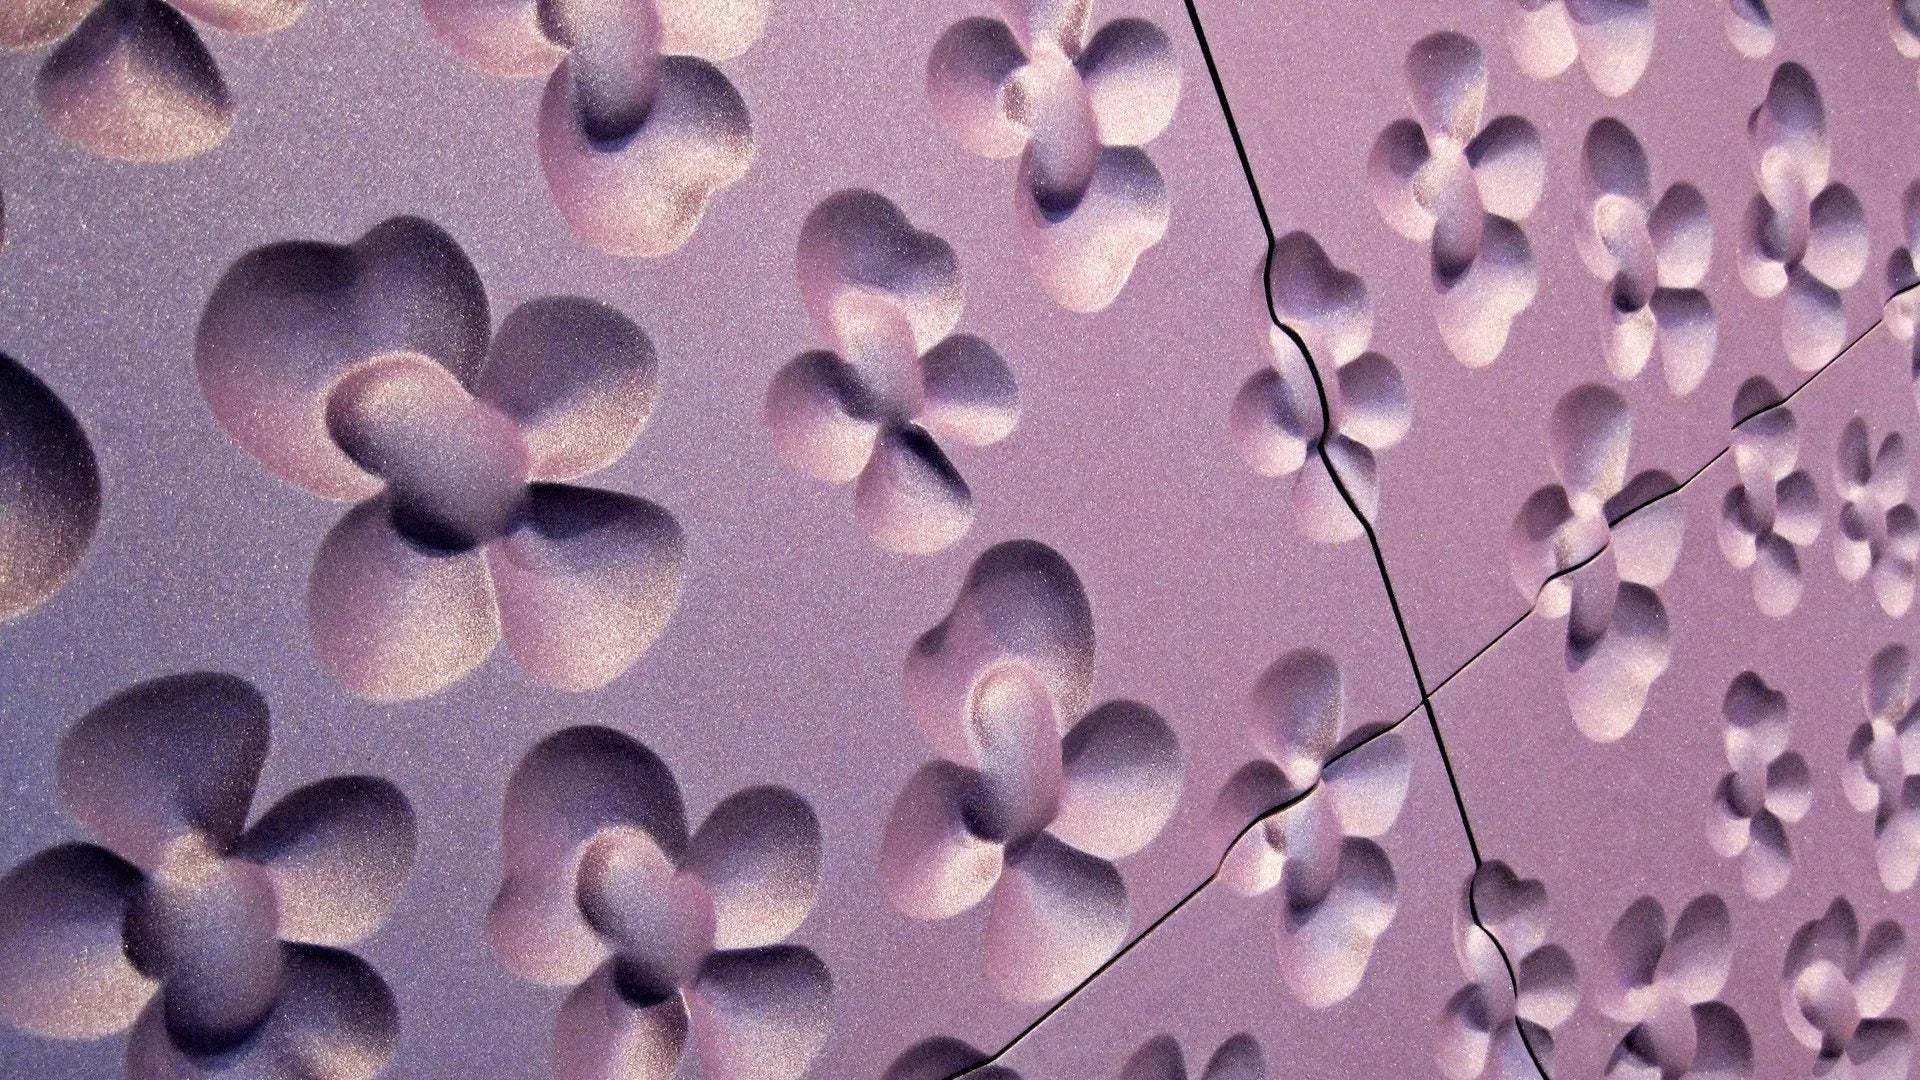
The image below shows a typical high-quality geometric pattern found in thermoformed PVC panels, which are lightweight and durable. These panels are often the go-to choice for renters or those looking for a quick, peel-and-stick upgrade without the mess of heavy adhesives.
To help you decide which material fits your budget and room function, compare the core options below.
| Material | Durability | Cost | Best Use |
|---|---|---|---|
| PVC | High (moisture resistant) | Low | Bathrooms, kitchens, rentals |
| MDF | Medium | Medium | Living rooms, bedrooms |
| Solid Wood | High (natural wear) | High | Accent walls, entryways |
For those ready to browse specific styles, here are some top-rated options across different material types.

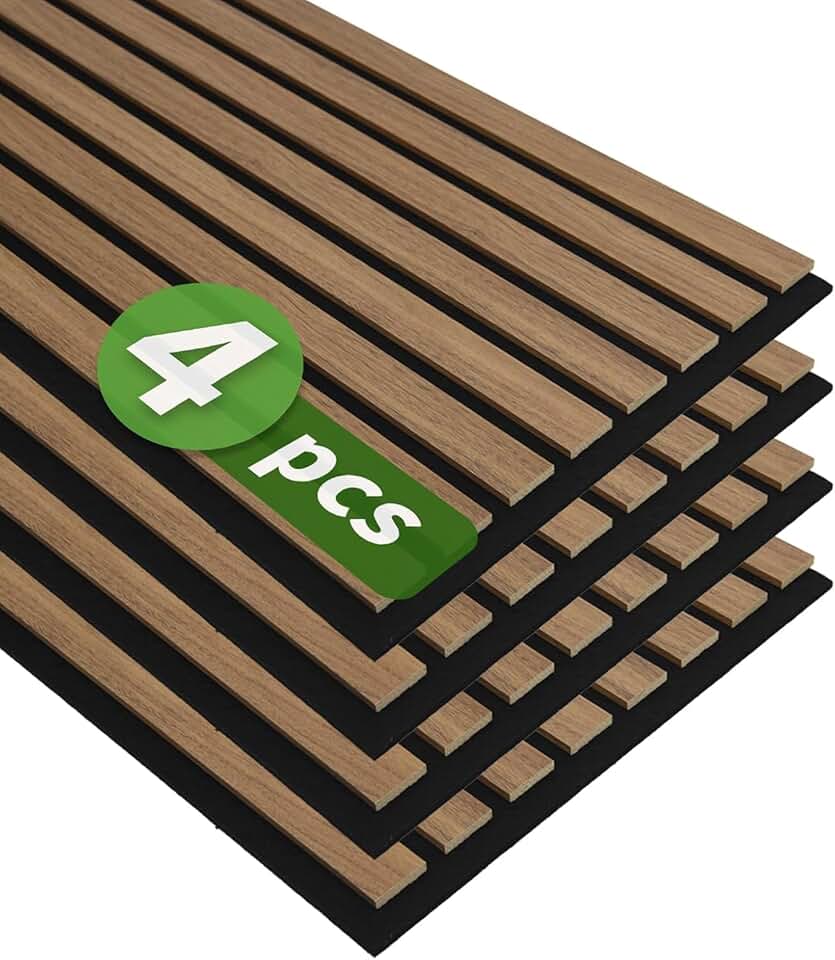

As an Amazon Associate, we may earn from qualifying purchases.
Gather tools and prep the wall
Before you stick the first panel, you need the right supplies and a surface that can actually hold them. 3D wall panels rely on adhesive bonding, so a clean, flat wall is the difference between a smooth finish and panels that fall off after a week.
You will need a few basic tools to get the job done right. Most DIYers already have these in their garage:
- Construction adhesive or panel mastic: Look for a heavy-duty formula rated for drywall or plaster.
- Level and tape measure: Precision matters more than speed here. A slight tilt ruins the geometric pattern.
- Utility knife and snips: For trimming panels to fit around outlets or corners.
- Painter’s tape: To hold panels in place while the adhesive cures.
- Cleaning supplies: Isopropyl alcohol or a degreaser to wipe down the wall.
-
Check wall for flatness (no bumps or cracks)
-
Clean wall surface with degreaser
-
Measure and mark center point on wall
-
Gather adhesive, level, and trimming tools
-
Apply painter's tape for temporary support
The prep work is just as important as the installation. Wipe the wall down to remove dust, grease, or loose paint. If you are painting over the panels later, make sure the wall paint is fully cured. A dirty wall acts like a barrier, preventing the adhesive from gripping the drywall or plaster properly.
Measure, cut, and dry-fit panels
Before you apply any adhesive, precision is your best tool. 3D wall panels often feature repeating patterns or specific orientation requirements, so skipping the dry-fit stage usually leads to visible gaps or misaligned textures. Treat this phase like assembling a puzzle: you want to verify that every piece locks into place before committing to the wall.
Start by measuring the exact dimensions of your wall space. If your 3D wall panels are modular, mark a horizontal baseline on the wall using a level. This line acts as your anchor, ensuring the first row sits perfectly straight. For complex geometric designs, you may need to calculate diagonal cuts or staggered seams to maintain the visual rhythm of the pattern.
Use a tape measure to determine the width and height of the area you are covering. Mark a level horizontal line across the wall where the bottom of your first panel will sit. If your panels have a specific grain or directional pattern, mark the top and bottom edges clearly to avoid installing them upside down or sideways.
Most lightweight 3D wall panels, such as those made from thermoformed PVC or high-density foam, can be cut with a utility knife. Place your straight edge along the measured line and score the panel deeply. For thicker materials, you may need to make multiple passes or use a fine-tooth saw. Snap the panel along the scored line for a clean break, then sand any rough edges for a seamless fit.
Lay the cut panels against the wall without adhesive to check the alignment. This is where you catch errors in measurement or pattern matching. Adjust the position of each panel to ensure the seams are tight and the design flows naturally. If you encounter a narrow gap at the end of a row, mark the panel for a final trim rather than forcing it into place.

Step back and view the dry-fitted section from different angles. Look for any breaks in the visual pattern or uneven gaps between panels. If the design requires a specific offset or stagger, verify that your cuts align with the manufacturer’s recommended layout. Once satisfied with the fit, remove the panels and clean the wall surface to prepare for adhesive application.
Dry-fitting saves time and material waste. It allows you to troubleshoot issues with outlets, corners, or irregular wall shapes before the adhesive sets. Once you are confident in the layout, you can proceed to the installation phase with confidence, knowing your 3D wall panels will look professional and polished.
Adhere panels and secure edges
The success of your 3D wall panels project relies on a strong bond and precise alignment. Once your wall is prepped and your layout is marked, it is time to apply the adhesive and set the first panel. This step establishes the foundation for the entire installation, so take your time to ensure everything is level and secure.
Use a high-quality construction adhesive or the manufacturer’s recommended bonding agent. Apply the adhesive in a zigzag pattern or large dots across the back of the 3D wall panel, focusing on the edges and the center. Avoid applying adhesive too close to the very edge to prevent messy squeeze-out that can be difficult to clean once cured.
Carefully lift the panel and place it against the wall, aligning it with your pre-marked layout lines. Press firmly across the entire surface, paying extra attention to the corners and edges. If the panel has interlocking edges, ensure they mesh perfectly with any adjacent panels or the wall edge. Use a level to verify vertical alignment before the adhesive sets.
Once the panel is in place, use painter’s tape to hold the edges flat against the wall if the adhesive requires time to cure. Wipe away any adhesive that squeezes out from the edges immediately with a damp cloth. Remove the tape after the adhesive has set enough to hold the panel securely, usually within 24 hours depending on the product used.
Consistency is key when installing multiple panels. Work from one corner or center point outward, checking the level frequently. If you miss a spot during adhesive application, lift the panel carefully and add more adhesive rather than forcing it into place, which can result in a weak bond and an uneven surface.
Finish with caulk and paint
Painting your 3D wall panels is the final step that transforms them from individual pieces into a cohesive architectural feature. This stage conceals minor installation imperfections and allows the panels to blend seamlessly with your room's existing decor. Without this finish, the seams between panels remain visible, breaking the illusion of a solid, textured surface.
Fill the seams
Start by applying a thin bead of acrylic latex caulk to the seams where the panels meet. Use a caulking gun for control, focusing on the joints between panels and the corners where they meet the ceiling or floor. For deeper grooves inherent to certain 3D designs, you may need to press the caulk in firmly with your finger or a damp sponge to ensure it fills the void completely.
Once the caulk is applied, smooth it out immediately. A damp finger or a specialized caulking tool works best here. This creates a concave, invisible seam that disappears once painted. Wipe away any excess caulk that squeezes out onto the face of the panels before it dries, as sanding dried caulk can damage the delicate 3D texture.
Paint for a seamless look
After the caulk has cured (usually 24 hours), apply a primer if your panels are unpainted gypsum or MDF. This ensures the paint adheres properly and the color remains consistent. When painting, use a high-quality acrylic latex paint. Thinner paints are less likely to drip into the deep grooves of the 3D design, which can obscure the texture.
Use a small foam roller or a soft-bristle brush to apply the paint. Roll or brush in the direction of the panel's texture to avoid trapping air bubbles in the crevices. Apply two thin coats rather than one thick coat to maintain the crisp definition of the 3D pattern. Allow each coat to dry completely before applying the next.
Run a thin bead of acrylic latex caulk along the joints between panels and where they meet the room's boundaries. This fills gaps that might otherwise show through the paint.
Smooth the caulk with a damp finger or tool to create an invisible seam. Wipe away any excess immediately to protect the panel's texture.
Apply primer if needed, then use a foam roller or soft brush to paint the panels. Use thin coats to preserve the depth of the 3D design.
Common installation mistakes to avoid
Even with the right tools, 3D wall panels can look uneven if you rush the process. Skipping prep work or ignoring the panel pattern often leads to gaps, misalignment, or panels that won’t stick. Fixing these errors after the fact is far more work than getting it right the first time.
Skipping surface prep
3D wall panels require a clean, smooth, and dry surface. Dust, grease, or loose paint will prevent adhesives from bonding properly, causing panels to fall off later. Wipe the wall with a damp cloth and let it dry completely before starting. If the wall is uneven, sand down high spots or use a leveling compound to create a flat base.
Ignoring the pattern direction
Most 3D wall panels have a specific grain or pattern flow. Installing them upside down or backwards breaks the visual continuity, making the wall look disjointed. Lay out your panels on the floor first to check the pattern direction. Mark the top of each panel with a pencil so you know which way is up when you stick them to the wall.
Not using a level
Even a slight tilt in the first row will compound as you move up, resulting in a crooked finish. Use a laser level or a standard bubble level to ensure your first row is perfectly straight. This initial alignment is critical because every subsequent panel relies on it. Double-check your measurements before applying adhesive to avoid costly corrections.
Frequently asked questions about 3D wall panels
Are 3D wall panels suitable for bathrooms? Most 3D wall panels are made from thermoformed PVC, which is waterproof and resistant to mold. This makes them an ideal choice for high-humidity areas like bathrooms and kitchens. Ensure proper ventilation to maintain the adhesive bond over time.
How do I clean and maintain these panels? Maintenance is simple. Dust them regularly with a microfiber cloth or vacuum using a soft brush attachment. For deeper cleaning, wipe the surface with a damp cloth and mild soap. Avoid abrasive cleaners or harsh chemicals that could damage the textured finish.
Can I remove 3D wall panels without damaging the wall? Removal depends on the adhesive used. Peel-and-stick panels typically come off cleanly if heated gently with a hairdryer to soften the adhesive. Avoid pulling forcefully, as this may peel paint or drywall. Use a plastic scraper to lift edges carefully.
Do 3D wall panels hide wall imperfections? Yes, the textured, three-dimensional surface of these panels helps mask minor cracks, dents, and uneven spots. They provide a smooth, finished look without the need for extensive wall prep or plastering.
No comments yet. Be the first to share your thoughts!