

Pick the right 3D wall panels
Choosing the correct material depends on where you plan to install them. PVC, MDF, and faux leather each handle moisture, weight, and style differently. Match the material to the room’s function to avoid warping or poor adhesion.
PVC Panels
PVC panels are lightweight, waterproof, and easy to clean. They are the best choice for high-moisture areas like bathrooms and kitchens. Most PVC options come with a self-adhesive backing for quick installation.
MDF Panels
Medium-density fiberboard offers a heavier, more rigid feel. MDF is ideal for dry living areas and bedrooms where you want a solid, premium look. These panels often require construction adhesive rather than self-adhesive backing due to their weight.
Faux Leather Panels
Faux leather adds texture and sound-dampening qualities. It works well in home theaters, offices, or accent walls. Choose this material if you want a soft, tactile surface that hides minor wall imperfections.
| Material | Moisture Resistance | Installation | Best Room |
|---|---|---|---|
| PVC | High | Peel-and-stick or adhesive | Bathroom, Kitchen |
| MDF | Low | Adhesive or nails | Living Room, Bedroom |
| Faux Leather | Medium | Adhesive | Home Theater, Office |


As an Amazon Associate, we may earn from qualifying purchases.
Measure and plan your layout
Before you stick anything to the wall, you need a clear map of where each panel belongs. A single miscalculation can force awkward, narrow strips of material into corners, ruining the clean lines that make 3D wall panels look modern. Treat this stage like laying a puzzle: if the pieces don't fit the frame, the picture won't work.
Start by measuring the total width and height of your wall space. Use a steel tape measure for accuracy, recording the dimensions to the nearest eighth of an inch. Don't just measure the flat surface; check for baseboards, outlets, or architectural features that might interrupt your pattern. These obstacles dictate where you need to cut panels, so knowing their exact location now saves frustration later.
Next, find the center of the wall. Snap a chalk line vertically down the middle and horizontally across the middle. This crosshair acts as your anchor point. Most 3D panels are designed to radiate outward from a central focal point. Starting from the center ensures that any cuts needed at the edges are symmetrical and balanced, rather than having a tiny, ugly sliver of panel on one side and a full panel on the other.
Dry-fit your panels along these center lines before applying any adhesive. Lay them out on the floor or hold them against the wall to visualize the final pattern. This step reveals potential issues, such as misaligned seams or unexpected gaps, allowing you to adjust your plan while you still have the freedom to move things around.
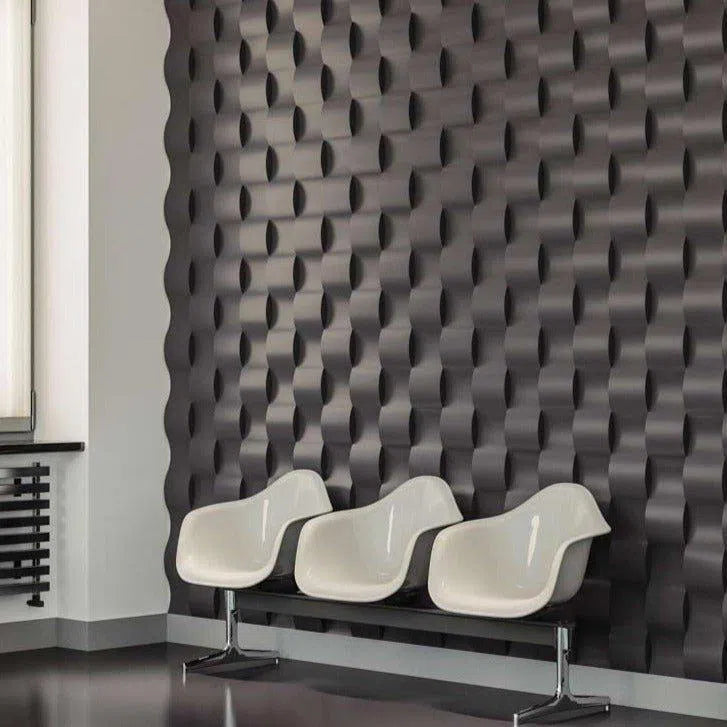
Use a steel tape measure to record the exact width and height of the wall. Note the position of outlets, switches, and baseboards.
Find the midpoint of the wall and snap a vertical and horizontal chalk line to create a crosshair anchor.
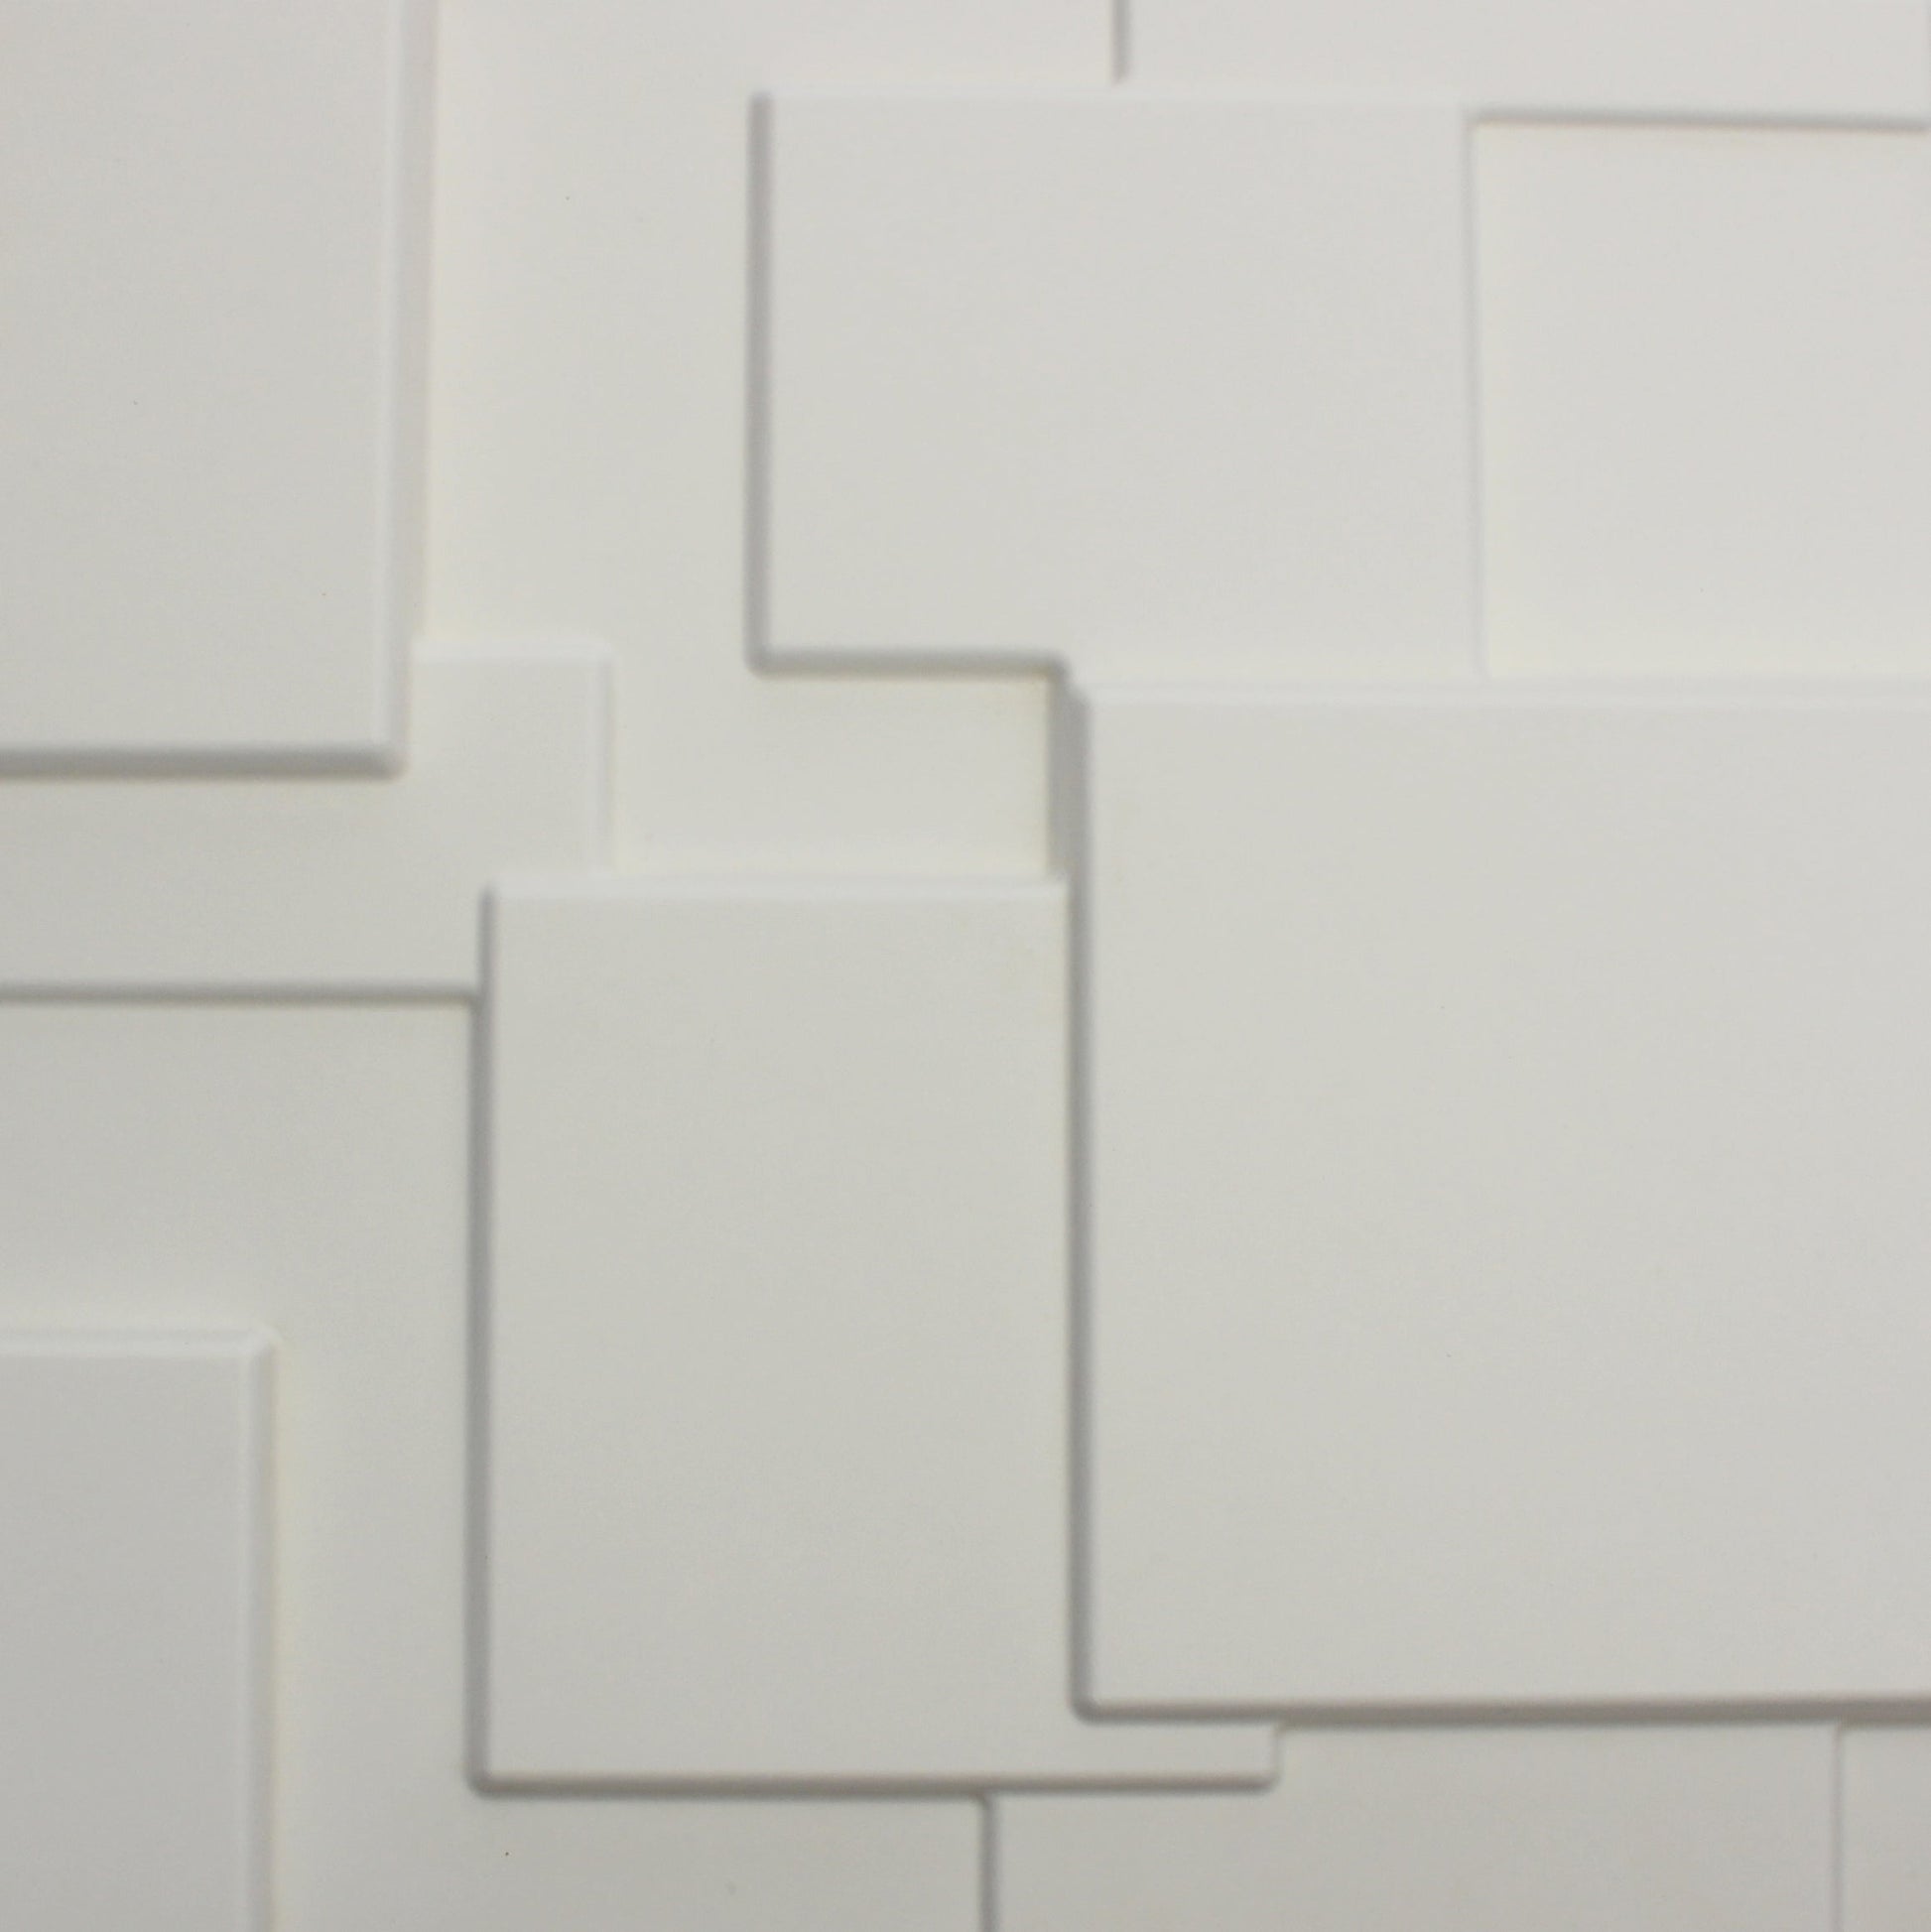
Lay panels against the wall along the center lines to check alignment and identify where cuts will be needed at the edges.
Prepare the Wall Surface
Proper adhesion starts with the wall itself. If the surface is dusty, uneven, or glossy, your 3D wall panels will fail to stick, leading to gaps or panels falling off later. This prep phase is the foundation of a professional-looking installation.
Clean and Degrease
Start by removing all dust, cobwebs, and grease from the wall. Use a mild detergent mixed with warm water and a sponge to wipe down the entire area where panels will go. Rinse with clean water and let it dry completely. Any residual grease from the kitchen or living areas can prevent adhesive from bonding properly.
Level and Repair
Inspect the wall for holes, cracks, or significant bumps. Fill small imperfections with spackle and sand them smooth once dry. For larger holes, use a patch kit. The goal is a flat, uniform surface. If the wall is heavily textured, consider sanding down high spots or using a skim coat to create a smooth base. Uneven surfaces are the primary cause of visible gaps between panels.
Prime if Necessary
If you are painting over a dark color or sealing a porous surface like drywall, apply a primer. Primer helps the adhesive grip better and ensures consistent color underneath. Let the primer cure fully according to the manufacturer's instructions before proceeding. A smooth, clean, and dry wall is your best guarantee for a long-lasting installation.
Cut and dry-fit the panels
Before applying any adhesive, you need to ensure the 3D wall panels fit your space perfectly. This stage prevents costly mistakes and keeps the installation process smooth. Think of it as a dress rehearsal for your walls.
Measure and mark
Start by measuring the exact dimensions of the wall area where the panels will go. Use a tape measure to mark the center point or a starting line with a pencil. If you are working around outlets or corners, measure twice and mark clearly. Accuracy here determines the final alignment of your 3D wall panels.
Cut to size
For most foam or PVC panels, a utility knife and straight edge work best. Score the panel deeply along your mark, then snap it cleanly. For gypsum or heavier materials, use a fine-tooth saw. Cut slowly to avoid chipping the detailed edges. Wear a mask if cutting gypsum to avoid inhaling dust.
Dry-fit the layout
Place the cut panels on the wall without adhesive. Check how they align with your marks and each other. Look for gaps at the edges or uneven seams. Adjust the position slightly if needed. This dry run confirms that your cuts are correct and the pattern flows naturally before you commit to permanent installation.
Adhere panels to the wall
Securing your 3D wall panels correctly ensures the final surface remains flat and durable. The method depends on the material: rigid PVC or gypsum panels typically require construction adhesive, while lightweight foam or PVC options often use a self-adhesive backing. For construction adhesive, apply a continuous bead or a zigzag pattern to the back of the panel, focusing on the edges and center to prevent bowing.
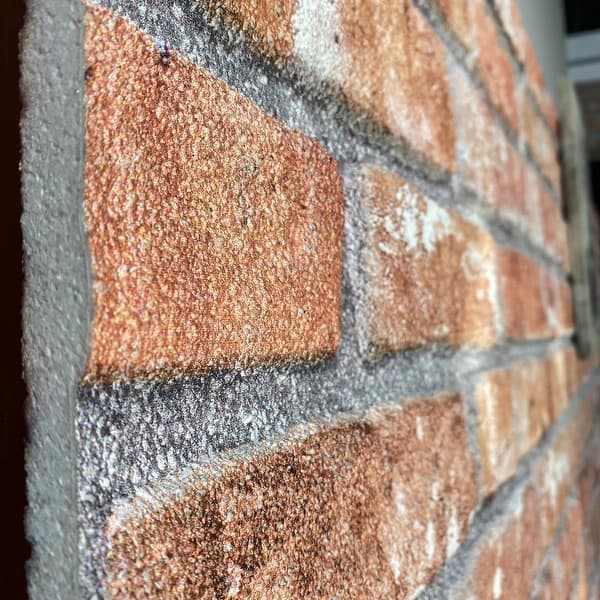
For construction adhesive, use a caulk gun to apply beads along the perimeter and center of the panel. If using self-adhesive panels, carefully remove the protective liner without touching the exposed adhesive. Ensure the adhesive covers enough surface area to support the panel's weight immediately.
Start at the bottom corner of your chosen wall section. Place a small piece of painter's tape on the wall to mark your starting line. Align the panel’s edge with this line and press it firmly into place. Use a level to check vertical alignment before the adhesive sets, as adjustments become difficult once contact is made.
Align the next panel’s interlocking edge with the first. Press firmly along the seam to ensure a tight connection. Use a roller or your palm to apply even pressure across the surface, pushing out any air bubbles and ensuring full adhesive contact. Wipe away any excess adhesive that squeezes out immediately with a damp cloth.
Work in manageable sections to maintain control over alignment. If using construction adhesive, you may need to brace the panels temporarily with painter’s tape until the bond sets. This usually takes 24 hours for full strength. For self-adhesive options, pressure is key; spend extra time rubbing the surface to activate the adhesive’s grip. Check the manufacturer’s instructions for specific curing times, as heavier panels may require additional support during the drying phase.
Finish edges and caulk gaps
Trimming the edges and sealing the seams transforms 3D wall panels from a DIY project into a built-in feature. Without this step, the raw cuts and small gaps between panels will remain visible, breaking the modern aesthetic you are aiming for.
Start by inspecting every cut edge. If the foam or PVC material is rough or uneven, use a fine-grit sandpaper or a utility knife to smooth it out. For panels with a wood or composite finish, a light touch is all it takes to remove splinters without damaging the surface. Wipe away all dust with a dry cloth before moving to the next step.
Next, apply a thin bead of paintable latex caulk to the seams where panels meet the wall or each other. Use a caulking gun for control, then smooth the bead with a damp finger or a caulk smoothing tool. This fills minor gaps caused by uneven walls and prevents dust accumulation. Wipe away any excess immediately with a damp sponge to keep the surface clean.
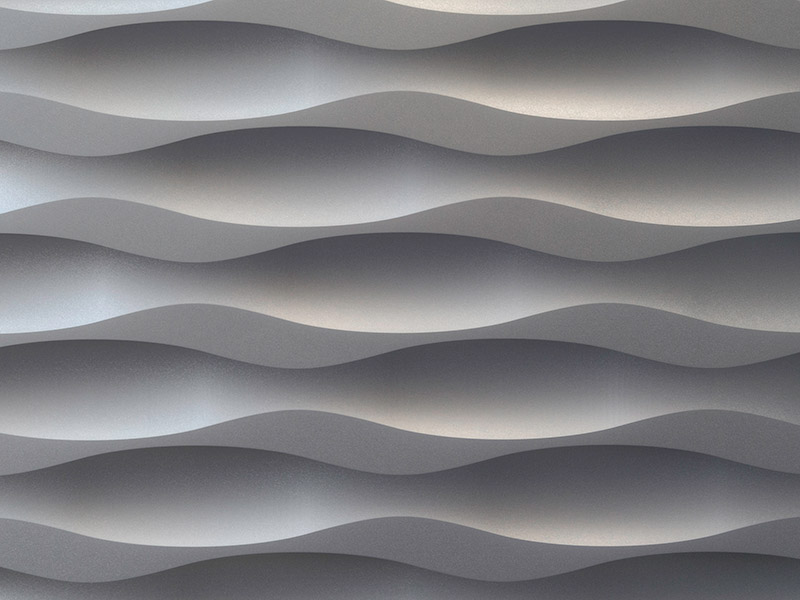
Sand rough foam or PVC edges with fine-grit sandpaper. Trim any protruding material with a utility knife for a flush fit.
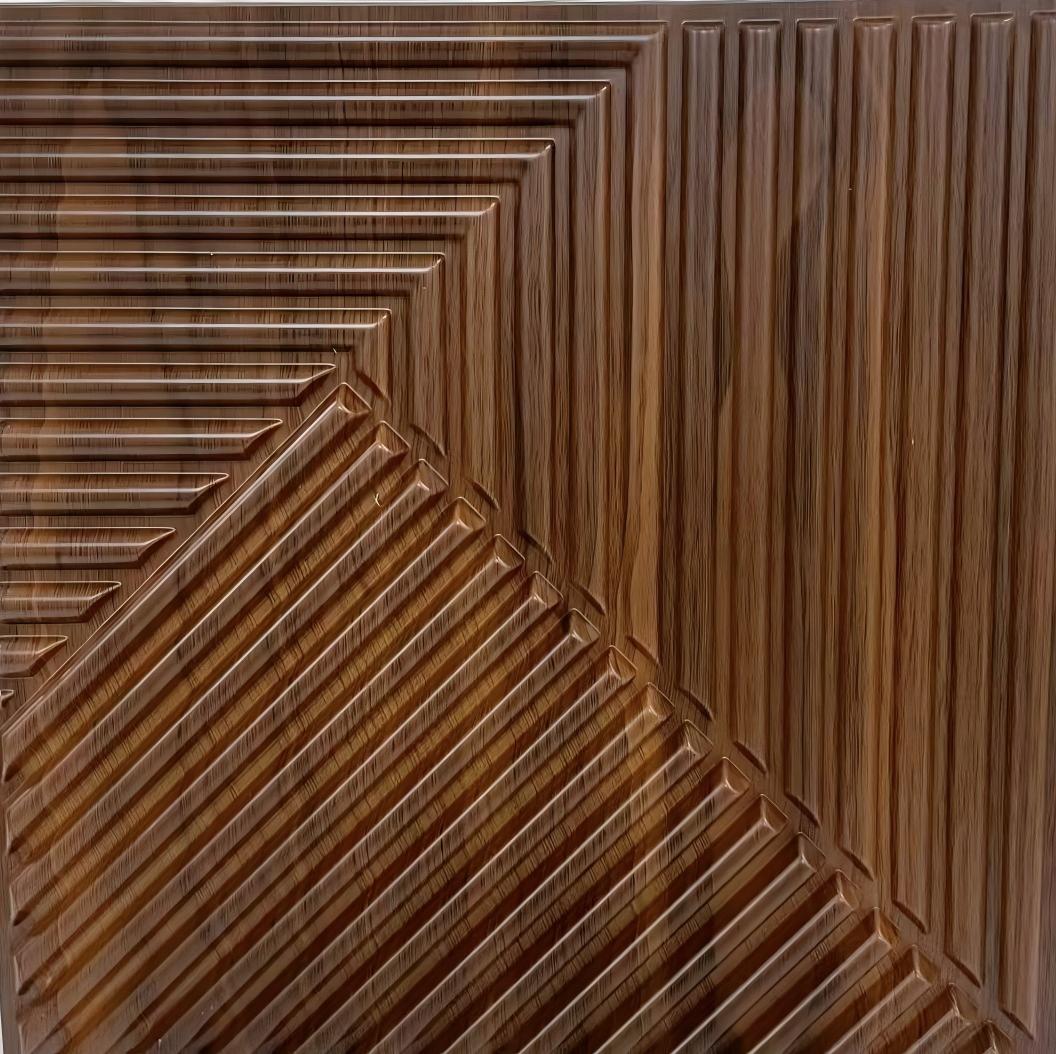
Run a thin bead of paintable latex caulk along all panel joints and perimeter edges. Keep the bead minimal to avoid bulging.
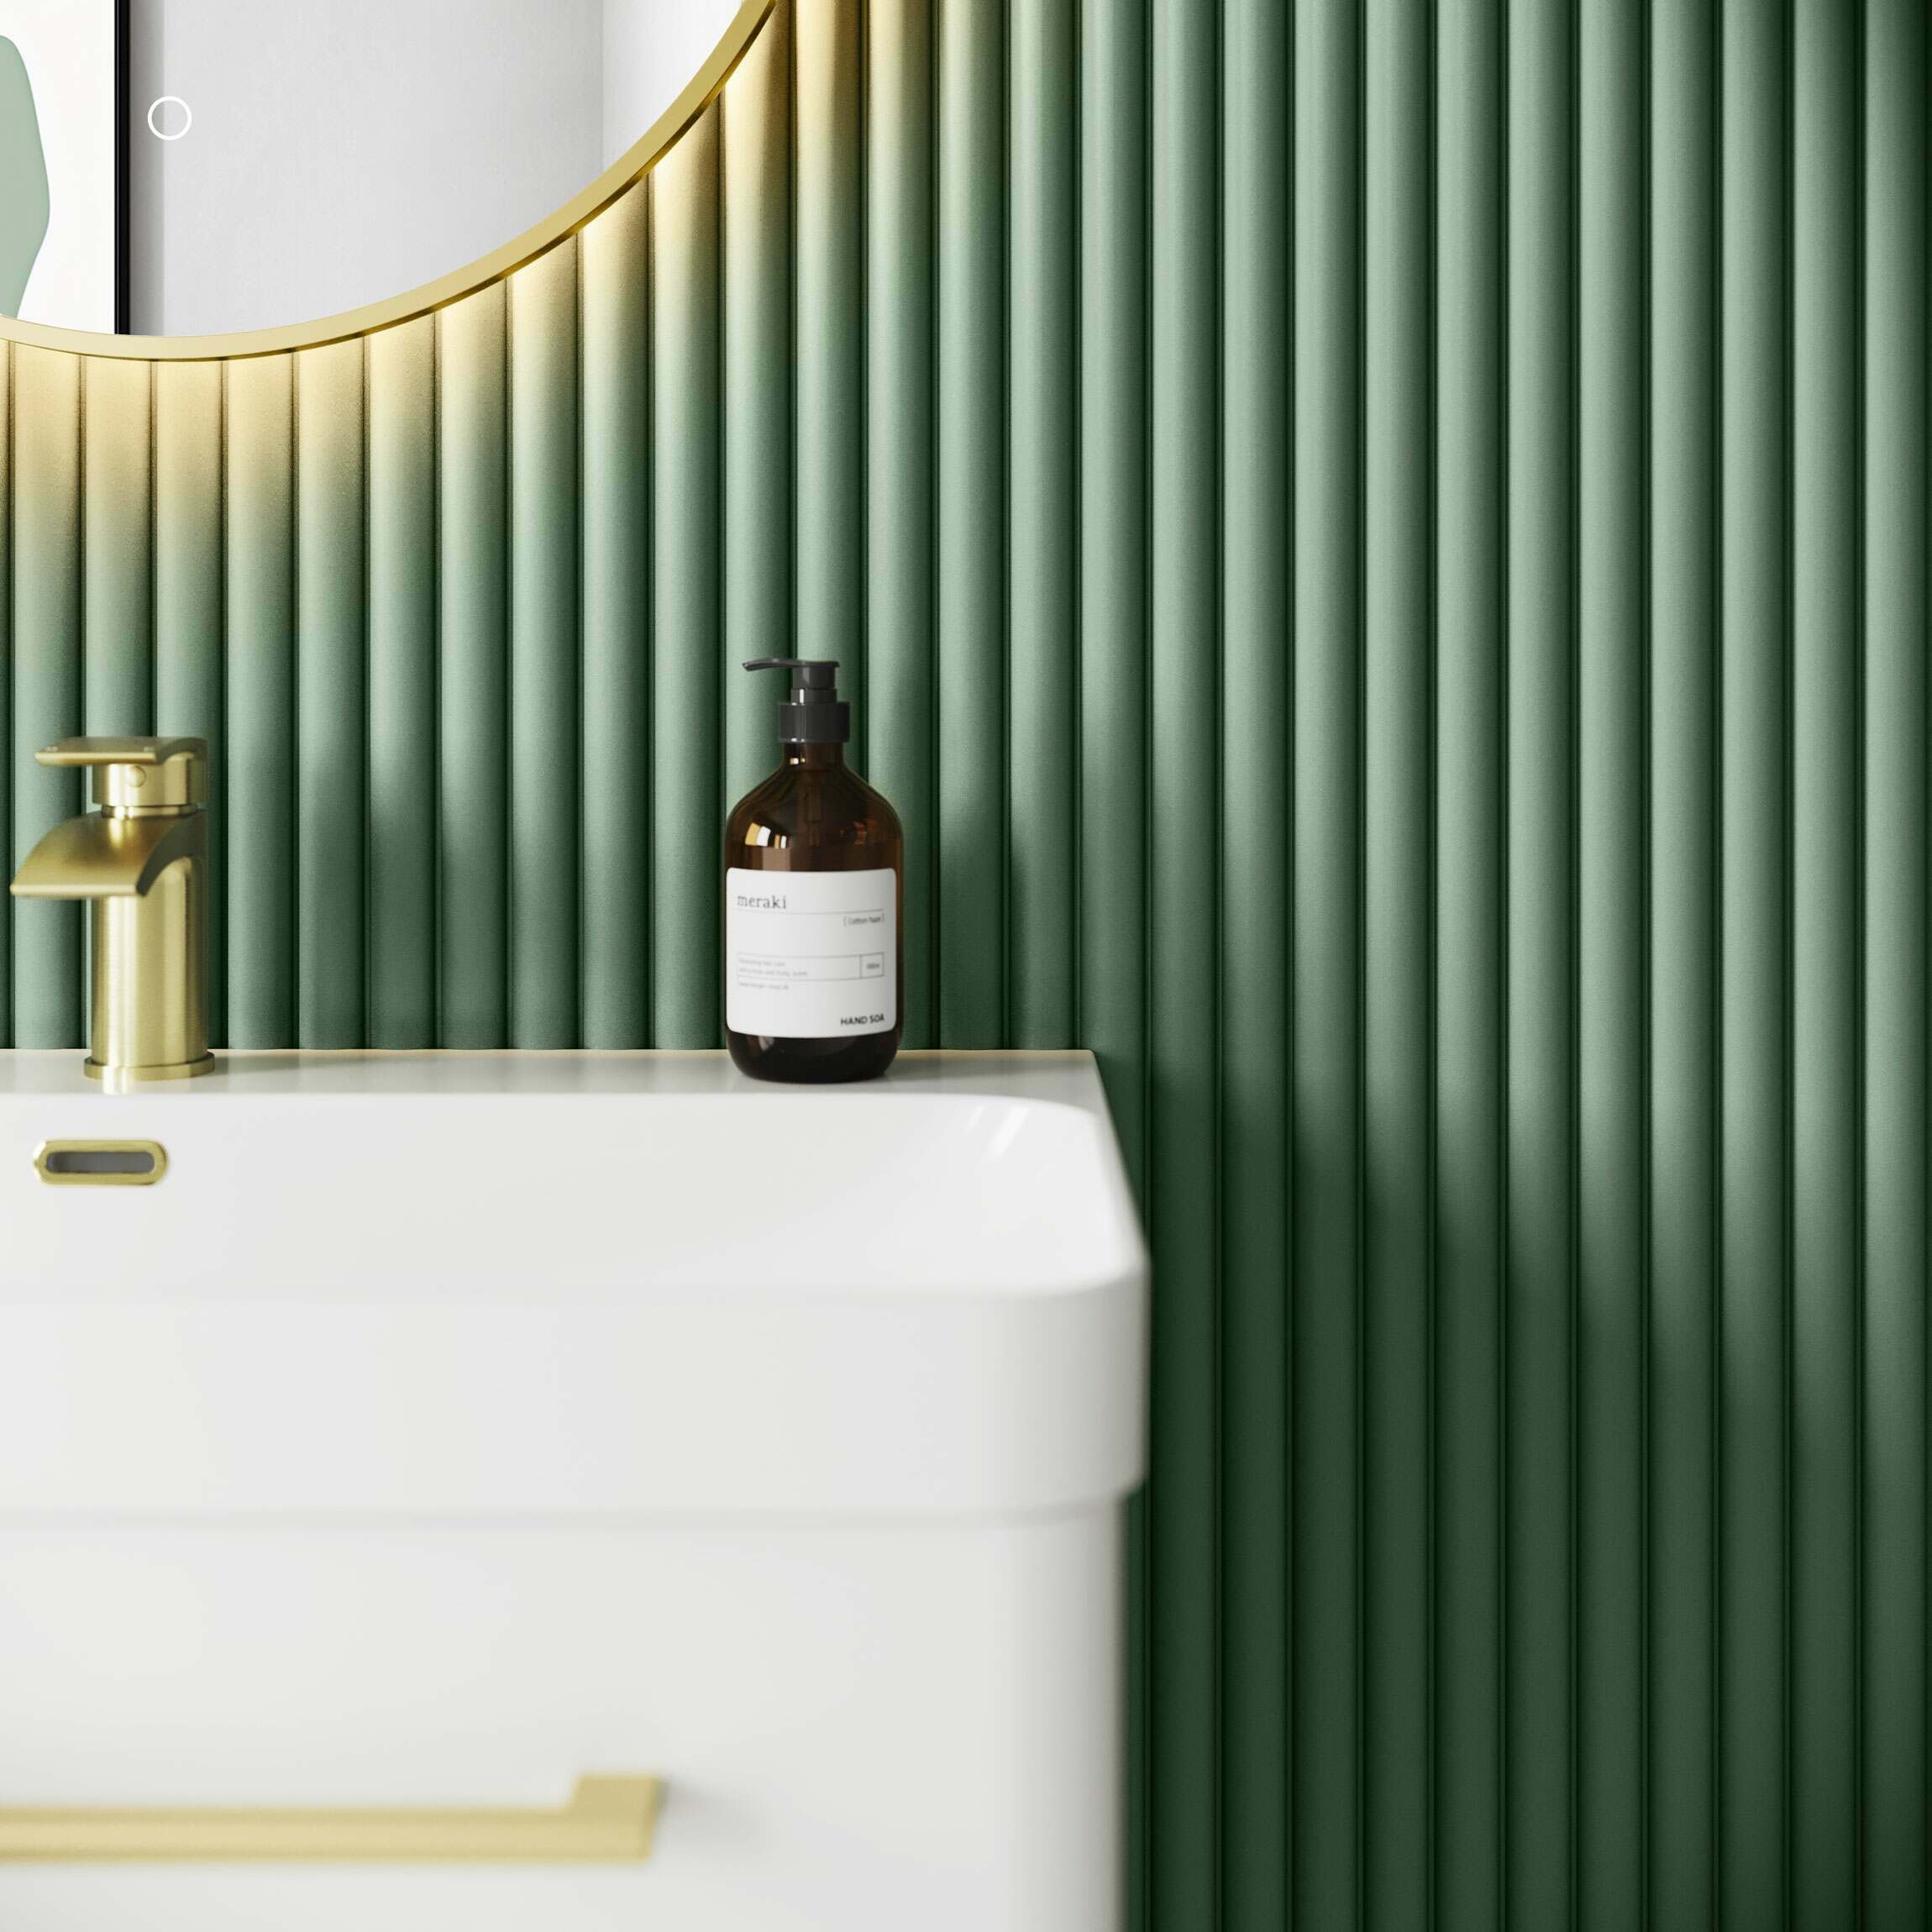
Wet your finger or a smoothing tool and glide it along the caulk line to create a concave, invisible seam. Wipe away residue with a damp sponge.
Common installation mistakes
Most DIY failures happen before the first panel touches the wall. Skipping prep or misaligning the pattern creates visible gaps that ruin the modern look you want. Fix these three errors to ensure your 3D wall panels install smoothly.
Skip surface prep
3D panels need a flat, clean, and dry surface. Dust, grease, or uneven drywall prevents adhesive from bonding, causing panels to sag or detach over time. Wipe walls with a damp cloth, sand down any bumps, and ensure the area is completely dry before starting. For self-adhesive options, this step is non-negotiable.
Ignore pattern alignment
Geometric and organic patterns rely on precise alignment. If you don’t use a level or measure from the center, the design will drift, creating awkward gaps at the edges. Start from the center of the wall and work outward, checking alignment every two panels. This prevents cumulative errors that become obvious once the room is finished.
Rush the adhesive
Whether using construction adhesive or self-adhesive backing, pressure matters. Hold each panel firmly for 10–15 seconds to ensure full contact. For heavier panels, use a temporary support or bracket until the adhesive cures. Rushing this step leads to bubbles and loose edges that are difficult to fix later.
Wipe down the wall to remove dust and grease. Sand any rough spots to create a flat surface for better adhesion.
Use a level to draw a vertical and horizontal center line. Start your first panel here to ensure the pattern stays symmetrical.
Press the panel firmly against the wall for 10–15 seconds. Check alignment with a level before moving to the next piece.
3D Wall Panel Installation FAQ
These common questions cover durability, removal, and tool requirements for installing 3D wall panels.
No comments yet. Be the first to share your thoughts!