
2026 Home Makeovers Using Textured 3D Wall Art
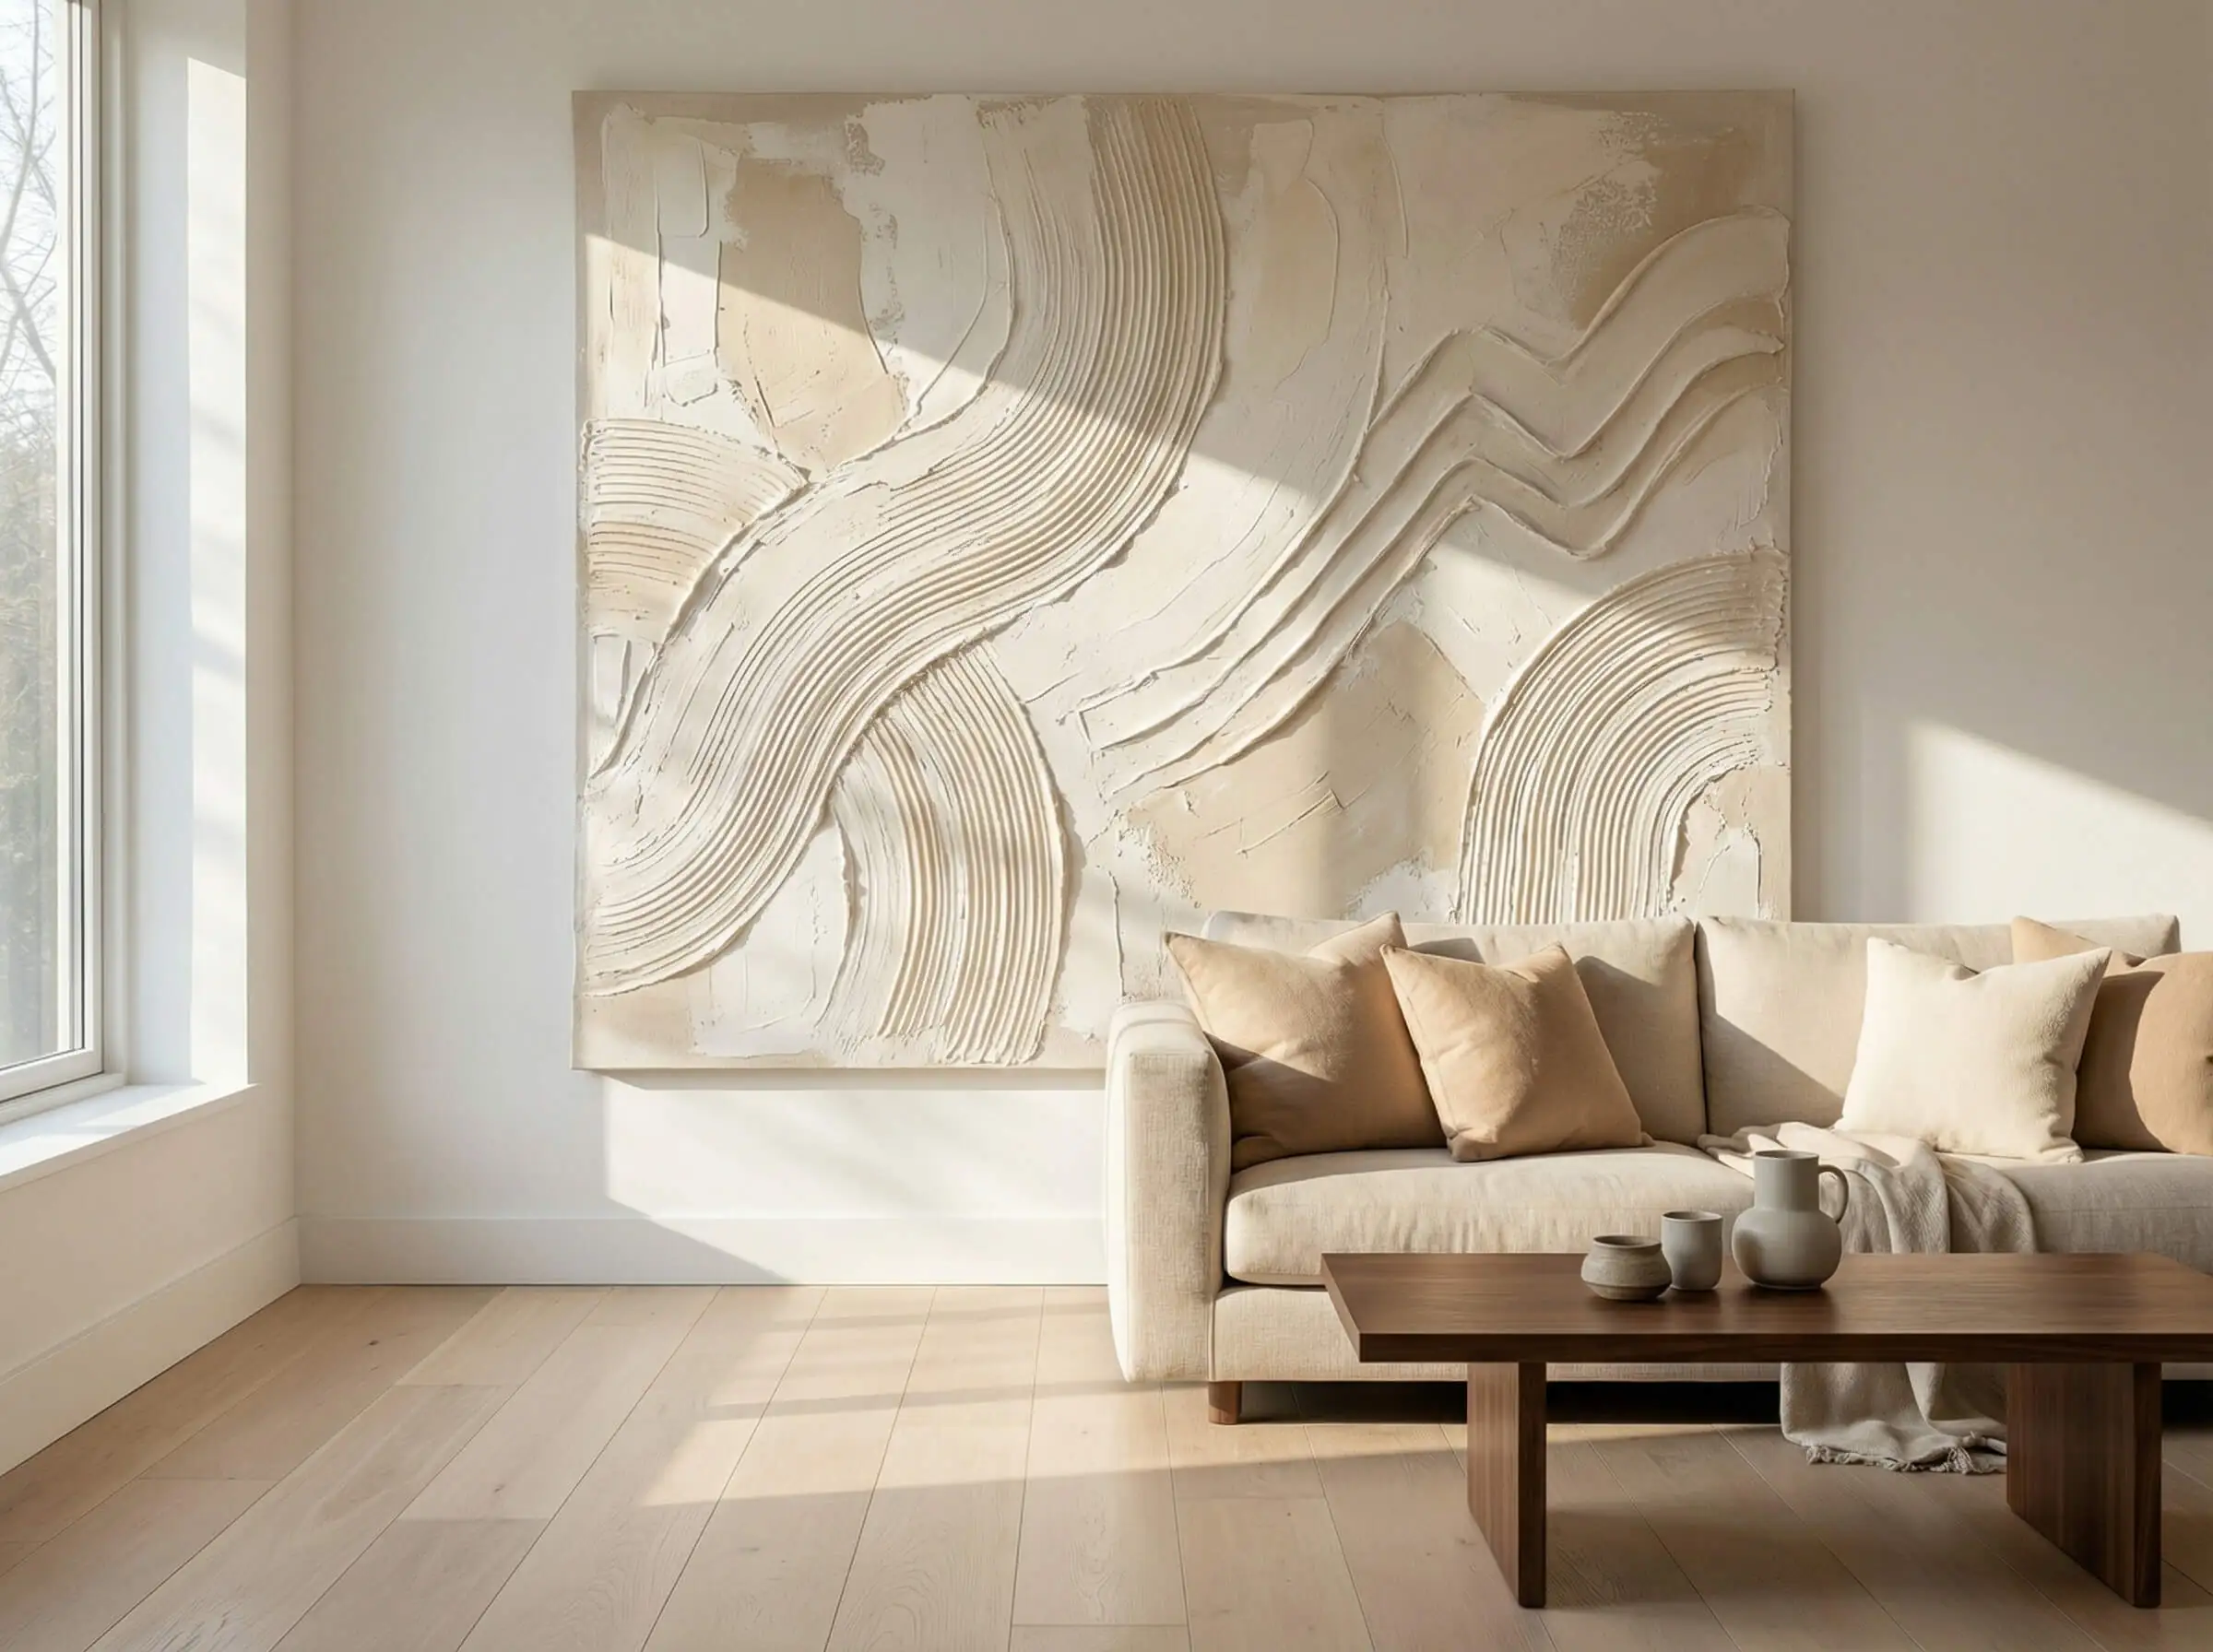
Home design in 2026 is all about texture. After years of sleek, minimalist spaces, people are craving depth and personality in their homes. It's a move away from flat surfaces and towards walls that feel as good as they look. We’re seeing a huge surge in the use of 3D wall art to achieve this.
What’s really exciting is how accessible this transformation has become. It’s no longer about expensive renovations; it’s about adding a layer of visual interest with relatively easy installation. The impact can be dramatic, and it’s something we’ve witnessed firsthand through our customers’ incredible makeovers.
We’ve gathered a few of our favorite transformations from the past year, showcasing the versatility of 3D wall panels. These aren't staged photoshoots, but real homes, real people, and real results. They demonstrate how 3D wall art can breathe new life into any space, regardless of size or style. Get ready to be inspired.
The Coastal Cottage Revival
Take, for example, Sarah Miller’s cottage in Kennebunkport, Maine. She’d inherited a charming but dated space – lots of pale blues and whites, but it felt a bit flat. Sarah wanted to enhance the existing coastal aesthetic, not overwhelm it. Her solution? Subtle, wave-patterned 3D panels from our 'Ocean Breeze' collection.
She chose a soft, off-white color that blended seamlessly with the existing palette. The panels weren’t meant to be a focal point, but rather a textural enhancement. “I wanted something that felt like the ocean was gently moving on the walls,” Sarah told us. “It adds a sense of calm and depth that wasn’t there before.”
The installation was surprisingly straightforward. Sarah's husband handled it over a weekend, utilizing our online installation guide. The panels are lightweight and easy to cut, even for DIY beginners. They chose to apply the panels to the main living room wall, behind the fireplace, creating a subtle, yet impactful statement.
The finished result is stunning. The wave pattern adds a sense of movement and depth, while the color complements the existing beachy decor. It's a perfect example of how 3D wall art can elevate a space without drastically changing its character. Sarah notes the room feels “more finished, more serene, and more like home.”
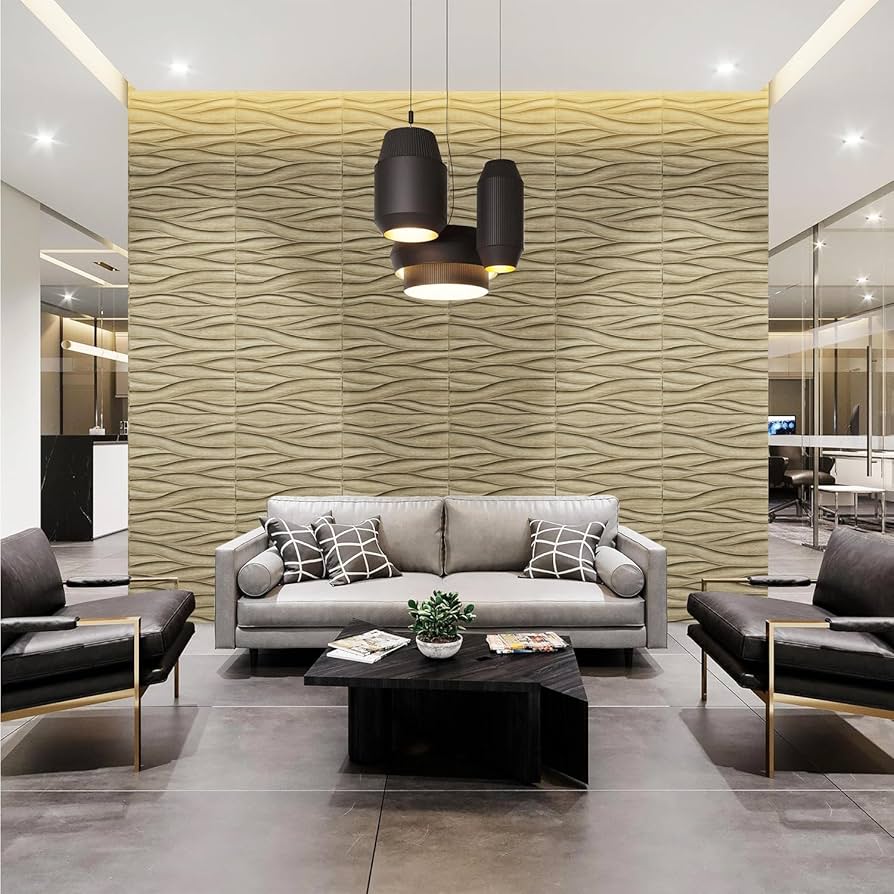
Mid-Century Modern Gets a Boost
Denver homeowner, David Chen, faced a different challenge. He’s a huge fan of mid-century modern design – clean lines, walnut furniture, and a generally minimalist aesthetic. He loved the look, but felt his living room lacked depth. He worried that adding texture would clash with the sleek style.
David ultimately opted for geometric 3D panels in a rich walnut finish. It was a bit of a risk, but he wanted to create a subtle contrast between the smooth furniture and the textured walls. He was careful to choose a pattern that echoed the geometric forms already present in the room. The 'Retro Rhythm' panels proved to be the perfect fit.
Installation required a little more precision, as David wanted the panels to align perfectly with the room’s architectural features. He watched our step-by-step guide multiple times and took his time measuring and cutting. The panels are designed to be easily cut with a utility knife, which made the process manageable.
The result is a beautifully balanced space. The 3D panels add depth and visual interest without overwhelming the mid-century modern aesthetic. “I was worried it would look too busy,” David admits, “but it actually enhances the existing furniture and creates a really cozy, inviting atmosphere.” It’s a testament to the fact that texture and modern design can coexist beautifully.
- Measure carefully, especially with geometric patterns.
- Use a level to ensure panels are straight.
- Consider LED strip lighting behind panels for added depth.
Unexpected Impact: A Home Office Glow-Up
Sometimes, the most dramatic transformations happen in unexpected spaces. Austin-based graphic designer, Maria Rodriguez, was struggling with a dull and uninspiring home office. She needed a workspace that would spark creativity and boost productivity. She decided to go bold with abstract 3D panels.
Maria chose a dynamic, swirling pattern from our 'Abstract Expression' collection. The panels aren't subtle – they're designed to make a statement. But she felt that was exactly what her office needed. She wanted a space that would energize her and break up the monotony of working from home.
Beyond the aesthetic benefits, Maria also noticed a significant improvement in the office's acoustics. The textured panels help absorb sound, reducing echo and creating a more focused work environment. This was an added bonus she hadn't anticipated. She says it’s incredibly helpful during client calls.
The before-and-after photos are remarkable. The office went from feeling like a bland afterthought to a vibrant and inspiring workspace. Maria reports a noticeable increase in her productivity and creativity. 'It’s amazing how much a change in texture can impact your mindset,' she says.
Small Space Solutions: Apartment Living
Living in a small apartment in New York City presents unique design challenges. Space is at a premium, and it’s important to maximize every square inch. Our customer, Ben Carter, faced this challenge head-on when he wanted to revamp his studio apartment.
Ben chose lightweight, light-colored 3D panels to visually expand the space. He strategically placed them on the largest wall, creating a focal point that drew the eye upwards. He selected panels with a subtle, repeating pattern, avoiding anything too busy that might make the room feel claustrophobic.
The key was to use texture to create a sense of depth. Lighter colors reflect light, making the room feel more open and airy. Ben also used the panels to define different zones within the studio, subtly separating the living area from the sleeping area.
Ben’s apartment is a prime example of how 3D art can overcome the limitations of small spaces. It’s a reminder that you don’t need a lot of square footage to create a stylish and comfortable home. He says the panels added “a whole new dimension, literally” to his apartment.
3D Wall Panel Design Tips
- Light & Bright - Opt for white or light-colored 3D wall panels, like Whole3D’s Arctic White designs, to visually expand a small room and maximize light reflection.
- Vertical Emphasis - Utilize panels with vertical patterns, such as the Whole3D’s ‘Wave’ design, to draw the eye upward and create the illusion of higher ceilings.
- Strategic Accent Walls - Focus application on a single wall – an accent wall – rather than covering all surfaces. This prevents the space from feeling overwhelmed, as demonstrated with Whole3D’s ‘Geometric’ panels.
- Simple Designs - Choose 3D wall panels with relatively simple, repeating patterns. Avoid overly complex or large-scale designs, which can make a small space feel cluttered. The Whole3D ‘Linear’ panel is a good example.
- Minimalist Furnishings - Pair 3D textured walls with minimalist furniture and décor. This creates balance and prevents the room from feeling too busy. Consider furniture styles available at West Elm.
- Consistent Color Palette - Maintain a consistent color scheme throughout the room, tying the 3D wall panels into the overall design. Benjamin Moore’s ‘Simply White’ is a versatile choice.
- Avoid Dark Colors - Dark-colored 3D wall panels, while visually striking, can make a small room feel smaller and more enclosed. Consider lighter shades or neutral tones instead.
Beyond the Living Room: Unexpected Spaces
The beauty of 3D wall art is its versatility. It’s not just for living rooms and bedrooms. We’ve seen customers use it in some truly creative ways.
One customer, Lisa Thompson, used dark grey 3D panels to create a dramatic accent wall in her dining room, instantly elevating the space for entertaining. Another used panels as a unique headboard feature in her master bedroom, adding a touch of luxury and texture.
We even had a customer, Mark Evans, transform a narrow hallway with textured panels, making it feel wider and more inviting. These smaller projects demonstrate that even a little bit of 3D art can make a big impact. It’s about adding personality and creating a space that reflects your individual style.
Material Matters: Choosing the Right Panels
When it comes to 3D wall panels, material choice is important. We offer a range of options, each with its own unique properties. PVC is a popular choice for its affordability and ease of installation. It’s also water-resistant, making it suitable for bathrooms and kitchens.
Wood fiber panels offer a more natural look and feel. They're a good option if you want to create a warm and inviting atmosphere. However, they're generally more expensive than PVC and may require more careful maintenance.
Plant fiber panels are an eco-friendly option, made from sustainable materials. They're lightweight and easy to install, but may not be as durable as other materials. Whole 3D is committed to offering sustainable options whenever possible.
Ultimately, the best material for you will depend on your budget, your aesthetic preferences, and the specific application. Consider the level of foot traffic, potential moisture exposure, and desired level of durability when making your decision.
- PVC: Affordable, water-resistant, easy to install.
- Wood Fiber: Natural look, warm atmosphere, more expensive.
- Plant Fiber: Eco-friendly, lightweight, less durable.
3D Wall Panel Material Comparison
| Durability | Cost | Environmental Impact | Ease of Installation | Best Use Cases |
|---|---|---|---|---|
| High | Medium | Medium | Medium | Living rooms, feature walls, areas needing frequent cleaning |
| Medium | Lower | Better for sustainability | High | Bedrooms, home offices, spaces prioritizing eco-friendliness |
| Medium | Higher | Moderate | Medium | Accent walls, creative projects, spaces needing a natural aesthetic |
| Low | Lowest | Low | High | Temporary installations, rental properties, event decor |
| High | Higher | Moderate | Medium | High-traffic areas, commercial spaces, areas needing robust protection |
| Medium | Medium | Better for reducing waste | Medium | Spaces needing texture with a focus on responsible sourcing |
Qualitative comparison based on the article research brief. Confirm current product details in the official docs before making implementation choices.
Keeping it Fresh: Maintenance & Care
Maintaining your 3D wall panels is surprisingly easy. Regular dusting with a soft cloth is usually all that’s needed to keep them looking their best. For more stubborn dirt or stains, you can use a mild detergent diluted in water.
Avoid using abrasive cleaners or harsh chemicals, as these can damage the panels. Always test any cleaning solution in an inconspicuous area first. You can find a comprehensive maintenance guide on our website with detailed instructions and recommendations.
With proper care, your 3D wall panels will continue to look beautiful for years to come. They’re a durable and long-lasting investment that will add value and personality to your home. Visit for detailed instructions.
No comments yet. Be the first to share your thoughts!