
Choose the right 3D wall panels
Selecting the correct material is the foundation of a successful installation. The three most common options—PVC, polyurethane (PU), and wood—each offer distinct advantages depending on your wall condition, budget, and desired aesthetic. Matching the panel type to the room’s environment ensures longevity and prevents installation headaches.
Material Comparison
The table below breaks down the core differences to help you decide which 3D wall panels fit your specific project.
| Material | Durability | Weight | Best Use |
|---|---|---|---|
| PVC | High moisture resistant | Light | Bathrooms, kitchens, rentals |
| PU (Polyurethane) | High impact resistant | Very light | Accent walls, ceilings |
| Wood/MDF | Moderate (needs sealing) | Heavy | Living rooms, dry areas |
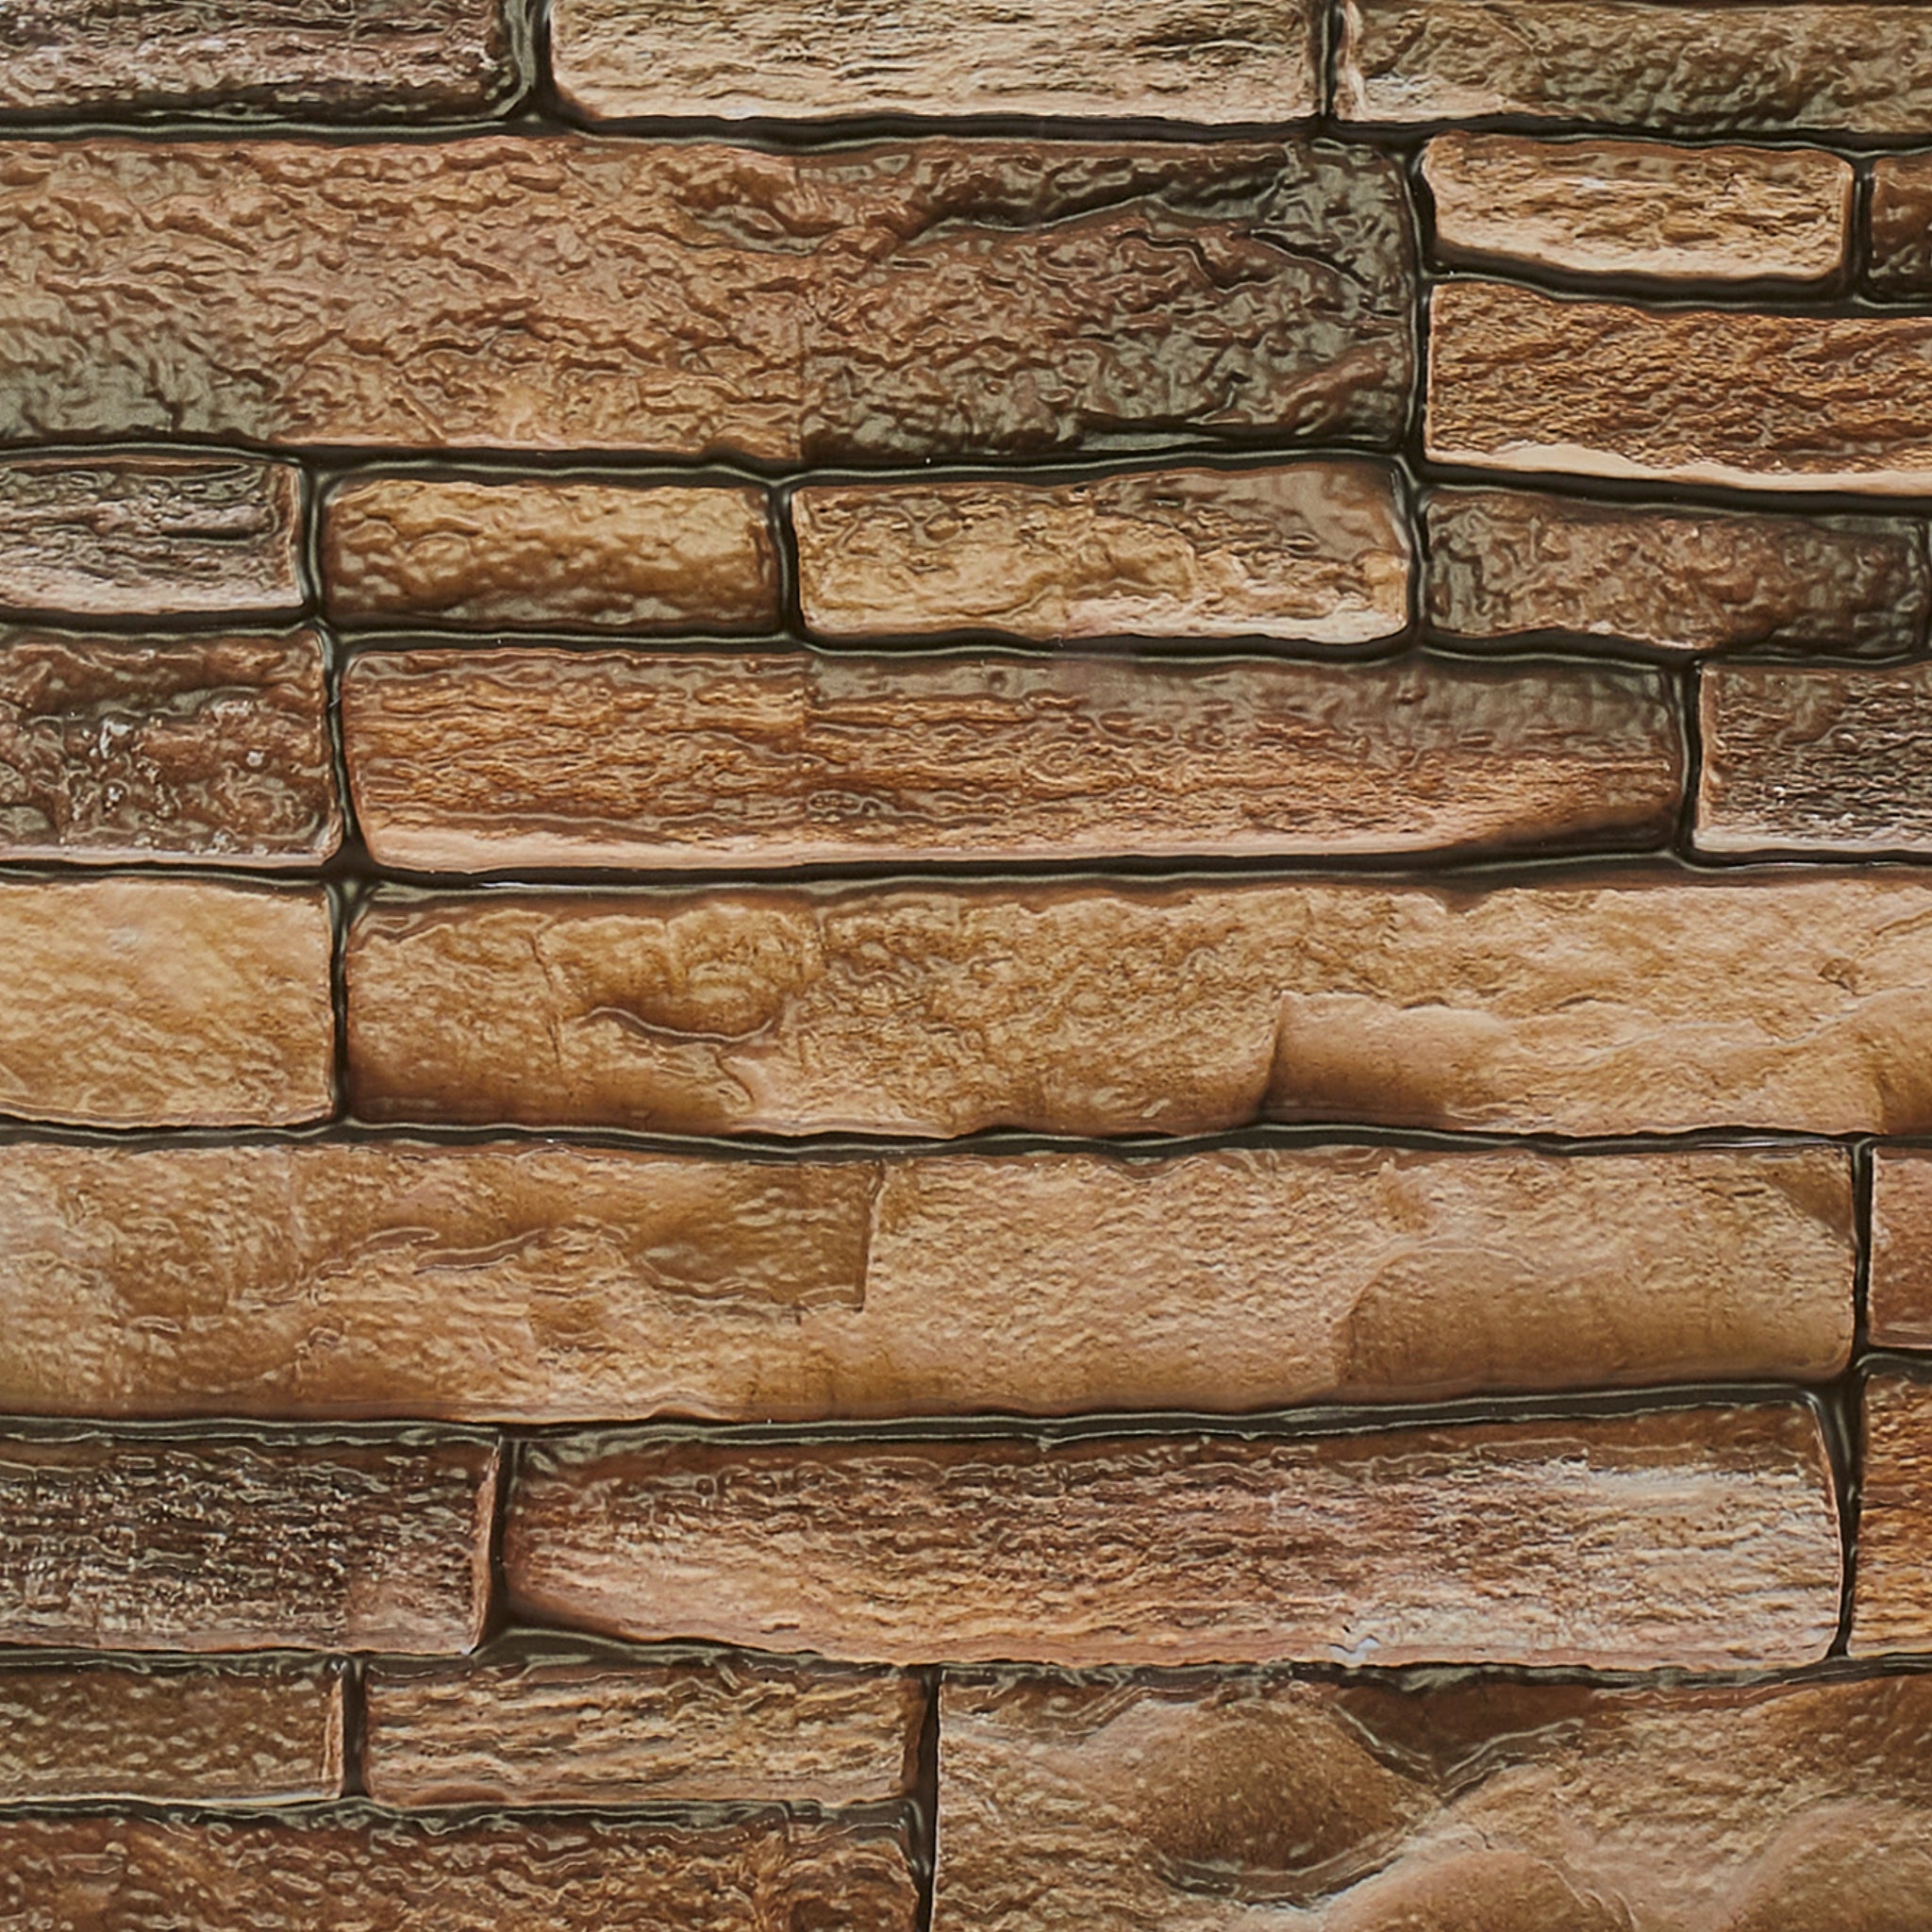
PVC Panels
PVC (polyvinyl chloride) panels are thermoformed plastic sheets that are lightweight and water-resistant. They are the most practical choice for high-humidity areas like bathrooms and kitchens because they will not warp or mold. PVC panels often come with adhesive backing or interlocking edges, making them ideal for DIYers or rental properties where you want a quick, damage-free upgrade.
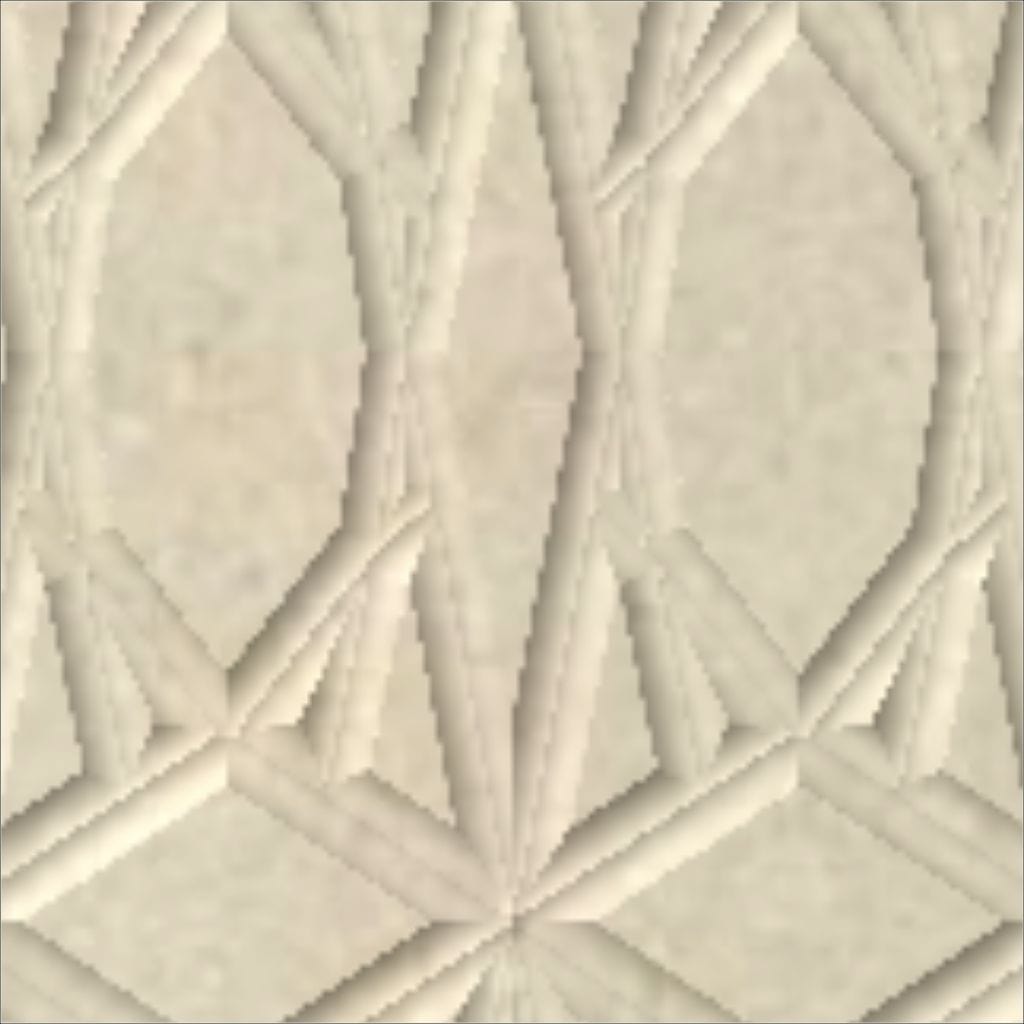
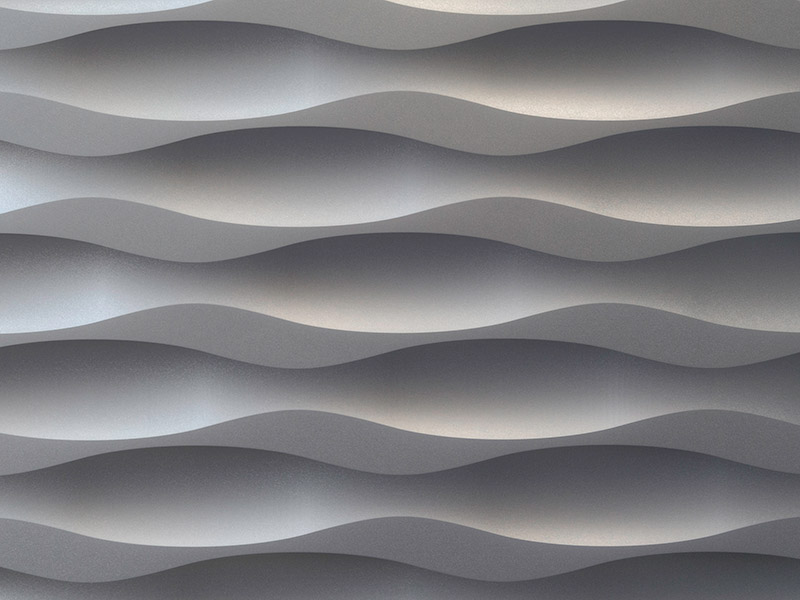
PU (Polyurethane) Panels
PU panels are made from lightweight foam-like polymers that mimic the look of stone, wood, or intricate geometric designs. They are exceptionally light, which means they can often be adhered directly to existing drywall without heavy-duty construction adhesive. PU is excellent for creating dramatic accent walls or covering ceilings, as it adds texture without stressing the wall structure.
Wood and MDF Panels
Real wood and Medium Density Fiberboard (MDF) panels offer a premium, natural look with authentic grain and warmth. However, they are significantly heavier than synthetic alternatives and require sturdy wall anchors or strong construction adhesive. Wood panels are best suited for dry, low-traffic areas like living rooms or bedrooms. They also require sealing or painting to protect against scratches and moisture.
Amazon Product Grid


As an Amazon Associate, we may earn from qualifying purchases.
Prepare the wall surface properly
Skipping surface prep is the fastest way to ruin a 3D wall panels installation. Even the strongest adhesive will fail if the wall is dusty, uneven, or glossy. The panels are rigid; they cannot bridge gaps or hide imperfections. If the base wall is flawed, the finished wall will look flawed. Your goal is a clean, smooth, and dry surface that allows the panels to sit flush against the plaster or drywall.
Remove existing wall treatments
Peel off any old wallpaper, stickers, or loose paint. If you have textured walls, consider sanding them down to a smoother finish. Textured surfaces create air pockets between the panel and the wall, leading to weak adhesion and potential peeling over time. For painted walls, ensure the paint is fully cured and not flaking. A smooth base ensures the 3D wall panels adhere evenly without visible bumps.
Clean and degrease the surface
Dust and grease are adhesive killers. Wipe the entire wall with a damp cloth to remove loose dust, then follow up with a mild detergent solution to cut through any kitchen grease or bathroom soap residue. Rinse with clean water and let the wall dry completely. Moisture trapped behind the panels can cause mold or weaken the bond. A perfectly clean wall is the foundation of a long-lasting installation.
Repair and level imperfections
Fill any holes, cracks, or dents with spackle or joint compound. Once dry, sand the patches smooth so they blend seamlessly with the surrounding wall. Check for high spots or uneven areas with a straight edge. If the wall is significantly uneven, you may need to skim coat the entire surface. The flatter the wall, the easier it is to align your 3D wall panels and achieve a professional, seamless look.
Peel off wallpaper or stickers. Sand down heavy textures to create a flat base for the new panels.
Wash with mild detergent to remove dust and grease. Rinse and let dry completely.
Fill holes and sand patches smooth. Ensure the surface is level and free of bumps.
Measure and plan your layout
Start by measuring the wall’s height and width to determine how many 3D wall panels you will need. Most panels cover a specific square footage, so divide your total wall area by the panel coverage to get a baseline quantity. Add 10-15% extra material to account for trimming around outlets, corners, or edges. This buffer prevents mid-project shortages and ensures you have enough pieces for intentional asymmetrical cuts.
Identify the center of your wall by snapping a chalk line vertically down the middle. This center line is your anchor for symmetrical placement, ensuring that full panels frame the focal point rather than awkward slivers of cut material appearing at the edges. If you prefer an asymmetrical look, shift the center line slightly to align with a specific architectural feature, like a window or door frame, but keep the math precise.
Dry-fit the first few panels along your guidelines before applying any adhesive. This step reveals potential issues with pattern alignment or panel thickness that might not be obvious on paper. Adjust your starting point if necessary to ensure the visual rhythm flows naturally across the surface.
Install 3D wall panels step by step
With the wall prepped and panels measured, the installation phase begins. The process differs slightly depending on whether you are using peel-and-stick foam panels or heavier adhesive-backed options like PVC or gypsum. Both methods rely on precision during the first few rows to ensure the entire wall remains level.
1. Prepare your tools and materials
Before touching the wall, gather your essential tools: a level, tape measure, utility knife or saw (for cutting), a roller (for adhesive panels), and a clean cloth. If using peel-and-stick panels, ensure the backing paper is ready to peel. For adhesive-backed panels, have your construction adhesive or mounting tape ready. Having everything within arm's reach prevents interruptions that could compromise the bond.
2. Mark your starting guidelines
Accuracy starts with a straight line. Use a laser level or a standard spirit level to draw a faint horizontal reference line on the wall. This line should be slightly above the height of your first panel to allow for adjustments. If you are starting from a corner, measure inward to ensure the panel doesn't end in an awkward, narrow strip at the opposite wall. A straight starting line ensures the 3D wall panels stay aligned as you work upward.
3. Apply the first row
For peel-and-stick panels, peel back a few inches of the backing and align the panel with your guideline. Press firmly against the wall, then slowly peel off the rest of the backing while smoothing the panel with your hand or a roller to remove air bubbles. For adhesive-backed panels, apply the recommended adhesive to the back of the panel according to the manufacturer’s instructions. Press the panel firmly into place, using a level to check alignment immediately. The first row sets the tone for the entire installation, so take your time here.
Use your level to ensure the first panel is perfectly horizontal. Press firmly to secure the bond. This row dictates the alignment for all subsequent panels.
Measure the remaining space at the end of the row. Mark your cut line on the panel, then use a utility knife or saw to trim it to size. Fit the cut piece snugly against the edge.
Work upward, interlocking panels if they have a tongue-and-groove design. For flat-back panels, ensure each piece is tightly butted against the previous one. Check for level frequently.
Once a panel is in place, run a roller over it to ensure full contact with the wall. This is especially critical for adhesive-backed panels to prevent future peeling or gaps.
4. Handle corners and outlets
Cutting around electrical outlets and corners requires a bit of care. For outlets, turn off the power, remove the cover plate, and measure the opening. Mark the panel, cut a hole slightly smaller than the opening, and trim the excess. For corners, you can either wrap the panel around the corner (if the material allows) or cut a piece to fit the adjacent wall, leaving a small gap that can be filled with caulk later.
5. Final inspection and cleanup
Once all panels are installed, go over the entire wall with a level one last time. Check for any loose edges or visible gaps. If you used adhesive, wipe away any excess that squeezed out. For peel-and-stick panels, ensure all edges are firmly pressed down. Remove any pencil marks with a soft eraser if necessary.
6. Allow curing time
If you used construction adhesive, allow the recommended curing time before hanging any items on the wall or applying heavy pressure. This ensures the 3D wall panels are fully bonded and will remain secure for years to come.
Fix common installation mistakes
Even with careful planning, 3D wall panels can present unexpected challenges during installation. Misaligned patterns, air bubbles, and uneven cuts are frequent issues, but each has a straightforward fix that saves time and materials. Addressing these problems immediately prevents larger headaches later.
Correct misaligned patterns
When panels don’t line up perfectly, it often stems from an uneven starting line or shifting during adhesive application. To fix this, gently peel the misaligned panel back. Reapply adhesive to the back, ensuring full coverage, and reposition it carefully. Use a level to check alignment before pressing firmly. For a quick tip on adjusting alignment without damaging the adhesive, refer to the advice below.
Remove air bubbles
Air bubbles trapped under 3D wall panels create visible bumps and weaken the bond. To remove them, use a pin or needle to poke small holes in the center of the bubble. Then, press the panel firmly from the center outward to push the air out. Wipe away any excess adhesive that squeezes out with a damp cloth. For deeper bubbles, gently lift the panel, apply more adhesive, and press down again.
Trim uneven cuts
Uneven cuts along edges or around outlets can ruin the clean look of your 3D wall panels. To fix this, measure the gap carefully and mark the panel with a pencil. Use a utility knife to score the material along the marked line, then snap it cleanly. For thicker panels, use a fine-tooth saw for precision. Always cut slightly larger than needed, then trim incrementally for a perfect fit.
Gently peel the misaligned panel back. Reapply adhesive to the back, ensuring full coverage, and reposition it carefully. Use a level to check alignment before pressing firmly.
Poke small holes in the center of the bubble with a pin. Press the panel firmly from the center outward to push the air out. Wipe away excess adhesive with a damp cloth.
Measure the gap and mark the panel with a pencil. Use a utility knife to score the material, then snap it cleanly. For thicker panels, use a fine-tooth saw for precision.
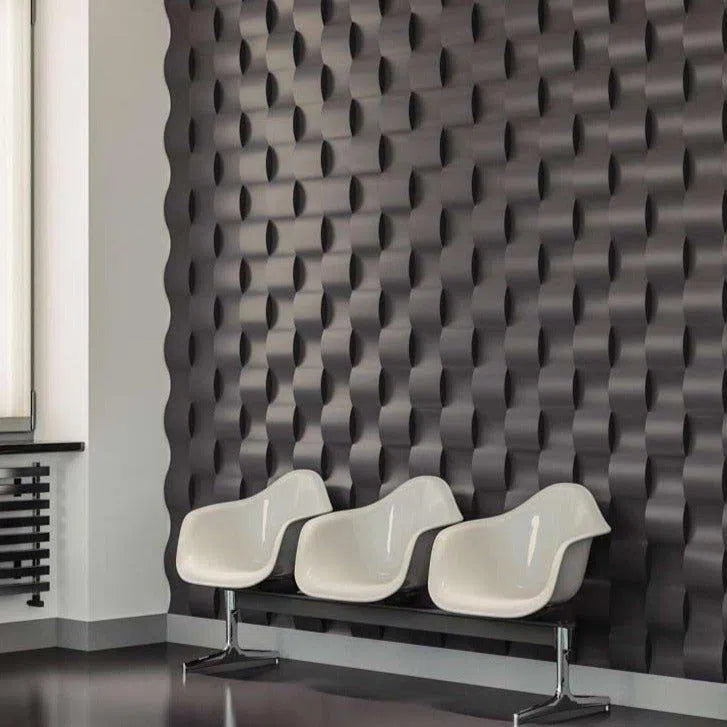
Style and maintain your 3D wall panels
Once your installation is complete, the focus shifts to styling and upkeep. 3D wall panels act as a permanent architectural feature, so they should anchor the room’s aesthetic rather than compete with it. Keep surrounding decor minimal—neutral furniture, simple lighting, and uncluttered surfaces allow the panel’s texture and depth to take center stage.
Maintenance for 3D wall panels is straightforward but requires gentle handling to preserve the relief patterns. Use a soft microfiber cloth or a vacuum with a brush attachment to remove dust from the crevices weekly. For deeper cleaning, a damp cloth with mild soap works well, but avoid abrasive scrubbers or harsh chemicals that could damage the finish.
Maintenance checklist
- Dust weekly with a microfiber cloth or soft brush attachment.
- Wipe stains with a damp cloth and mild detergent.
- Inspect edges annually for loose panels or adhesive failure.
- Avoid high-pressure water or steam cleaning.
Frequently asked questions about 3D wall panels
Here are the most common questions homeowners ask before starting their installation.
Can 3D wall panels be removed without damaging the wall?
Yes, most 3D wall panels are designed for easy removal. If you use adhesive strips or removable glues, they typically peel off cleanly. However, if you use strong construction adhesives, removal may require scraping and could leave minor surface marks. Always check the manufacturer’s instructions for the recommended removal method.
Are 3D wall panels suitable for bathrooms?
It depends on the material. PVC-based 3D wall panels are waterproof and an excellent choice for bathrooms. They resist moisture and mold, making them ideal for high-humidity areas. Wood or fabric panels, on the other hand, are not water-resistant and should be avoided in bathrooms unless properly sealed.
How much weight can 3D wall panels hold?
Standard 3D wall panels are lightweight and not designed to hold heavy items like televisions or large mirrors. They can support very light decor, such as small picture frames or lightweight shelves, if anchored directly into wall studs. For heavier items, use traditional mounting methods rather than relying on the panel itself.
Do 3D wall panels hide wall imperfections?
Yes, one of the main benefits of 3D wall panels is their ability to cover minor wall flaws. The textured surface and thickness can hide small cracks, dents, or uneven plaster. For significant structural damage, it is best to repair the wall before installation to ensure a smooth final look.
No comments yet. Be the first to share your thoughts!