
Understanding the Basics of 3D Wallpaper
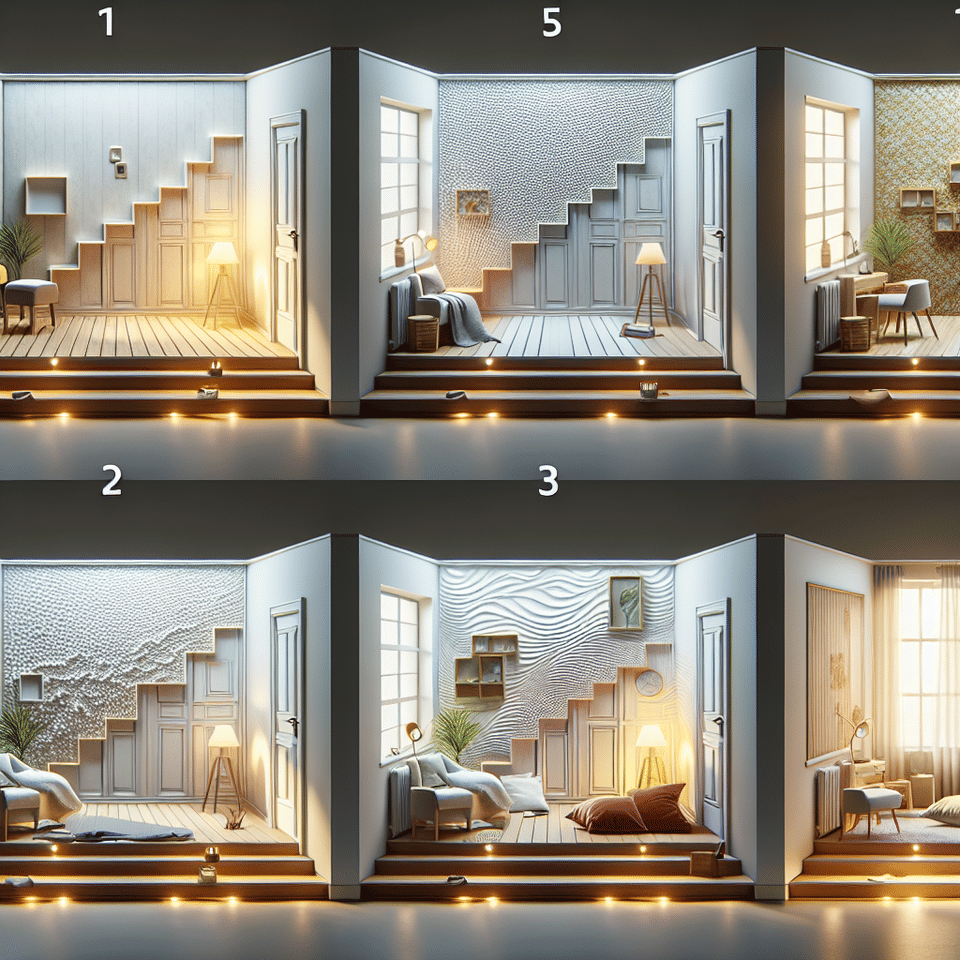
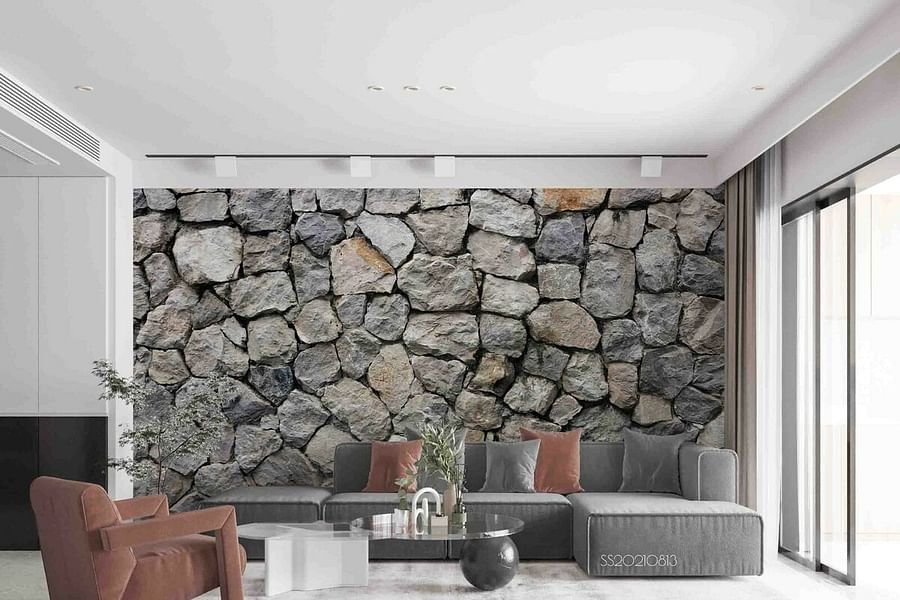
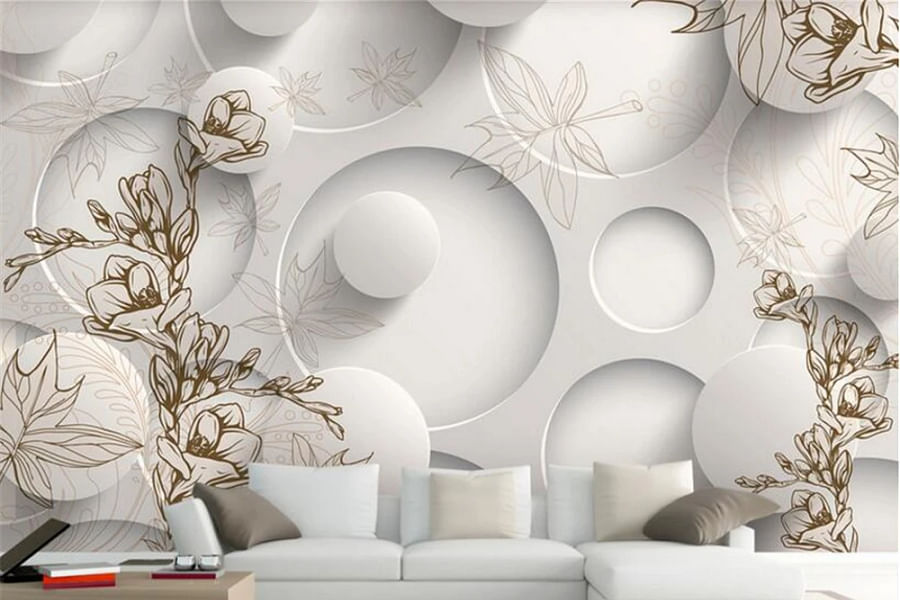
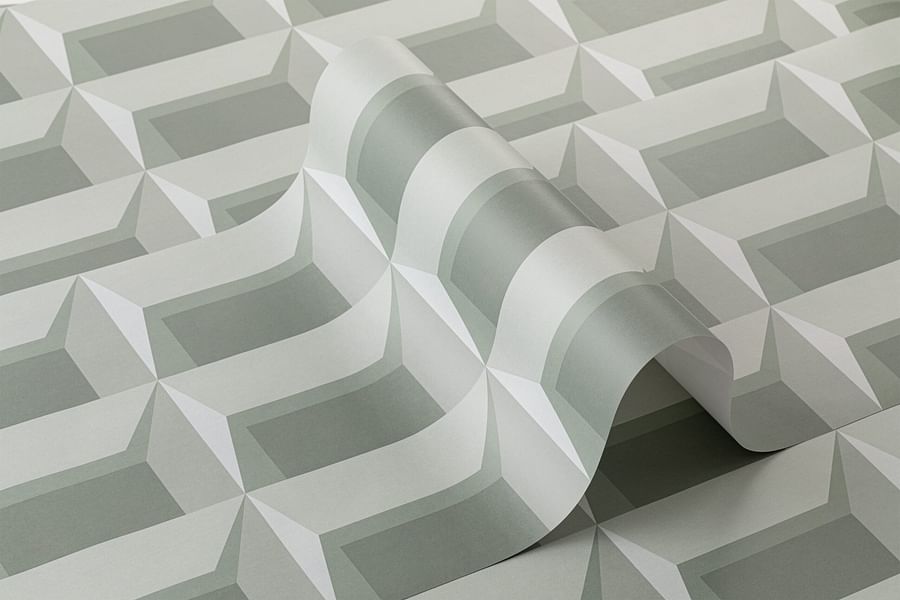
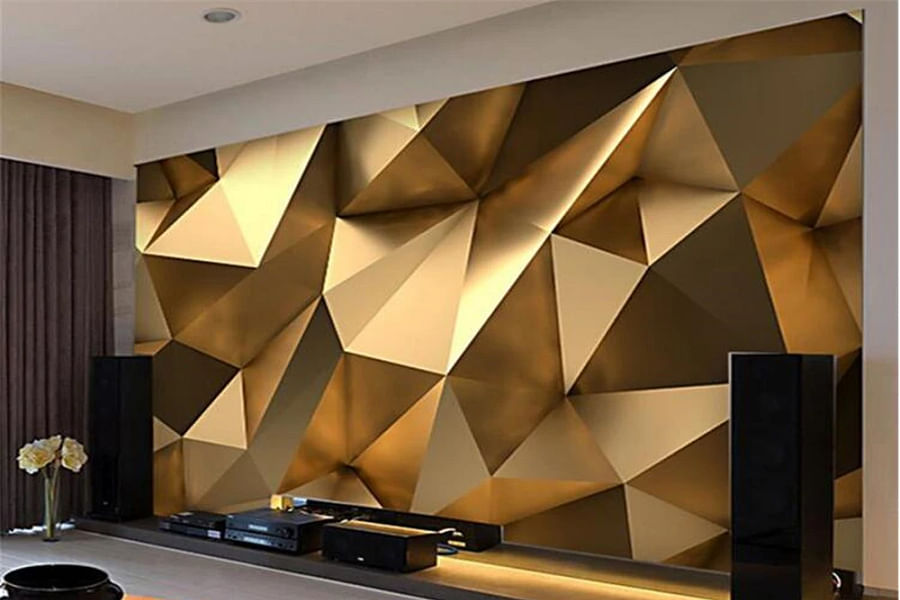
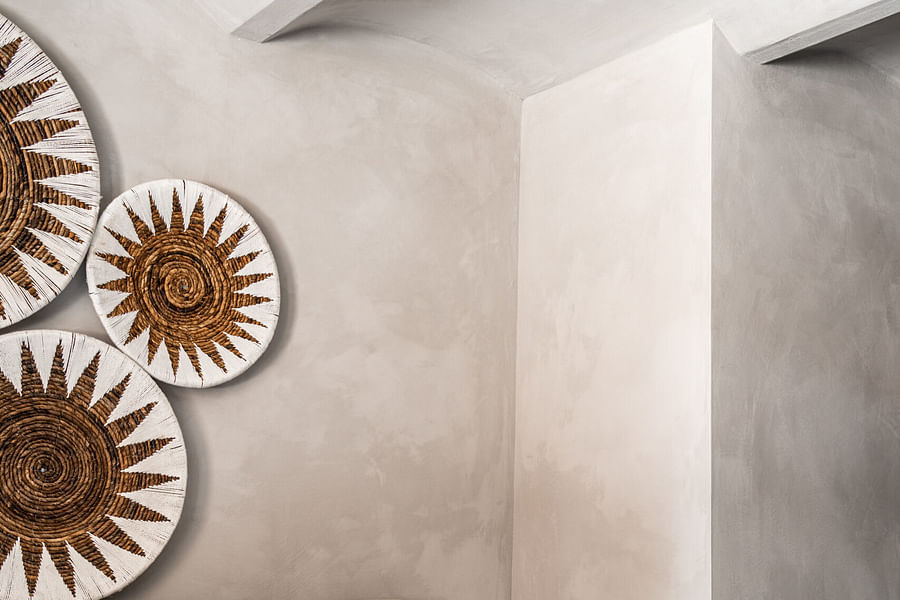
Before embarking on your journey of wall transformation, it's crucial to grasp the essentials of 3D wallpaper. Unlike traditional wallpaper, 3D options provide a tactile experience that can mimic materials like stone, wood, or geometric patterns that pop out from the wall. It's a bold statement that demands attention and careful planning to ensure continuity across your space.Selecting the Right 3D Wallpaper for Seamless Transitions
The key to creating a seamless transition lies in selecting the right 3D wallpaper. Consider factors such as the size of the panels, pattern repetition, and color consistency. Larger panels can offer a more uninterrupted look, while smaller ones may require more meticulous alignment. Moreover, choosing a design that naturally flows from one panel to another without obvious breaks will enhance the seamless effect you're aiming for.Wallpaper Selection Tips
- Design Continuity - Choose patterns that flow naturally to create an uninterrupted visual line.
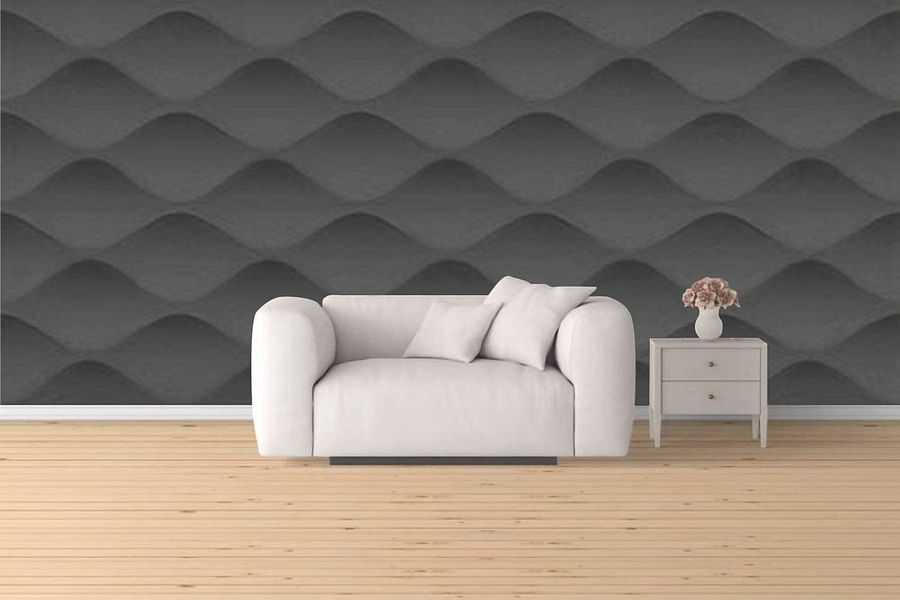
- Texture and Depth - Opt for wallpapers with realistic textures to enhance the 3D effect.
- Color Matching - Ensure the wallpaper's color palette complements the existing room decor.
- Wall Dimensions - Measure your walls precisely to avoid mismatches and gaps.

- Quality of Material - Select durable materials that can withstand wear and tear over time.
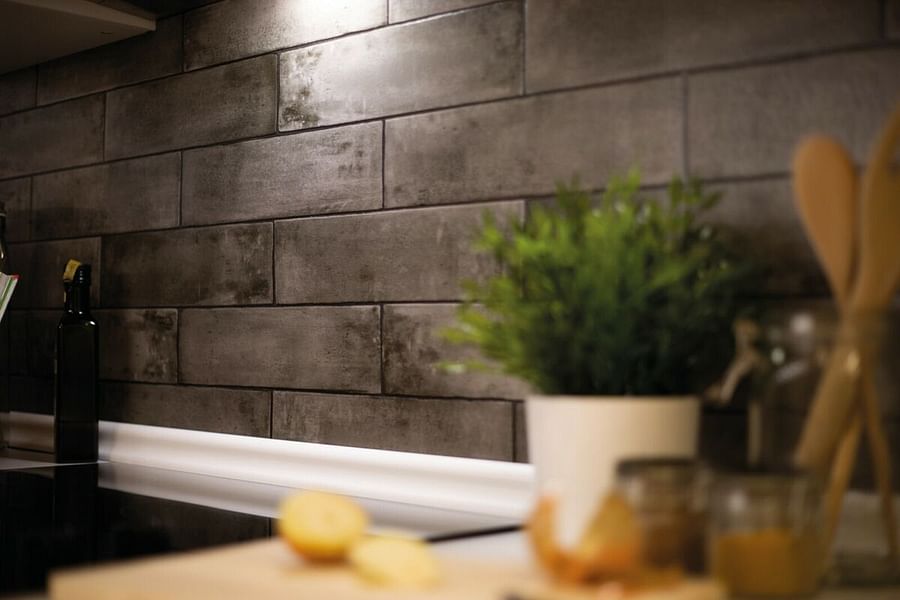
- Lighting Effects - Consider how different lighting conditions will interact with the wallpaper.
- Installation Ease - Look for wallpapers that are easy to install and align for a seamless look.

- Maintenance Requirements - Choose wallpapers that are easy to clean and maintain.
- Room Purpose - Think about the function of the room to ensure the wallpaper enhances the space appropriately.
- Pattern Repeat - Pay attention to the repeat pattern size to ensure patterns align correctly from panel to panel.
- Customization Options - Consider custom-printed wallpapers for unique spaces or creative designs.
- Eco-Friendly Materials - If sustainability is a concern, look for eco-friendly wallpaper options.
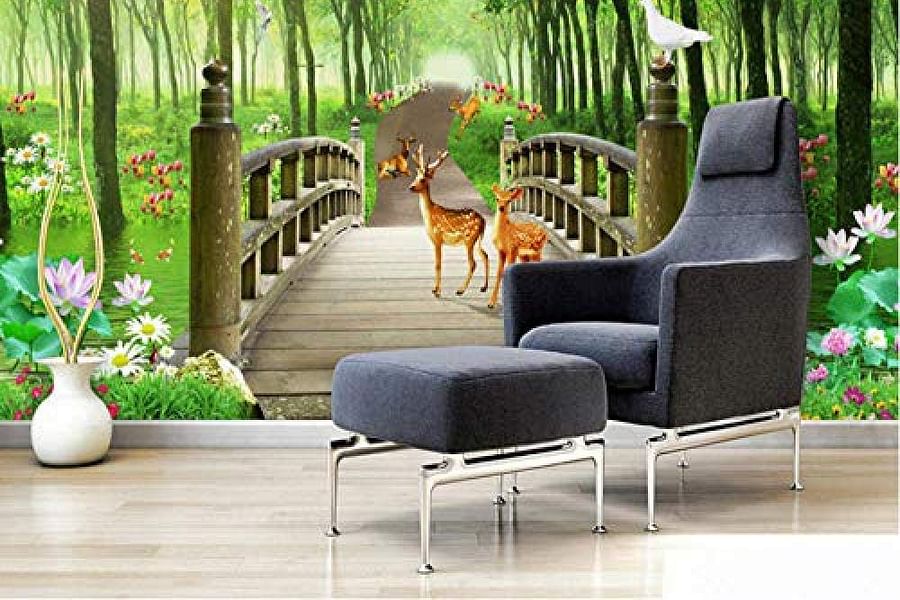
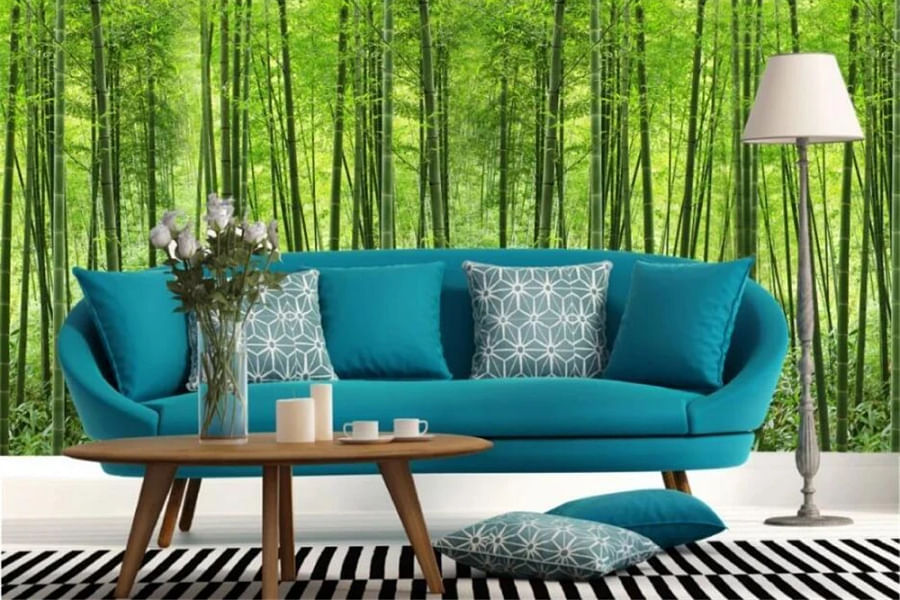
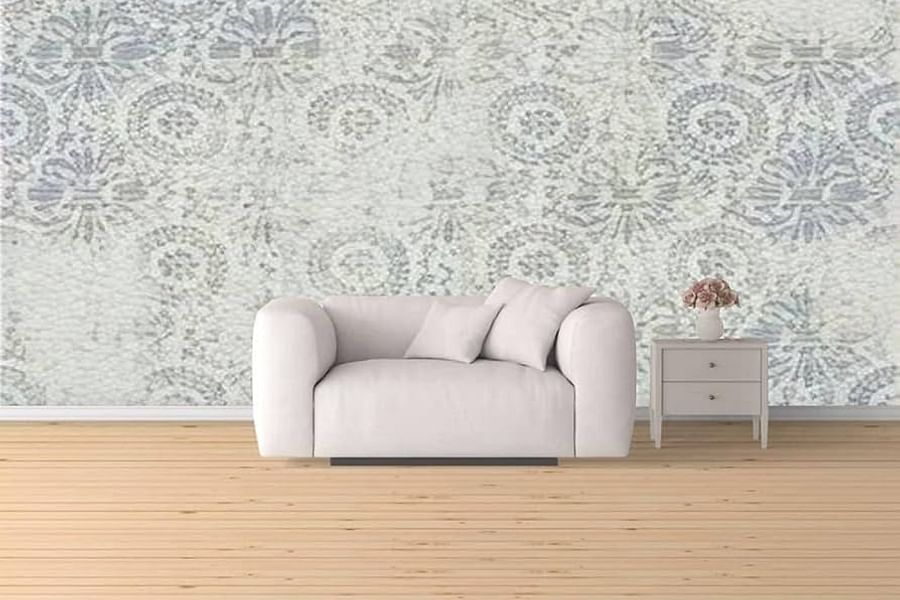
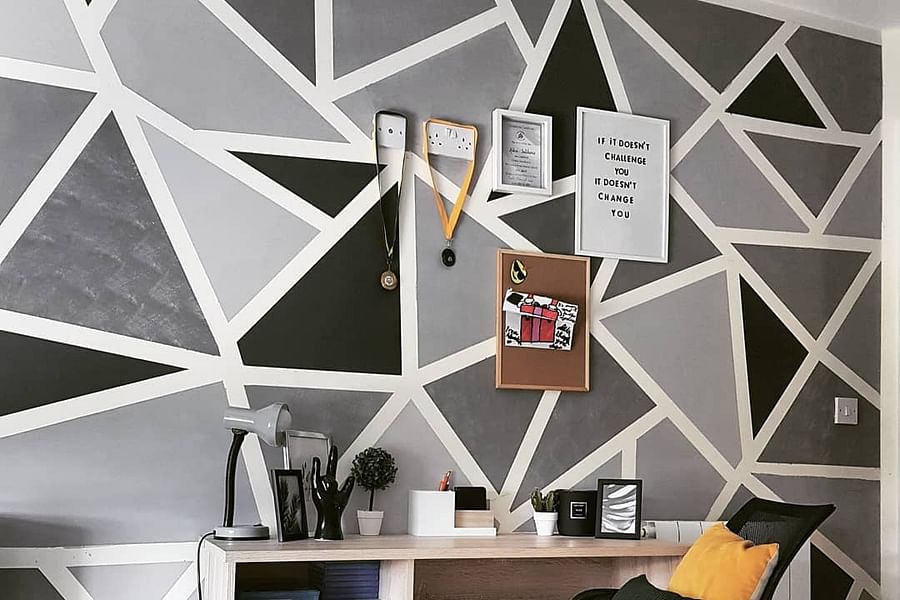
It's also important to think about the room's purpose and atmosphere you wish to create. For instance, incorporating nature-inspired textures into your bedroom atmosphere can evoke tranquility, while dynamic geometric patterns might energize a home office space.
Prepping Your Walls for Installation
A successful installation begins with proper wall preparation. This means ensuring your walls are clean, smooth, and free from any imperfections that could distort the appearance of your 3D wallpaper. Any holes or bumps will be magnified once the panels are in place, so take the time for thorough prep work.Preparing Your Walls for 3D Wallpaper Installation


For detailed instructions on installation techniques, refer to our comprehensive step-by-step guide. It covers everything from surface prep to panel alignment.
Installation Techniques for Flawless Results
When it comes time to install your chosen 3D wallpaper, precision is paramount. Start by mapping out where each panel will go and consider using laser levels or plumb lines for accurate placement. The goal is not only aesthetic appeal but also ensuring that each piece fits perfectly without gaps or overlaps.The process might seem daunting at first glance; however, with patience and proper guidance found in our installation guides, even DIY novices can achieve professional-looking results.
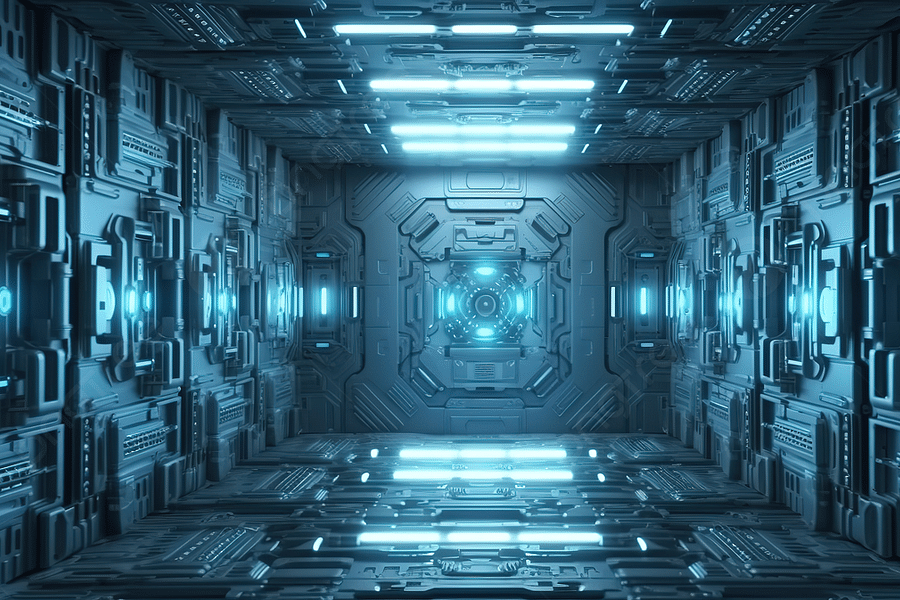
Remember: The beauty of these panels lies in their ability to create an immersive environment that feels both futuristic and inviting—a true testament to modern interior design innovation. As we continue exploring how to achieve seamless transitions with 3D wallpaper in this article series, stay tuned for more expert tips on customization options and maintenance advice.Mastering the Art of Edge Matching
When it comes to creating a seamless transition between 3D wall panels, precision is key. The edges of each panel must align perfectly to ensure the pattern flows without interruption. This may require some meticulous trimming, but the effort is well worth it. For those embarking on this journey, our step-by-step guide to installing 3D wall panels is an invaluable resource that walks you through the process.
[step_by_step_guide: A visual guide showing how to match and align 3D wall panel edges seamlessly.]To further assist you, I recommend watching installation videos. Visual learning can be incredibly effective for grasping the nuances of panel alignment.
Mastering Edge Alignment in 3D Wallpaper Installation


Decorative Techniques to Enhance Continuity
Beyond just aligning panels, there are decorative tricks that can enhance the sense of continuity across your walls. For instance, painting or staining your panels before installation can help minimize visible seams. Opt for a shade that complements both your decor and the 3D texture of the panels for an added layer of sophistication. If you're looking for inspiration, our gallery at Transform Your Bedroom Atmosphere with Stylish 3D Wallpaper showcases stunning examples.
Seamless 3D Panel Finishes
- Color Washing - Create a subtle texture over 3D panels with a translucent color glaze.

- Antiquing - Apply a dark stain to accentuate the 3D patterns and then lightly sand for a vintage look.
- Stenciling - Use stencils to add intricate designs to the 3D wallpaper for a custom touch.
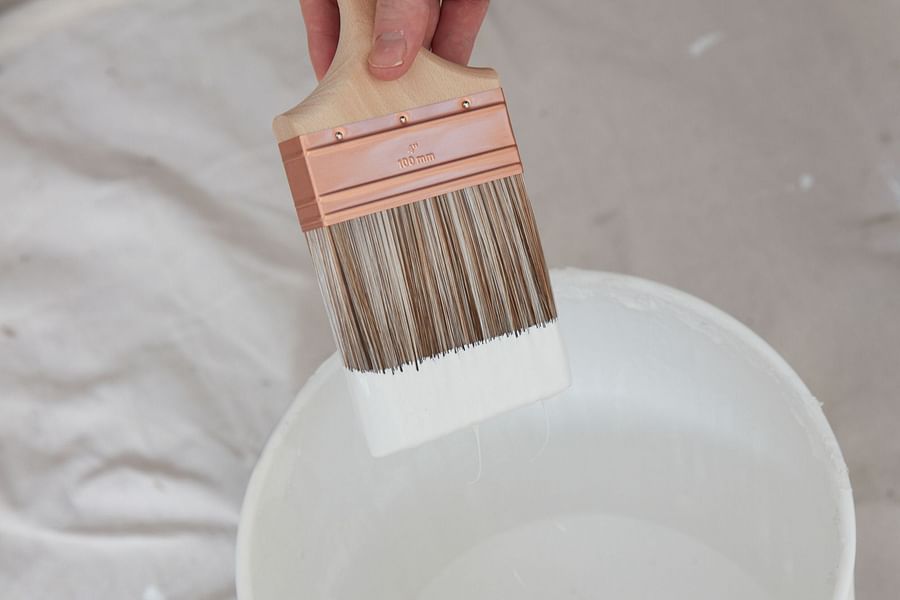
- Dry Brushing - Drag a dry brush with a light color over the panels to highlight the relief.
- Glazing - Apply a transparent glaze over a base coat to enhance the 3D effect with depth and dimension.

- Gold Leafing - Add a touch of luxury by applying gold leaf to selected areas of the 3D panels.
- Distressing - Roughen up the surface of the panels for a worn, rustic charm.
- Limewashing - Use limewash paint to create a chalky, whitewashed effect that's breathable and eco-friendly.
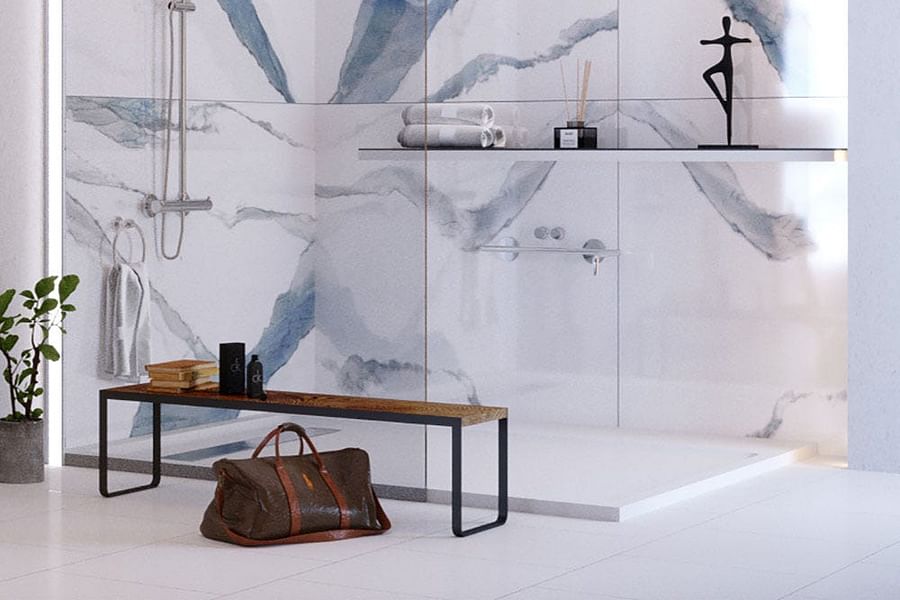
- Marbling - Mimic the look of marble on your 3D panels for an elegant and sophisticated finish.
- Ombre - Blend multiple paint colors to transition smoothly across the 3D wall surface.
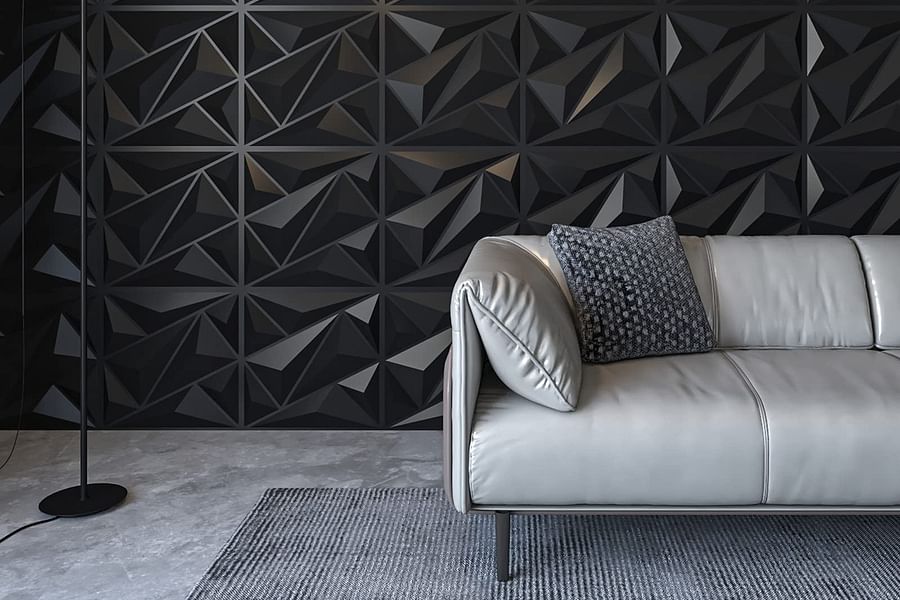
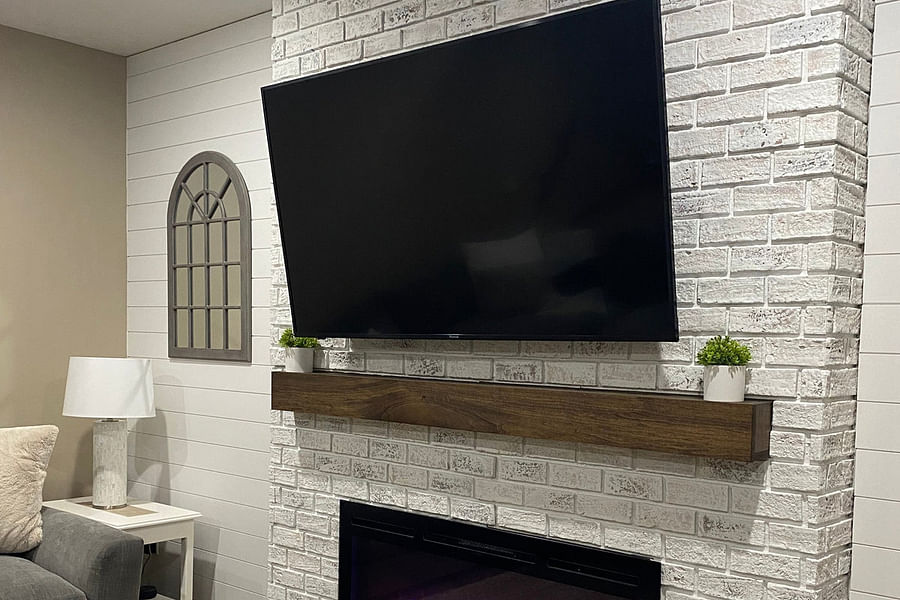
If you're considering integrating lighting elements, strategic placement can cast shadows that obscure seams and create dramatic effects that highlight the three-dimensional aspects of your walls. It's a clever way to add both functionality and artistic flair to your space.
Optimal Lighting Positions for Different 3D Wall Panel Textures
The Final Touches: Accessorizing Your Space
Your newly installed 3D walls serve as a canvas for further personalization. Accessories like mirrors or artwork can not only accentuate the depth created by the panels but also draw attention away from any areas where seams might be more noticeable. When selecting accessories, consider their size in relation to the wall; too small and they may get lost against the bold backdrop, too large and they could overwhelm it.
Accentuate Your Space: Complements for 3D Wallpaper
Incorporating plants or shelving can also break up the uniformity of the walls and introduce natural elements or display areas into your design scheme. For those who work from home, integrating these features into a home office setup can be especially transformative; check out our article on creating a unique and stylish home office with 3D wall panels.
Maintaining your new walls is straightforward but essential for longevity. Regular dusting will prevent buildup in crevices while gentle cleaning with appropriate solutions will keep them looking pristine. If ever in doubt about maintenance procedures, refer back to our comprehensive installation and maintenance guide.
If you're ready to take on this rewarding project, explore our guides further or reach out for personalized advice. Our extensive selection at Whole 3D is tailored for those who dare to redefine their environment with depth, elegance, and creativity.


No comments yet. Be the first to share your thoughts!