
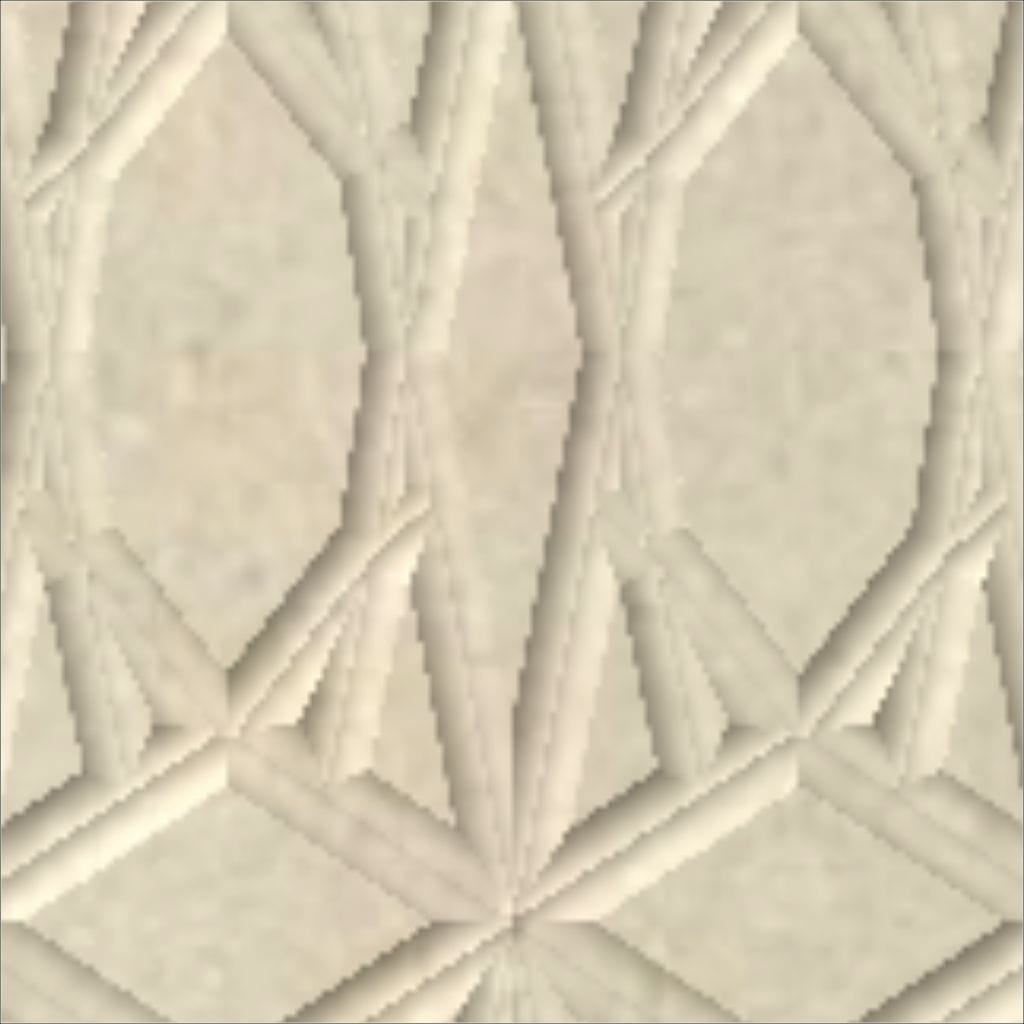
Choose your 3D wall panel material
Selecting the right material for your 3D wall panels determines how the installation goes and how the finish holds up over time. The three most common options are PVC, wood, and MDF, each offering a distinct balance of weight, texture, and durability. PVC is the lightest and most water-resistant, wood brings natural warmth but requires more care, and MDF offers a smooth, paint-ready surface at a mid-range price point.
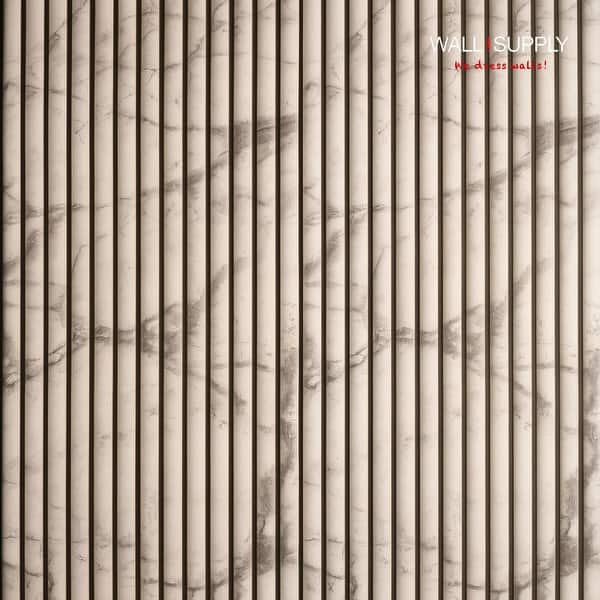
PVC: Lightweight and moisture-resistant
PVC (polyvinyl chloride) panels are thermoformed into intricate 3D shapes, making them exceptionally easy to handle. They are often sold in peel-and-stick formats, which allows for quick installation without heavy-duty adhesives. Their water-resistant nature makes them suitable for bathrooms or kitchens, though they may not replicate the deep, organic grain of natural wood. They are also the most affordable option, ideal for renters or temporary aesthetic updates.
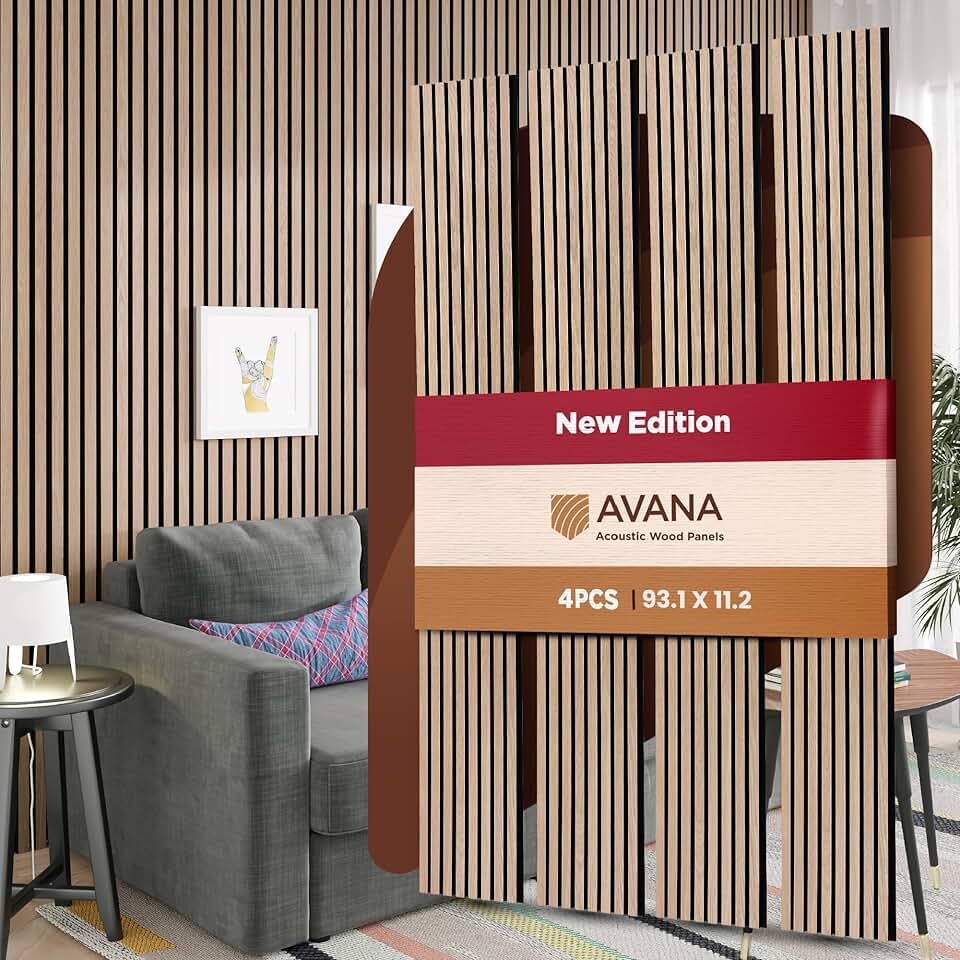
Wood: Natural warmth and texture
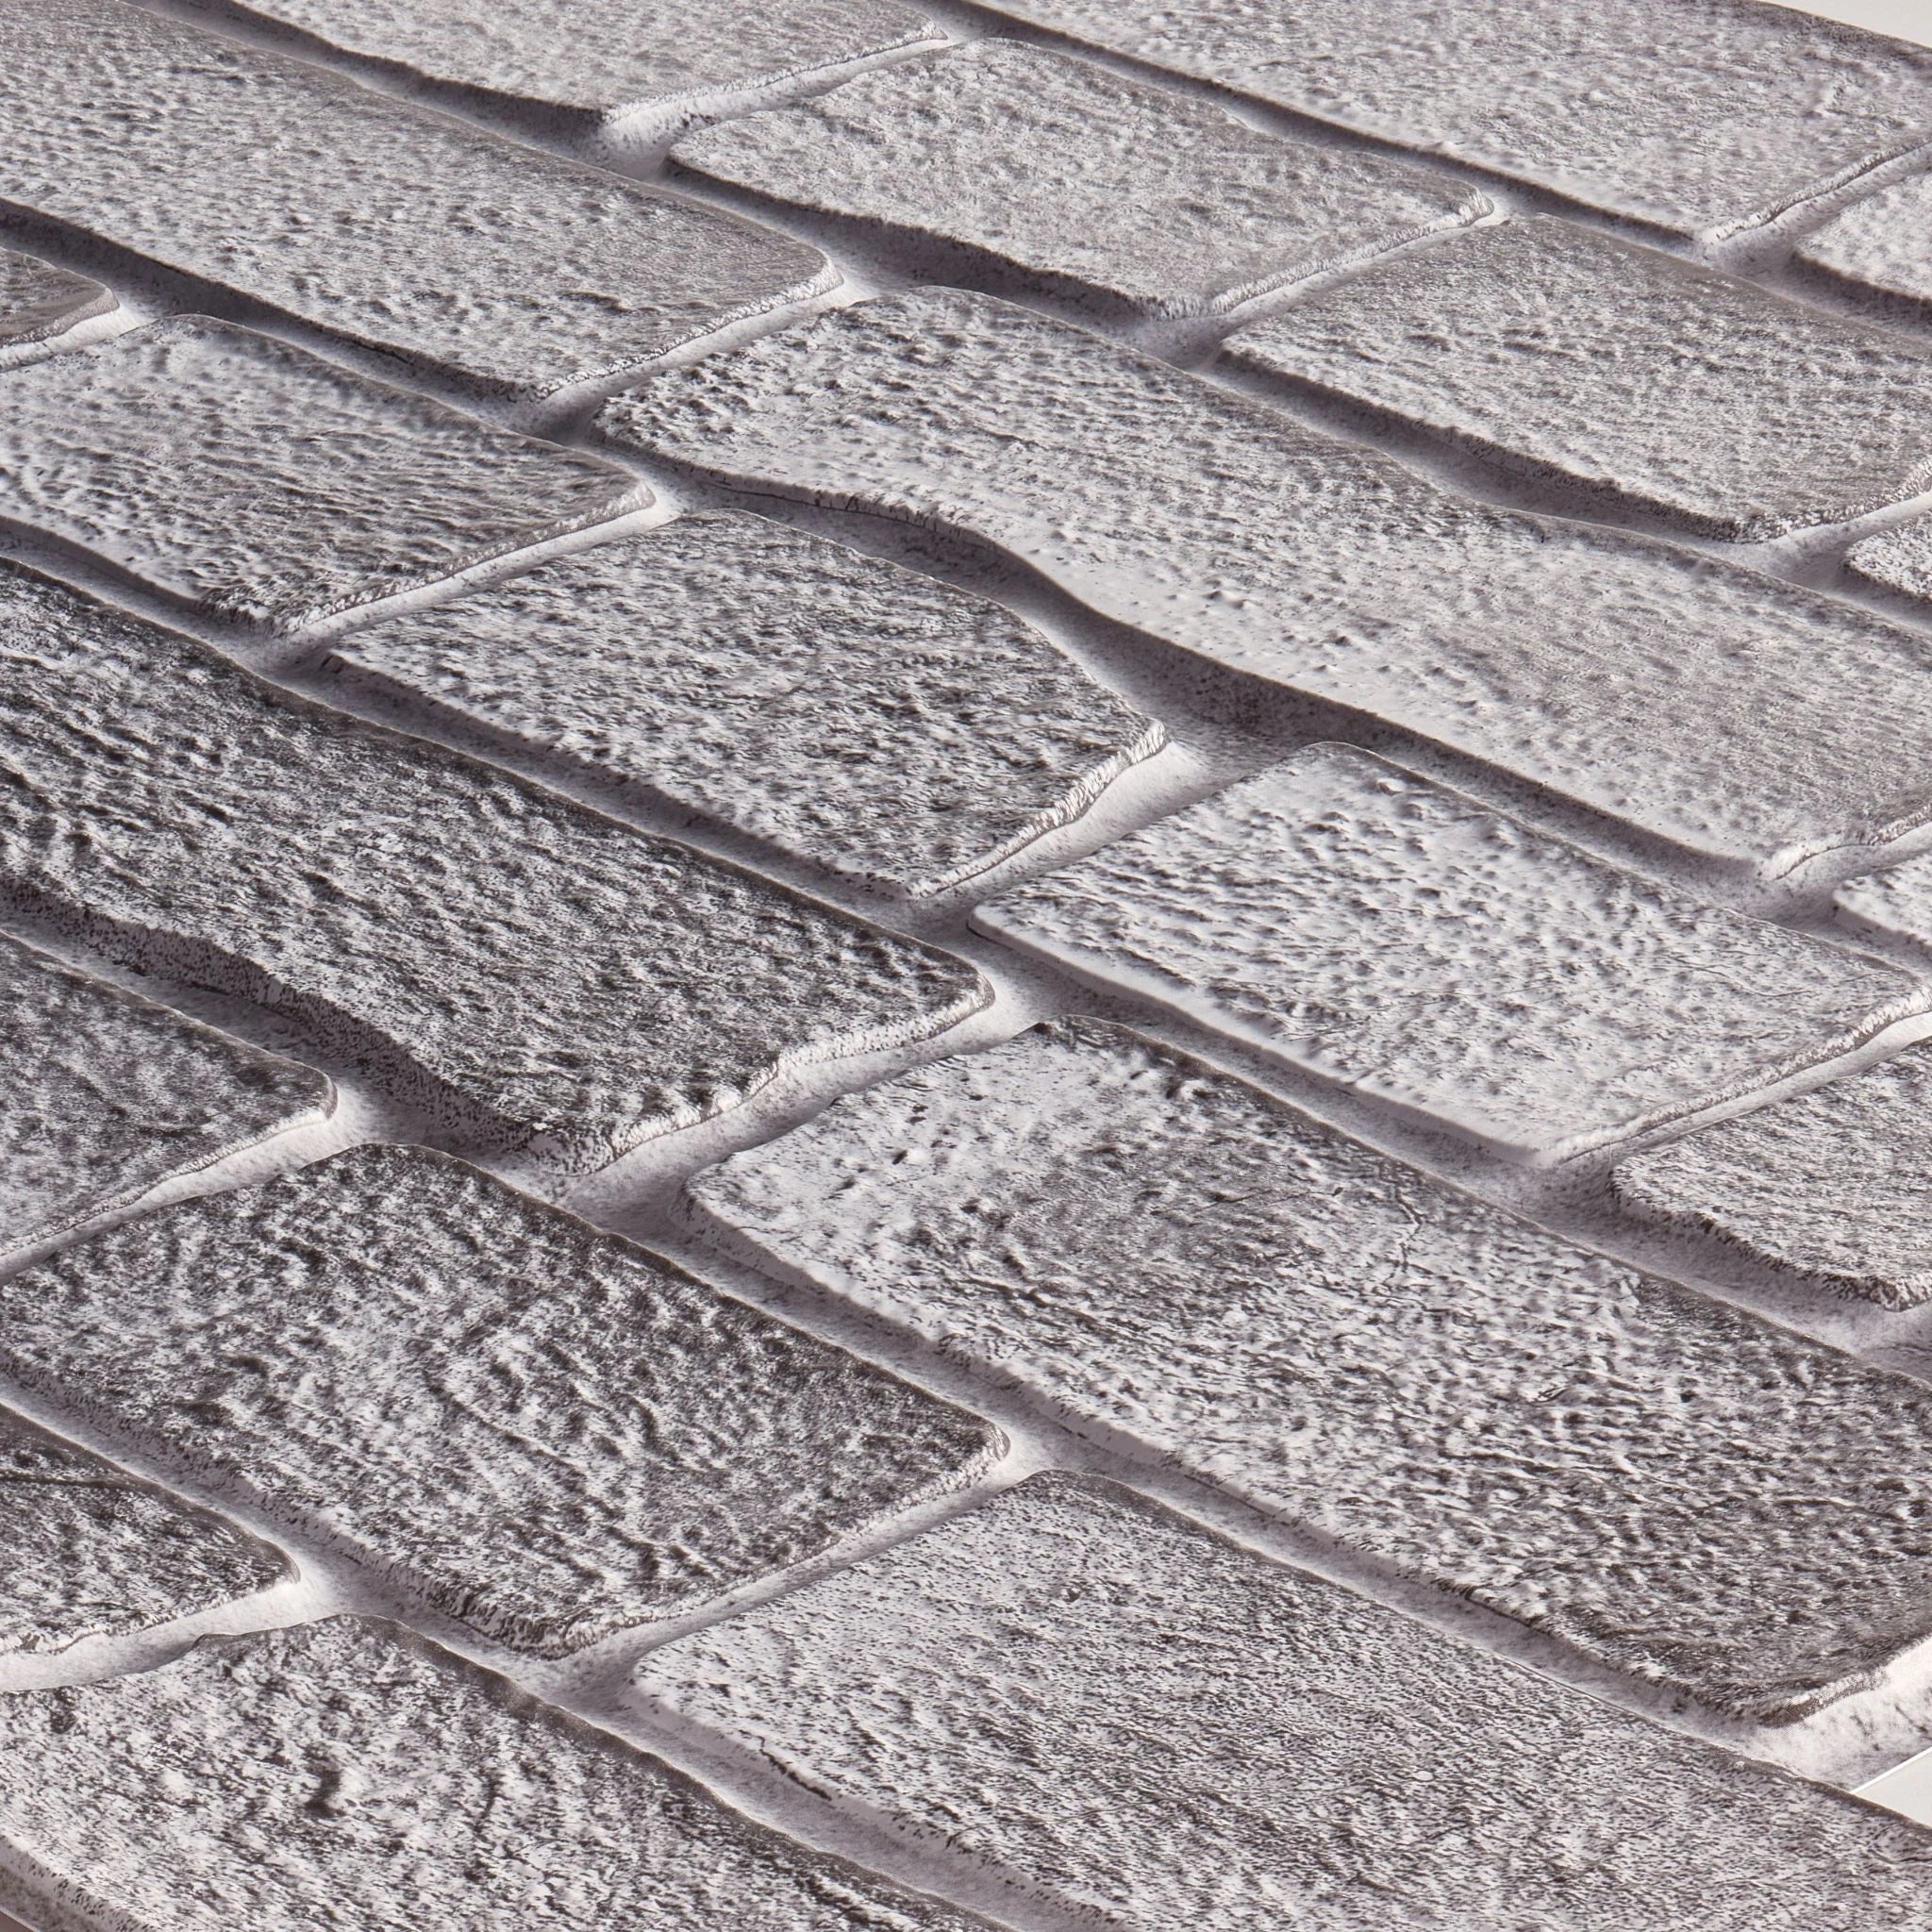
Real wood panels, such as those made from bamboo, oak, or pine, provide a high-end, authentic look that synthetic materials struggle to match. These panels are heavier and typically require professional-grade adhesive or mechanical fasteners for secure mounting. While they add significant visual depth and warmth to a room, they are more susceptible to humidity and may require sealing or regular maintenance to prevent warping or discoloration over time.
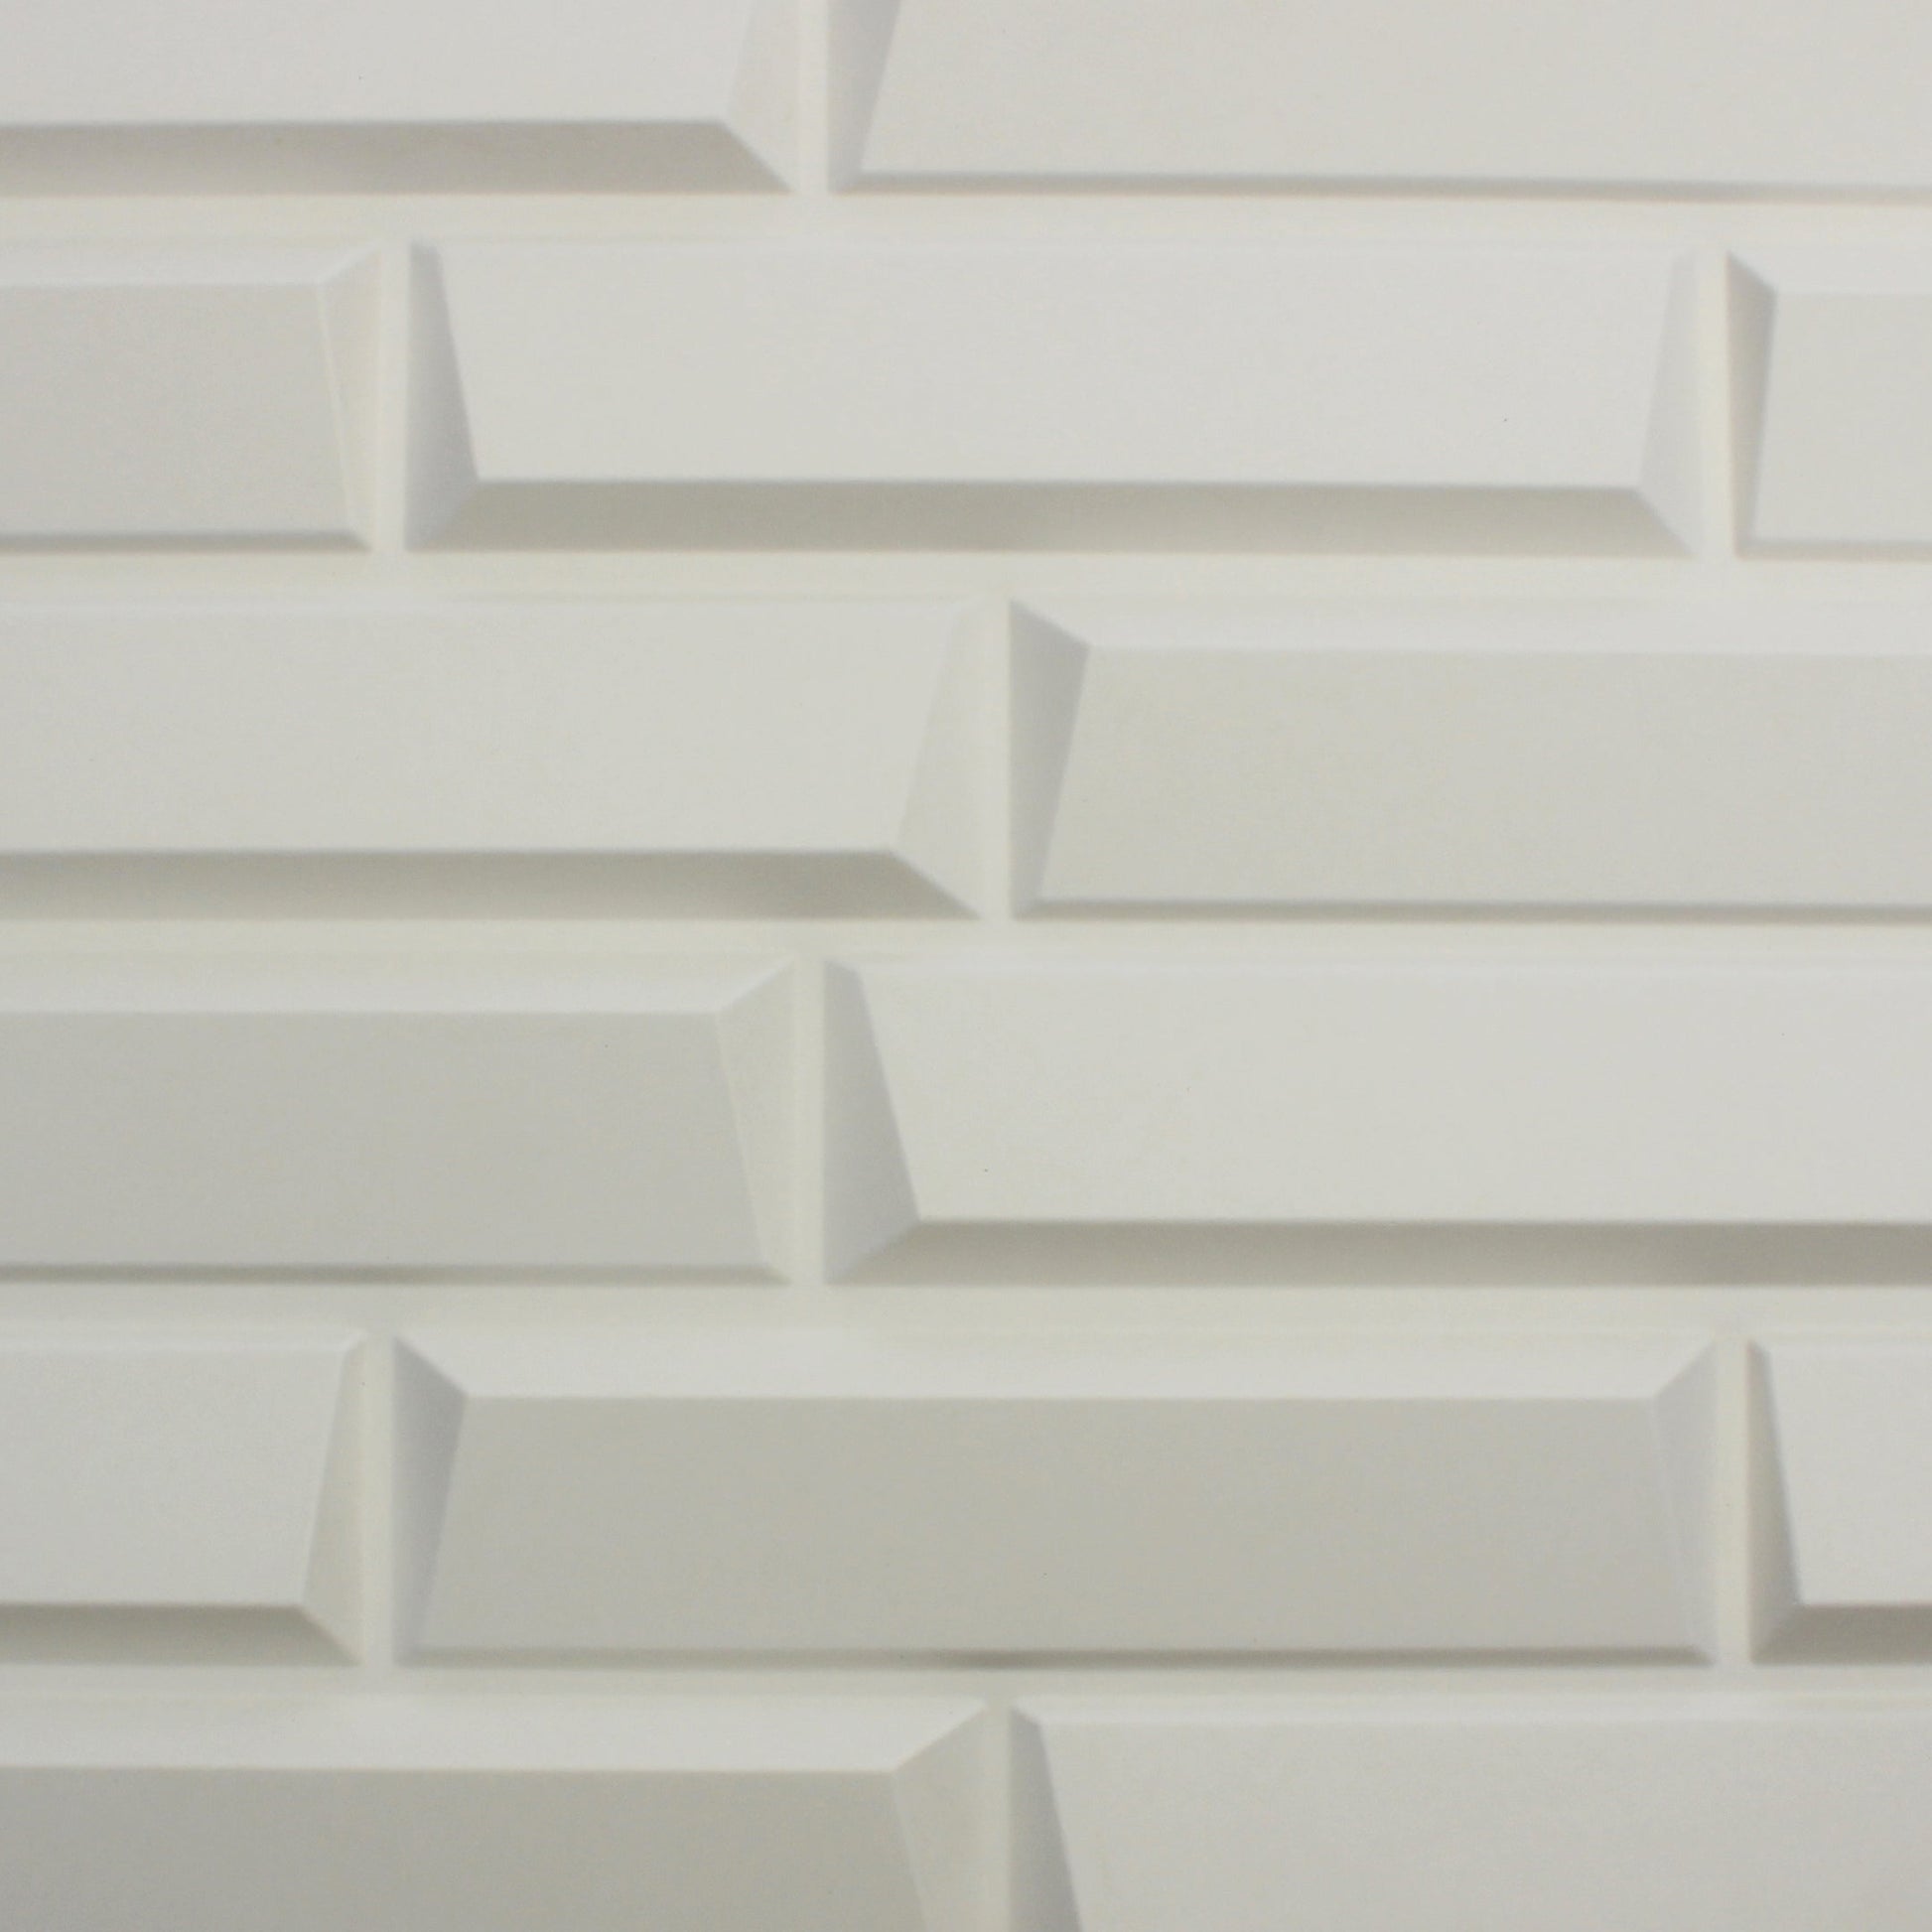
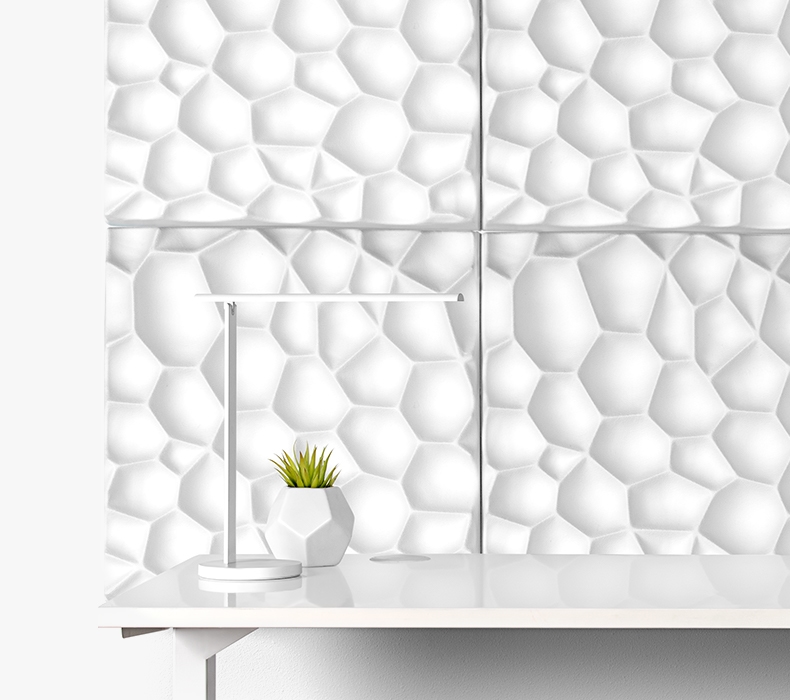
MDF: Smooth and paint-ready
Medium-density fiberboard (MDF) panels offer a uniform, smooth surface that is perfect for custom painting. They are heavier than PVC but generally lighter than solid wood, striking a balance between stability and ease of handling. MDF is cost-effective and provides a clean, modern aesthetic, but it is not water-resistant. Use MDF only in dry, interior spaces like living rooms or bedrooms, and ensure proper ventilation to prevent moisture damage.
| Material | Weight | Water Resistance | Best Use |
|---|---|---|---|
| PVC | Light | High | Bathrooms, kitchens, rentals |
| Wood | Heavy | Low | Living rooms, accent walls |
| MDF | Medium | Low | Bedrooms, painted finishes |


As an Amazon Associate, we may earn from qualifying purchases.
Before installation, check each panel for manufacturing defects, chipped edges, or surface scratches. For PVC, ensure the adhesive backing is intact. For wood and MDF, verify that the panels are flat and not warped, as this can affect how they sit against the wall.
Lay out your panels on the floor to visualize the pattern and minimize waste. Measure your wall dimensions carefully to determine how many panels you need. If you are using wood or MDF, plan for any cuts needed around outlets or corners to ensure a seamless fit.
Ensure the wall is clean, dry, and smooth. Remove any dust, grease, or loose paint. For heavy panels like wood or MDF, you may need to anchor into wall studs for added stability. If the wall is uneven, consider using a leveling compound or furring strips to create a flat surface.
Prepare the wall surface
Skipping surface prep is the most common reason 3D wall panels fail to adhere properly. Whether you are installing lightweight thermoformed PVC or heavy stone-look panels, the wall must be flat, clean, and dry. Adhesive bonds best to smooth, stable surfaces, so any dust, grease, or uneven texture will create weak spots that lead to peeling or gaps over time.
Start by cleaning the wall thoroughly. Remove any dirt, oil, or loose particles using a damp cloth and mild detergent. Let the wall dry completely before proceeding. If the wall has been recently painted, ensure the paint is fully cured; fresh paint can remain tacky and prevent proper adhesion.
Next, inspect the surface for imperfections. Fill any holes, cracks, or dents with spackle or joint compound. Once dry, sand the area smooth to create an even plane. For textured walls like orange peel or popcorn, consider sanding down the high spots or applying a skim coat to flatten the surface. A smooth base ensures your 3D wall panels sit flush and look professional.
Finally, remove any existing hardware, such as picture hooks or outlet covers, from the installation area. This gives you a clear workspace and prevents obstacles from interfering with the panel placement. With the wall clean, dry, and flat, you are ready to begin measuring and cutting your 3D wall panels.
Measure and cut your panels
Start by measuring the wall space where the 3D wall panels will go. Mark the center of the wall with a level and draw a vertical line. This center line ensures your installation stays symmetrical, which is critical for patterns that interlock or mirror each other.
Measure the width of each panel and mark your cutting line on the back of the panel. For PVC panels, a utility knife works best. Score the surface deeply along the line, then snap the panel backward. For gypsum or wood panels, use a fine-tooth saw to cut through the material cleanly.
Test-fit each piece before applying adhesive. Panels should sit flush against the wall with no visible gaps. If a panel is slightly too wide, trim it with sandpaper or a file. Keep your cuts precise; uneven edges will show up clearly once the panels are installed.
Apply adhesive and mount panels
With your wall prepped and dry, it is time to secure the 3D wall panels. The success of this project hinges on a strong bond and precise alignment. Use a construction adhesive designed for the specific material of your panels, whether that is gypsum, wood, or high-density polyurethane foam. For heavier materials, mechanical fasteners may also be required as a backup, but adhesive is the primary holding force.
1. Apply adhesive to the back of the panel
Apply adhesive in a zigzag pattern or in large beads across the back of the panel. Focus on the edges and the center to ensure even coverage. Avoid applying adhesive too close to the very edge to prevent excessive squeeze-out during installation. For large panels, consult the manufacturer’s guidelines for the recommended amount of adhesive to ensure a secure bond without weighing down the structure.
Spread construction adhesive evenly across the back of the panel. Use a zigzag pattern or large beads, ensuring coverage on the edges and center. Avoid applying adhesive too close to the perimeter to minimize messy squeeze-out when the panel is pressed into place.
Starting from your reference line or corner, press the first panel firmly against the wall. Align it precisely before the adhesive sets. Use a level to check vertical and horizontal alignment. This first panel dictates the placement of all subsequent panels, so take your time to get it perfect.
Once positioned, apply firm, even pressure across the entire surface of the panel. This helps the adhesive bond properly with the wall and ensures the panel sits flush. For textured panels, press into the crevices as well. Hold the panel in place for a few seconds to allow the initial grab to set.
Apply adhesive to the next panel and press it into place, ensuring the edges align seamlessly with the previous panel. Many 3D panels have interlocking edges or seams that should fit together tightly. Use a rubber mallet or a flat block of wood to gently tap the edges if needed to achieve a tight fit without damaging the surface.
Wipe away any adhesive that squeezes out from the seams or edges immediately with a damp cloth. Adhesive that dries on the surface of the panels can be difficult to remove and may damage the finish. Work in small sections to ensure you can clean up messes before the adhesive sets.
2. Check alignment and adjust as needed
As you install each panel, frequently check your work with a level. Even minor misalignments can compound, leading to a visibly crooked installation. If a panel is slightly off, you can often adjust it within the first few minutes before the adhesive fully cures. Use shims or spacers if necessary to maintain consistent gaps or align panels perfectly.
3. Secure heavy panels if required
For heavier materials like gypsum or stone-look panels, adhesive alone may not be sufficient for long-term stability, especially in high-traffic areas or on textured walls. In these cases, use mechanical fasteners such as screws or nails in conjunction with the adhesive. Consult the manufacturer’s recommendations for the appropriate fastening method and spacing to ensure the panels remain securely attached over time.
4. Allow adhesive to cure
Once all panels are installed, allow the adhesive to cure completely before painting, sealing, or applying any weight to the panels. Curing times vary by product and environmental conditions, typically ranging from 24 to 48 hours. Avoid disturbing the panels during this time to ensure a strong, lasting bond. Check the adhesive manufacturer’s instructions for specific curing times and conditions.
Finish edges and clean up
The final stage of installing 3D wall panels is where a DIY project separates itself from a professional installation. This phase focuses on concealing raw edges, managing corners, and removing any adhesive residue to ensure a polished, seamless look. Rushing this step often leaves visible gaps or sticky fingerprints that distract from the panel’s texture.
Handle corners and trim
Corners are the most visible part of any wall installation. For 90-degree interior corners, use a corner trim piece that matches your panel’s profile. If you are using panels without dedicated trim, cut the final panel to fit the corner precisely, leaving a hairline gap. Fill this gap with a paintable, flexible caulk that matches the panel color. This allows for minor expansion and contraction without cracking. For exterior corners, use a corner bead or a mitered joint to create a sharp, clean line.
Remove adhesive residue
Adhesive squeeze-out is common when pressing panels into place. Wipe away excess adhesive immediately with a damp cloth before it cures. If residue has already dried, use a plastic scraper or a soft brush to gently remove it. Avoid using harsh solvents like acetone on PVC or EPS foam panels, as they can melt or discolor the surface. For stubborn glue, a small amount of rubbing alcohol on a microfiber cloth works safely.
Final inspection
Before considering the job complete, inspect the entire wall under good lighting. Check for:
- Gaps between panels or at the edges.
- Visible adhesive smears or caulk lines.
- Loose panels that might shift over time.
Use the checklist below to ensure nothing is missed.
-
Check all corners for tight, caulked seams
-
Wipe away any remaining adhesive residue
-
Inspect for gaps under bright light
-
Touch up any visible caulk or paint
Common 3D wall panel installation mistakes
Even with high-quality materials, a single error during installation can compromise the entire look of your 3D wall panels. Most issues stem from rushing the prep work or ignoring the specific requirements of the panel material. Here are the three most frequent pitfalls and how to avoid them.
Skipping wall prep
Adhesives bond to surfaces, not just to the back of the panel. If you apply 3D wall panels to dusty, uneven, or greasy walls, the bond will fail over time, causing panels to sag or detach. Always clean the wall with a degreaser and sand down any high spots or protruding nails. For porous surfaces like drywall, apply a primer to create a uniform, non-absorbent surface for the adhesive to grip.
Ignoring alignment
Because 3D wall panels have distinct edges and patterns, even a slight misalignment in the first row will compound as you move across the wall. A crooked start makes the entire installation look skewed. Use a laser level or a standard spirit level to mark a perfectly horizontal reference line on the wall. Install the first panel directly on this line, double-checking its position before applying any adhesive. This anchor row dictates the rest of the project.
Choosing the wrong adhesive
Not all adhesives are created equal. Using a generic construction adhesive on lightweight PVC or EPS foam panels can cause the panels to warp or slide before the glue sets. Conversely, using a weak peel-and-stick on heavy stone-look panels will lead to failure. Check the manufacturer’s recommendation for your specific material. For heavy panels, a high-strength construction adhesive applied in a zigzag pattern provides the most secure hold.
Place panels against the wall without adhesive to verify alignment and pattern continuity. This dry fit helps you spot alignment issues early and adjust your layout before committing.
For heavy panels, apply adhesive in a zigzag pattern on the back. For lightweight peel-and-stick panels, remove the backing slowly while pressing the panel firmly into place to avoid air bubbles.
Use painter’s tape to hold panels in place while the adhesive cures. Immediately wipe away any excess adhesive that squeezes out with a damp cloth, depending on the adhesive type.
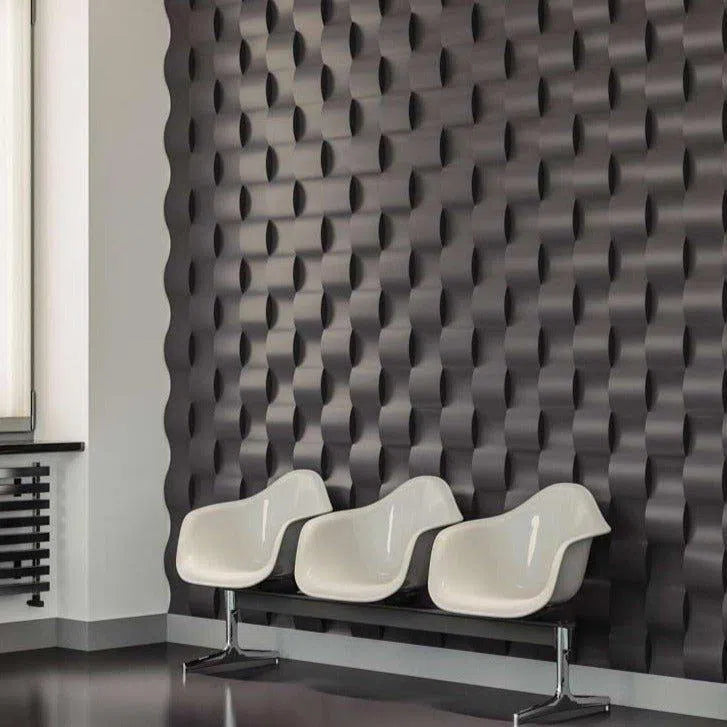
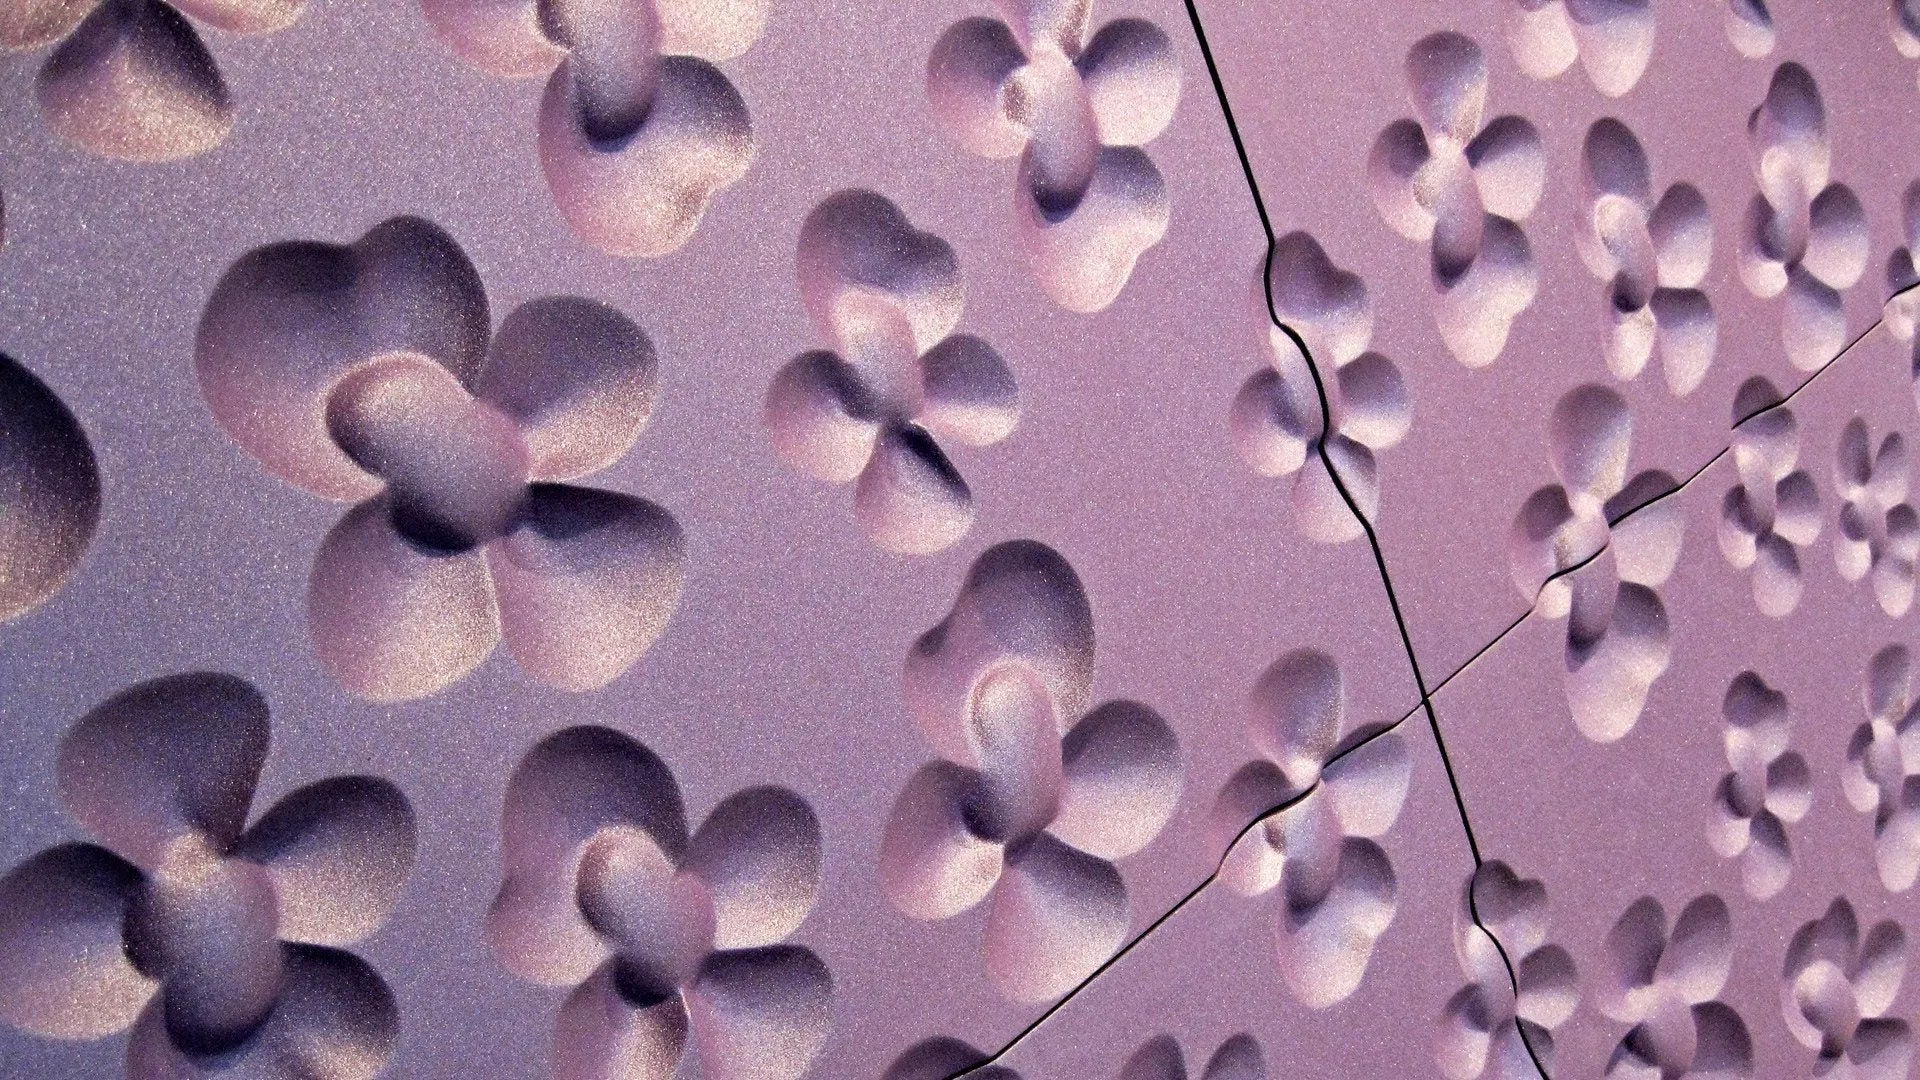
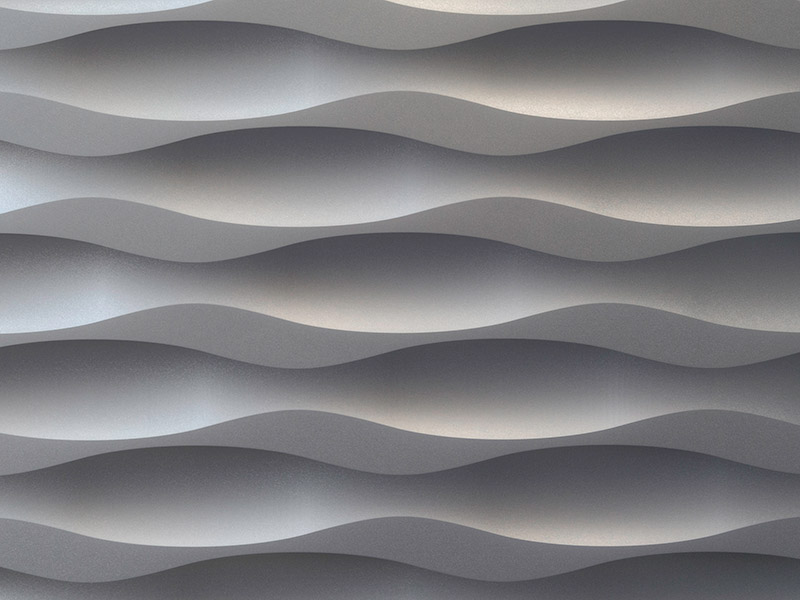
2026 trends in 3D wall design
The direction of 3D wall panels in 2026 leans heavily toward tactile realism and fluid geometry. Designers are moving away from rigid, repetitive grids in favor of organic shapes that mimic natural stone formations or flowing water. This shift allows 3D wall panels to serve as a central focal point rather than a background texture, adding genuine depth to a room's architecture.
Bold textures remain the dominant force in the market. Whether it is a faux brick effect or a deep geometric relief, the goal is to catch light and shadow dynamically. These surfaces change appearance throughout the day as sunlight angles shift, creating a living backdrop that feels grounded and substantial.
Manufacturers like Soelberg are expanding their libraries to include wave walls and intricate graphic patterns alongside traditional organic motifs. This variety ensures that 3D wall panels can adapt to both minimalist modern interiors and warmer, rustic settings. The trend emphasizes materiality—choosing panels that look and feel like they belong in the physical space, not just on a catalog page.
No comments yet. Be the first to share your thoughts!