
Tick-Tock Decor: Nail-Free Clock Hanging for a Timeless Home
Imagine, if you will, a world where your walls remain pristine, free from the tiny scars left by nails. A world where your favorite timepiece, that vintage clock you've been dying to show off, hangs gracefully on your wall. This isn't a fantasy, dear reader. Welcome to the era of hanging clocks without nails! A no-nail clock hanging technique that's not only easy but also an effective home transformation tip.
Why should you consider this approach? Picture this: no more nail holes to patch up when you decide to redecorate, and no more worries about damaging your precious 3D wall panels. It's a timeless wall decor idea that marries convenience with style. Ready to dive into the world of no-nail clock hanging techniques? Let's get ticking!

3D Wall Panels: The Secret Behind No-Nail Clock Hanging
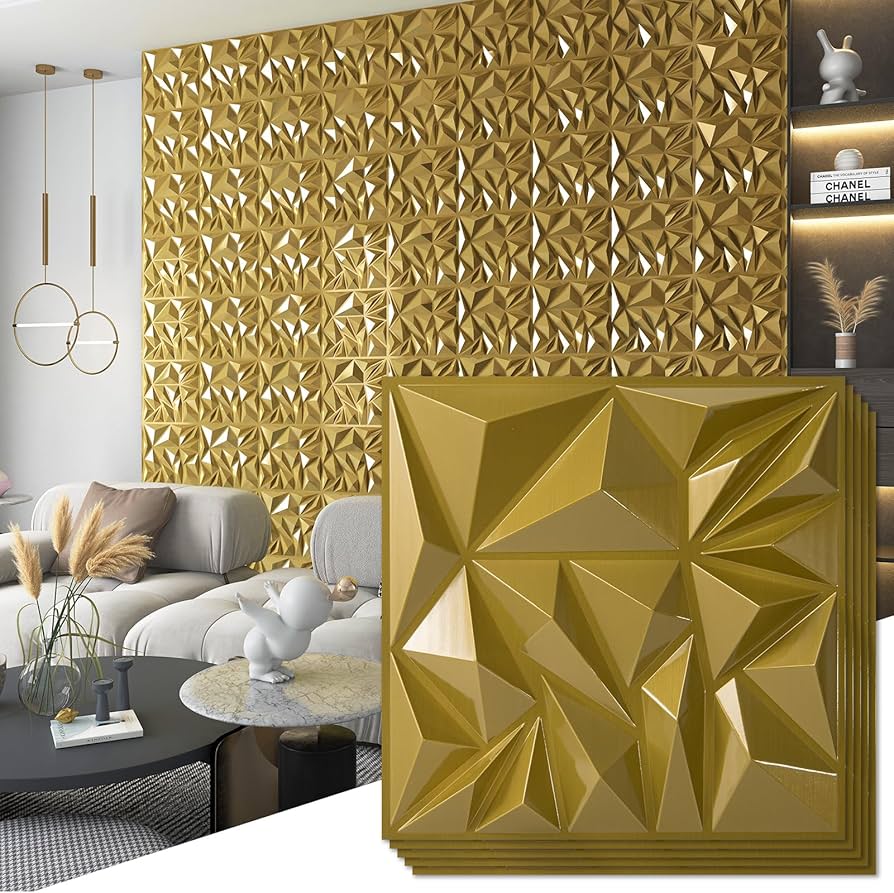
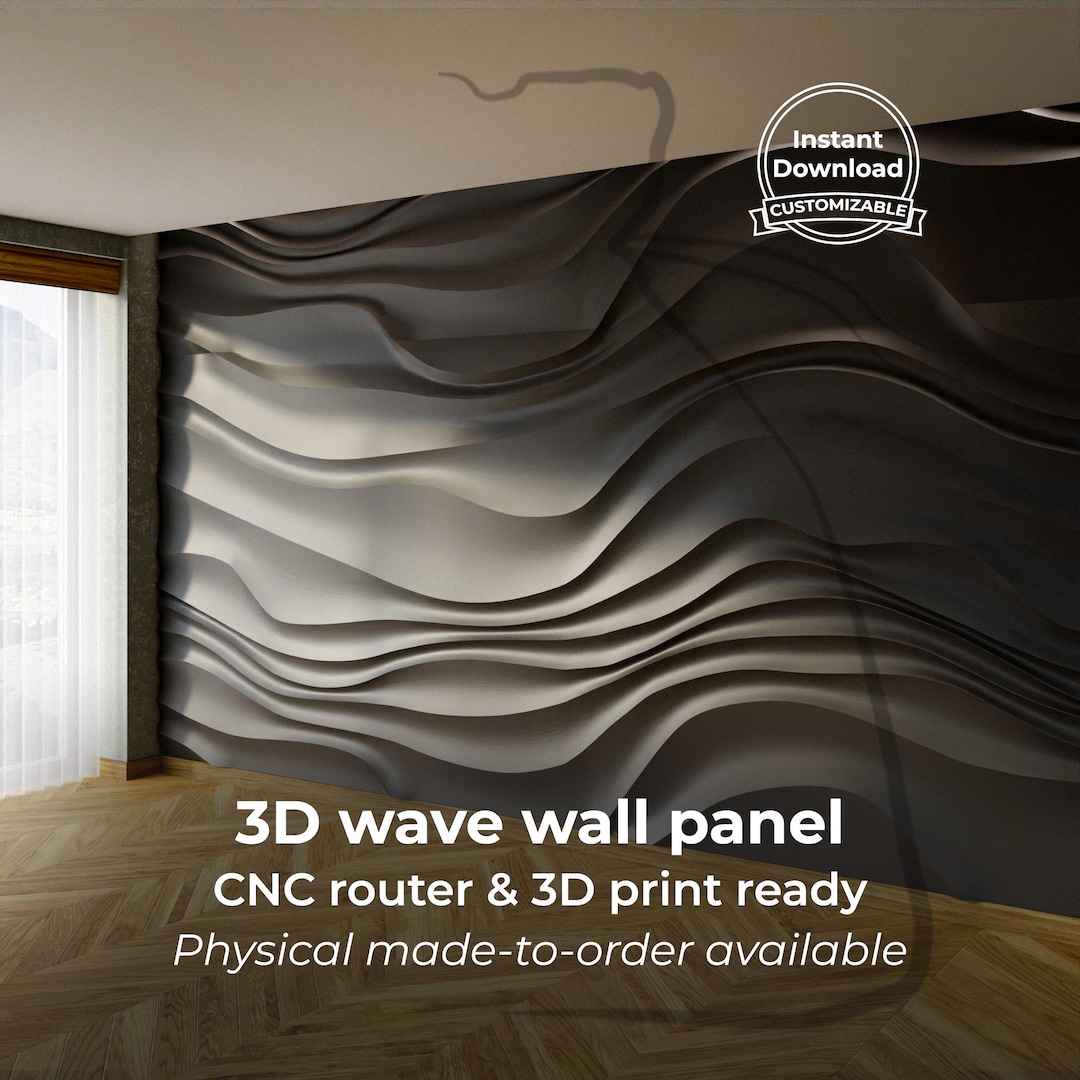
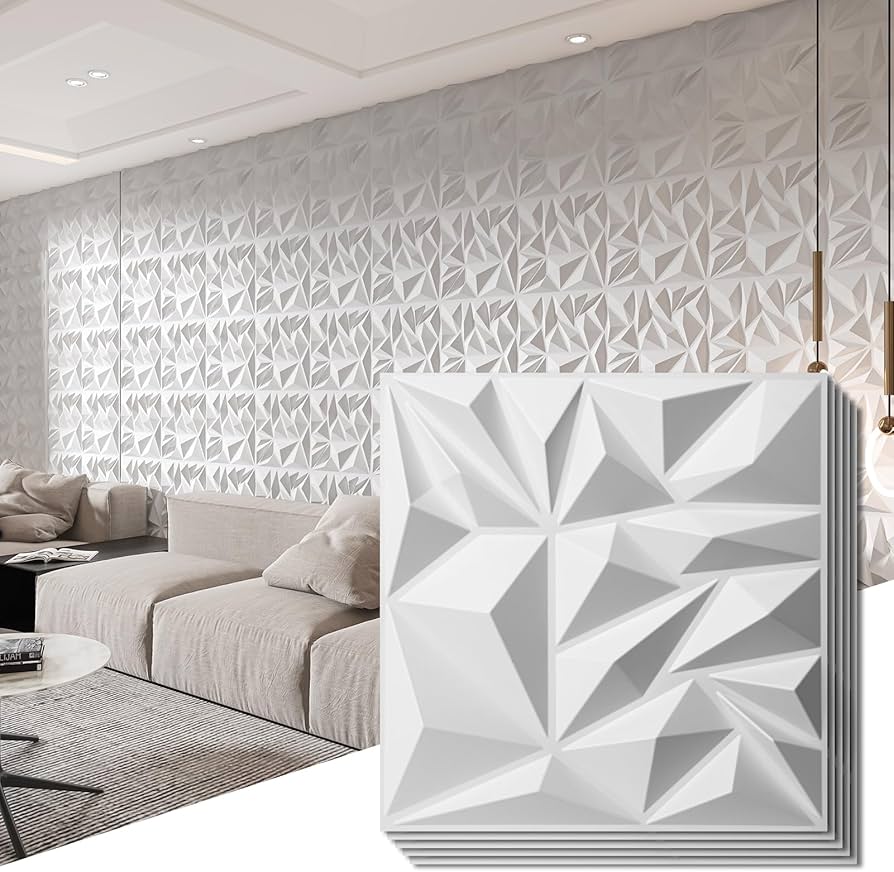
Let's dive into the heart of the matter: 3D wall panels. You might be wondering, "What do these have to do with hanging clocks without nails?" Well, consider 3D wall panels as your secret weapon for easy home transformations and timeless wall decor ideas. These panels are not only aesthetically pleasing, but they're also perfect for no-nail clock hanging techniques.
Why? Because 3D wall panels are durable and firm, yet gentle enough not to be damaged by adhesive strips. Plus, they offer a textured, visually interesting backdrop for your clock. Imagine the striking contrast of a sleek, modern clock against a rustic wood panel, or a vintage timepiece on a chic geometric design. That's the magic of 3D wall panels!
So, are you ready to give your walls a 3D makeover and say goodbye to the hammer and nails? Stick around, because up next, we're going to unveil the tools you'll need for this nail-free clock hanging adventure.

Your Clock Hanging Kit: The Essentials for a Nail-Free Setup
Essential Tools and Materials for Nail-Free Clock Hanging
- A Wall Clock: Choose a clock that complements your decor and fits well with your 3D wall panels. Keep in mind the weight of the clock as it will impact the type of adhesive strips you'll need.
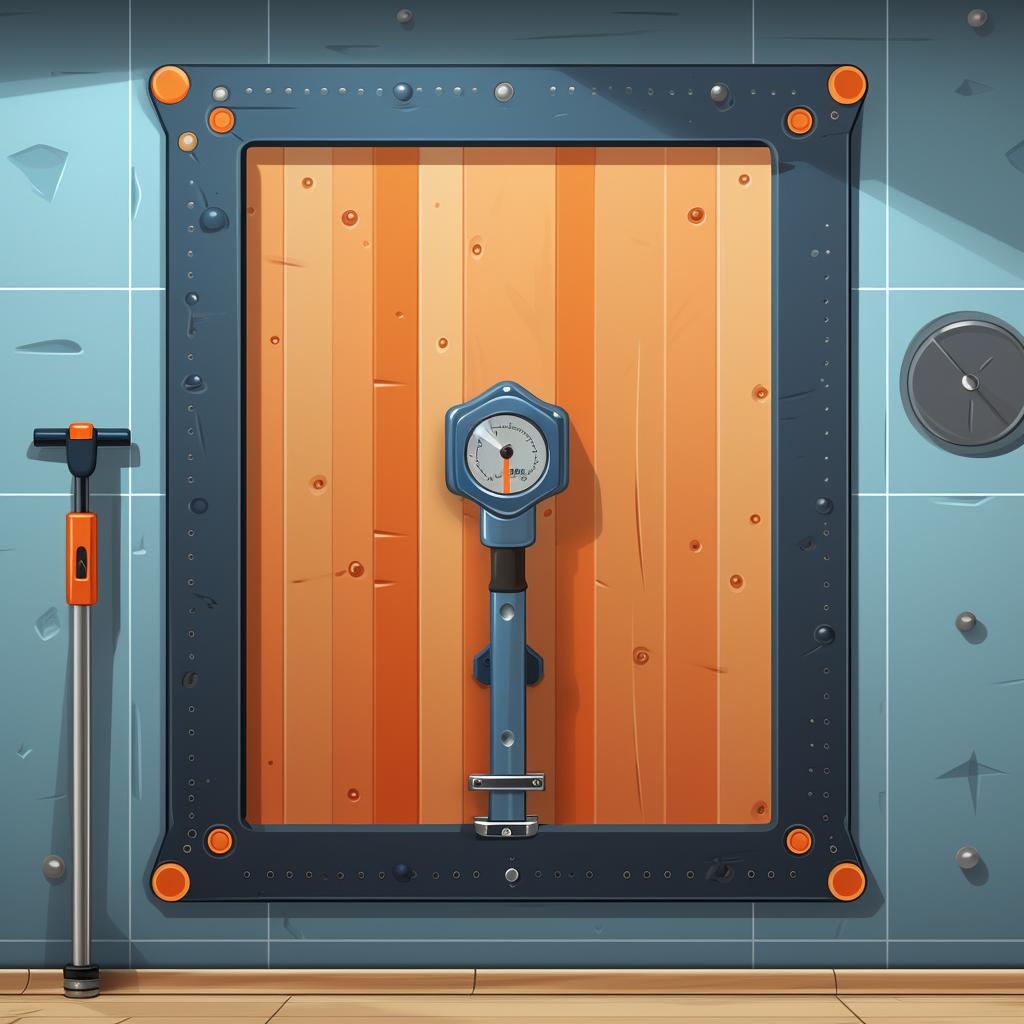
- Adhesive Strips: These are the key to hanging your clock without nails. Opt for high-quality, heavy-duty adhesive strips that can support the weight of your clock. Make sure they're designed for use on your type of wall surface. For a comprehensive guide on the best adhesives for securing your 3D wall panels, check out our guide.
- Level: A level is crucial for ensuring your clock hangs straight. You can use a traditional bubble level or a digital one, depending on your preference.
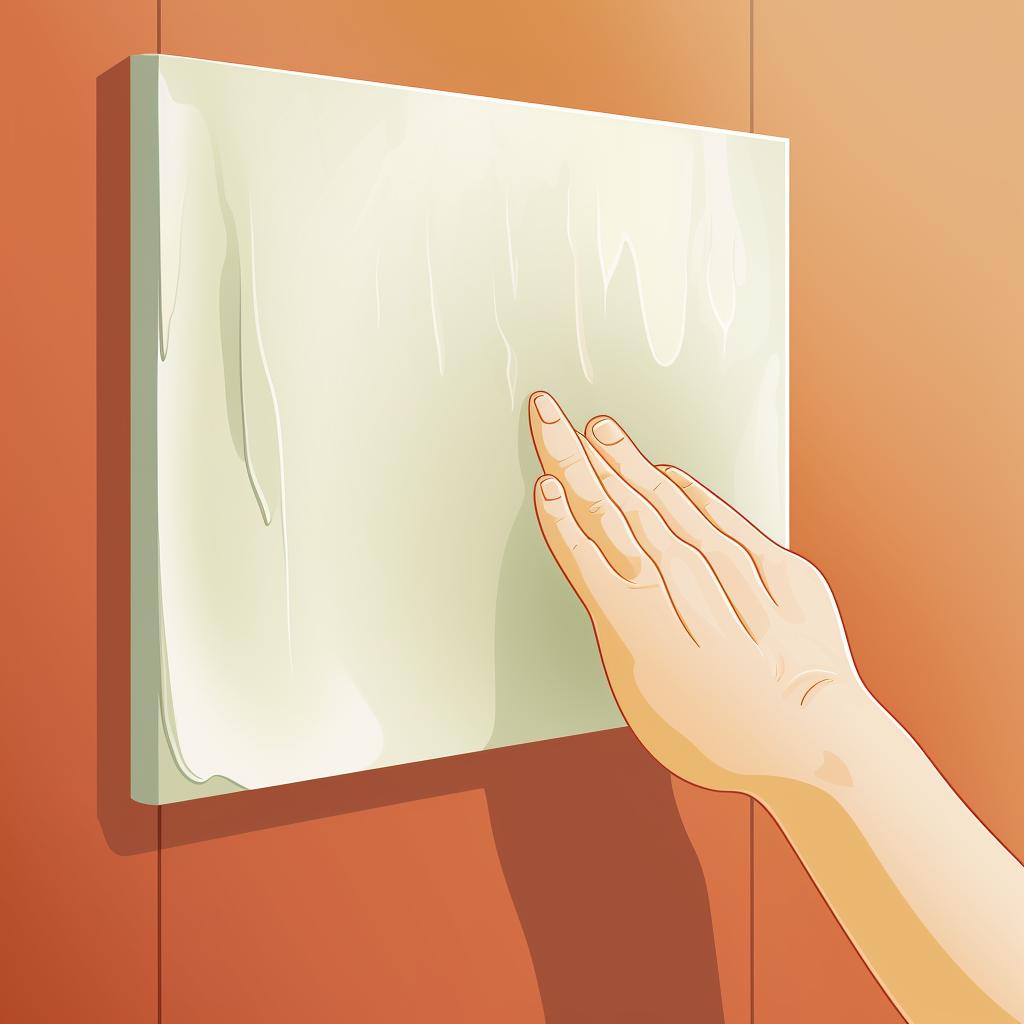
- Cleaning Materials: A clean wall surface is essential for the adhesive strips to stick properly. Gather some mild detergent or soap, a sponge, and a dry towel to clean and dry the wall before installation. For a step-by-step guide on evaluating your wall surface, check out our guide.
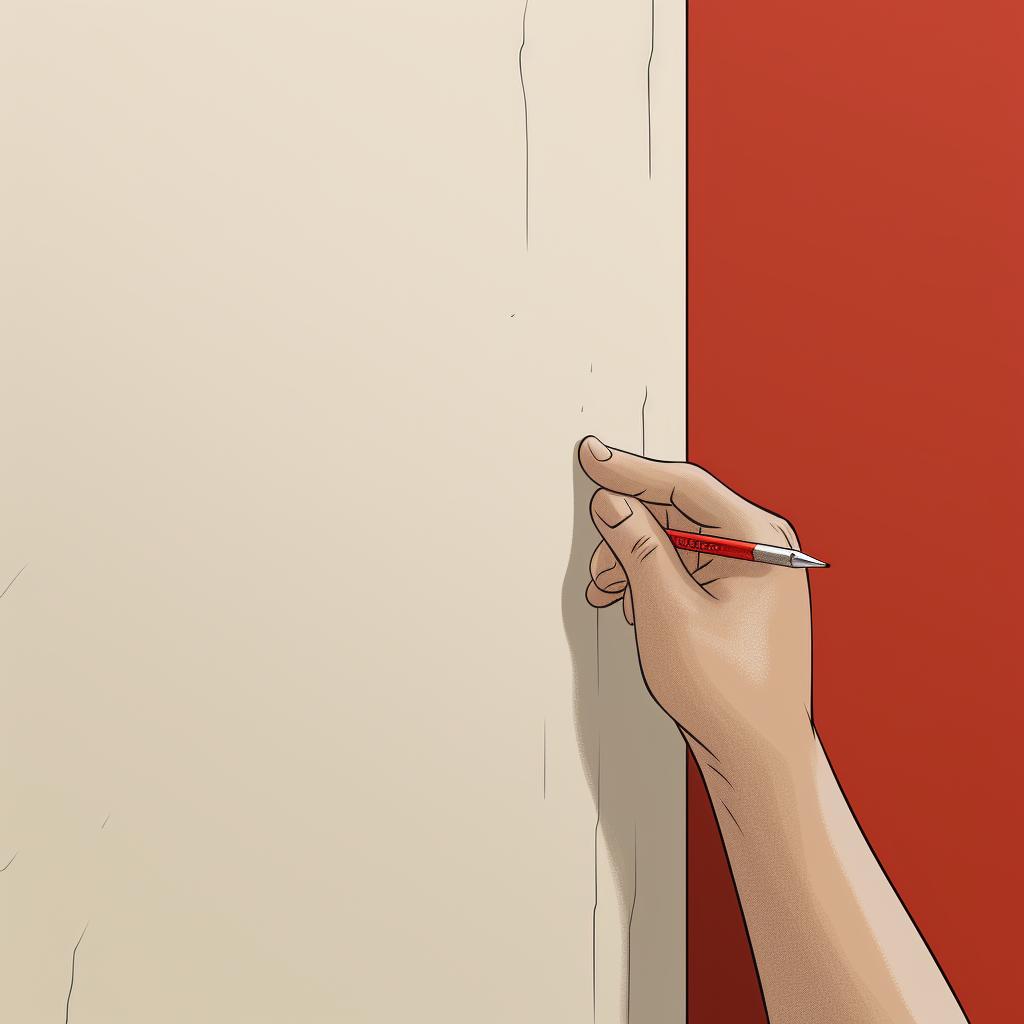
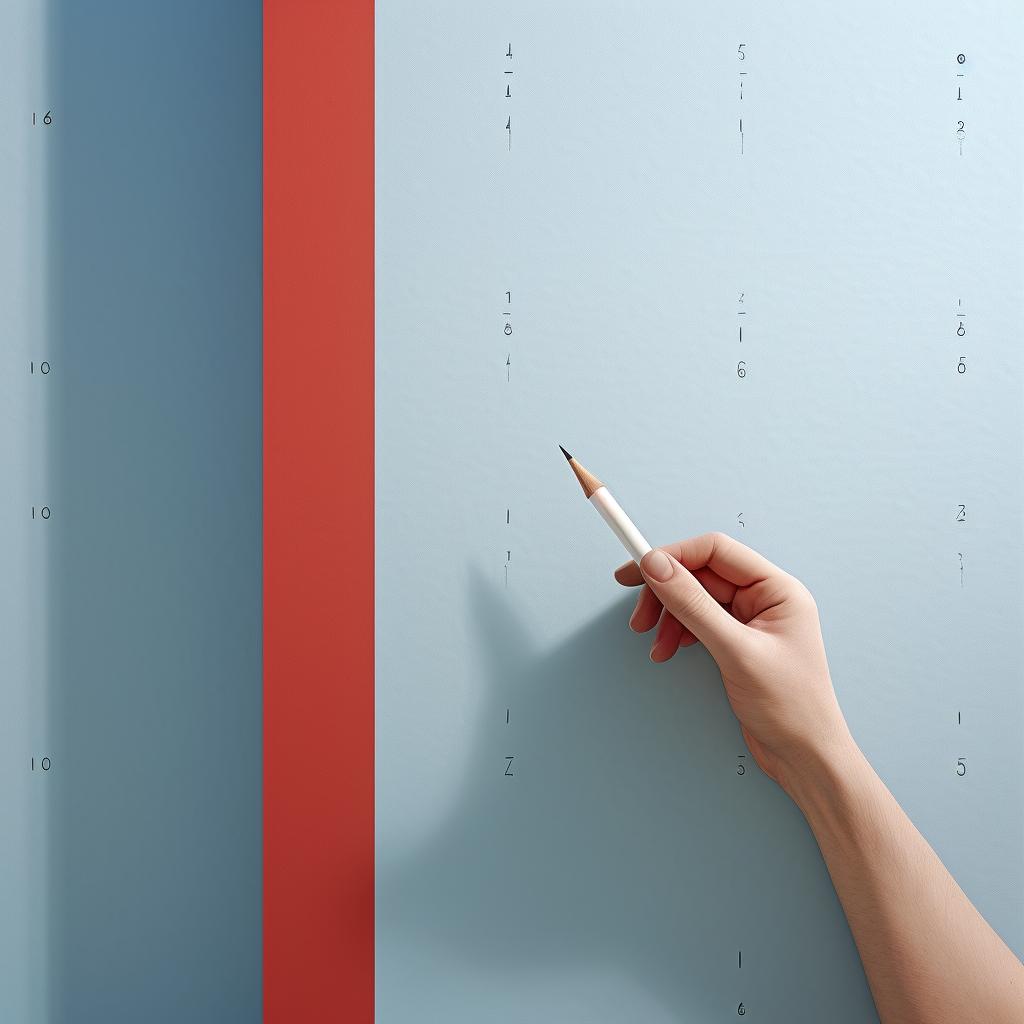
Before the Clock: How to Prime Your Wall for a Nail-Free Transformation
Before we dive into the actual process of hanging the clock, it's crucial to ensure your wall is properly prepared. Here's a step-by-step guide to get your wall ready:
Wall Preparation for Nail-Free Clock Hanging

Learn more about 🔨 Wall Preparation for Nail-Free Clock Hanging: Step-by-Step Guide or discover other Whole 3D guides.
Now that your wall is prepared, let's ensure everything is in order before we proceed. Here's a handy checklist to help you out:
Before moving on to the next steps, let's make sure your wall is ready for the clock. Here's a handy checklist.
Now that you've prepared your wall, let's move on to the steps to hang your clock without nails.
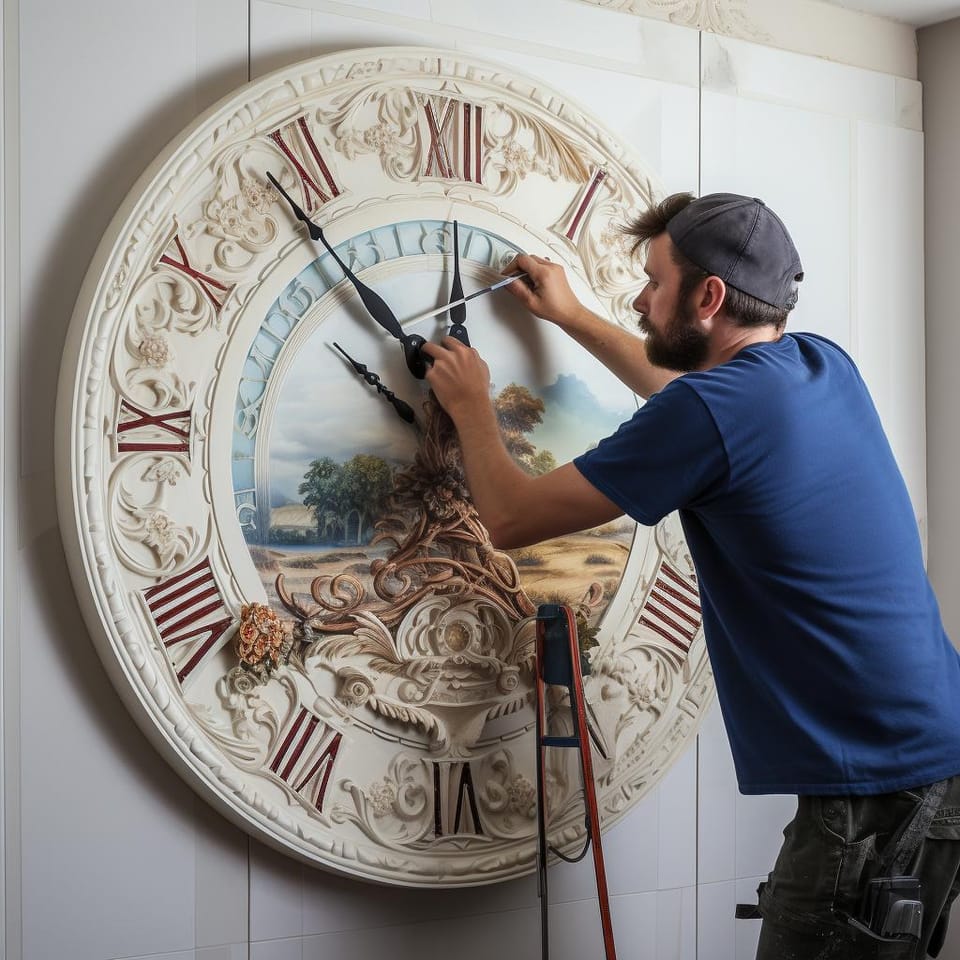
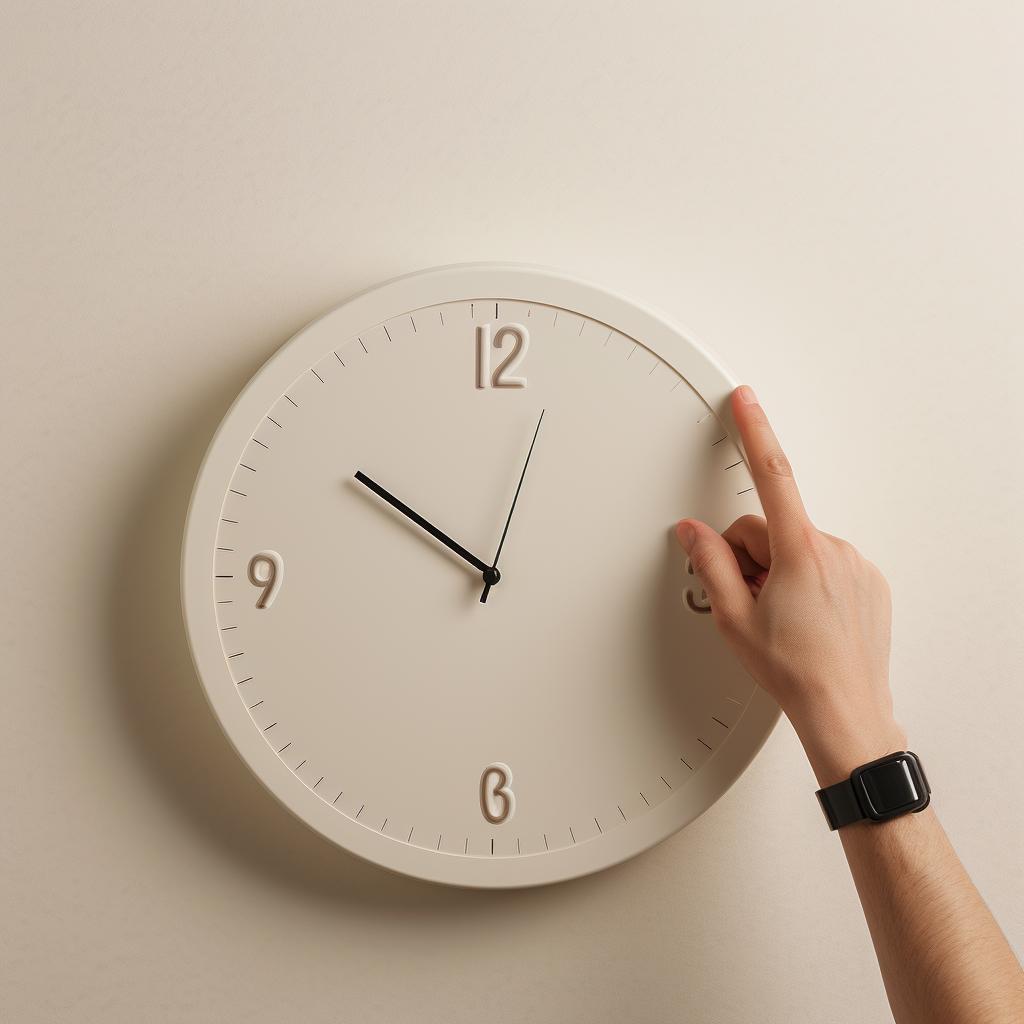
Time to Hang: Your Step-by-Step Guide to Nail-Free Clock Installation
Now that your wall is prepared, let's dive into the actual process of hanging your clock without nails. Follow these steps carefully to ensure a secure and straight hanging.
Nail-Free Clock Hanging: A Step-by-Step Guide


Learn more about 🕒 Nail-Free Clock Hanging: A Step-by-Step Guide or discover other Whole 3D guides.
Congratulations! You've successfully hung your clock without nails. Now, let's move on to some tips to ensure your clock stays straight and secure over time.
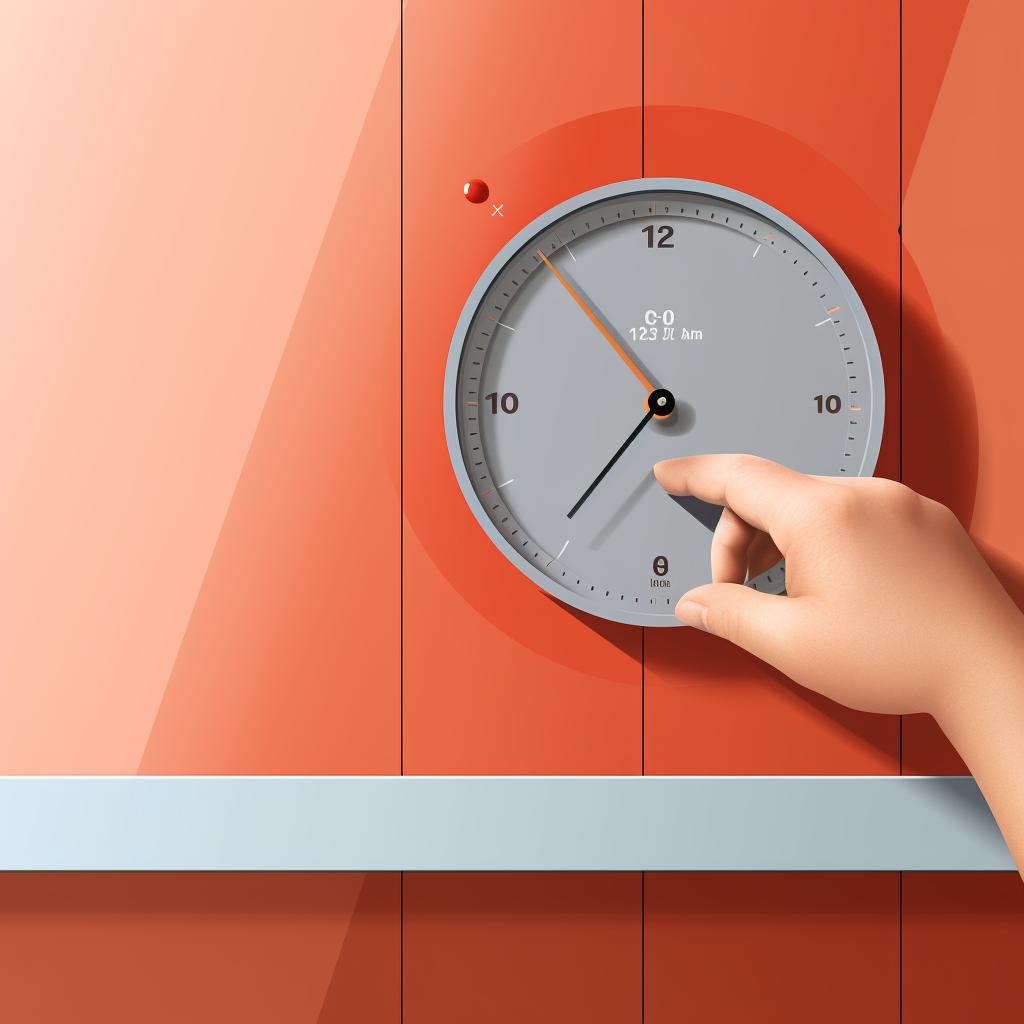
Stay Straight, Stay Secure: Tips to Keep Your Clock Firmly in Place
Now that your clock is up, you're probably wondering, "How do I ensure it stays straight and secure over time?" Here's the secret: it's all about regular check-ups and minor adjustments. Don't worry, these won't take up much of your time and they're as easy as pie!
Every now and then, take a step back and assess your clock. Is it leaning to one side? If so, slightly adjust the clock until it's level again. Remember, perfection isn't necessary, but a visibly tilted clock can be a distraction. And who wants to be distracted from the timeless beauty of their wall decor?
Also, make it a habit to gently press against the clock once in a while, just to ensure the adhesive strips are still holding strong. If you feel any give, it might be time to replace those strips. This simple, no-nail clock hanging technique will ensure your clock stays put, giving you a worry-free, easy home transformation.
Timeless Touches: Hanging a Clock Without Nails Quiz
Test your understanding of the techniques and benefits of hanging a clock without nails!
Learn more about 🕒 Hanging a Clock Without Nails Quiz - Test Your Knowledge or discover other Whole 3D quizzes.
The Final Tick: Embracing the Benefits of Nail-Free Clock Hanging
So, there you have it, folks. By now, you're well-armed with no-nail clock hanging techniques, giving you the power to transform your space while keeping those walls flawless. Isn't it exciting to think of how such a simple change can breathe a new life into your home? Imagine your favorite wall clock suspended gracefully on a 3D wall panel, no nails in sight, only a seamless blend of style and function.
As we glance back at the journey we've taken together, I hope you've discovered a new appreciation for these timeless wall decor ideas. They're more than just easy home transformation tips. They're a testament to your creativity and capability to adapt.
So, are you ready to give your space a touch of timeless elegance, one clock at a time? Remember, a moment spent beautifying your home is a moment well spent. Happy decorating, my friends!
Are you ready to hang a wall clock without nails at home?
After reading this article, do you feel confident enough to give your wall a timeless touch by hanging a clock without nails? Let us know!

No comments yet. Be the first to share your thoughts!