
Welcome to the Art of Seamless Wall Paneling: A DIY Guide
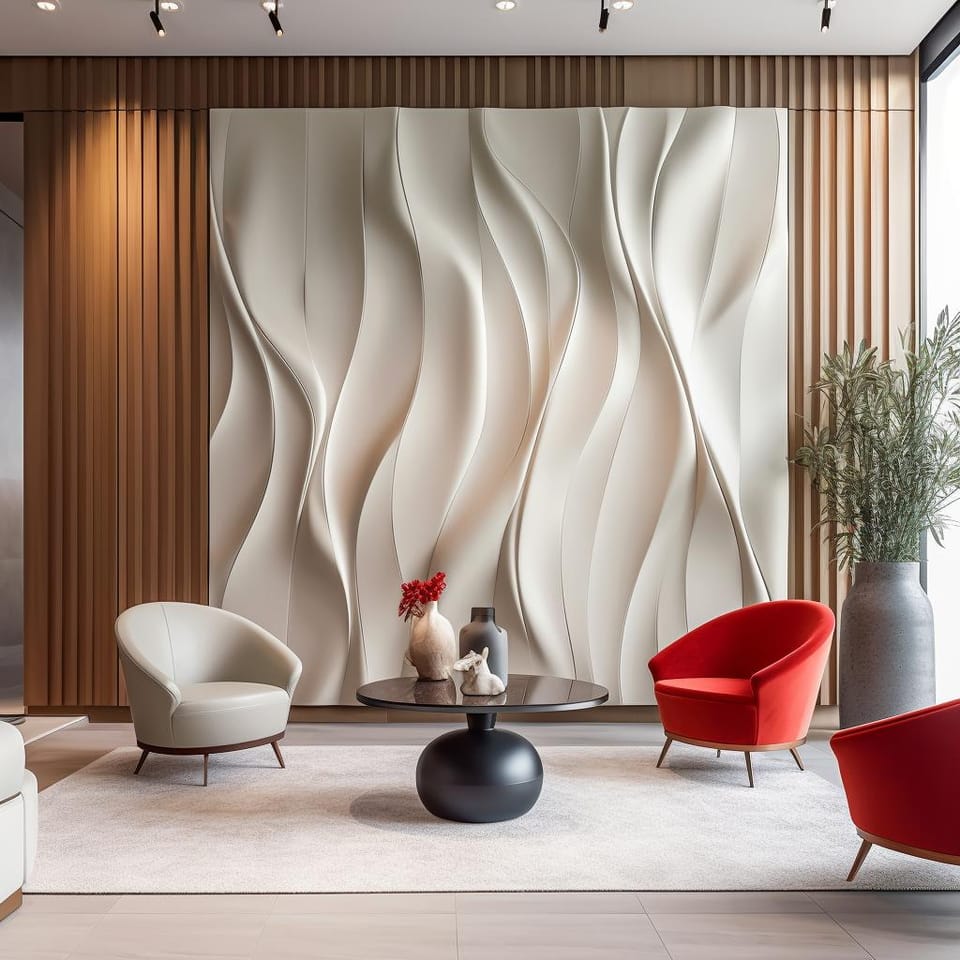
Imagine stepping into a room where the walls come alive, where every surface tells a story, where the depth of design is not just an illusion, but a reality. Welcome to the world of 3D wall paneling. But what if those stories were interrupted by unsightly seams, breaking the flow of your narrative? No one wants that, right? That's why mastering the art of seamless 3D wall panel installation is crucial. It's not just about aesthetics; it's about preserving the integrity of your design. Customizing your 3D wall panel patterns is a journey of creativity, but hiding those pesky seams? That's where the real craftsmanship comes in. So, are you ready to learn the secrets of seamless wall paneling and transform your space into a true work of art? Let's dive right in!
Wall Paneling 101: What, Why, and the Role of Seams
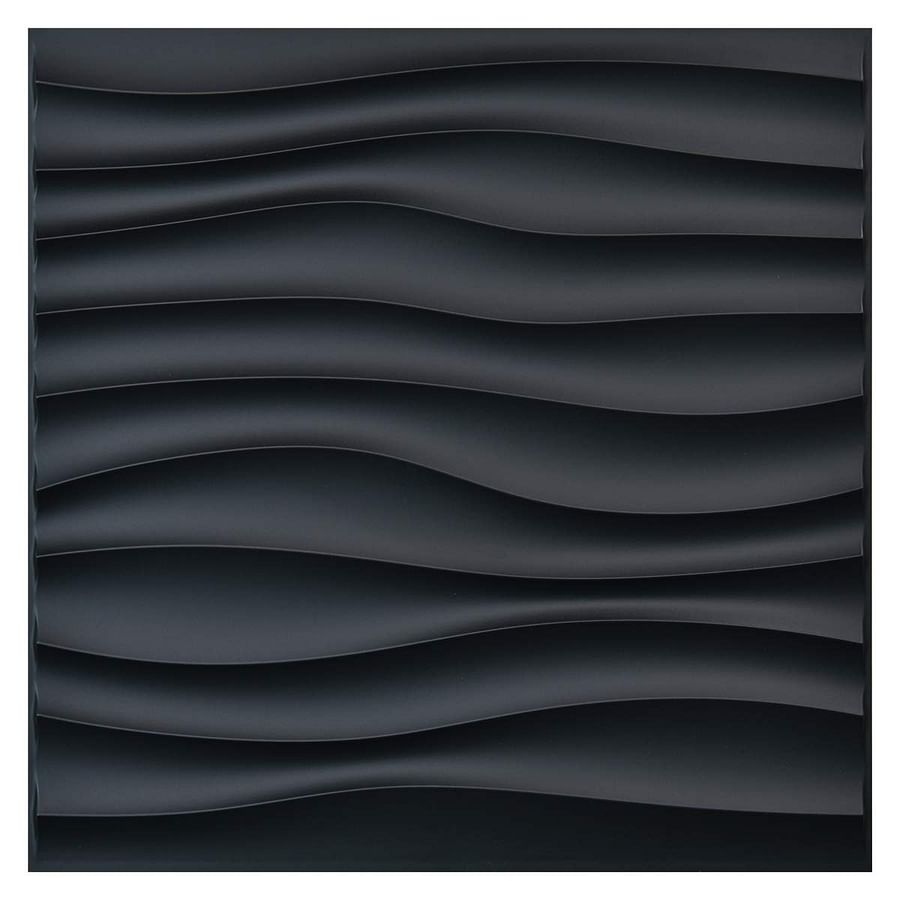
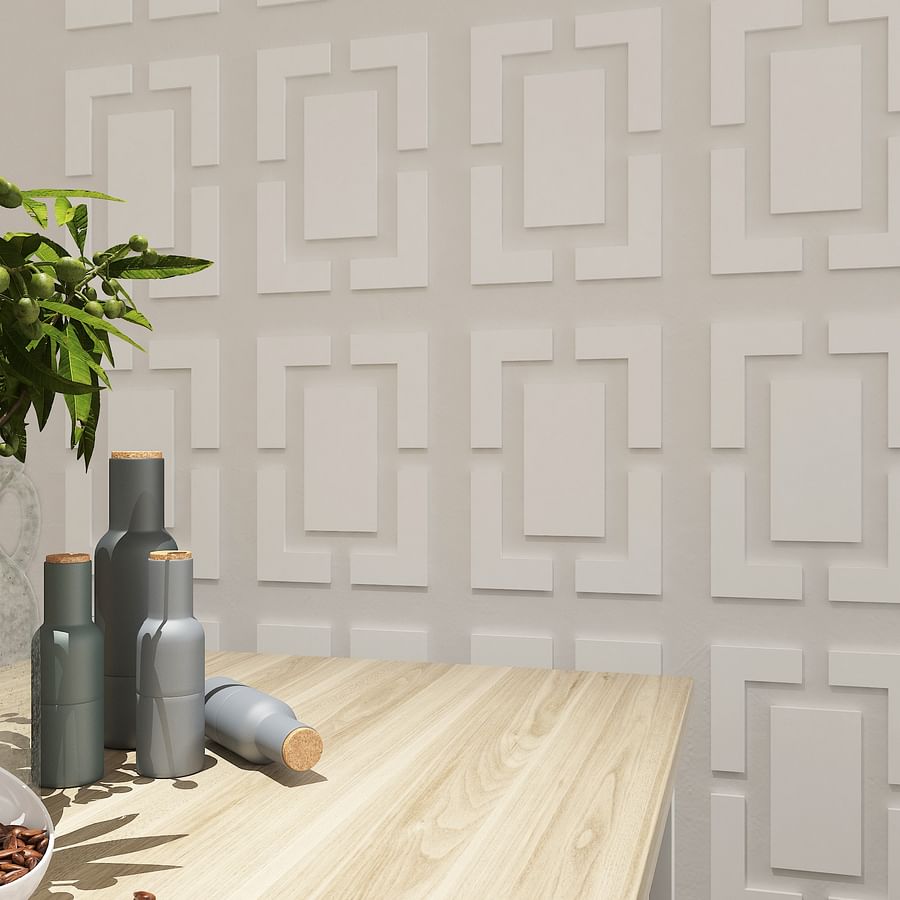
Wall paneling, a centuries-old design element, has recently been given a 3D twist, offering a unique aesthetic appeal. But what about the seams? Seams, the junctions where two panels meet, can disrupt the flawless look of your 3D wall panels if not handled correctly. While professional installation can ensure seamless results, DIY enthusiasts often find themselves grappling with visible seams. But why let seams steal the show when they can be concealed with a little know-how?
Whether you're working on easy install wood wall panels, easy fit wall panels, or custom 3D printed home decor, hiding seams is an art that can be mastered with patience and precision. Ready to transform your space with seamless 3D wall paneling? Let's dive deeper into the world of wall paneling and the art of concealing seams.
Seams or No Seams? The Aesthetic Dilemma in Decorative Wall Paneling
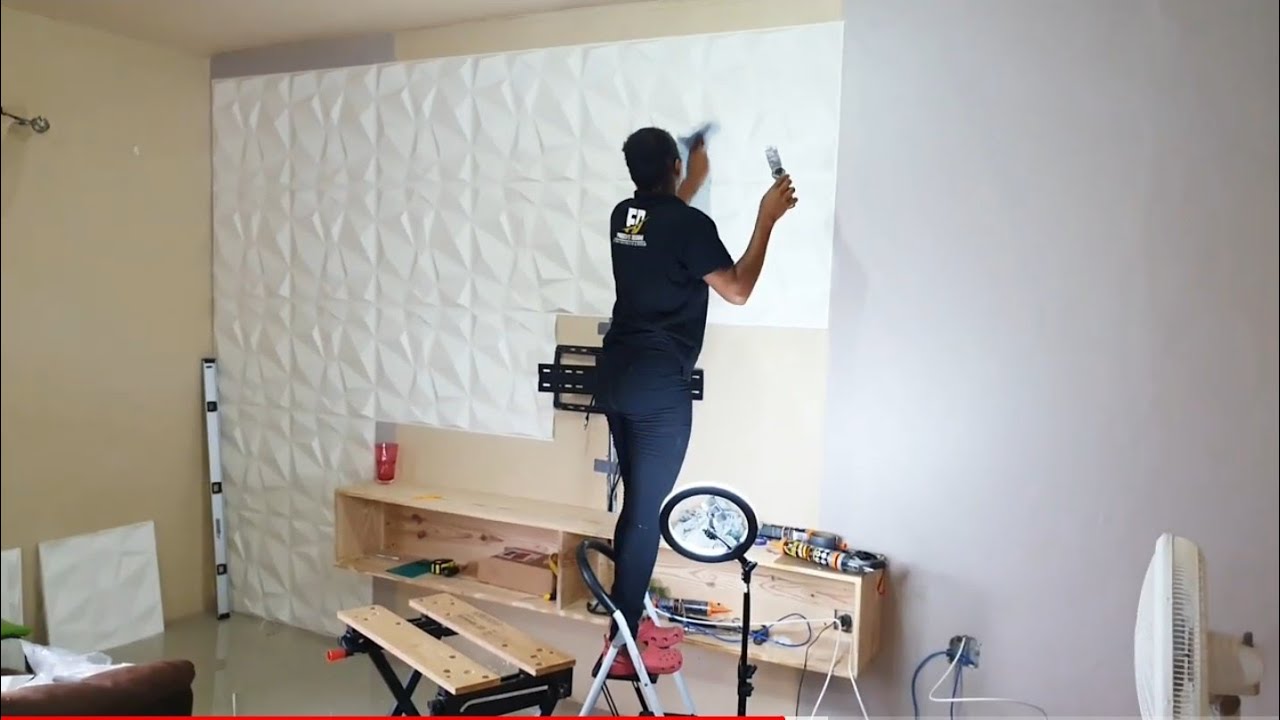
Seams, those sneaky little lines that can disrupt the smooth flow of your 3D wall panels, often become the unsolicited focal point in a room. They're like that one out-of-tune instrument in an orchestra, causing a discord in the symphony of your decor. While professional installation can usually ensure a seamless finish, DIY 3D wall panel installation often ends up with these pesky interruptions.
Why does this happen? It's usually because DIY enthusiasts may not be fully aware of the intricate process involved in wall paneling. The alignment, the cutting, the gluing - each step is a delicate dance that needs to be performed with precision. And let's not forget the finishing touches that can make or break the final look. But don't let this deter you. With the right guidance, even a DIY approach can result in a seamless finish that rivals professional work. After all, who doesn't love a good challenge? Ready to learn how to hide seams in decorative wall paneling?
Your DIY Roadmap: A Detailed Guide to Concealing Wall Panel Seams
Now that we understand the importance of hiding seams in wall paneling and the challenges it can pose, let's dive into the step-by-step guide to achieving a seamless look.
Mastering the Art of Seam Concealment


Learn more about Mastering the Art of Seam Concealment: A Step-by-Step Guide or discover other Whole 3D guides.
With these steps, you should be able to effectively conceal seams in your wall panels. Remember, the key to a seamless look is in the details - careful measuring, cutting, and aligning can make all the difference. Let's look at some additional tips for achieving a seamless panel look.
Master the Craft: Insider Tips for a Flawless Wall Paneling Look
So, you've mastered the art of DIY 3D wall panel installation, and you're ready to take your skills to the next level. The next frontier? Concealing those pesky seams. While they may seem insignificant, visible seams can disrupt the flow of your design, turning a sleek, modern wall into a patchwork puzzle. But fear not, dear reader, for we have the solutions to your seam woes.
Whether you're working with easy clad panels, easy faux stone walls, or even manubric wall paneling, the key to a seamless finish lies in careful preparation, precise cutting, and patient application. Remember, Rome wasn't built in a day, and your wall won't be either. So, take your time, follow our guide, and soon enough, you'll be basking in the glory of your seamless wall panels. Ready to dive in? Let's get started.
Before we wrap up, let's quickly review the key steps and tips for hiding seams in decorative wall paneling:
With this checklist at your fingertips, you're well-equipped to tackle your next DIY wall paneling project. Let's move on to the conclusion.
Your Home Transformation Journey: The Last Word on Seamless Wall Paneling
As we navigate towards the end of this discourse, let's not forget the canvas we started with - a wall longing for transformation. Recall the rough edges, the visible seams? Now, envision, instead, a canvas of seamless beauty. DIY 3D wall panel installation isn't a task confined to the realm of professionals. With a dash of patience, a sprinkle of creativity, and the right tips, you too can create magic on your walls!
Remember, it's not just about hiding seams in wall paneling, it's about creating a piece of art that narrates your unique story. The transformation from visible seams to a seamless work of art is not just a change in your room's aesthetic. It's a symbol of your ability to take on challenges and emerge victorious. So, what are you waiting for? Dive into the world of wall paneling design ideas and start your journey towards a home that truly reflects you!
Ready to take on your next DIY wall paneling project?
After reading our comprehensive guide, do you feel confident enough to hide seams in your next DIY wall paneling project?
Now that you've learned how to hide seams in your next DIY wall paneling project, you might have some questions. Let's address some of the most common ones:
We hope these answers have cleared up any lingering doubts. Remember, with the right approach and patience, you can achieve a professional, seamless look with your wall paneling project. Happy DIY-ing!


No comments yet. Be the first to share your thoughts!