

Introduction to Whole 3D's 3D Wall Panels
Welcome to the world of Whole 3D's 3D Wall Panels, where you can transform your home into a stunning and unique space with ease. These innovative wall panels are designed to add depth, texture, and style to any room, making them the perfect addition to your interior design toolkit. In this blog post, we will explore the benefits of using 3D wall panels as a backdrop for clocks, and discuss no-nail solutions for hanging clocks on these panels without causing any damage. So, let's dive in and discover the magic of Whole 3D's 3D wall panels!
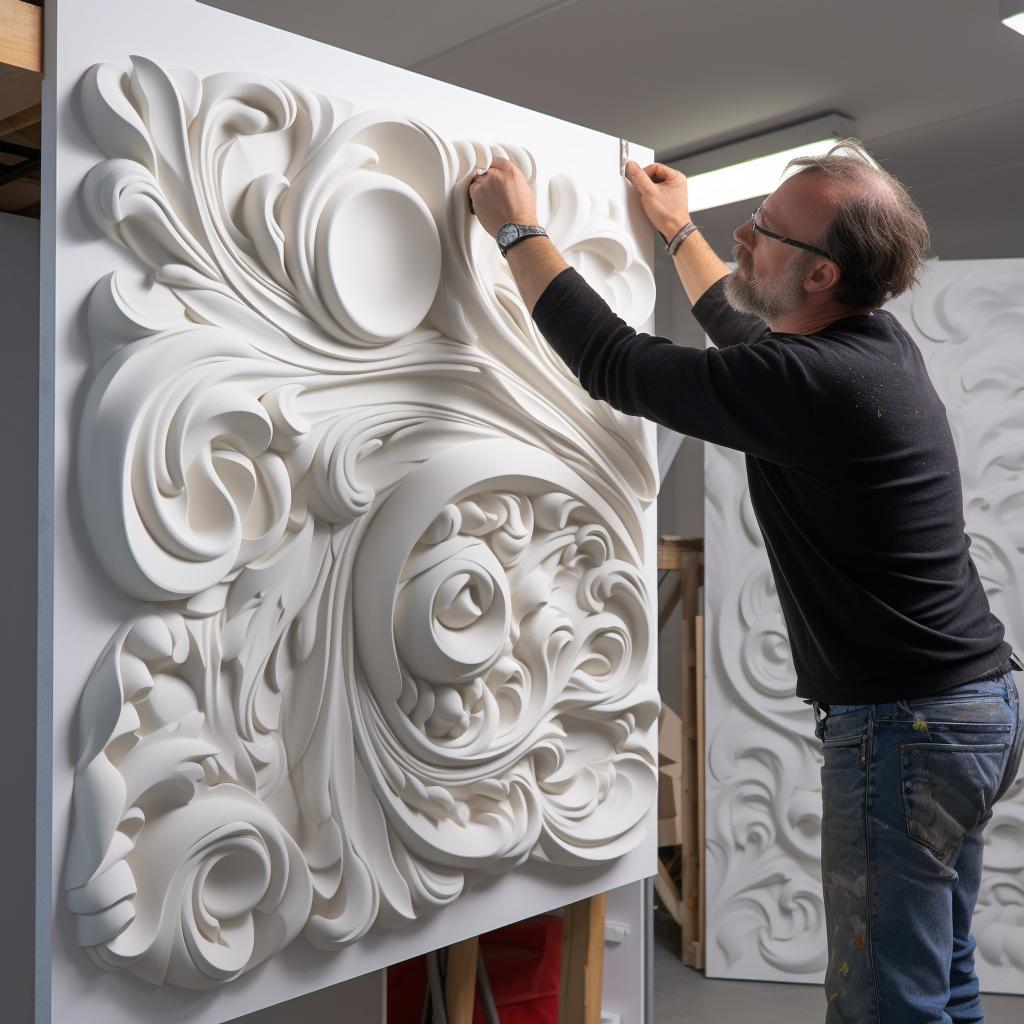
Whole 3D's 3D wall panels are made from a variety of materials, including wood, PVC, and gypsum, offering a range of textures and finishes to suit any design style. They are lightweight, easy to install, and can be customized to fit your specific space and taste. With a wide array of designs and patterns to choose from, you're sure to find the perfect 3D wall panel to complement your home's decor.
One of the main benefits of using 3D wall panels is their ability to create visual interest and depth in any room. The unique textures and patterns of these panels can make a statement on their own, or serve as a beautiful backdrop for your favorite artwork, photographs, or, in this case, clocks. In the following sections, we will discuss why 3D wall panels are the perfect backdrop for clocks, and explore no-nail solutions for hanging clocks on these panels without causing any damage.
So, if you're ready to elevate your home's design and create a truly one-of-a-kind space, let's dive into the world of Whole 3D's 3D wall panels and discover how to hang a clock on your panel without using nails!
Why 3D Wall Panels are the Perfect Backdrop for Clocks
Why 3D Wall Panels are the Perfect Backdrop for Clocks
3D wall panels are an innovative and stylish solution to elevate the aesthetics of any space. Their unique design and texture create a visually captivating backdrop that can enhance the appearance of various decorative elements, including clocks. In this section, we will explore the reasons why 3D wall panels serve as the perfect backdrop for clocks, adding a touch of sophistication and elegance to your home.
Visual Interest and Depth
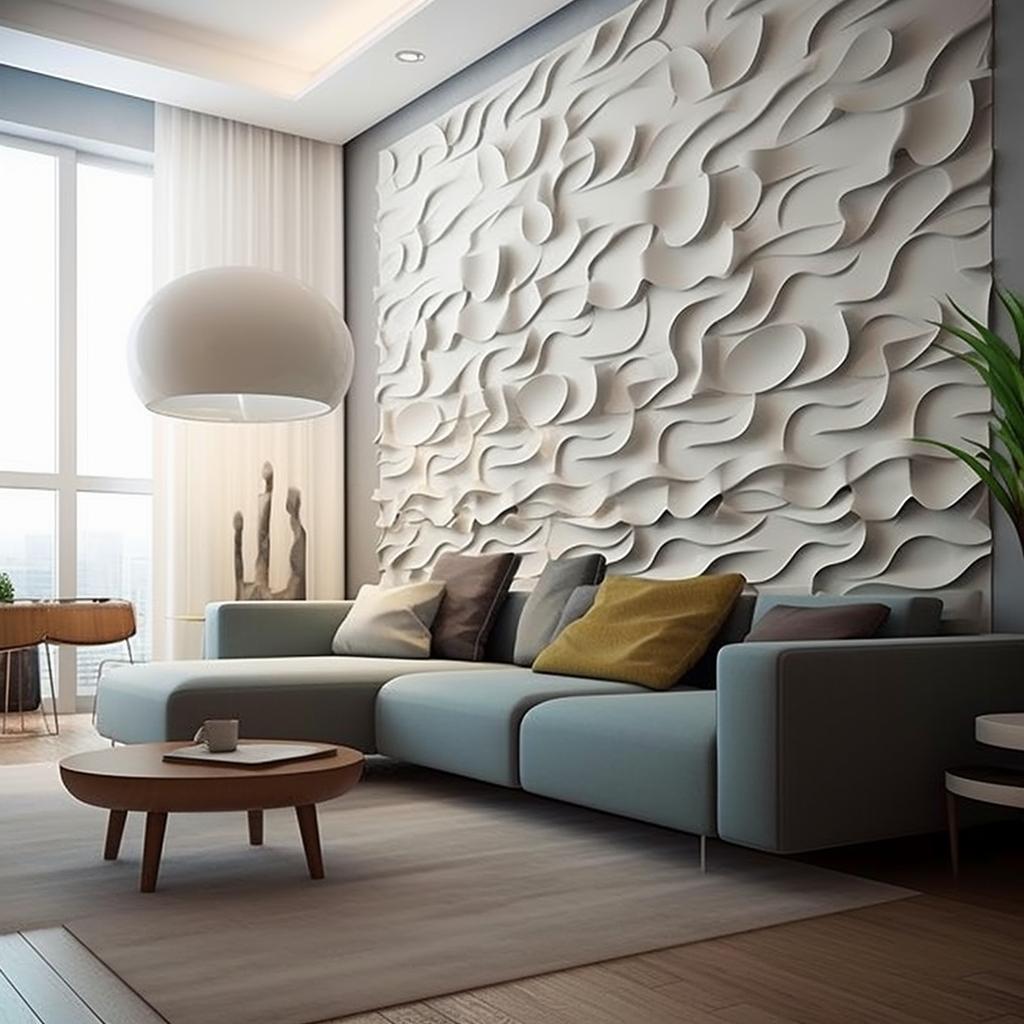
One of the primary reasons 3D wall panels make an excellent backdrop for clocks is their ability to add visual interest and depth to a room. The three-dimensional design of these panels creates a dynamic surface that can accentuate the beauty of a clock, making it a focal point in the room. This combination of textures and shapes can transform a simple wall into a stunning work of art. 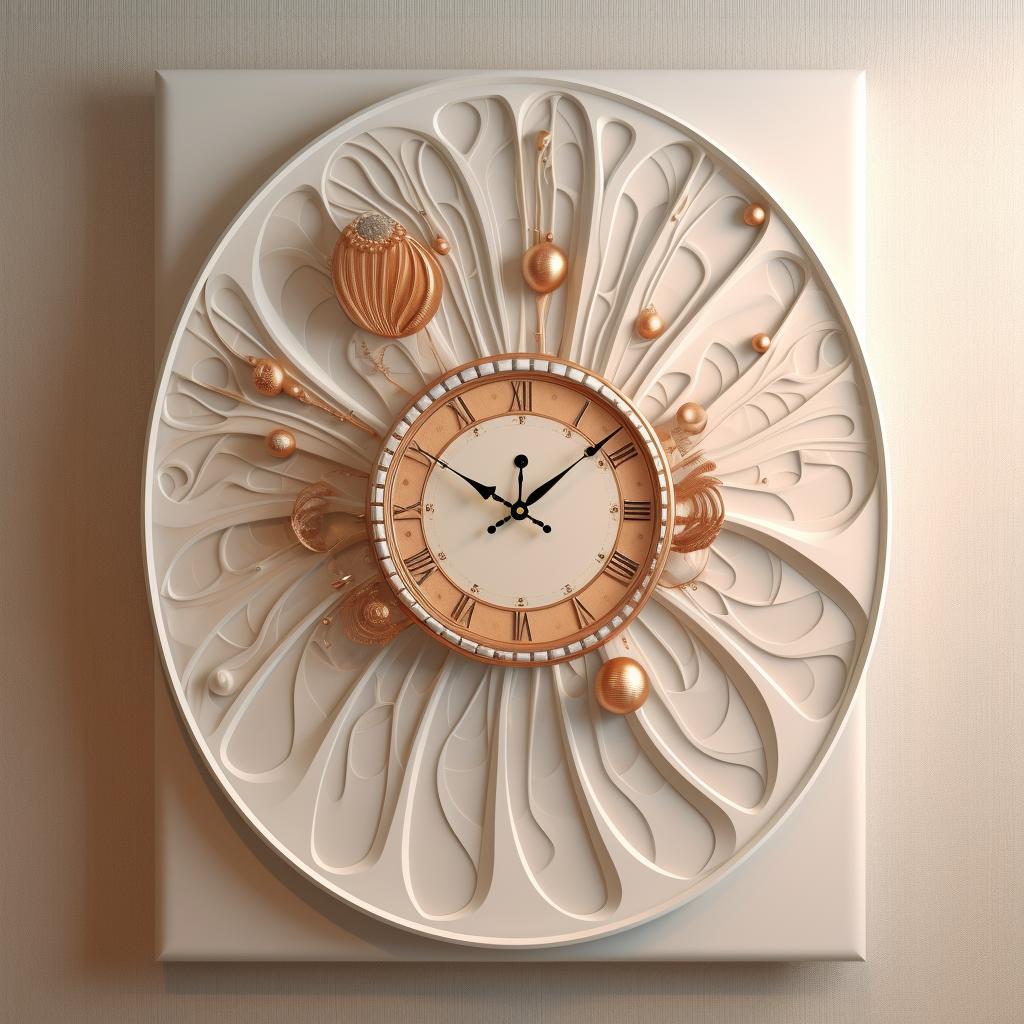
Complementing Various Styles
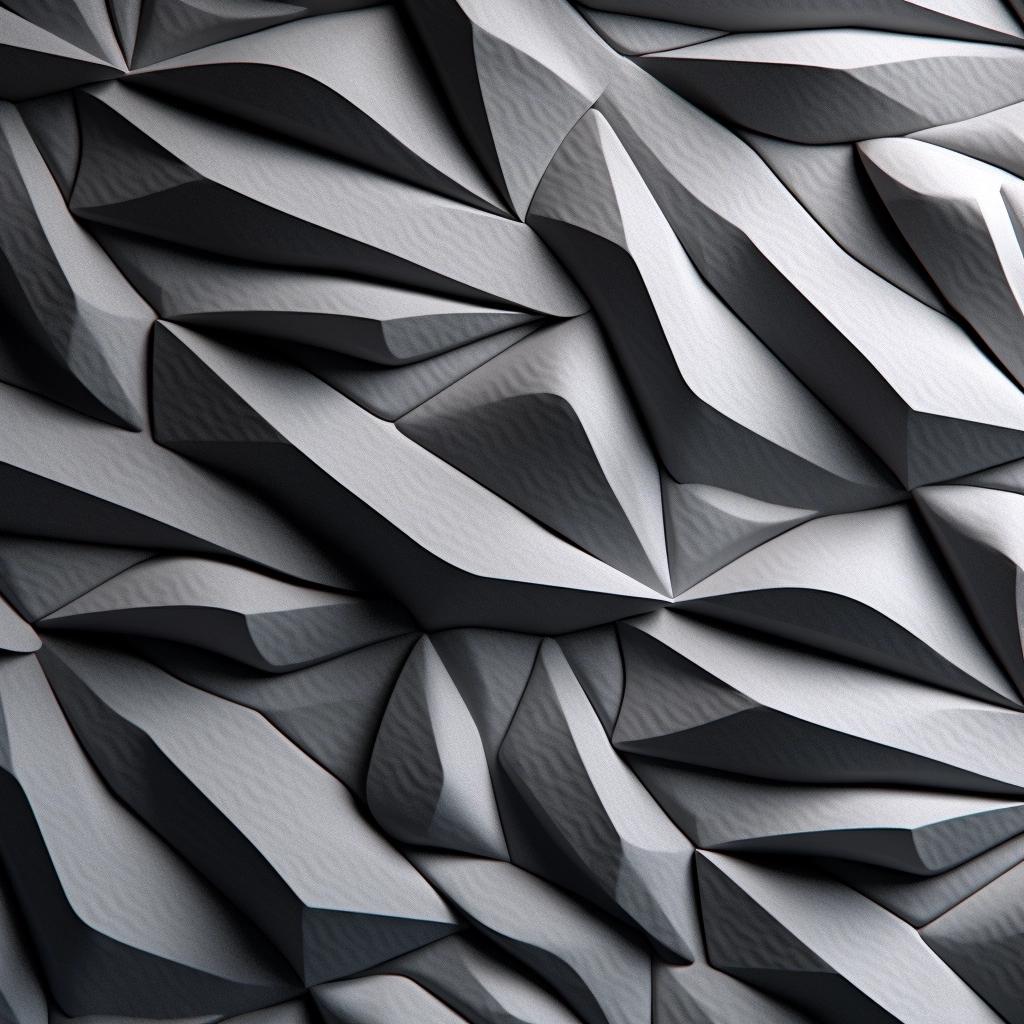
3D wall panels come in a wide range of designs, materials, and colors, making it easy to find the perfect match for your clock and overall interior design. Whether you have a minimalist, contemporary, or traditional style, there is a 3D wall panel that can complement your clock and enhance the visual appeal of your space.
Easy Customization
Another advantage of using 3D wall panels as a backdrop for clocks is their easy customization. You can paint or finish the panels to match your preferred color scheme, ensuring a seamless integration with your existing decor. This flexibility allows you to create a personalized and cohesive look that highlights the beauty of your chosen clock.
Durability and Easy Maintenance
Lastly, 3D wall panels are made from high-quality materials that are both durable and easy to maintain. This ensures that your backdrop will remain in pristine condition for years to come, providing a long-lasting and visually appealing support for your clock. With proper care, your 3D wall panel and clock combination will continue to impress guests and elevate your home's interior design.
In conclusion, 3D wall panels offer a unique and stylish backdrop for clocks, enhancing their visual appeal and creating a stunning focal point in any room. With their versatility, easy customization, and durability, 3D wall panels are the perfect choice for those looking to add a touch of sophistication and elegance to their space.
No-Nail Solutions for Hanging Clocks on 3D Wall Panels
No-Nail Solutions for Hanging Clocks on 3D Wall Panels
Clocks are a great addition to any room, not only for their functionality but also for their aesthetic appeal. However, hanging a clock on a 3D wall panel can be a bit tricky, especially if you don't want to use nails or screws that can damage the panel. Thankfully, there are several no-nail solutions that you can use to hang a clock on your 3D wall panel.
Using Adhesive Strips to Hang a Clock on a 3D Wall Panel
One of the easiest and most popular no-nail solutions for hanging a clock on a 3D wall panel is to use adhesive strips. These strips are designed to hold a certain amount of weight and are easy to apply and remove without damaging the panel. Simply attach the strips to the back of the clock and press firmly onto the panel. Make sure to follow the manufacturer's instructions for weight limits and application.
Using Picture Hangers to Hang a Clock on a 3D Wall Panel
Another no-nail solution for hanging a clock on a 3D wall panel is to use picture hangers. These hangers can be attached to the back of the clock and then hung on a hook or nail that is attached to the panel. Make sure to choose a hook or nail that is appropriate for the weight of the clock and won't damage the panel.
Tips for Choosing the Right Clock for Your 3D Wall Panel
When choosing a clock to hang on your 3D wall panel, consider the size and style of the panel. A large clock may overpower a small panel, while a small clock may get lost on a large panel. Also, consider the style of the panel and choose a clock that complements it. For example, a modern clock may look out of place on a rustic panel.
By using these no-nail solutions and considering the right clock for your 3D wall panel, you can easily add a functional and stylish element to your space without damaging your panel.
Using Adhesive Strips to Hang a Clock on a 3D Wall Panel
One of the most popular and effective no-nail solutions for hanging a clock on your 3D wall panel is using adhesive strips. These strips are specifically designed to hold various weights and can be easily applied to your wall panel without causing any damage. In this section, we'll guide you through the process of using adhesive strips to securely hang a clock on your 3D wall panel.
Step 1: Choose the Right Adhesive Strips
When selecting adhesive strips, it's crucial to choose the right type and weight capacity for your clock. Most adhesive strips indicate the maximum weight they can hold on their packaging, so make sure to choose a strip that can support the weight of your clock. Additionally, opt for strips that are specifically designed for use on textured surfaces, as these will adhere better to your 3D wall panel.
Step 2: Prepare the Clock and Wall Panel
Before applying the adhesive strips, clean both the back of the clock and the area of the wall panel where you plan to hang it. Use a soft cloth and rubbing alcohol to remove any dust or residue, ensuring a strong bond between the adhesive strip and the surfaces. Allow both surfaces to dry completely before proceeding.
Step 3: Apply the Adhesive Strips
Follow the manufacturer's instructions for applying the adhesive strips to the back of the clock. Typically, this involves removing the protective backing from one side of the strip and pressing it firmly onto the clock's surface. Make sure to apply even pressure across the entire strip to ensure a strong bond. Repeat this process for any additional strips needed to support the clock's weight.
Step 4: Attach the Clock to the Wall Panel
Once the adhesive strips are securely attached to the clock, remove the protective backing from the exposed side of the strips. Carefully align the clock with the desired location on the wall panel and press it firmly against the surface. Hold the clock in place for at least 30 seconds to ensure a strong bond between the adhesive strips and the wall panel.
Step 5: Enjoy Your Beautifully Displayed Clock
After allowing the adhesive strips to bond for the recommended time (usually 1 hour), your clock should be securely attached to your 3D wall panel. Now you can enjoy the stunning combination of your stylish clock and the unique texture of your Whole 3D wall panel.
Using Picture Hangers to Hang a Clock on a 3D Wall Panel
Another excellent no-nail solution for hanging a clock on your 3D wall panel is using picture hangers. Picture hangers are designed to securely hold various wall decorations, including clocks, without causing any damage to your wall panels. They come in different sizes and weight capacities, so it's essential to choose the right one for your clock. In this section, we'll guide you through the process of using picture hangers to hang a clock on a 3D wall panel.
First, you'll need to gather the necessary materials. You'll need a picture hanger with the appropriate weight capacity for your clock, a level, a pencil, and a measuring tape. Make sure to choose a picture hanger that is specifically designed for use on textured surfaces, as this will ensure a secure fit on your 3D wall panel.
Next, determine the ideal location for your clock on the wall panel. Use the measuring tape to find the center of the panel and mark it with a pencil. Then, use the level to ensure that your clock will hang straight. Once you've found the perfect spot, place the picture hanger on the wall panel, making sure the hook is facing upwards. Press the hanger firmly onto the panel, following the manufacturer's instructions for optimal adhesion.
Allow the picture hanger to set for the recommended amount of time, which can vary depending on the brand. This waiting period ensures that the adhesive has fully bonded to the wall panel, providing a secure hold for your clock.
Finally, hang your clock on the picture hanger by carefully hooking the clock's hanging mechanism onto the hanger's hook. Double-check that the clock is level and securely in place. And there you have it – your clock is now beautifully displayed on your 3D wall panel without the need for nails or screws!
Remember to always follow the manufacturer's guidelines for both the picture hanger and the 3D wall panel to ensure a safe and secure installation.
Tips for Choosing the Right Clock for Your 3D Wall Panel
Now that you have a better understanding of how to hang a clock on your 3D wall panel without using nails, it's time to focus on selecting the perfect clock to complement your space. In this section, we will discuss some essential tips for choosing the right clock for your 3D wall panel, ensuring that your new timepiece not only serves its functional purpose but also enhances the overall aesthetic of your room.
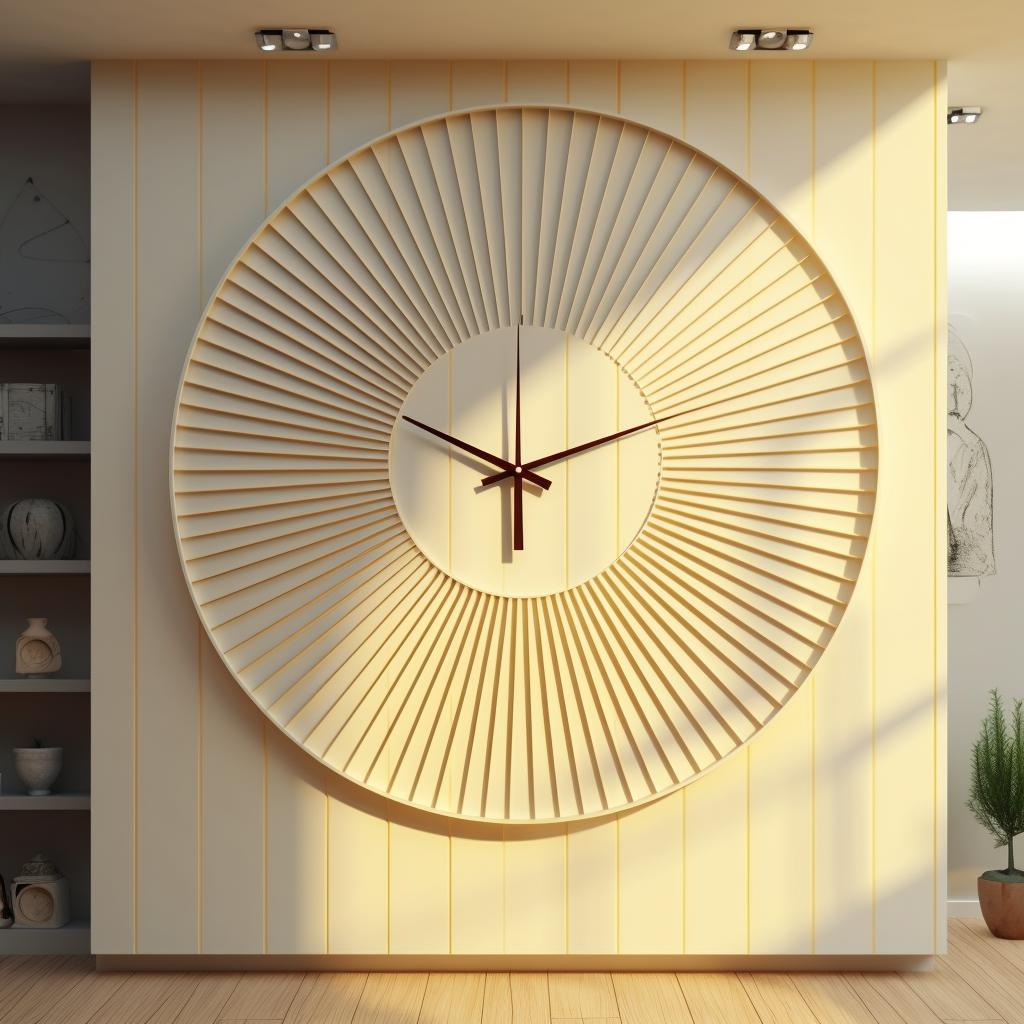
1. Consider the size of the clock: The size of the clock you choose should be proportionate to the size of the wall panel and the room. A large clock may overpower a small space, while a small clock may get lost in a large room. Measure the area where you plan to hang the clock and use those dimensions as a guide when shopping for the perfect timepiece.
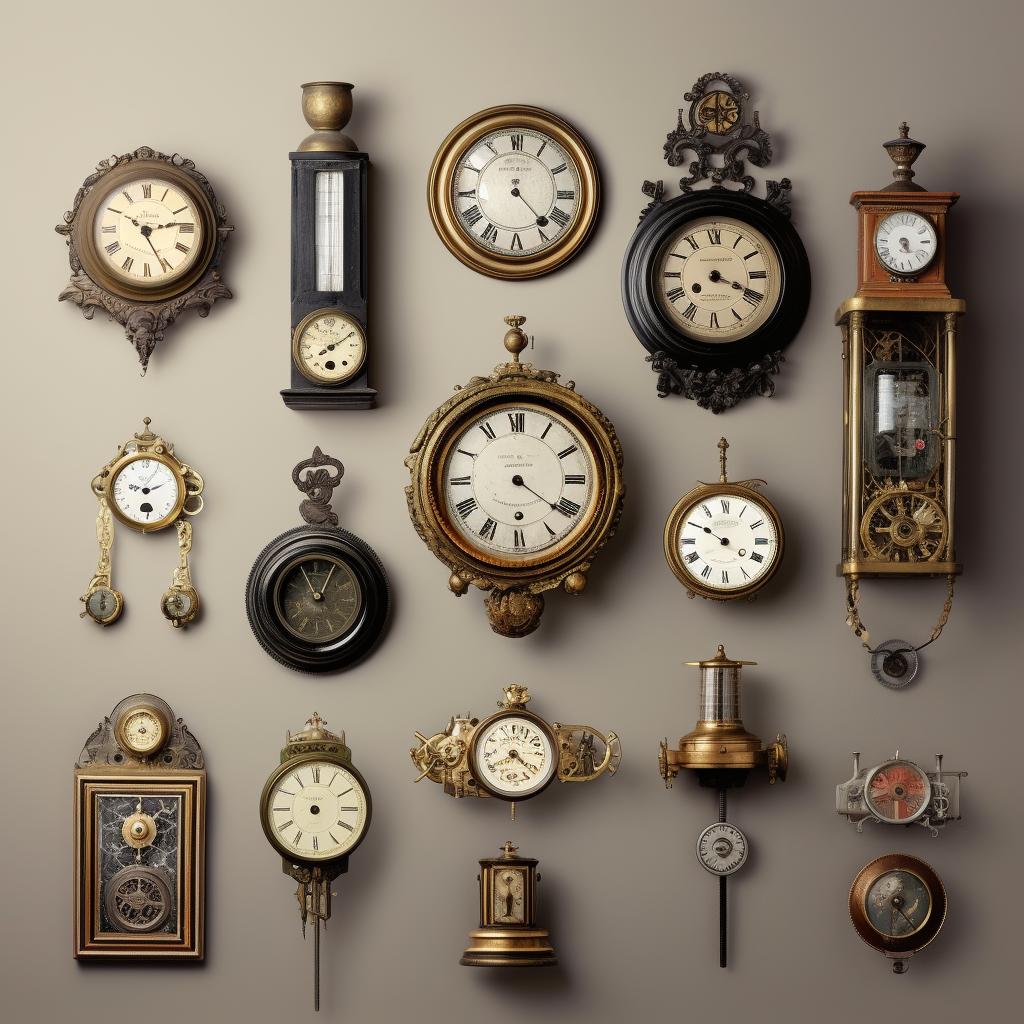
2. Match the clock's style with your room's decor: Your clock should seamlessly blend with the overall design theme of your room. If your space has a modern and minimalist vibe, opt for a sleek, contemporary clock. On the other hand, if your room features a more traditional or rustic design, a classic or vintage-inspired clock may be a better fit.
3. Choose a clock with the right color and finish: The color and finish of your clock should complement the colors and textures of your 3D wall panel. If your wall panel features a bold, vibrant design, a clock with a more subtle color palette may be the best choice. Conversely, if your wall panel has a more understated design, a clock with a pop of color or an eye-catching finish can serve as a stunning focal point.
4. Pay attention to the clock's functionality: While aesthetics are important, don't forget to consider the functionality of your clock. Ensure that the clock you choose is easy to read and has the features you need, such as an alarm or a backlight for nighttime visibility.
In conclusion, selecting the right clock for your 3D wall panel involves considering factors such as size, style, color, finish, and functionality. By taking the time to choose a clock that complements your 3D wall panel and the overall design of your room, you'll create a harmonious and visually appealing space that you'll love to spend time in.
Conclusion: Transform Your Space with Whole 3D's 3D Wall Panels and Clocks
In conclusion, Whole 3D's 3D wall panels and clocks are a match made in design heaven. They offer a unique and stylish way to elevate your interior design game, giving your space a modern and sophisticated touch. With the no-nail solutions we've discussed, you can easily hang a clock on your 3D wall panel without causing any damage to the panel or your walls.
By choosing the right clock for your 3D wall panel, you can create a stunning focal point that will not only keep you on time but also showcase your personal style. Remember to consider the size, shape, and color of the clock to ensure it complements the design of your 3D wall panel. Don't be afraid to experiment with different styles and materials – the possibilities are endless!
At Whole 3D, we are committed to helping you transform your home with our innovative 3D wall panels and decor. Our easy-to-follow guides and tips will assist you in installing, designing, and customizing your space to suit your needs and preferences. So, why wait? It's time to embrace the power of 3D wall panels and clocks to create a truly unique and captivating space.
For more inspiration and ideas, be sure to check out our extensive range of 3D wall panels and clocks on our website. We are confident that you will find the perfect combination to suit your taste and style. 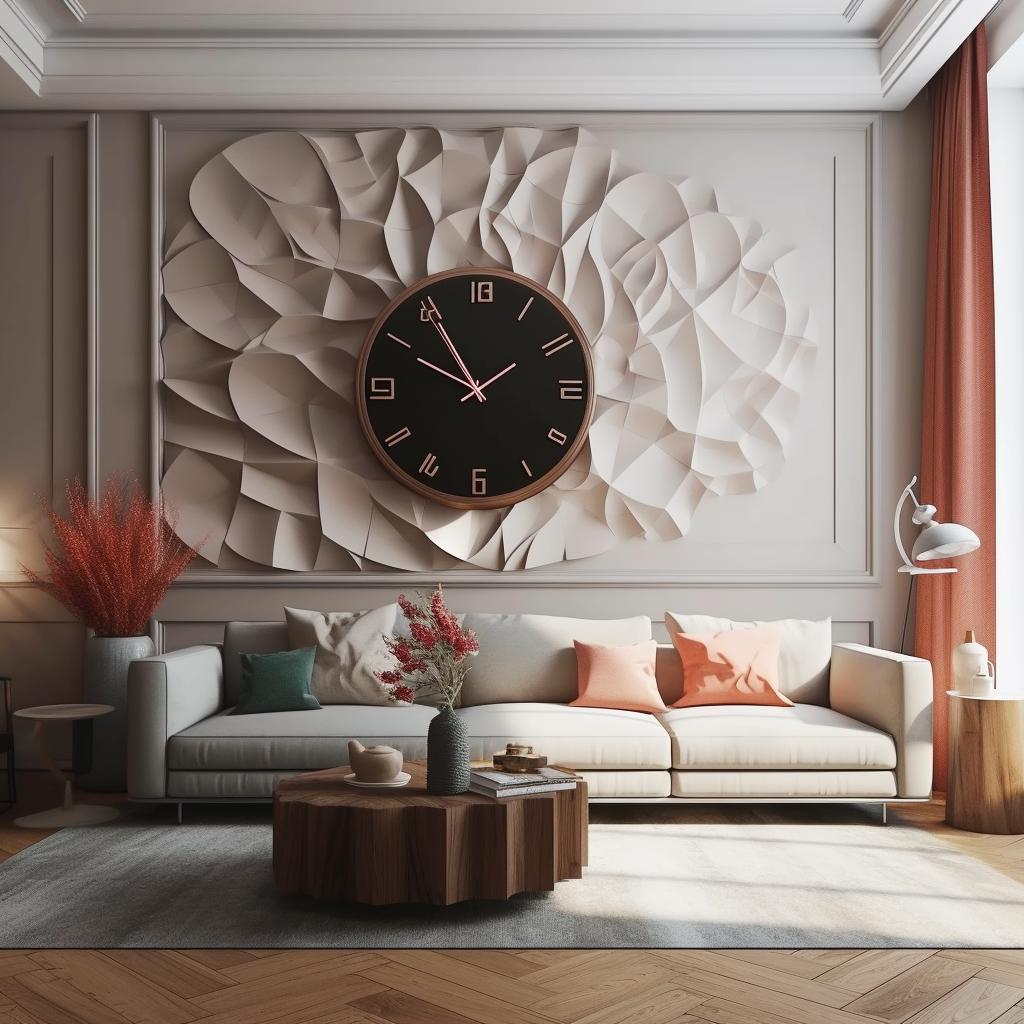
Happy designing, and remember – with Whole 3D's 3D wall panels and clocks, the only limit is your imagination!


No comments yet. Be the first to share your thoughts!