🔨 Your DIY Journey: Installing 3D Wall Decor on Your Staircase
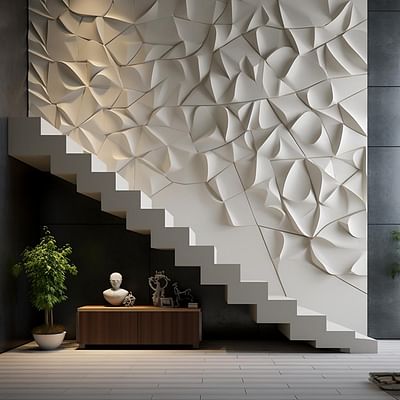
Transforming your home has never been easier, thanks to Whole 3D's innovative 3D wall panels. With the right tools and a little bit of guidance, you can turn any space into a stunning visual experience, including your staircase. Our step-by-step guide above walks you through the process, but let's delve a bit deeper into each step and explore some additional tips.
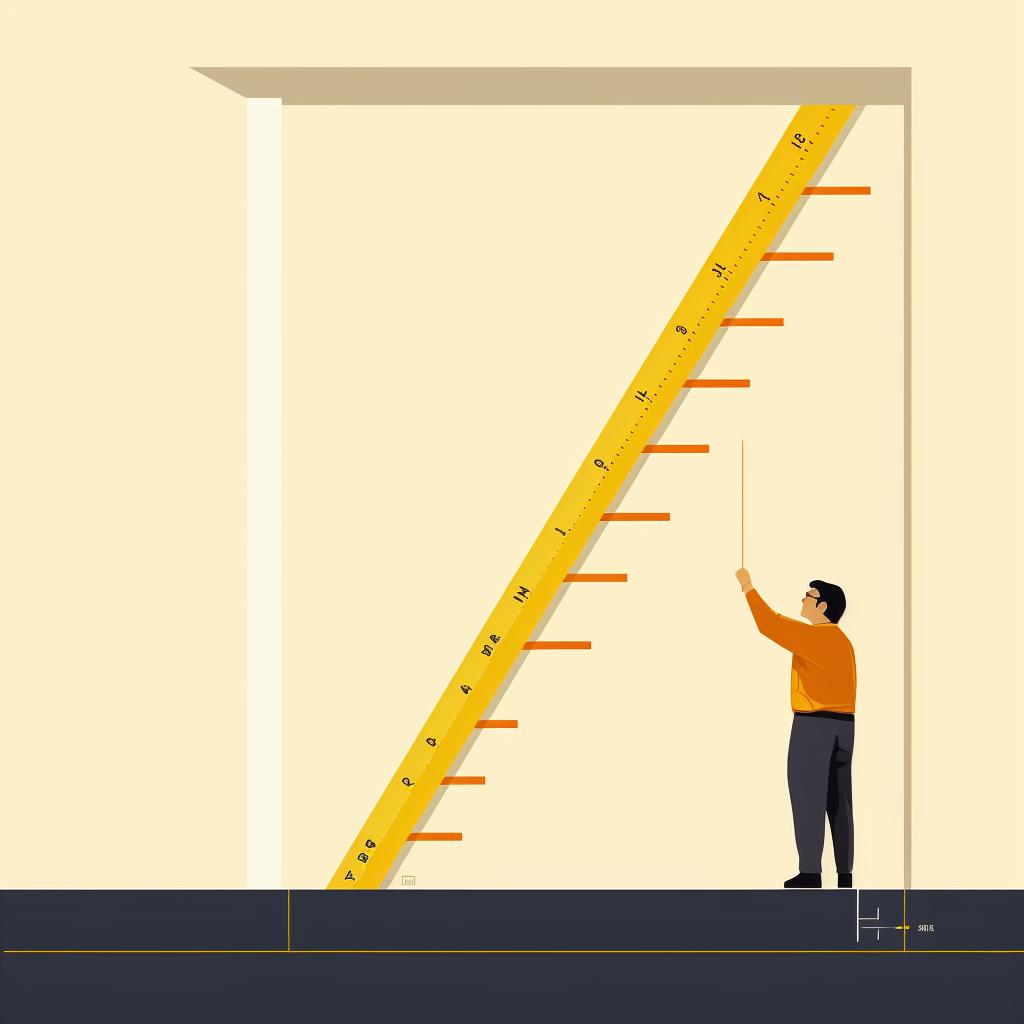
Step 1: Measure the Staircase Area
It's crucial to get accurate measurements of your staircase wall. This will determine the number of 3D panels you need and prevent any unnecessary wastage. If you're unsure about this step, our FAQ section has detailed instructions on how to measure your wall correctly.
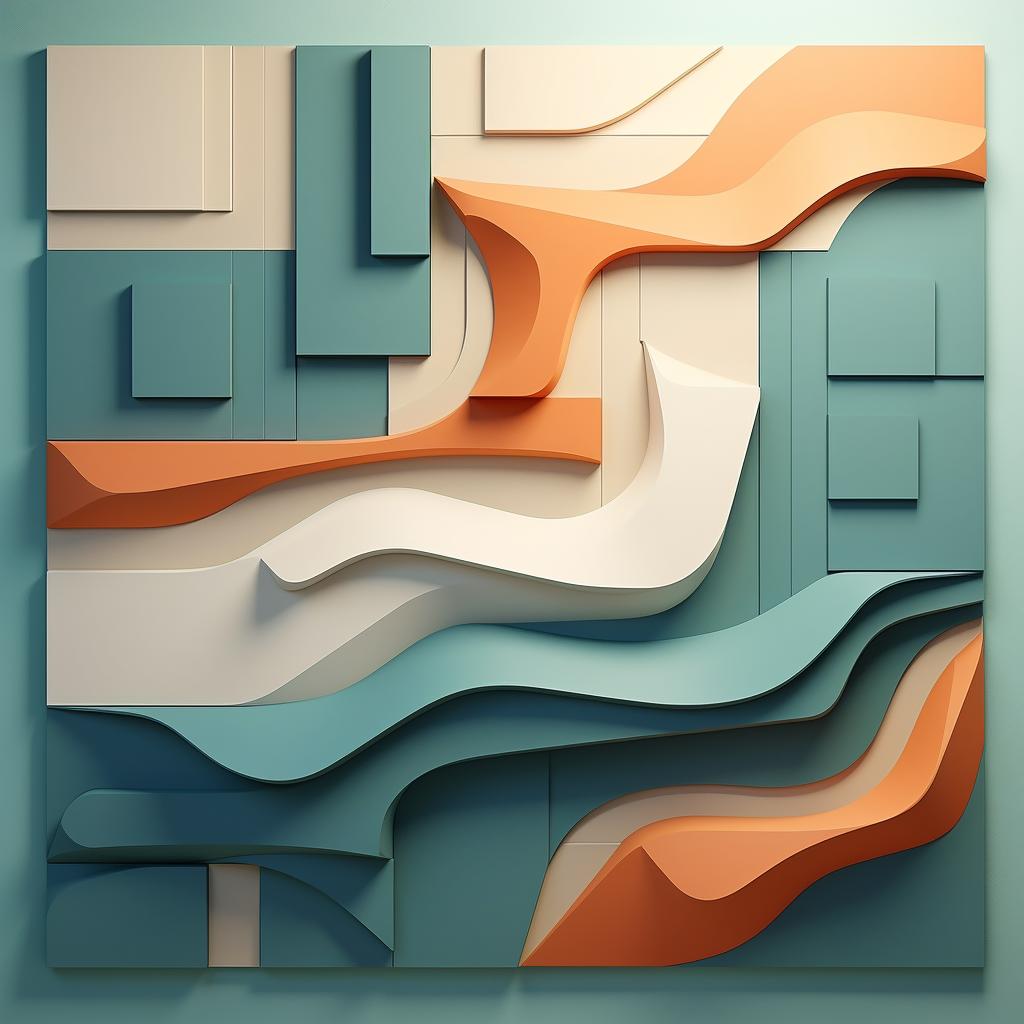
Step 2: Select Your 3D Panels
Choosing the right 3D panels can be both exciting and overwhelming. Whole 3D offers a wide variety of designs and colors to suit every style. If you need some inspiration, check out our article on customizing your 3D wall panel designs.
Step 3: Prepare the Wall
Preparing the wall is a crucial step that should not be overlooked. A clean, smooth surface ensures the panels adhere properly and last longer. If you need more information on how to prepare your wall, our article provides handy tips to make your DIY project easier.
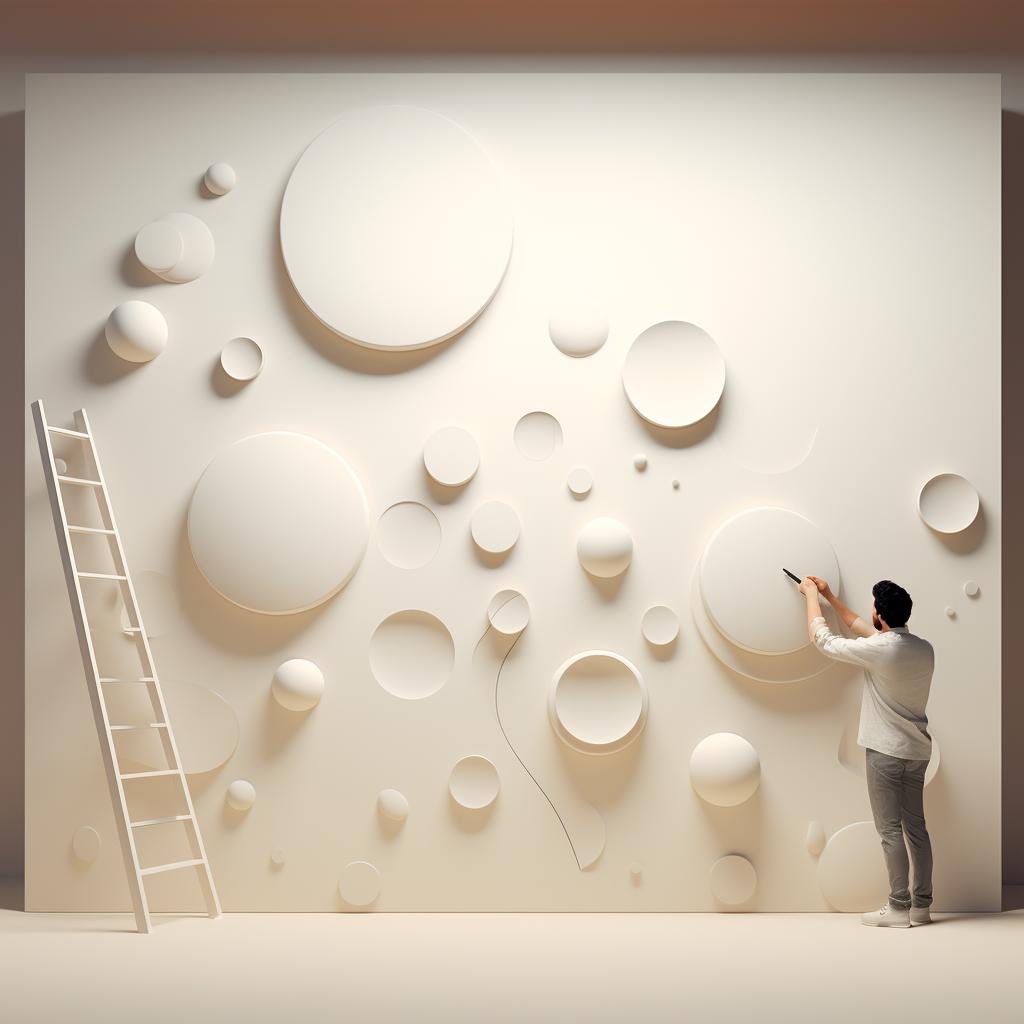
Step 4: Apply the Panels
Applying the panels is a rewarding process as you start to see your vision come to life. Remember to start from the bottom and work your way up for the best results. If you're unsure about this step, our FAQ section provides detailed instructions on how to apply the panels correctly.
Step 5: Final Touch-ups
The final touch-ups are all about perfecting your work. Fill any gaps, align the panels properly, and clean up any adhesive residue. This is your chance to ensure your 3D wall decor looks its best.
With Whole 3D's innovative 3D wall panels, you can transform your home one wall at a time. So why not start with your staircase? Happy decorating!

