🔨 Your DIY Guide to Installing Paintable 3D Wall Panels
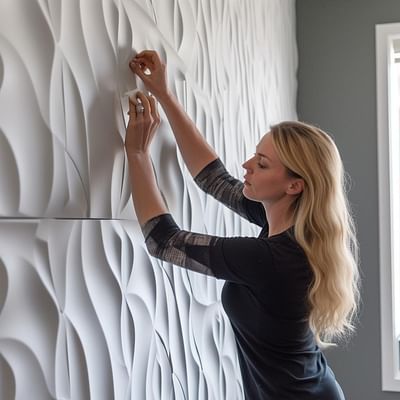
Transforming your home with Whole 3D's innovative 3D wall panels is a rewarding DIY project that adds a unique touch to your living space. Our step-by-step guide above simplifies the process, making it easy for anyone to install these panels. But the fun doesn't stop there! With our panels, you're not just installing a product; you're unlocking a world of design possibilities.
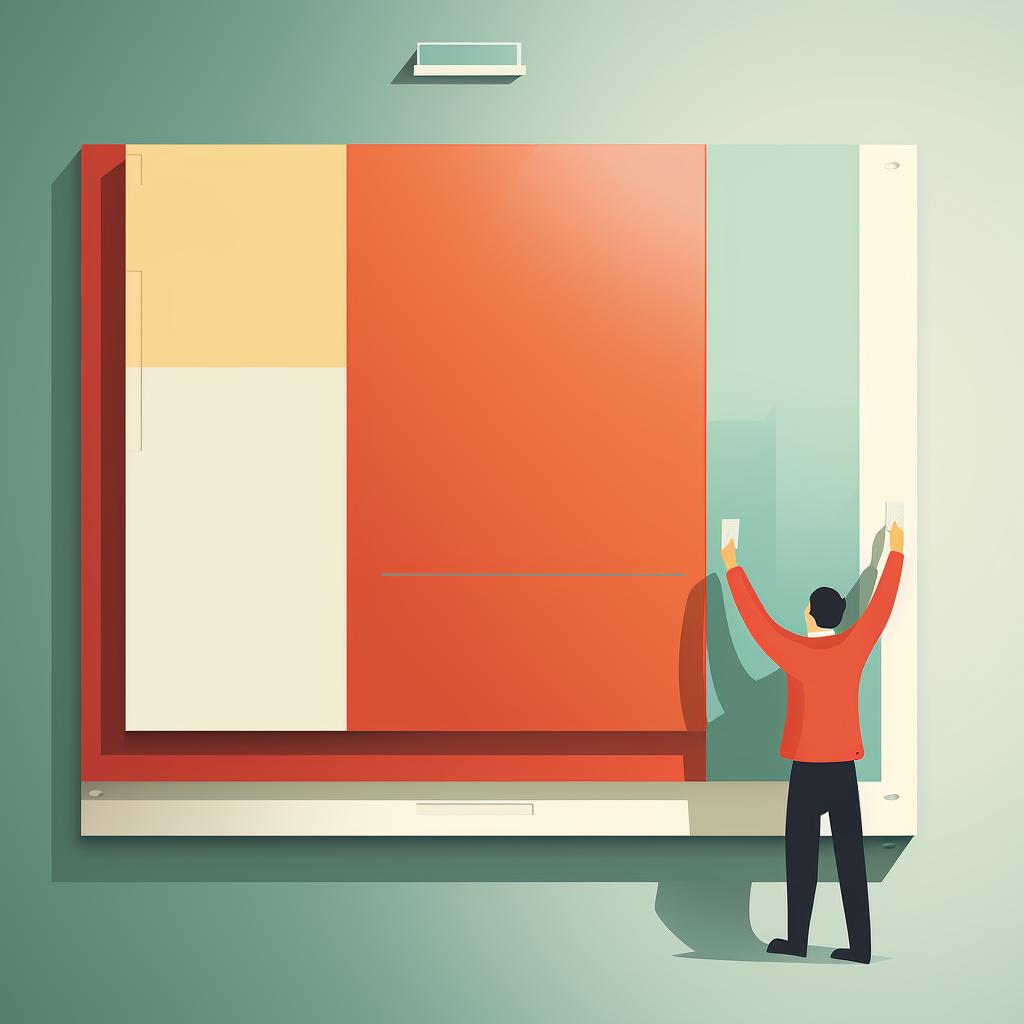
One of the best features of our 3D wall panels is their paintable surface. This allows you to customize your panels to match your existing decor or create a bold new look. Whether you want a subtle, monochromatic scheme or a vibrant, contrasting pattern, the choice is all yours. And if you're in need of inspiration, we have plenty of design ideas to spark your creativity.
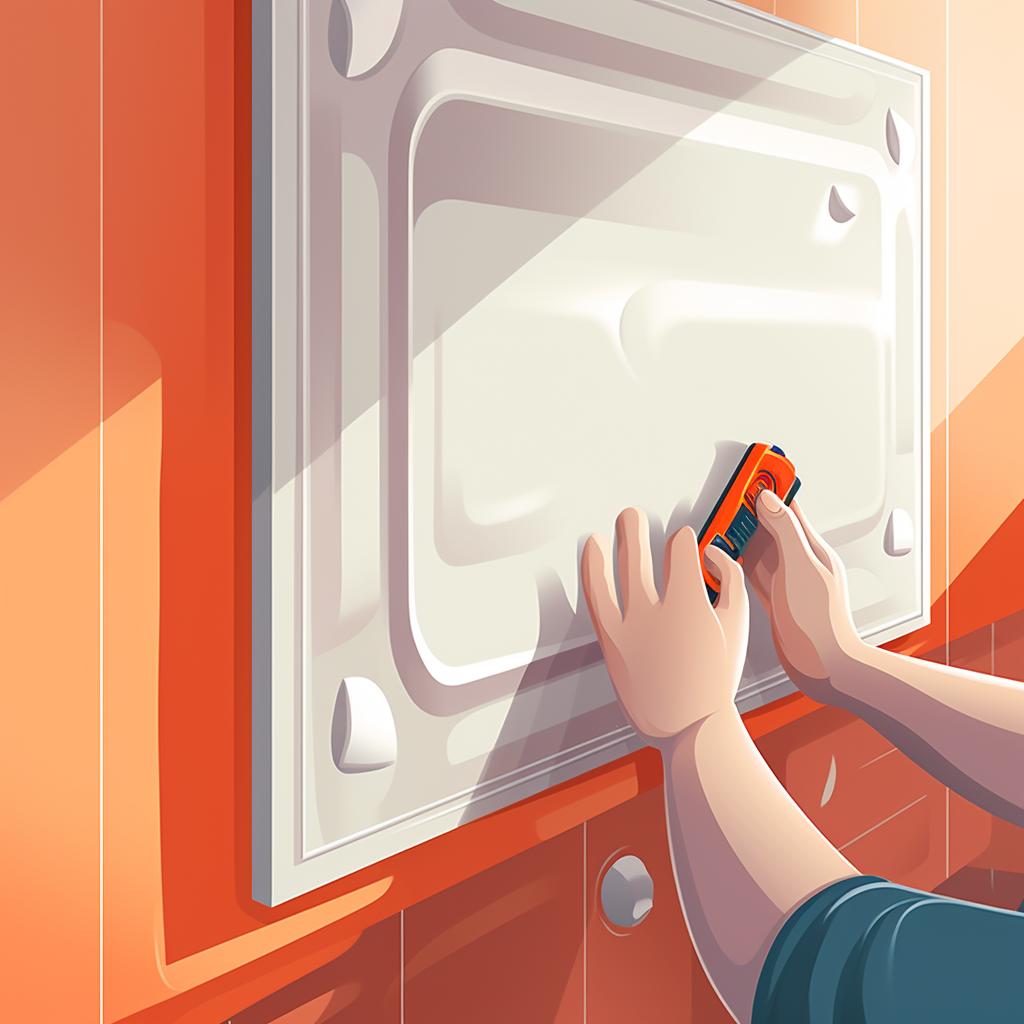
While installing 3D wall panels is a straightforward process, we understand that every DIY project comes with its own set of challenges. That's why we've compiled a list of installation tips to help you navigate any potential hurdles. From preparing your wall to applying adhesive, these tips will ensure a smooth installation process.
Our 3D wall panels are not just for living rooms or bedrooms. They can transform any space in your home, including your kitchen. Check out our article on how to transform your kitchen with our stylish 3D wall panel designs. You'll be amazed at how these panels can elevate the look of your cooking space.
At Whole 3D, we believe in empowering homeowners to take charge of their home decor. Our 3D wall panels are a testament to that. They're not just wall coverings; they're a canvas for your creativity. So go ahead, measure, install, paint, and let your walls tell a story that's uniquely yours.


