Step-by-Step Guide to Installing 3D Wall Decor
Transforming your home with Whole 3D's innovative 3D wall panels and decor is a fun and rewarding project. With our step-by-step guide, you'll have all the knowledge you need to install your 3D wall decor like a pro. But before you start, let's delve deeper into the process and share some additional tips to ensure a successful installation.
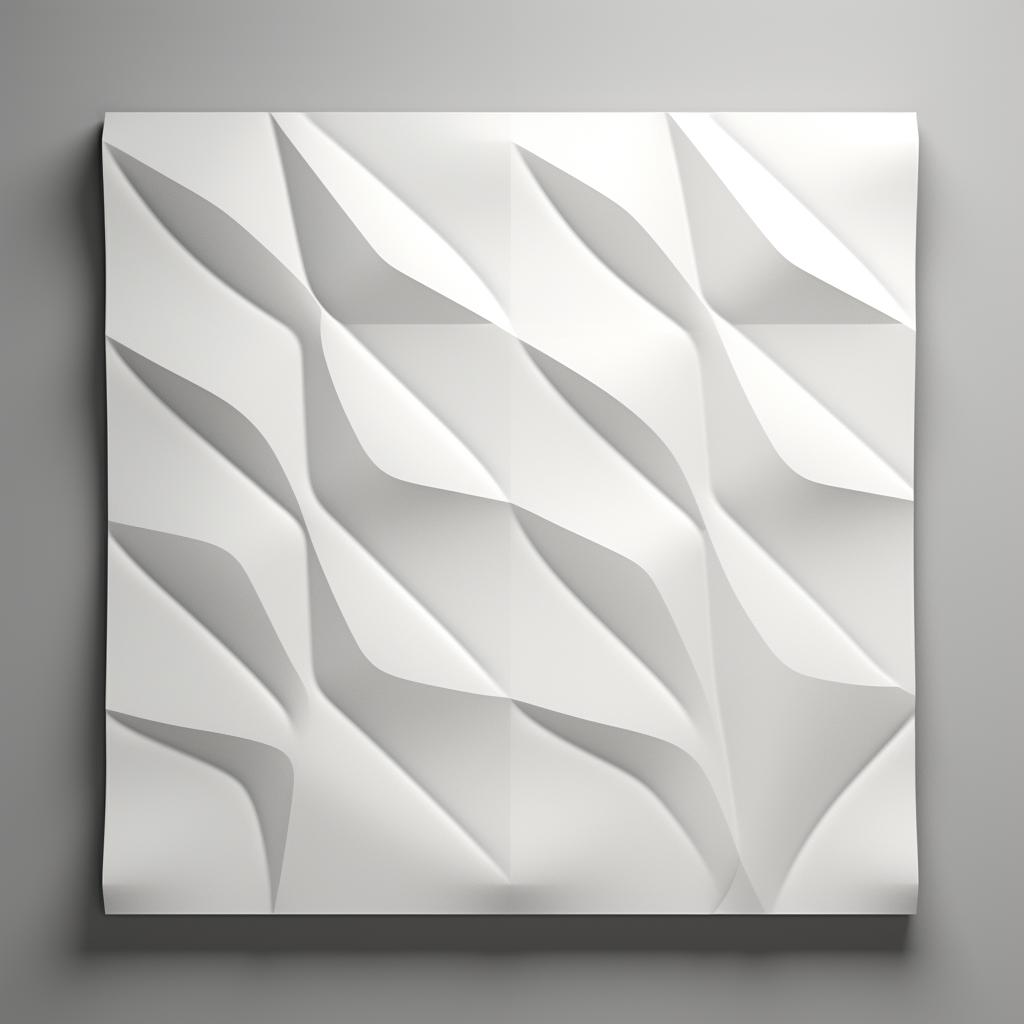
Choosing the right 3D wall panels is the first step in this exciting journey. Consider the theme and color scheme of your room. With a variety of designs available, from brick to wave, and geometric patterns, you're sure to find something that complements your room's design. For more insights on this, check out our FAQ on decorating with 3D wall panels.
Preparing your wall for the installation is crucial. A clean, dry wall ensures the adhesive sticks properly, and removing any loose paint or wallpaper prevents uneven surfaces. If you're unsure about this step, our FAQ on installing Whole 3D wall panels provides a detailed explanation.
Once your wall is prepared, marking the wall with straight lines will guide you during the installation process. This ensures your panels are aligned correctly, creating a seamless and professional finish. Our DIY 3D wall panel installation guide provides more details on this step.
Applying adhesive to the back of the 3D panel is the next step. An even layer across the entire surface ensures a strong bond with the wall. Then, it's time to press the panel onto the wall, aligning it with the marked lines. Starting from one corner and working your way across ensures each panel fits snugly against the previous one. If you need more guidance, our FAQ on installing Whole 3D's 3D wall panels and decor can help.
Finally, once all panels are installed, it's time for the finishing touches. Applying paint or finish gives your 3D wall decor a polished look and protects it from damage. Whether you're enhancing your home office or adding a unique touch to your living room, Whole 3D's innovative 3D wall panels and decor can make your space truly stand out.
With these tips and our step-by-step guide, you're well-equipped to transform your home with Whole 3D's innovative 3D wall panels and decor. Happy decorating!


