Learn more


Transforming your home with Whole 3D's innovative 3D wall panels is a rewarding DIY project that can dramatically enhance the aesthetic appeal of your space. Our step-by-step guide above provides a comprehensive walkthrough to help you master the installation process. But, let's delve a little deeper into the world of 3D wall panels to give you a fuller understanding of this exciting home improvement project.
Why Choose 3D Wall Panels?
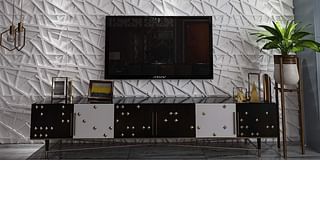
3D wall panels are a modern and stylish way to add texture and depth to your walls. They come in a variety of designs and materials, allowing you to customize your space to your liking. Whether you want a sleek, contemporary look or a rustic, vintage charm, there's a 3D wall panel design that's perfect for you. Check out our top design ideas for inspiration.
Getting Started with Installation
Before you start installing your 3D wall panels, it's crucial to prepare your wall properly. A clean, smooth surface ensures a secure and even application of panels. For more detailed information on this, refer to our DIY guide.
Next, you'll need to measure and mark your wall. This step is crucial for a neat and symmetrical installation. Don't rush this part; taking your time to measure accurately will pay off in the end.
Applying Adhesive and Affixing the Panels
When it comes to applying adhesive, more is often better. A generous amount of adhesive, especially around the edges of the panel, ensures a secure fit. If you're unsure about which adhesive to use, our guide on the best adhesives for 3D wall panels can help.
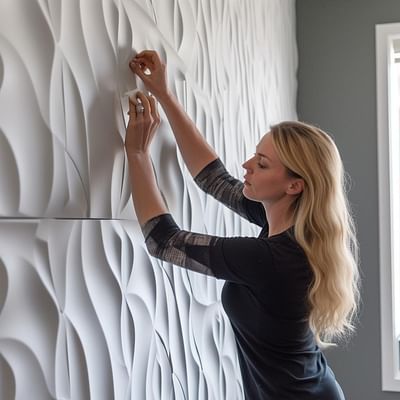
Finally, it's time to affix the panel to the wall. Align it with your markings and press firmly. Hold it in place for a few seconds to allow the adhesive to bond with the wall. Repeat this process with each panel, ensuring they fit snugly together. For more expert tips and tricks on this process, check out our master guide.
Finishing Touches
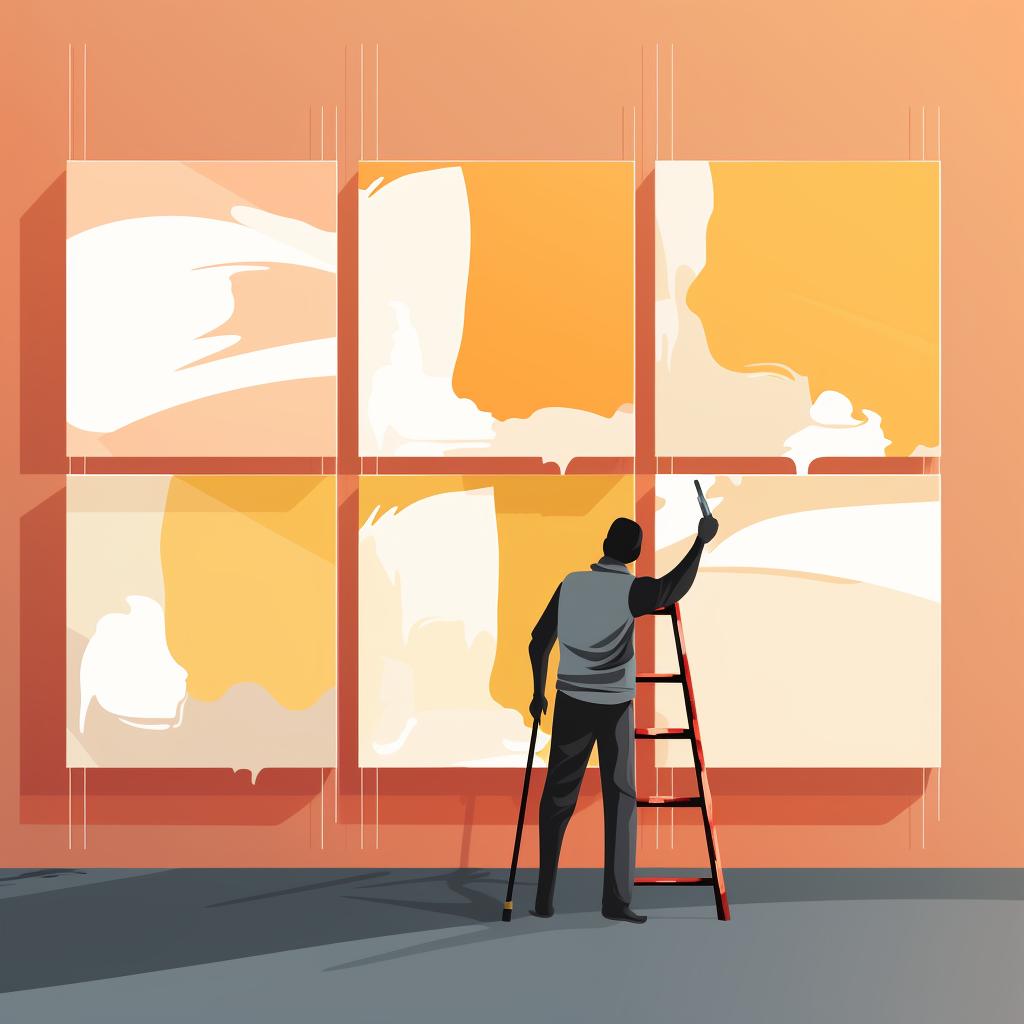
Once all panels are installed, you can apply any finishing touches. This could include painting the panels or adding trim around the edges. Remember, this is your chance to add a personal touch to your space, so don't be afraid to get creative!
With Whole 3D's innovative 3D wall panels and our easy-to-follow guides, you're well-equipped to transform your home into a stylish and modern space. Happy decorating!
All Rights Reserved © 2025