📚 3D Wall Panel Installation Guide
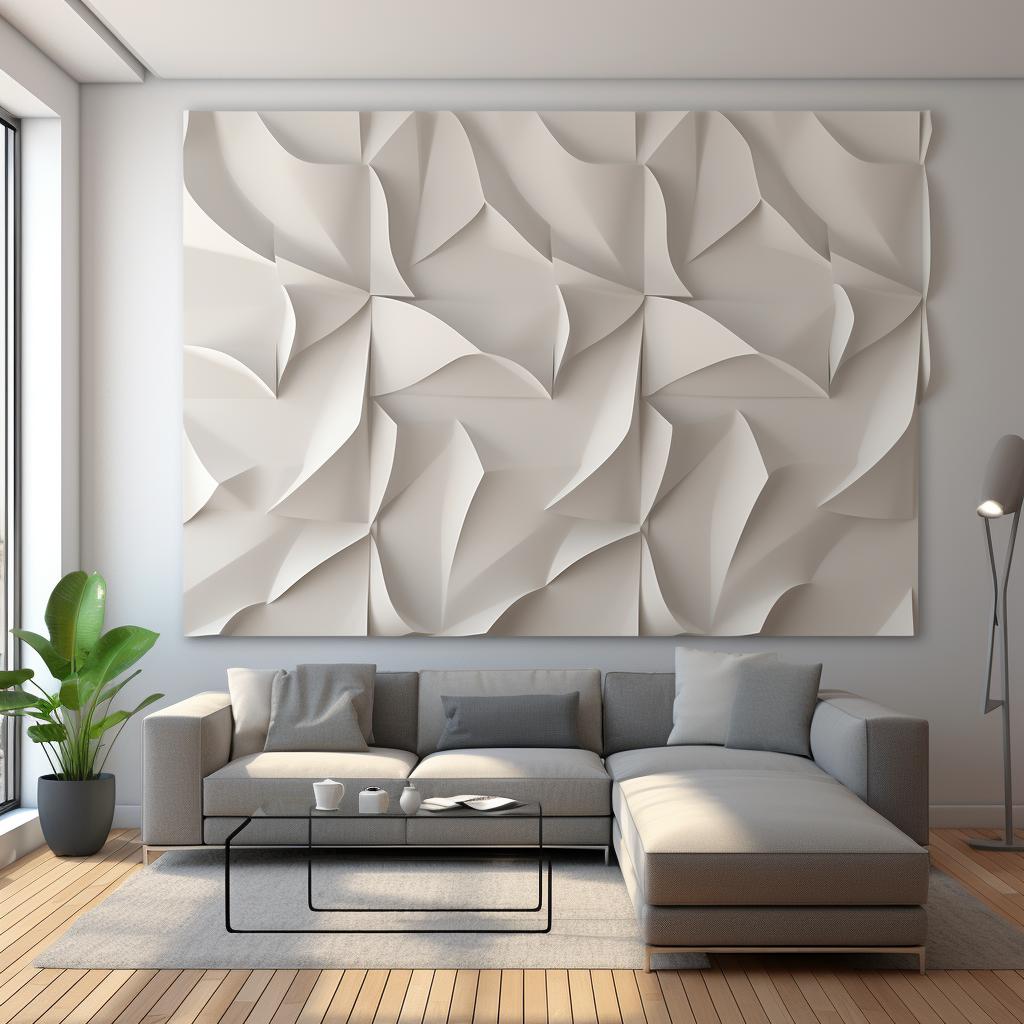
Transforming your home has never been easier with Whole 3D's innovative 3D wall panels. Our easy-to-follow step-by-step guide above takes you through the entire process of installation, ensuring a flawless finish every time.
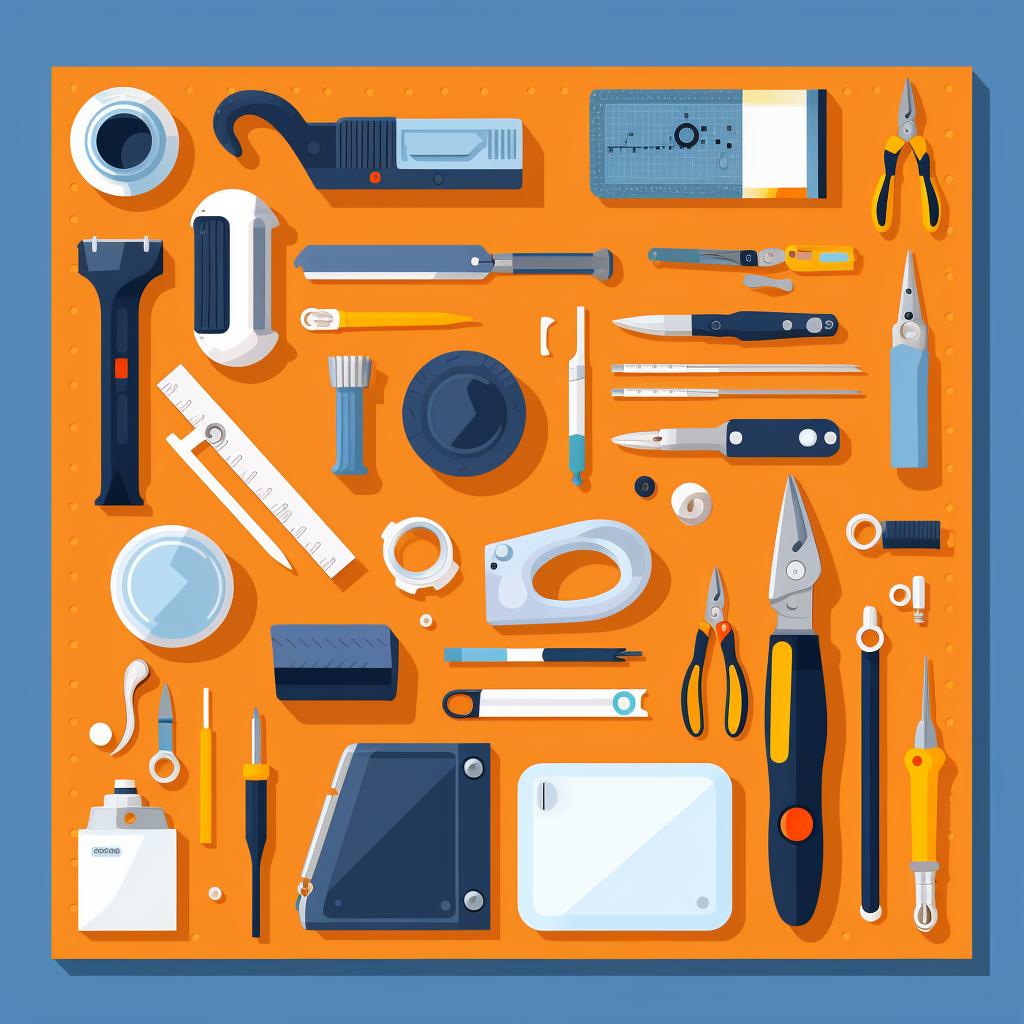
Before you begin, it's essential to gather all the necessary tools. Having everything at hand not only makes the process smoother but also ensures you won't have to pause midway to find a missing tool. If you're unsure about what tools you need, our FAQ section provides a comprehensive list.
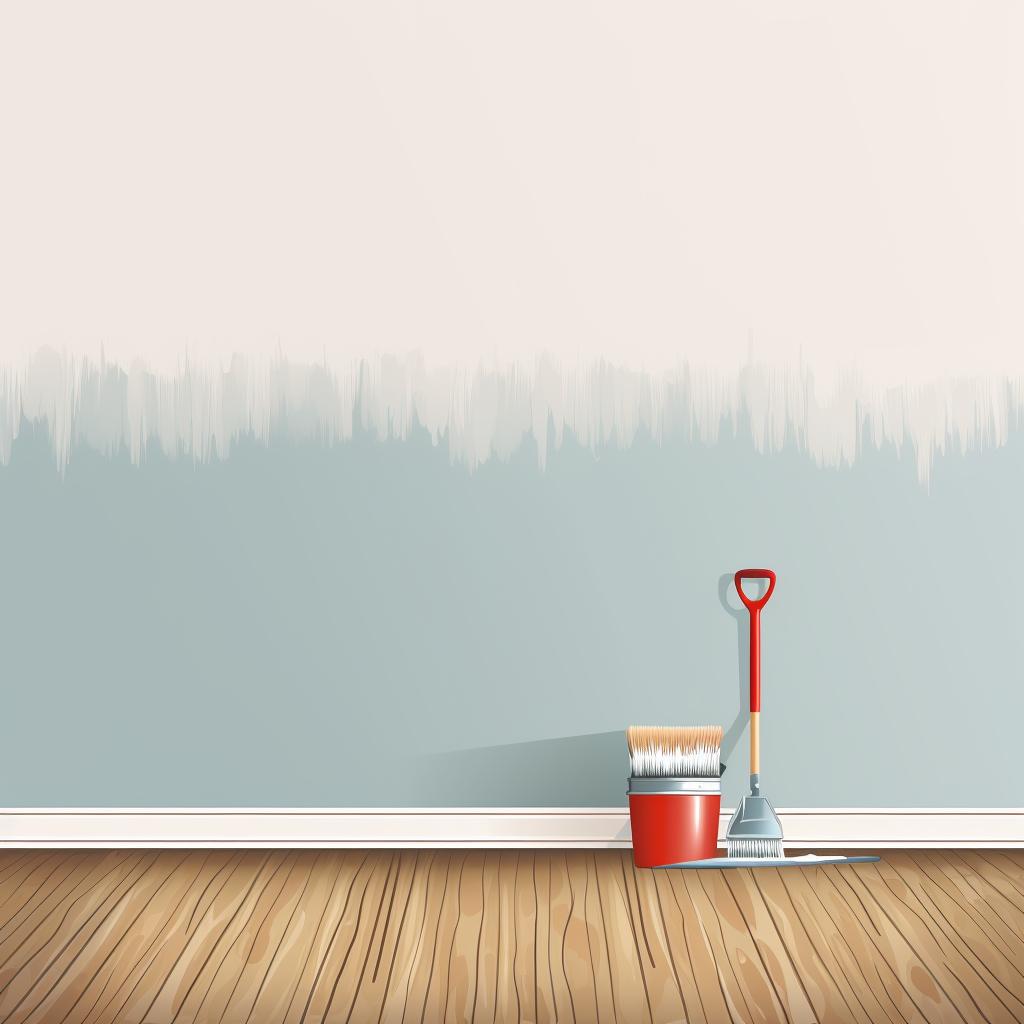
Preparation is key when it comes to installing 3D wall panels. It's crucial to ensure your wall is clean, dry, and free of any nails or screws. If you're installing panels for the first time, our expert tips and tricks will guide you through the preparation process, ensuring your wall is ready for transformation.
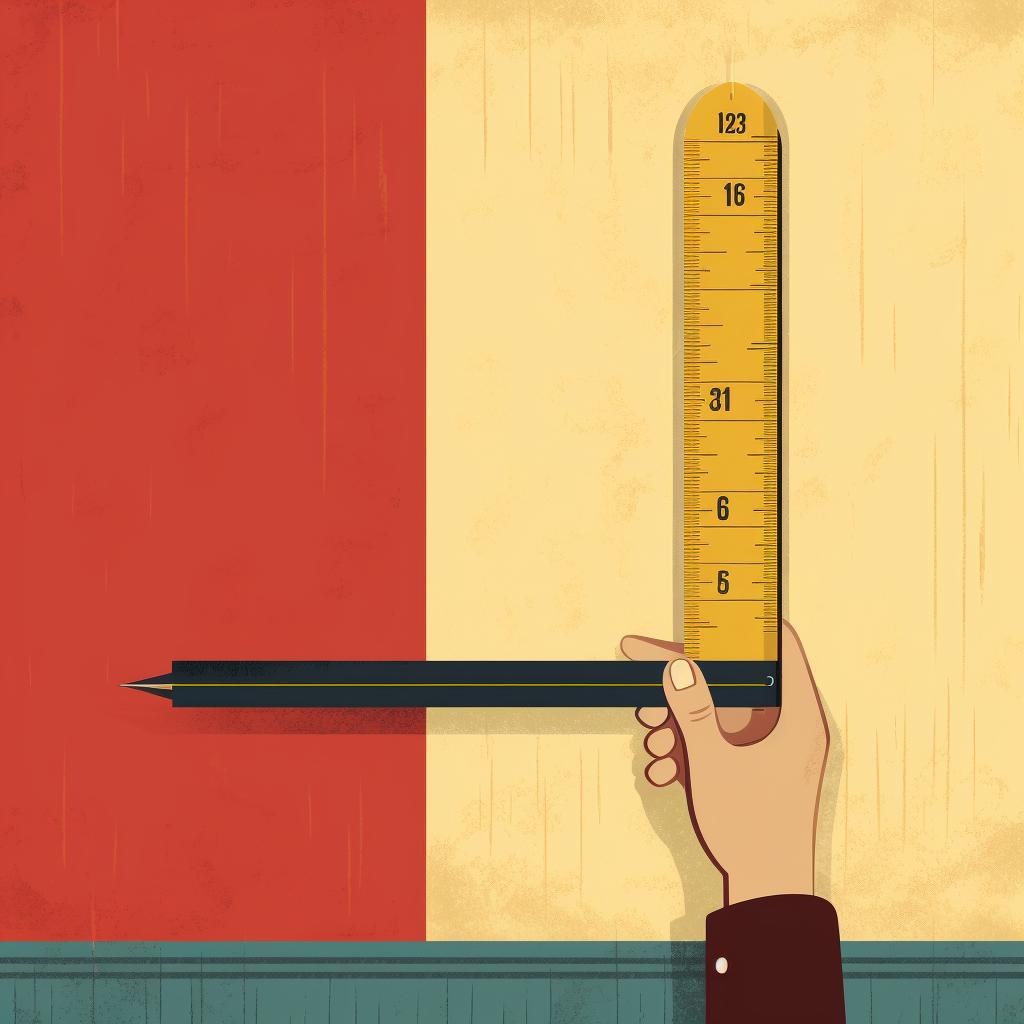
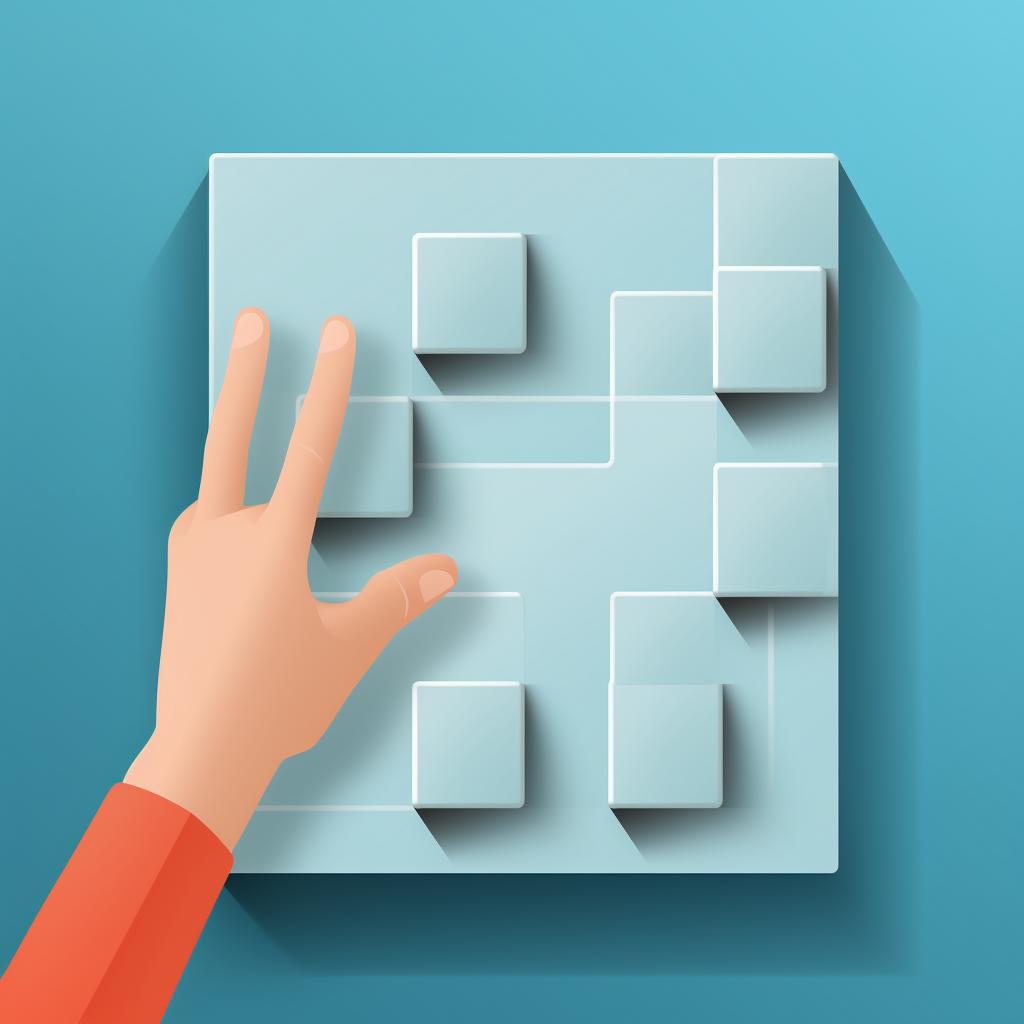
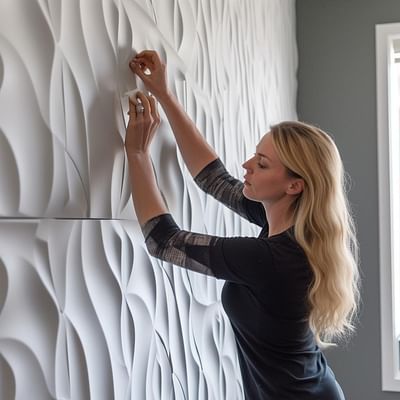
With the right preparation and tools, the installation process is a breeze. Simply measure, mark, apply adhesive, and attach your panel. Remember, patience is key - take your time to align each panel correctly for that seamless look. If you're looking for more detailed instructions, our article on 3D wallpaper installation provides a more in-depth look at the process.
Once all your panels are installed, it's time for the fun part - customization! Whether you choose to paint, finish, or leave them as is, your new 3D wall panels are sure to add a unique touch to your space. For inspiration, check out our top design ideas for every room in your home.
Remember, installing 3D wall panels is more than just a DIY project - it's a chance to unleash your creativity and transform your space. So go ahead, get started, and let Whole 3D help you create the home of your dreams.

