
Kickstart Your DIY Journey: A Primer on 3D Wall Panel Installation 🛠️
Ever gazed at your wall and yearned for a dash of creativity, a touch of uniqueness? Welcome to the world of 3D wall panels, where design meets innovation to transform your living space. Our easy 3D wall panel guide is here to simplify your DIY project, making the process of installing 3D wall panels as easy as pie.
Imagine your walls, once flat and uninspiring, now brimming with texture and depth. 3D wall panels not only enhance your home decor but also inject a dose of personality into your space. And the best part? You can customize these panels to match your style and preference.
Whether you're a seasoned DIY enthusiast or a beginner just dipping your toes into the world of home decor, our guide on 3D wall panel installation will make your DIY journey smoother. Ready to dive in and transform your home with 3D wall panels?
What's the Buzz About 3D Wall Panels? Unveiling the Magic 🧙♂️
Imagine stepping into a room where the walls are not just flat surfaces, but a dynamic canvas of depth and texture. This is the magic of 3D wall panels. They are innovative decor options that add a captivating third dimension to your walls. From subtle wave patterns to bold geometric designs, the variety is endless, offering a plethora of 3D wall panel ideas to suit every taste and style.
Not only do they elevate the aesthetic appeal, but they also enhance the functionality of your space. They can hide wall imperfections, provide sound insulation, and even contribute to energy efficiency. By installing 3D wall panels, you're not just decorating a room; you're transforming it into a unique, immersive experience. So, ready to dive into the world of DIY 3D wall panels?
Remember, a well-executed installation is key to achieving the desired effect. That's why we've prepared this easy 3D wall panel guide to help you navigate the process. Let's get started!
Your DIY Toolkit: Must-Have Supplies for 3D Wall Panel Installation 📦
Essential Tools and Materials for 3D Wall Panel Installation
- 3D Wall Panels: Choose from a variety of designs and textures that suit your aesthetic preference and the theme of your space.
- Adhesive: A high-quality adhesive is crucial to secure the panels to your wall. Opt for a heavy-duty adhesive specifically designed for wall panel installations.
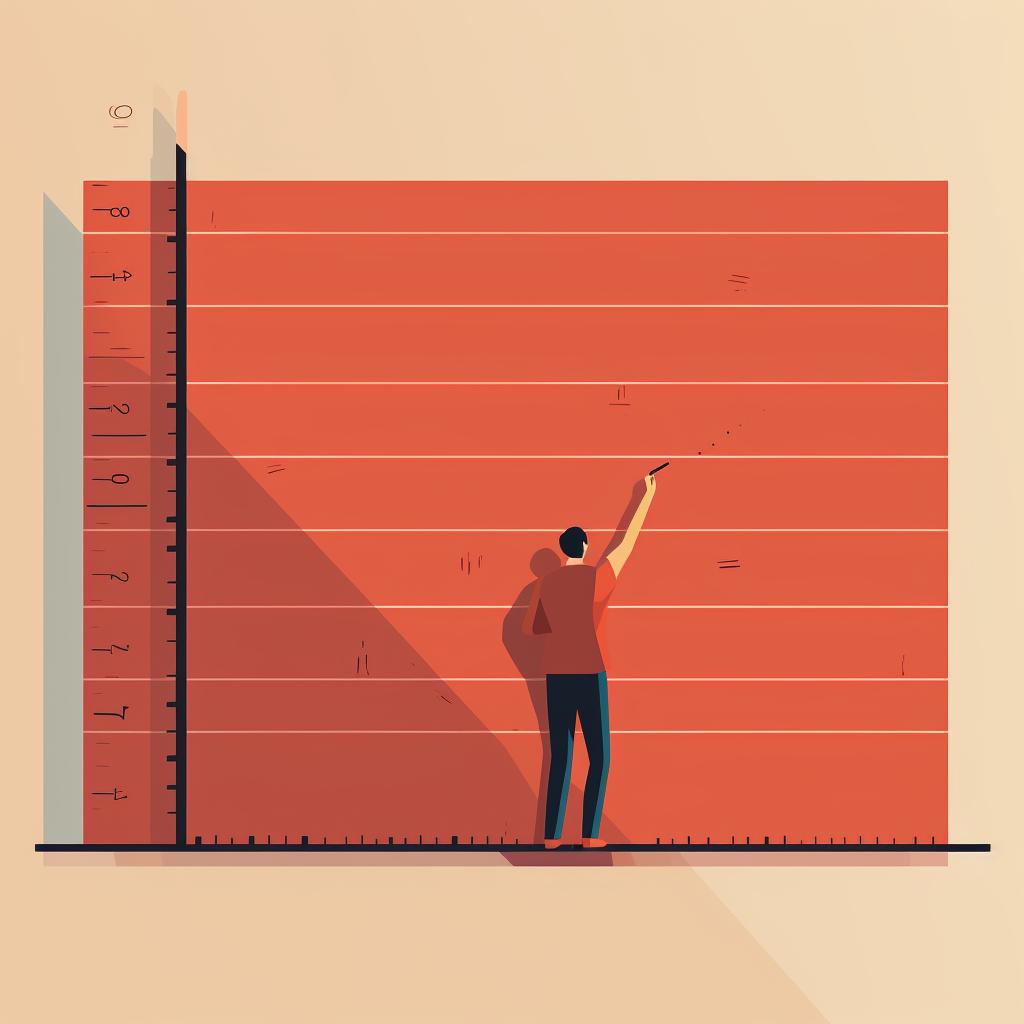
- Measuring Tape: To measure your wall accurately and ensure your panels fit perfectly.
- Level: A level will help you align your panels perfectly straight.
- Pencil: For marking measurements and guidelines on your wall.
- Utility Knife: To trim the panels to the right size or shape.
- Sanding Paper: For smoothing out the edges of your cut panels.
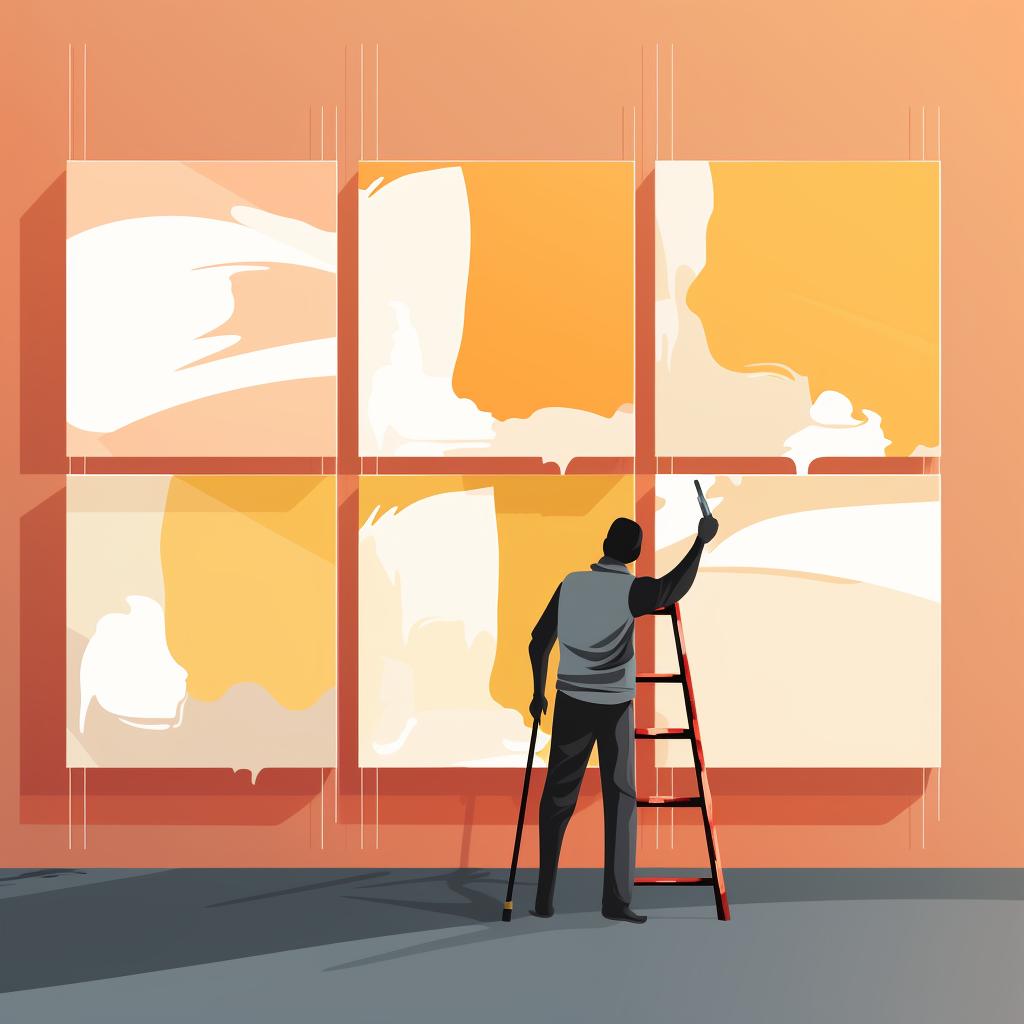
- Paint: If you want to add color to your panels, choose a paint that adheres well to the panel material.
- Paint Roller or Brush: For applying paint evenly on the panels.
- Sealant: To protect your panels and prolong their lifespan, a sealant is essential, especially in rooms with high humidity like bathrooms or kitchens.
From Novice to Pro: Your Easy-Peasy Guide to Installing 3D Wall Panels 📚
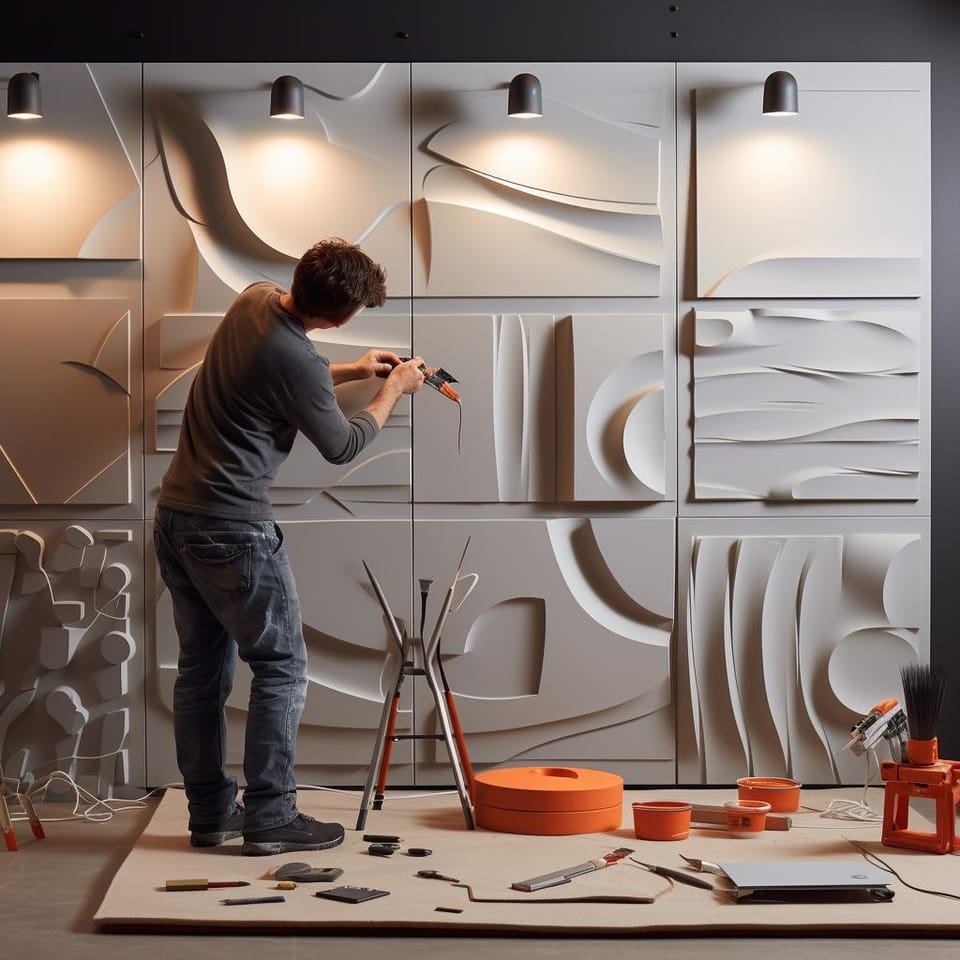
Now that we've covered the basics of 3D wall panels and the tools you'll need, let's dive into the actual installation process. Follow these steps carefully to ensure a successful DIY project.
Mastering 3D Wall Panel Installation: A Comprehensive Step-by-Step Guide


Learn more about 🔧 Mastering 3D Wall Panel Installation: A Comprehensive Step-by-Step Guide or discover other Whole 3D guides.
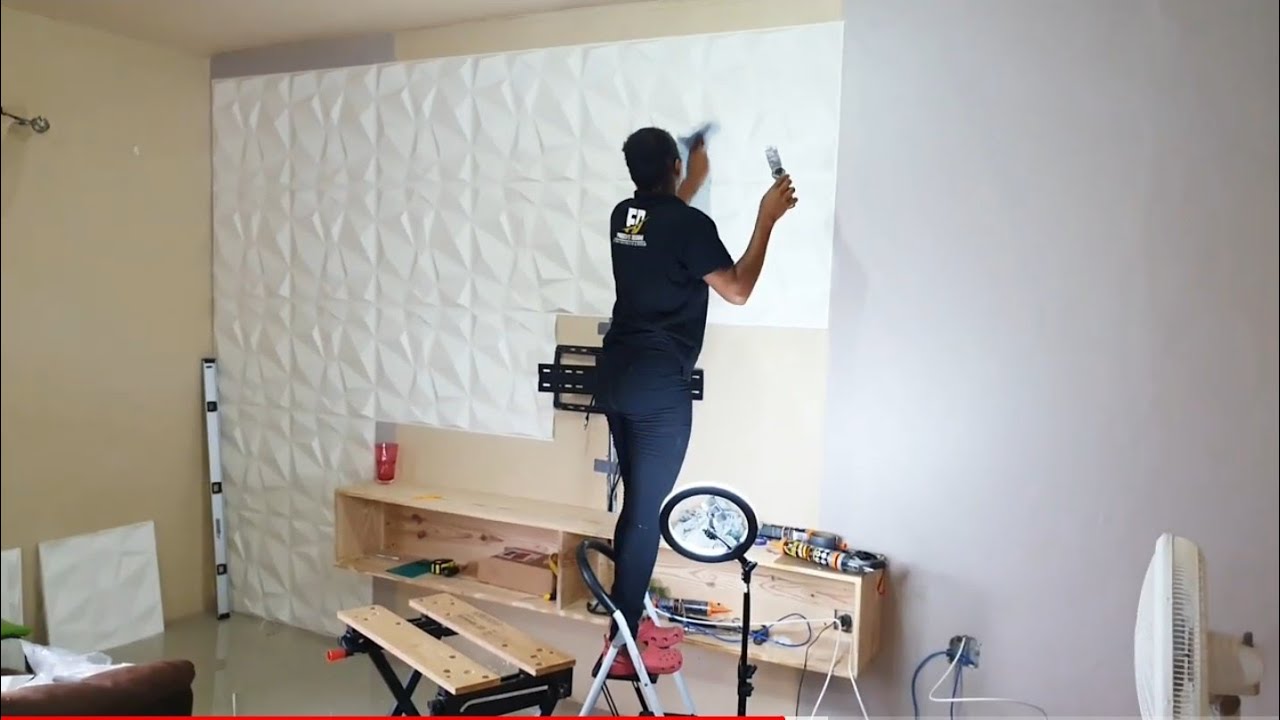
Congratulations! You've successfully installed your 3D wall panels. But before you start celebrating, let's look at some common mistakes to avoid during the installation process to ensure a flawless finish.
Oops! Don't Make These 5 Common 3D Wall Panel Installation Blunders 🚫
What DIY enthusiast hasn't been seduced by the siren call of a new project, only to be dashed on the rocks of common mistakes? When it comes to installing 3D wall panels, there are a few blunders that could turn your dream wall into a nightmare.
Firstly, neglecting to prepare your wall properly can lead to adhesion issues. Ensure you've thoroughly cleaned and dried the surface before you start. Secondly, many people jump right in without a clear plan. Remember, a little time spent on designing your layout can save you a world of frustration later. Lastly, don't underestimate the importance of using the right adhesive. Using the wrong glue could lead to panels falling off or damaging your walls. Check out our guide on choosing the right adhesive to avoid this pitfall.
With these tips in mind, you're ready to transform your space with the magic of 3D wall panels. Happy installing!
Unleash Your Inner Designer: Top Tips for Styling with 3D Wall Panels 🎨
So, you've got your DIY 3D wall panel installation underway, but how can you ensure your space doesn't just look good, but feels uniquely you? Let's dive into some 3D wall panel ideas to enhance your room's design and make it truly yours.
First, remember that lighting is everything. Experiment with different light sources to highlight the unique textures of your 3D panels. A well-placed spotlight or soft ambient lighting can dramatically enhance the depth and drama of your walls.
Next, consider your furniture. Are there pieces that echo the shapes and patterns in your panels? Harmonizing your furniture and wall panels creates a cohesive, intentional feel. And don't forget, you can customize your 3D wall panels to match your space's theme or personal style. Think bold colors for a vibrant, energetic room or subtle hues for a relaxing sanctuary.
Finally, have fun with it! This is your chance to get creative and reimagine your space. Remember, the only limit is your imagination.
Voila! Witness the Wow-Factor of 3D Wall Panels in Your Space 🌟
So, you've journeyed with us from the bare beginnings of an uninspiring wall to the grand finale of a transformative 3D masterpiece. Tell me, isn't it mesmerizing how those 3D wall panel ideas you've been harboring have materialized into such a stunning reality?
Encapsulating a world of depth and texture, your space has been reborn, whispering tales of your distinct style and creativity. But remember, your journey with 3D wall panels doesn't end here. Like the ever-changing canvas of life, your walls too, can evolve with your changing tastes and inspirations.
Perhaps, you might consider customizing your 3D panels further or maybe you'd like to experiment with different rooms. Whatever your choice, the world of 3D wall panels is an open playground. So, go forth, continue to redefine the boundaries of your home decor, and never stop creating!
3D Wall Panel Installation and Design Quiz
Test your understanding of the 3D wall panel installation process and design tips with this interactive quiz!
Learn more about 🔍 Take the 3D Wall Panel Installation and Design Quiz or discover other Whole 3D quizzes.
What's Your Take on 3D Wall Panels?
We'd love to know your thoughts on 3D wall panels. Are you considering installing them in your home? If so, what type? Or do you have any reservations?
Based on the community poll, we've gathered some frequently asked questions about 3D wall panel installation. Let's dive into them!
We hope these FAQs have addressed your concerns and made you feel more confident about your DIY 3D wall panel project. Remember, every DIY project is a learning process. Enjoy the journey!


No comments yet. Be the first to share your thoughts!